
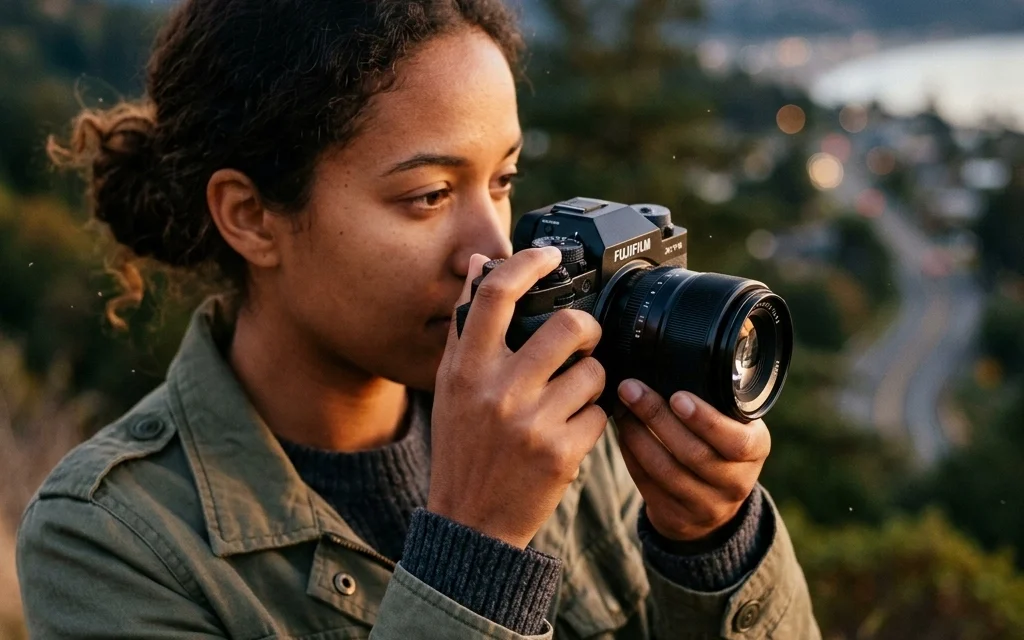
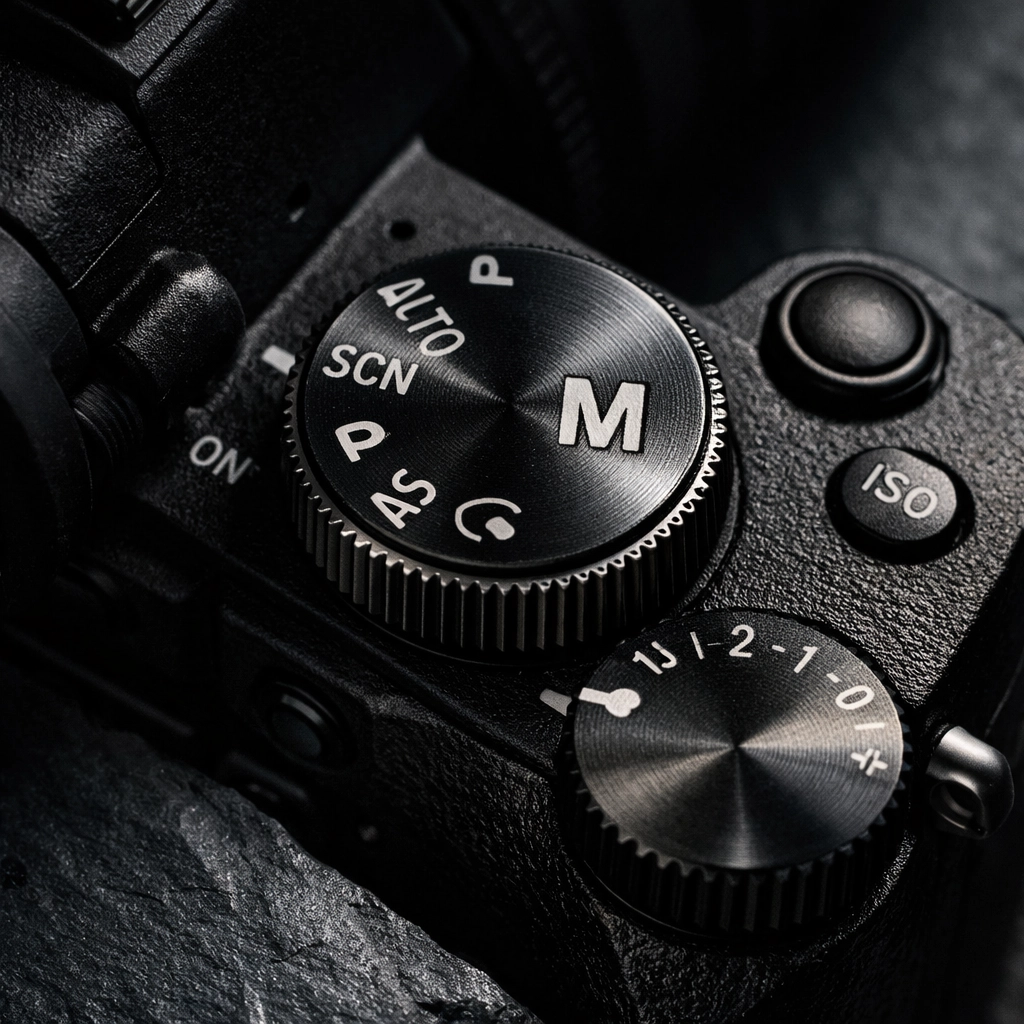
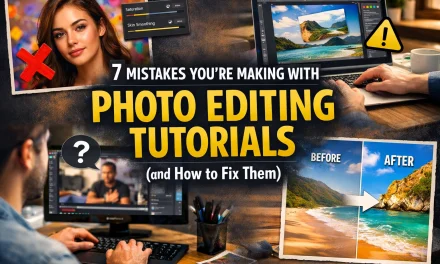
So, you finally did it. You stopped taking photos with your phone and bought a real camera. Maybe it was a gift, or maybe you finally decided to invest in that hobby you’ve been dreaming about. You unboxed it, charged the battery, and then saw it, the "M" on the dial. You probably turned the dial to the little green "Auto" box, took a few shots, and thought, "This is fine."
But "fine" isn't why you bought a dedicated camera. You bought it because you wanted those blurry backgrounds, the crisp action shots, and that professional look you see on Shut Your Aperture.
I was chatting with Sonny, our Social Media Manager, earlier this week about how many people are terrified of Manual Mode. He’s planning some Reels to demystify the camera, but honestly, some things need a bit more room to breathe than a 60-second video allows. Manual mode isn't about being a gatekeeping gearhead; it’s about taking the steering wheel. If you stay in Auto, the camera is guessing what you want. And let’s be real, cameras are smart, but they don't have your creative soul.
In this guide, we are going to break down Manual Mode into bite-sized pieces. No math degrees required. Just you, your camera, and a little bit of curiosity.
Why Manual Mode? The Freedom to Fail (and Succeed)
When you shoot in Auto, your camera looks at a scene and tries to make everything "average." It wants the light to be average, the focus to be average, and the colors to be average. But art isn't average.
Manual mode gives you control over the Exposure Triangle. This sounds like something out of a Dan Brown novel, but it’s actually the foundation of every photo ever taken. It consists of Aperture, Shutter Speed, and ISO. Once you master these three, you can shoot in a coal mine or on a glacier and still get a perfect shot.
If you’re looking for more technical deep dives as you go, I always recommend checking out PhotoGuides.org for some great visual breakdowns. But for now, let’s stick here and get our hands dirty.
1. Aperture: The "Eye" of the Lens
Think of the aperture as the pupil of your eye. When it’s dark, your pupil gets bigger to let in more light. When it’s bright, it shrinks. In photography, we measure this in "f-stops" (like f/1.8, f/4, or f/16).
Here is the weird part that trips up every beginner: Small numbers mean big holes.
- Low f-stop (f/1.8, f/2.8): The lens is wide open. A ton of light comes in. This creates a "shallow depth of field," which is the fancy way of saying your subject is sharp and the background is a beautiful, blurry mess (bokeh). This is what you want for portraits or if you’re trying to avoid some mistakes with professional corporate headshots.
- High f-stop (f/11, f/16): The hole is tiny. Less light comes in, but almost everything from the foreground to the background is in focus. This is your go-to for landscapes.
If you’re shooting a stunning sunset and want every mountain peak to be sharp, you’ll want a higher f-stop. If you’re shooting a single flower and want it to "pop," go low.
2. Shutter Speed: Capturing Time
While the aperture is about the size of the opening, the shutter speed is about how long that opening stays open. It’s measured in fractions of a second (1/1000, 1/250, 1/30).
- Fast Shutter Speed (1/1000 or higher): You are freezing time. This is how you catch a bird in mid-flight or a basketball player dunking without any blur.
- Slow Shutter Speed (1/30 or lower): You are letting time flow. This is how people get those "silky" waterfalls or light trails from cars at night.
Pro Tip: If you go slower than 1/60 of a second, you probably need a tripod. Unless you have the steady hands of a surgeon, the tiny shakes in your body will make the whole photo look blurry. We call this "camera shake," and it’s the enemy of a good shot. You can see some examples of how this affects professional work over at blog.edinchavez.com.

3. ISO: The Sensor’s Sensitivity
ISO is the third leg of the triangle. It determines how sensitive your camera’s sensor is to light.
- Low ISO (100-400): Use this when you have plenty of light (like outdoors during the day). Your photos will be clean, crisp, and free of "noise" (that grainy look).
- High ISO (1600-6400+): Use this when it’s dark. It artificially boosts the light, but the trade-off is grain.
Modern cameras are getting better at handling high ISO, but as a rule of thumb: always try to keep your ISO as low as possible. Think of ISO as the volume knob on a guitar amp. You can turn it up to hear the music better in a quiet room, but eventually, you’re going to get a lot of static and feedback.
Putting the Triangle Together: The Balancing Act
The magic of Manual Mode is that these three settings work together. If you change one, you usually have to change another to keep the light the same.
Imagine you are filling a bucket with water from a garden hose.
- Aperture is the size of the hose.
- Shutter Speed is how long you leave the water running.
- ISO is… well, let’s say it’s the quality of the water.
If you use a giant hose (wide aperture), you only need to turn it on for a second (fast shutter) to fill the bucket. If you use a tiny hose (narrow aperture), you have to leave it on for a long time (slow shutter).

How to Actually Take a Shot in Manual
Alright, let's stop talking and start shooting. Grab your camera, flip that dial to M, and follow these steps:
- Set your ISO first. If you’re outside in the sun, set it to 100. If you’re indoors with decent light, try 800.
- Choose your Aperture based on your "look." Do you want a blurry background? Go as low as your lens allows (like f/2.8). Do you want everything sharp? Set it to f/8.
- Look through the viewfinder at the "Light Meter." This is a little scale that looks like this:
-2...1...0...1...+2. - Adjust your Shutter Speed until the little tick mark is right at the
0. - Take the photo.
- Review it. Is it too dark? Slow down the shutter or raise the ISO. Is it too bright? Speed up the shutter or lower the ISO.
This is where the learning happens. You’ll probably mess up the first ten shots. That’s okay. In fact, that’s the point. When you fail in Manual, you learn why the photo didn't work.
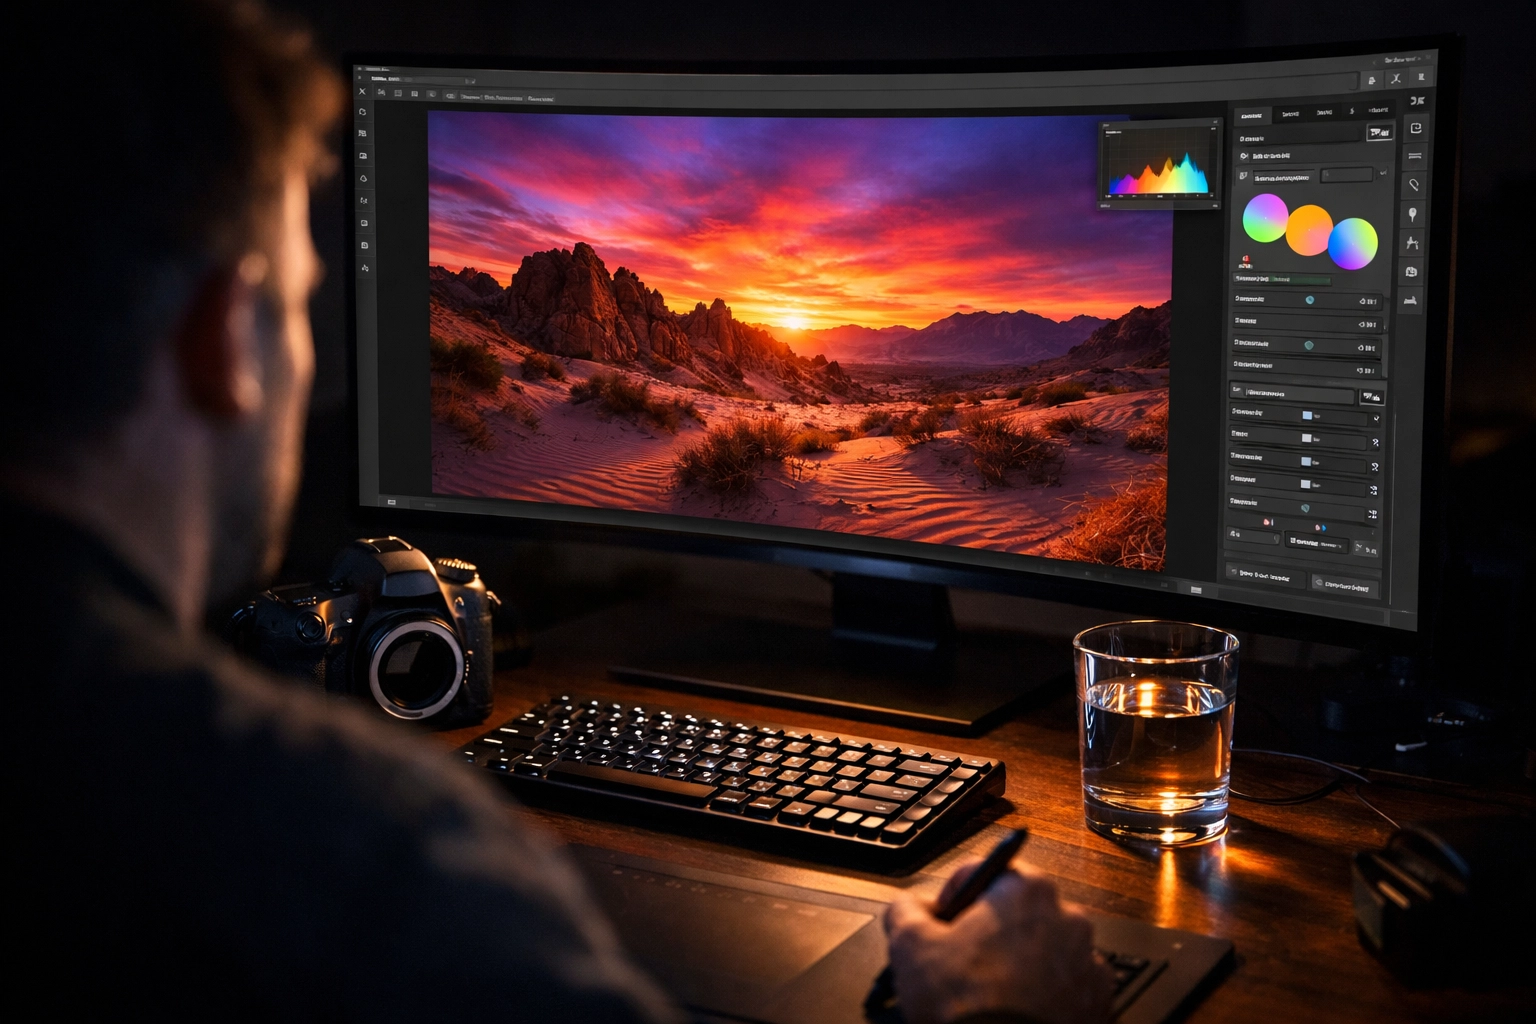
The Secret Weapon: Post-Processing
Even the best photographers don't get it 100% perfect in-camera. One of the reasons we shoot in Manual is to get a "clean" file that we can edit later. When you control the exposure, you ensure you don't "blow out" the highlights (making the sky a solid white blob) or "crush" the shadows (making the dark areas a solid black blob).
Once you have that perfect RAW file, you can bring it to life in editing software. While many people use Lightroom, we are huge fans of using Luminar for its AI-powered tools that simplify the boring stuff so you can focus on the art. Whether you're doing fine art photography: like the stuff you see at Edin Fine Art: or just editing family photos, having a solid manual exposure makes the editing process a breeze.
Common Mistakes to Avoid
Even seasoned pros make mistakes, but beginners usually fall into these three traps:
1. The "Set It and Forget It" ISO
You were shooting inside, moved outside into the bright sun, and forgot your ISO was at 3200. Your photo is now a white rectangle. Make it a habit to check your ISO every time the lighting changes.
2. Shutter Speed Too Slow for Handholding
You’re trying to get a sharp photo of your dog, but you’re at 1/20 of a second. The dog isn't blurry because he's fast; the whole photo is blurry because you're moving. Keep that shutter speed up!
3. Trusting the Screen Too Much
The little LCD screen on the back of your camera lies to you. In the dark, it looks bright. In the sun, it looks dark. Always trust your Histogram (that little mountain graph) or your light meter over your eyes.
Practice Makes… Better (Not Perfect)
If you’re feeling overwhelmed, don't worry. I’ve been doing this for years, and I still have moments where I forget to take the lens cap off. Photography is a journey.
If you want to see what professional results look like when you master these settings, check out the work being done at Edin Studios or browse through the gear reviews on ProShoot.io. Seeing what's possible with the right settings is the best motivation to keep practicing.
Your Homework for the Week:
- Go outside during the "Golden Hour" (the hour before sunset).
- Set your camera to Manual.
- Try to take the same photo three times: one with a blurry background, one with everything in focus, and one that captures movement (like a car or a running kid).
- Notice how you had to change the other settings to make each shot work.
Manual mode is the key to the kingdom. It’s the difference between taking a "picture" and making a "photograph." It might be frustrating today, but a month from now, you’ll look back at your old "Auto" photos and wonder how you ever lived that way.
Keep shooting, keep failing, and most importantly, keep your aperture shut (when necessary!). For more tips, keep an eye on our latest updates via our sitemap or just hang out here on the blog. We’ve got plenty more coming your way.


