
So, you’ve got a fancy new camera, or maybe your old one has been gathering dust in the closet, and you’ve decided it’s finally time to learn how to use it. Welcome to the club. Photography is one of the most rewarding hobbies (and careers) on the planet, but let’s be honest: looking at a modern DSLR or mirrorless camera can feel like looking at the cockpit of a fighter jet. Buttons everywhere, menus within menus, and terms like "aperture" and "ISO" that sound more like science fiction than art.
That’s exactly why we created this guide. At Shut Your Aperture, we believe that anyone can take a world-class photo if they have the right roadmap. Whether you want to take better photos of your kids, capture stunning landscapes, or start a professional business, you need high-quality photography tutorials that cut through the noise.
Our CEO, Edin Chavez, started this journey just like you, with a passion for the craft and a desire to see the world through a lens. Now, we’re making Shut Your Aperture the number one photography school online to help you do the same. Let’s dive in.
Why Quality Photography Tutorials Matter
In the age of YouTube, you can find a video on just about anything. But there’s a difference between watching a video and actually learning a skill. A lot of tutorials out there are either too technical or too shallow. You need a structured path that builds your skills from the ground up.
A good tutorial shouldn't just tell you what button to press; it should tell you why you’re pressing it. When you understand the "why," you stop guessing and start creating. If you're looking for deep dives into specific gear or pro tips, you can always check out PhotoGuides.org for some excellent technical breakdowns.
Mastering Your Gear: The First Step
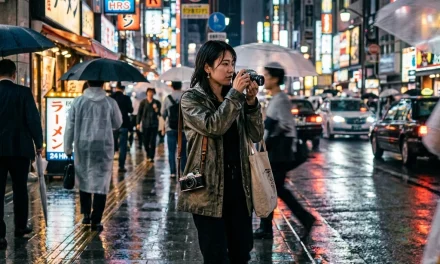
Before you can win the race, you have to know how to drive the car. Your camera is a tool, and like any tool, it has a learning curve. Most people stay in "Auto" mode because it’s safe. But "Auto" is the enemy of creativity. It makes decisions based on an average, and you don’t want average photos.
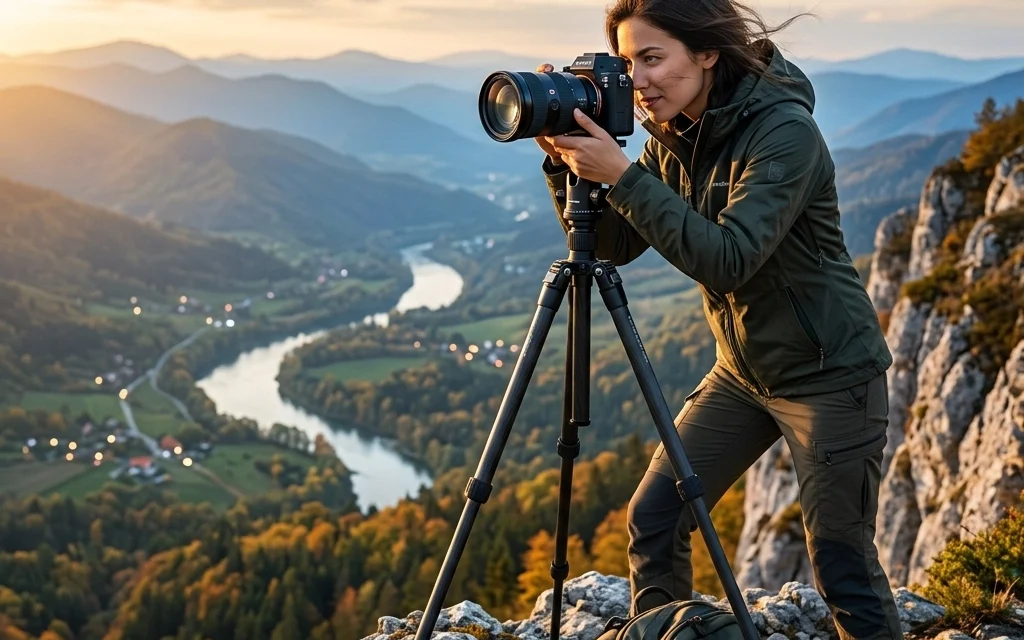
Start by learning the physical layout of your camera. Where is the shutter button? (Okay, you probably know that one). Where is the dial to change your aperture? How do you quickly adjust your ISO? Spend an hour just sitting on your couch, clicking through the menus.

Alt text: A close-up, ultra-realistic shot of a professional mirrorless camera showing the manual mode dial and tactile buttons in soft studio lighting.
How to Use Manual Mode Camera: Taking Full Control
If there is one thing that separates the pros from the amateurs, it’s knowing how to use manual mode camera. Manual mode gives you the keys to the kingdom. It allows you to control exactly how much light enters the camera and how that light is processed.
Manual mode is built on the "Exposure Triangle." These are the three pillars of every photo you will ever take:
1. Aperture (The "Eye")
Aperture refers to the opening in your lens. Think of it like the pupil of your eye. When it’s dark, your pupil gets bigger to let in more light. When it’s bright, it gets smaller.
- Large Opening (Low f-number like f/1.8): Lets in tons of light and gives you that blurry background (bokeh) everyone loves.
- Small Opening (High f-number like f/16): Lets in less light but keeps everything from the foreground to the background in sharp focus.
2. Shutter Speed (The "Timer")
Shutter speed is how long the camera's sensor is exposed to light.
- Fast Shutter (1/1000s): Freezes motion. Great for sports or a bird in flight.
- Slow Shutter (1/10s or longer): Blurs motion. This is how you get those silky-smooth waterfall photos or light trails from cars at night.
3. ISO (The "Sensitivity")
ISO is your sensor’s sensitivity to light.
- Low ISO (100-400): Best for bright daylight. It produces the cleanest, sharpest images.
- High ISO (3200+): Use this when it’s dark. It helps you see in the shadows, but the trade-off is "noise" or graininess in your photo.
Mastering the balance between these three is the core of all photography tutorials. If you change one, you usually have to adjust another to keep the exposure even. For more hands-on training on these settings, you should definitely look into the resources over at proshoot.io.
Composition: Building the Perfect Shot
Once you know how to get a clean exposure, you need to worry about what’s actually in the frame. This is where composition comes in. You can have the perfect exposure, but if the subject is awkward or the background is distracting, the photo won’t work.
- The Rule of Thirds: Imagine a tic-tac-toe grid over your image. Try placing your subject on one of the lines or intersections rather than dead center. It creates more tension and interest.
- Leading Lines: Use roads, fences, or shorelines to lead the viewer’s eye toward your subject.
- Framing: Use natural elements like overhanging branches or doorways to "frame" your subject within the shot.
If you want to see how the pros manipulate composition to change how people feel about a space, read our article on vistas and perspectives in real estate.
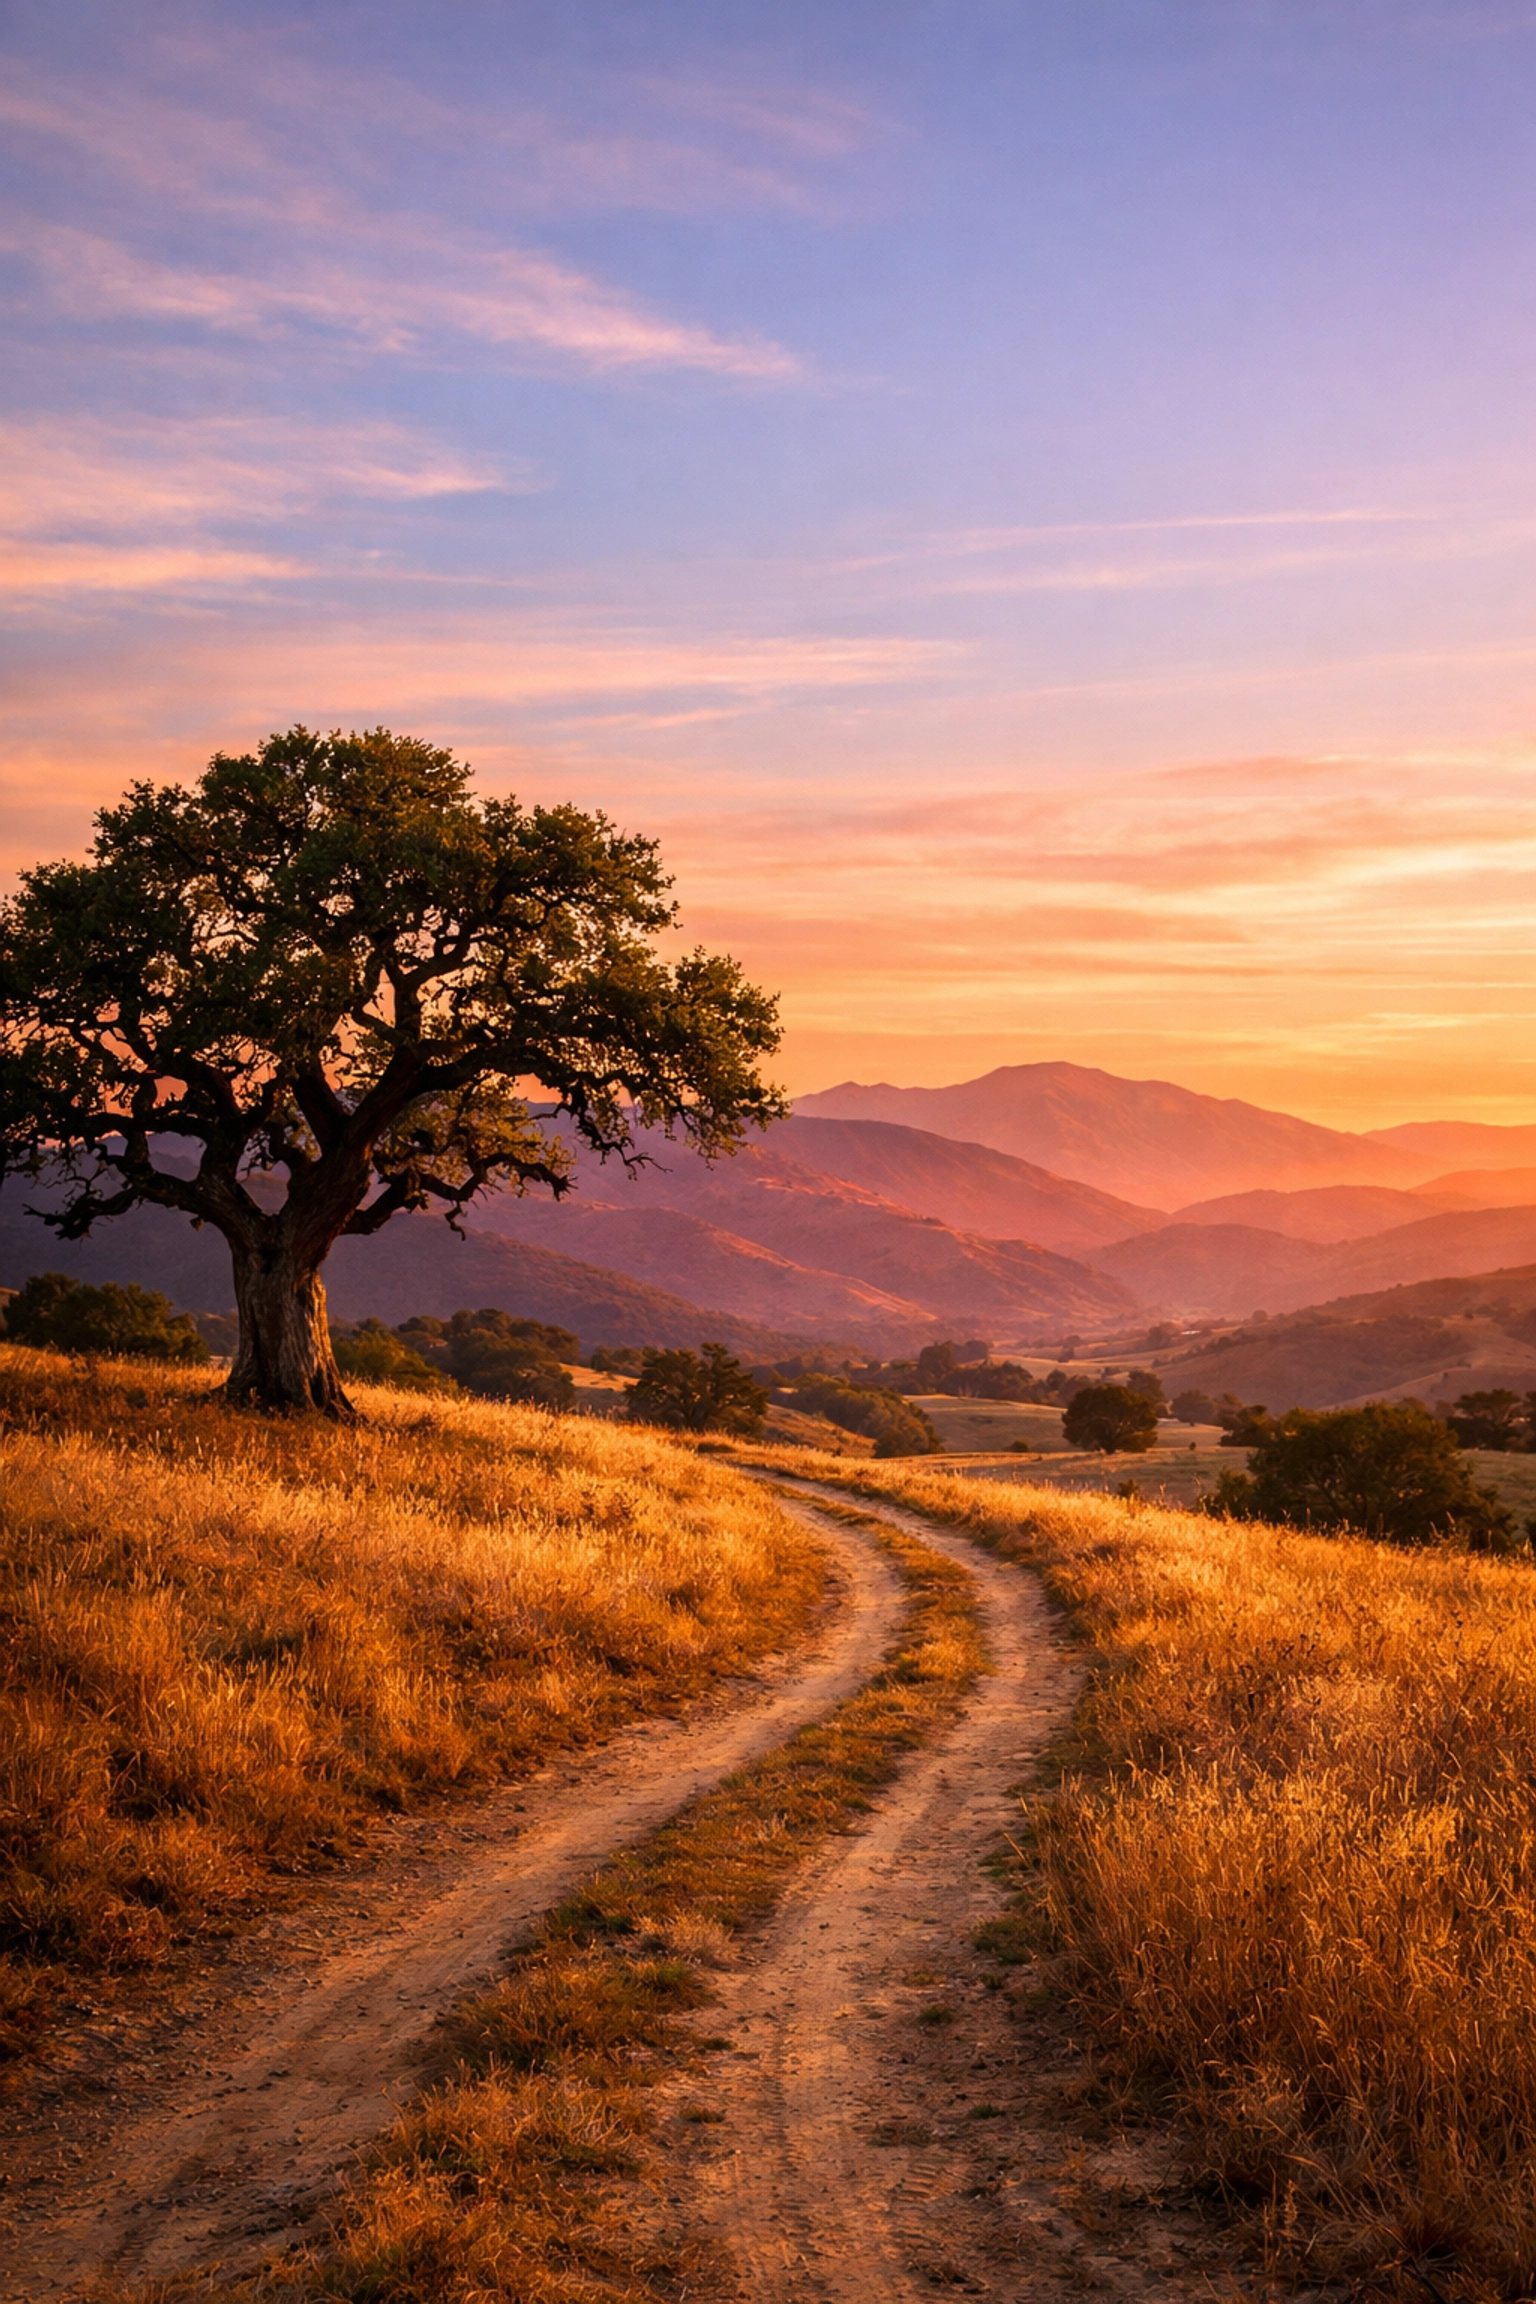
Alt text: A stunning landscape photograph demonstrating the rule of thirds with a lone tree positioned off-center during a golden hour sunset.
Mastering Light: The Photographer’s Language
Photography literally means "writing with light." Without light, you have nothing. But not all light is created equal.
Natural Light
The "Golden Hour": the hour after sunrise and the hour before sunset: is a photographer’s best friend. The light is soft, warm, and flattering. Conversely, midday sun is harsh and creates "raccoon eyes" (dark shadows under the eyes) on portrait subjects.
Artificial Light
When the sun goes down, or when you’re in a studio, you have to bring your own light. This is where things get advanced. Learning how to use off-camera flash or continuous LED lights can transform a boring room into a cinematic set. Understanding the role of luminosity is key to making your images pop and look professional.
Specialized Niches: Finding Your Path
As you go through various photography tutorials, you’ll find yourself drawn to certain subjects.
Landscape Photography
Landscape photography is about patience and timing. It’s about being in the right place at 4:00 AM to catch the first light hitting a mountain peak. We often look at the greats for inspiration; for instance, you can learn a lot from lessons in landscape photography from Peter Lik. His ability to capture scale and color is legendary, and it’s a great bar to set for your own work.
Real Estate and Property
If you’re looking to make money, real estate photography is a fantastic niche. It requires a mix of technical precision and creative flair. You might even find that cinematic techniques can transform property showcases, making a standard home look like a million-dollar mansion.
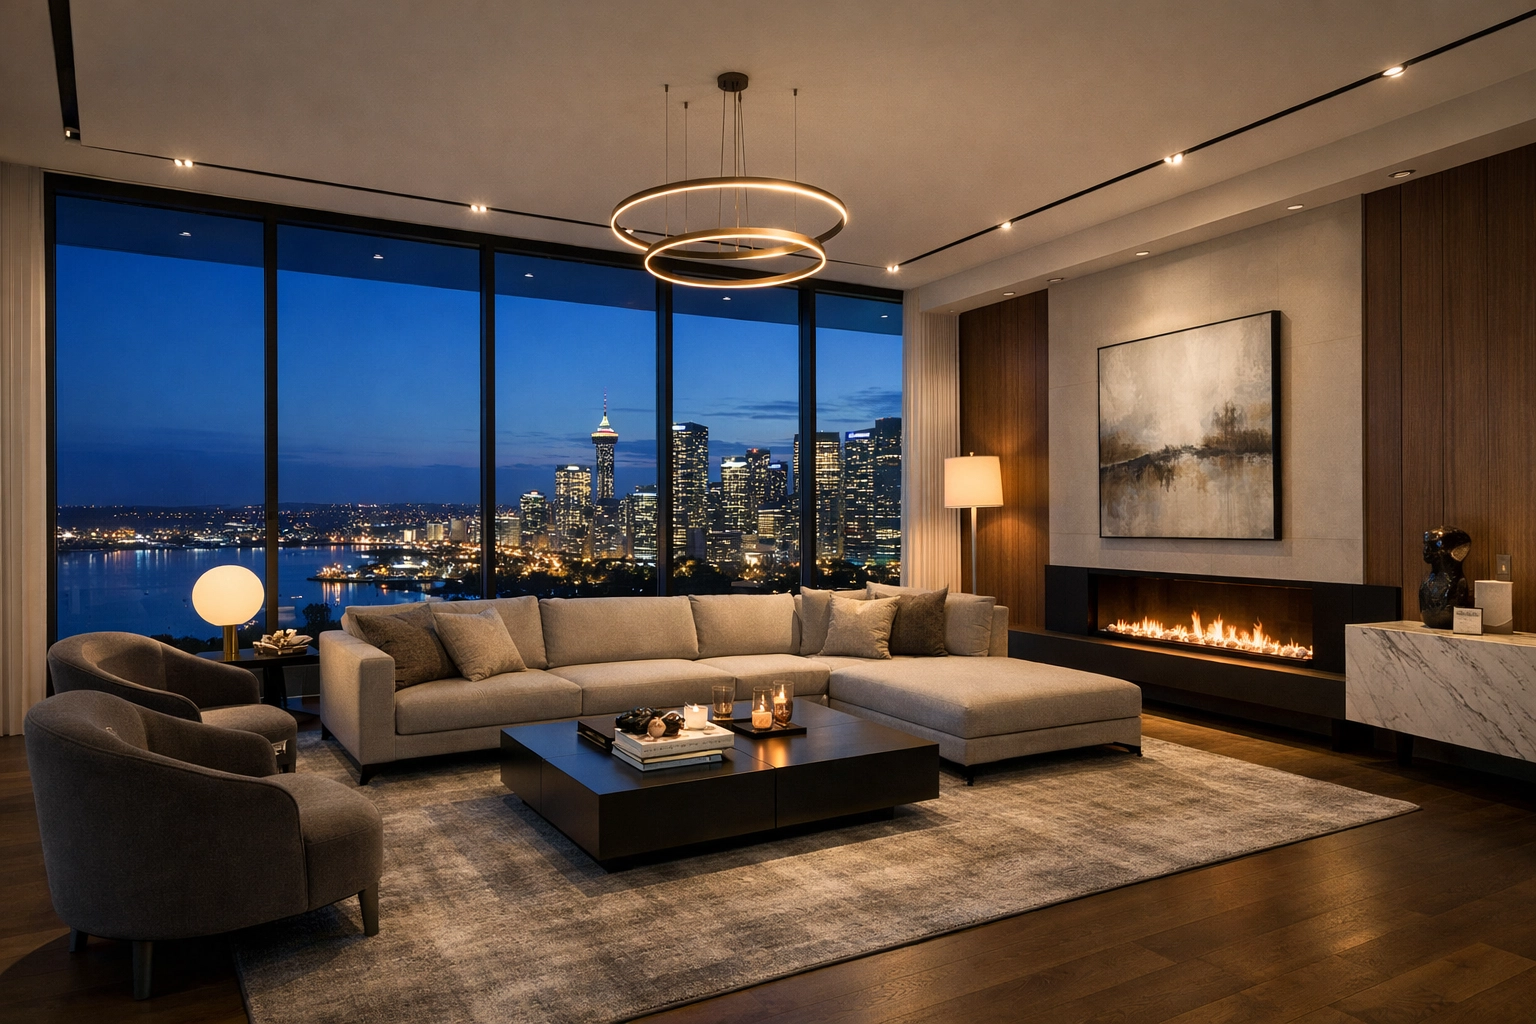
Alt text: An ultra-realistic interior of a luxury modern living room, shot with a wide-angle lens, perfectly exposed to show both the interior detail and the view through the windows.
Post-Processing: The Digital Darkroom
Taking the photo is only half the battle. The other half happens at your computer. Back in the day, photographers spent hours in a darkroom with chemicals. Today, we have software.
Editing isn't about "fixing" a bad photo; it's about enhancing a good one. It's where you define your style. Do you like bright and airy? Dark and moody? High contrast?
One of our favorite tools for this is Luminar. It uses AI to simplify complex tasks like sky replacement or skin retouching, allowing you to focus on the creative side rather than the technical grind. Whether you are doing basic crops or advanced color grading, having a solid workflow is essential.
For more inspiration on what high-end, finished art looks like, take a look at Edin Chavez’s personal blog or explore his gallery at Edin Fine Art. Seeing the end result can help you understand what you're aiming for during the editing process.
Continuous Learning: The Secret to Success
The moment you think you know everything about photography is the moment your growth stops. Even the pros are constantly learning new techniques, trying new gear, and pushing their creative boundaries.
At Shut Your Aperture, we are committed to providing the most comprehensive photography tutorials on the web. We cover everything from the absolute basics of how to use manual mode camera to the high-level business strategies needed to run a studio.
If you’re serious about your craft, check out Edin Studios to see how professional productions are handled. It’s a great way to see the "pro" level of everything we teach here.
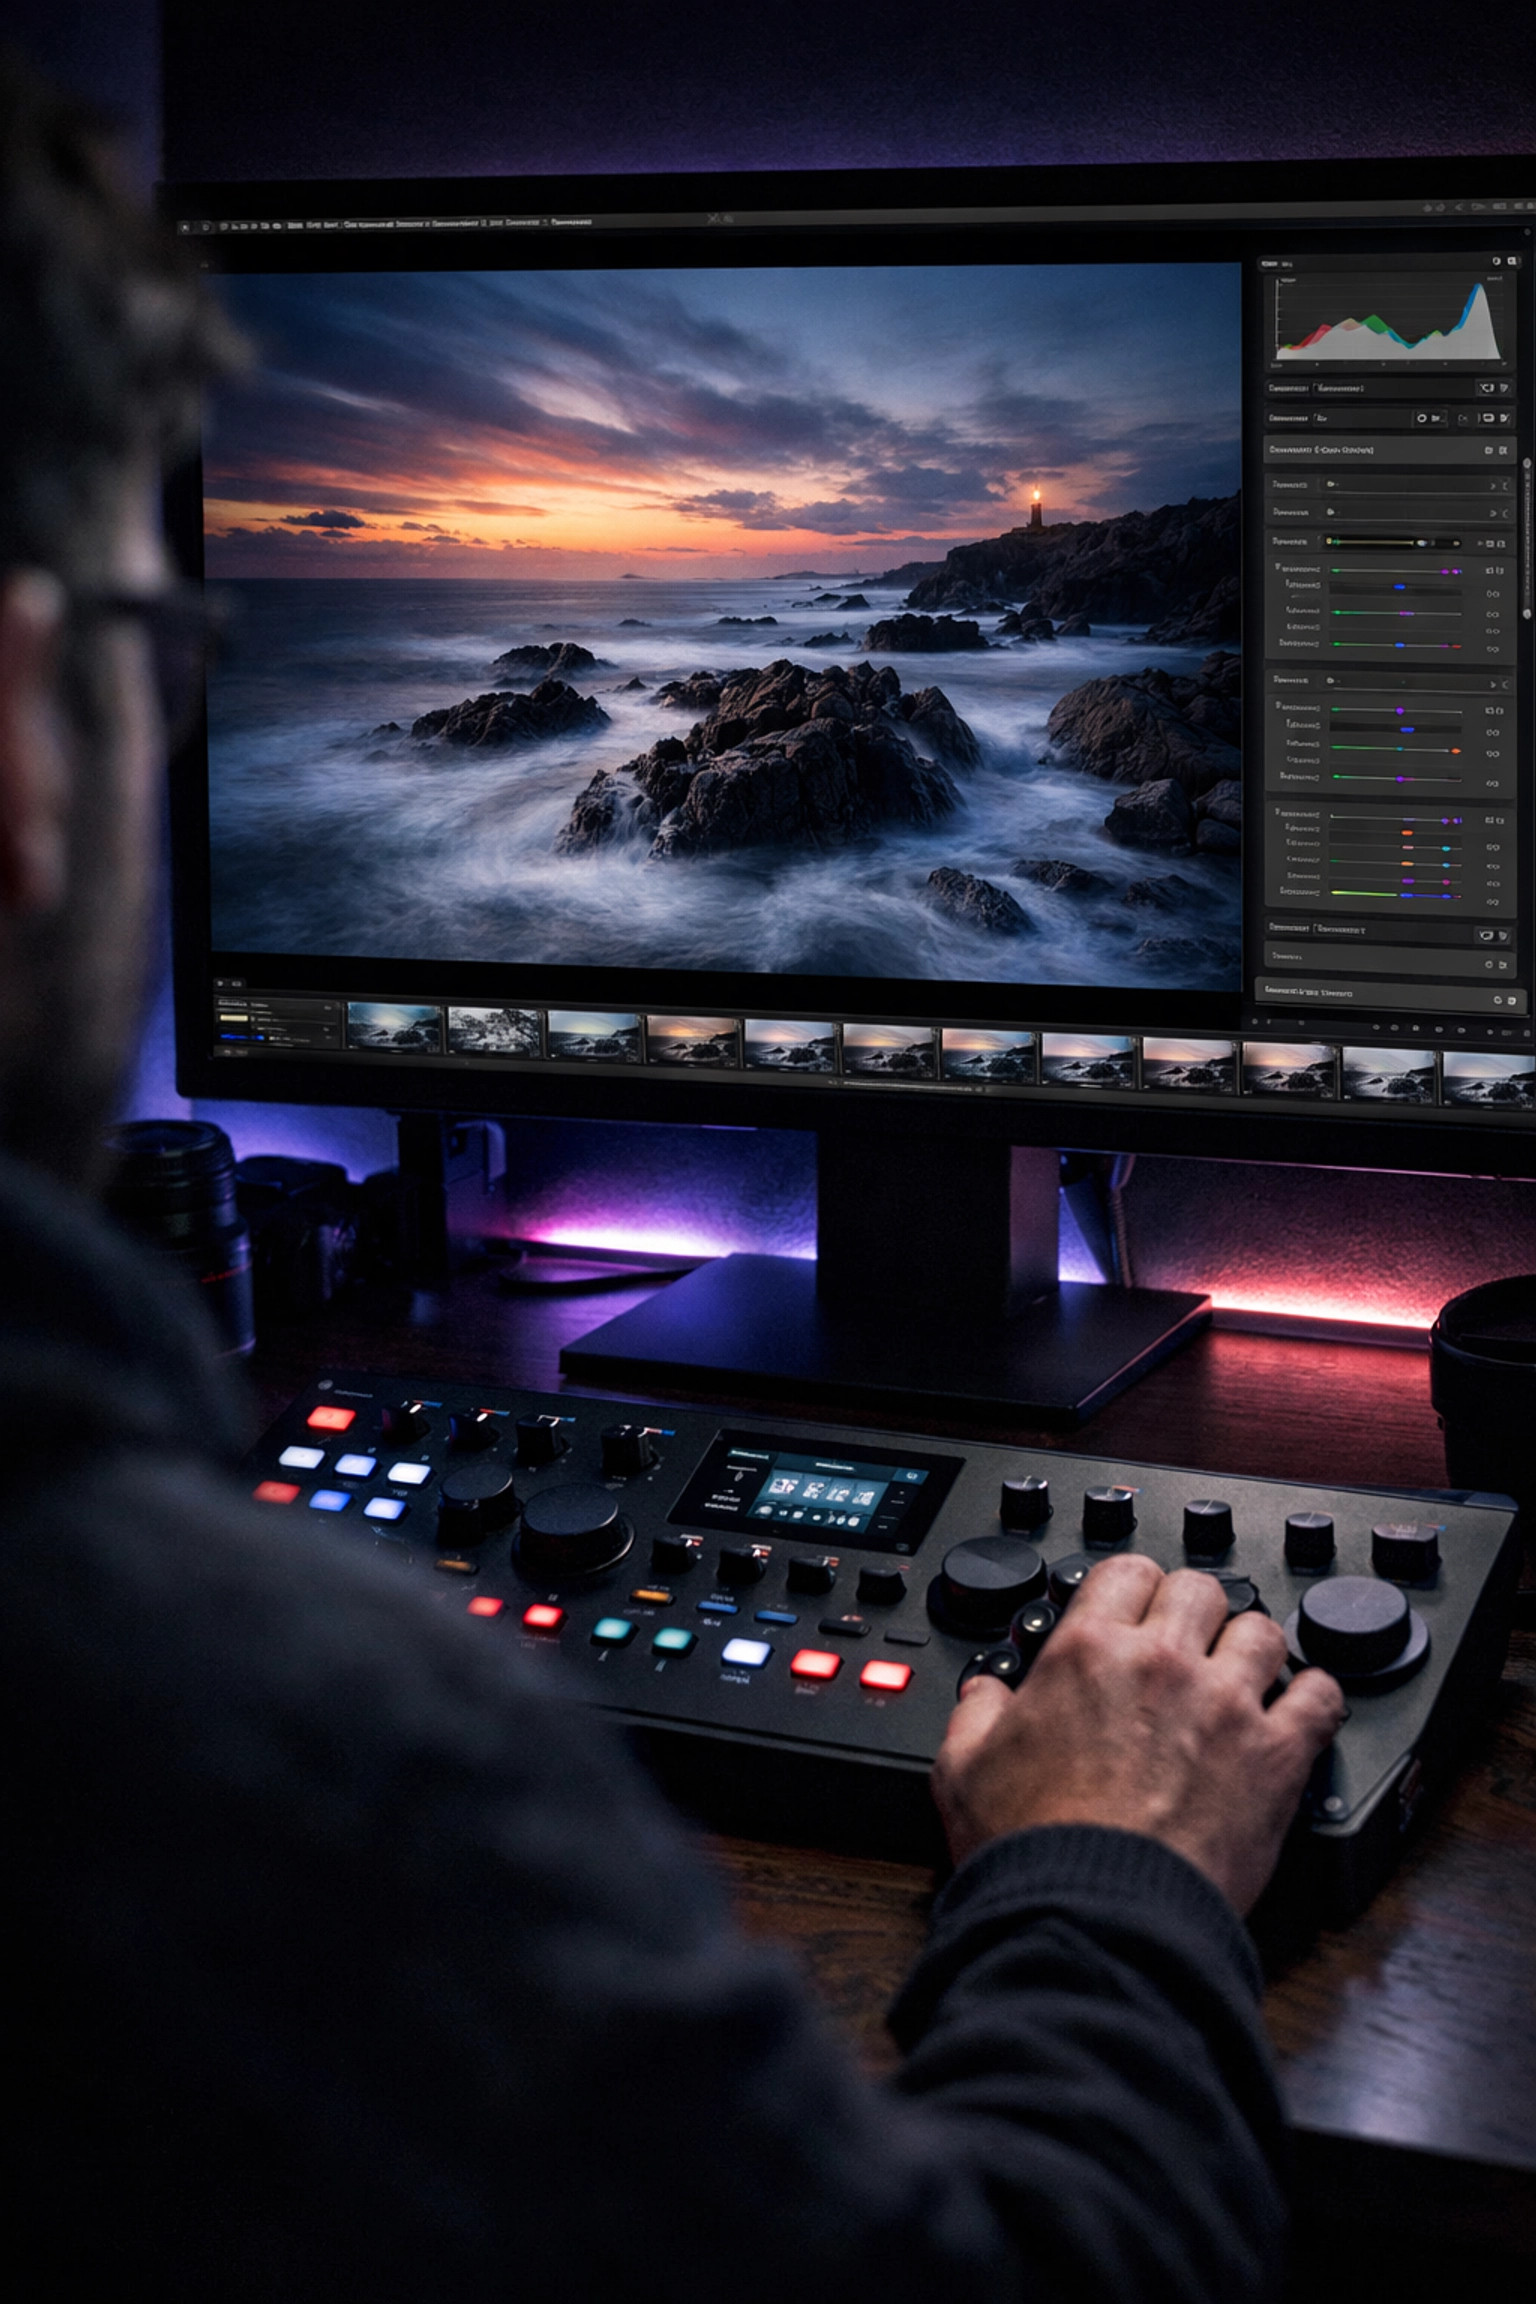
Alt text: A photographer in a dark room using a large color-calibrated monitor to edit a vibrant landscape photo using professional editing software.
Why Shut Your Aperture?
There are a lot of places to learn photography, but Shut Your Aperture is different. We don’t just give you dry facts. We give you the passion, the "why," and the community to back it up. We want to be the reason you finally stop shooting in Auto and start creating the images you’ve always dreamed of.
Photography is a journey of a thousand shutter clicks. You’re going to take some bad photos: everyone does. But with each mistake, you’ll learn. And with each tutorial you finish, you’ll get one step closer to mastering this incredible art form.
Keep your batteries charged, your memory cards empty, and your eyes open. The world is full of beautiful things just waiting to be captured.
If you want to stay updated with the latest tips, gear reviews, and tutorials, make sure to browse through our extensive sitemap to find exactly what you need. From ethereal imagery to technical gear guides, we’ve got it all.
Now, get out there and start shooting!


