
We’ve all been there. You’re standing on the edge of a cliff, the sun is dipping below the horizon, painting the sky in colors you didn't even know existed, and you snap a photo. Then you look at your screen and… well, it looks like a blurry potato.
Landscape photography is one of the most rewarding genres in the game, but it’s also one of the most frustrating. You’re at the mercy of Mother Nature, and she doesn't always play nice. But when everything clicks, the light, the composition, the gear, you end up with a shot that makes people stop scrolling and actually feel something.
At Shut Your Aperture, we believe anyone can take world-class photos if they have the right roadmap. Whether you're hiking through hidden gem locations or just exploring your backyard, this guide will give you the tools to succeed.
1. Composition: The Secret Sauce
If your photo was a house, composition would be the foundation. You can have the most expensive camera in the world, but if your composition is messy, your photo will be too.
Leading Lines
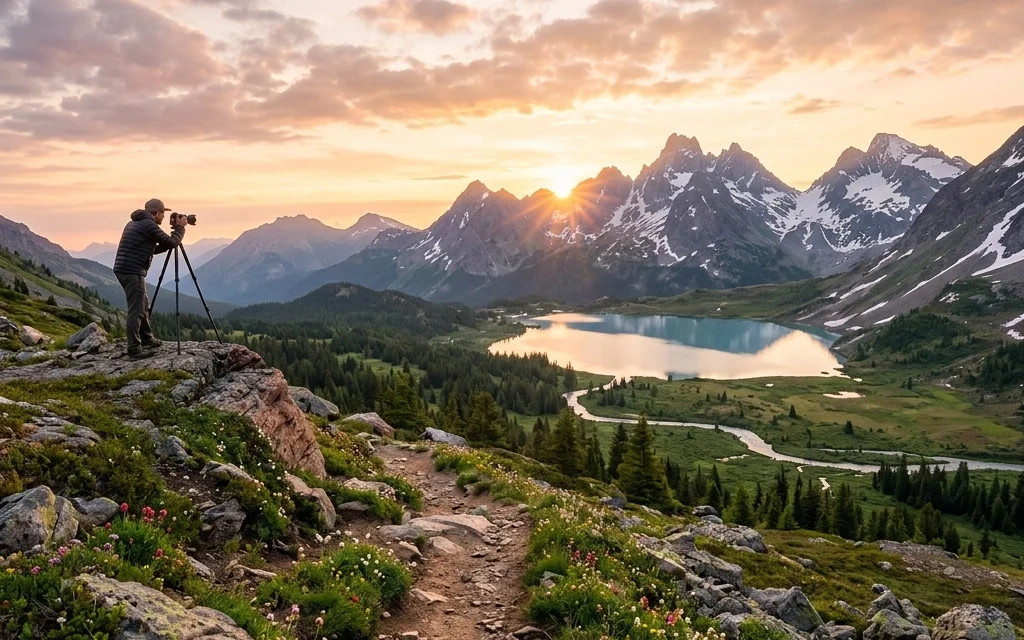
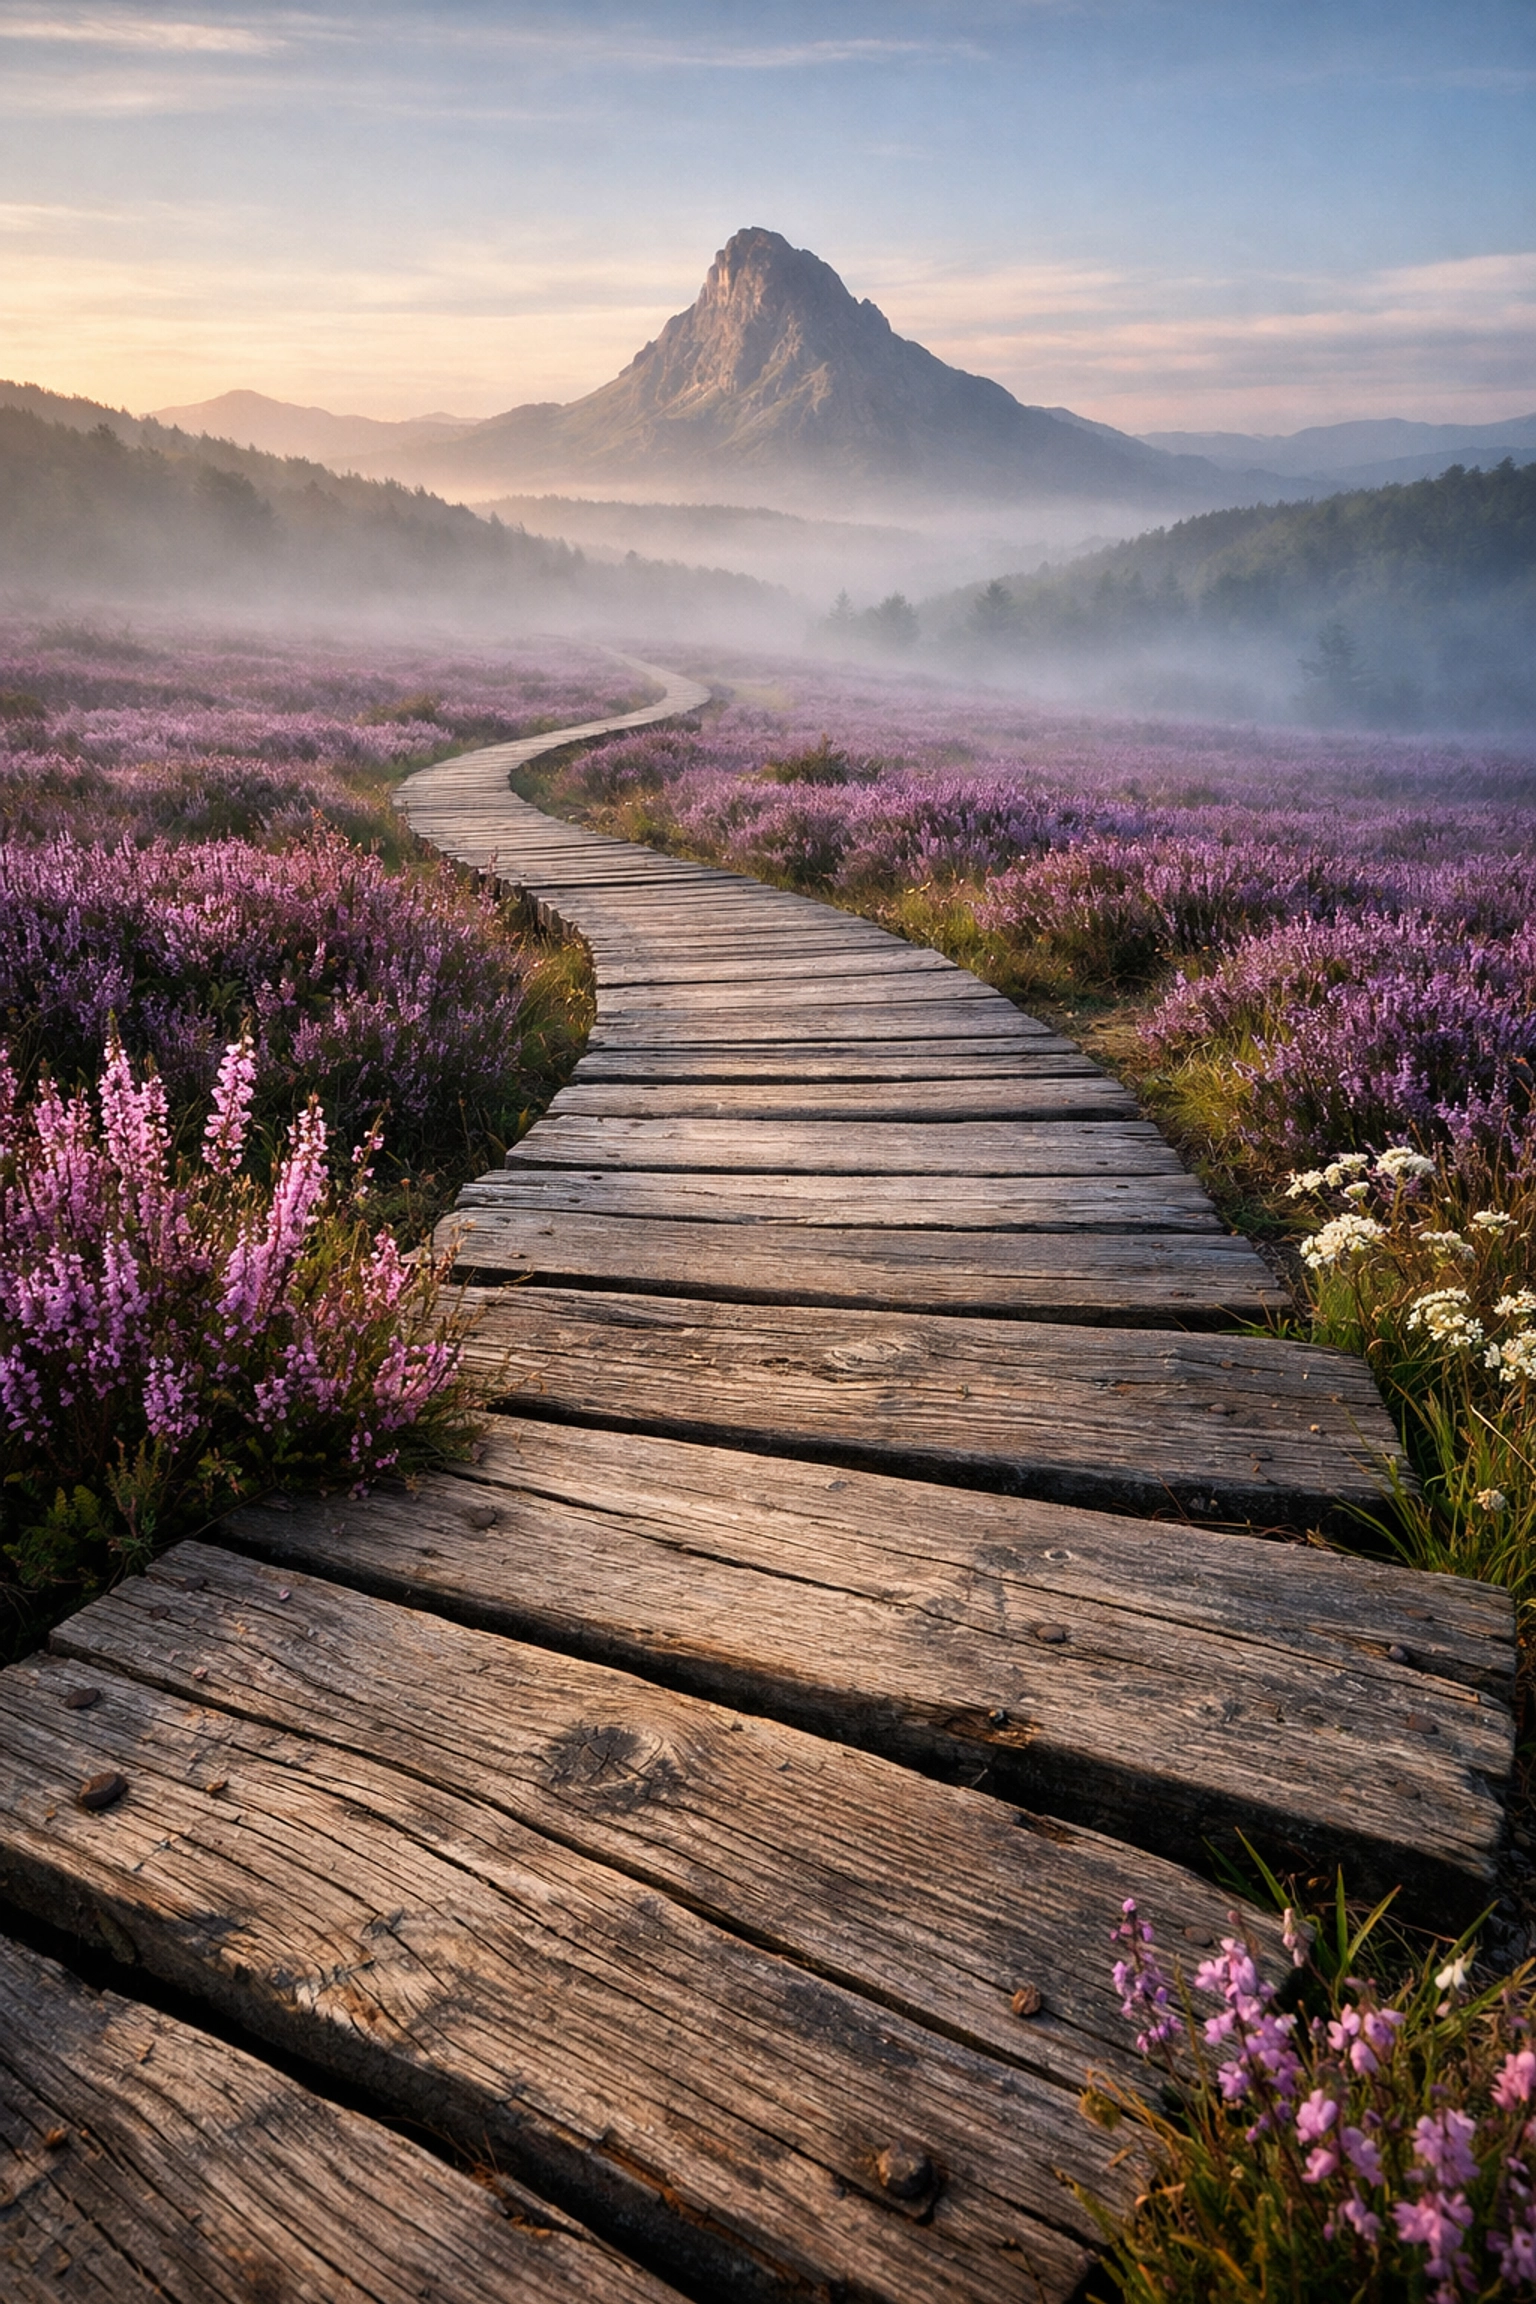
Leading lines are your best friend. They are literal or metaphorical lines that lead the viewer’s eye through the frame. Think of a winding road, a fallen log, or a river leading toward a mountain peak. They create a sense of depth and keep the viewer engaged. If you can find a "Z-shaped" composition, like a stream zigzagging through a valley, you’ve hit the jackpot.
The Rule of Thirds (and When to Break It)
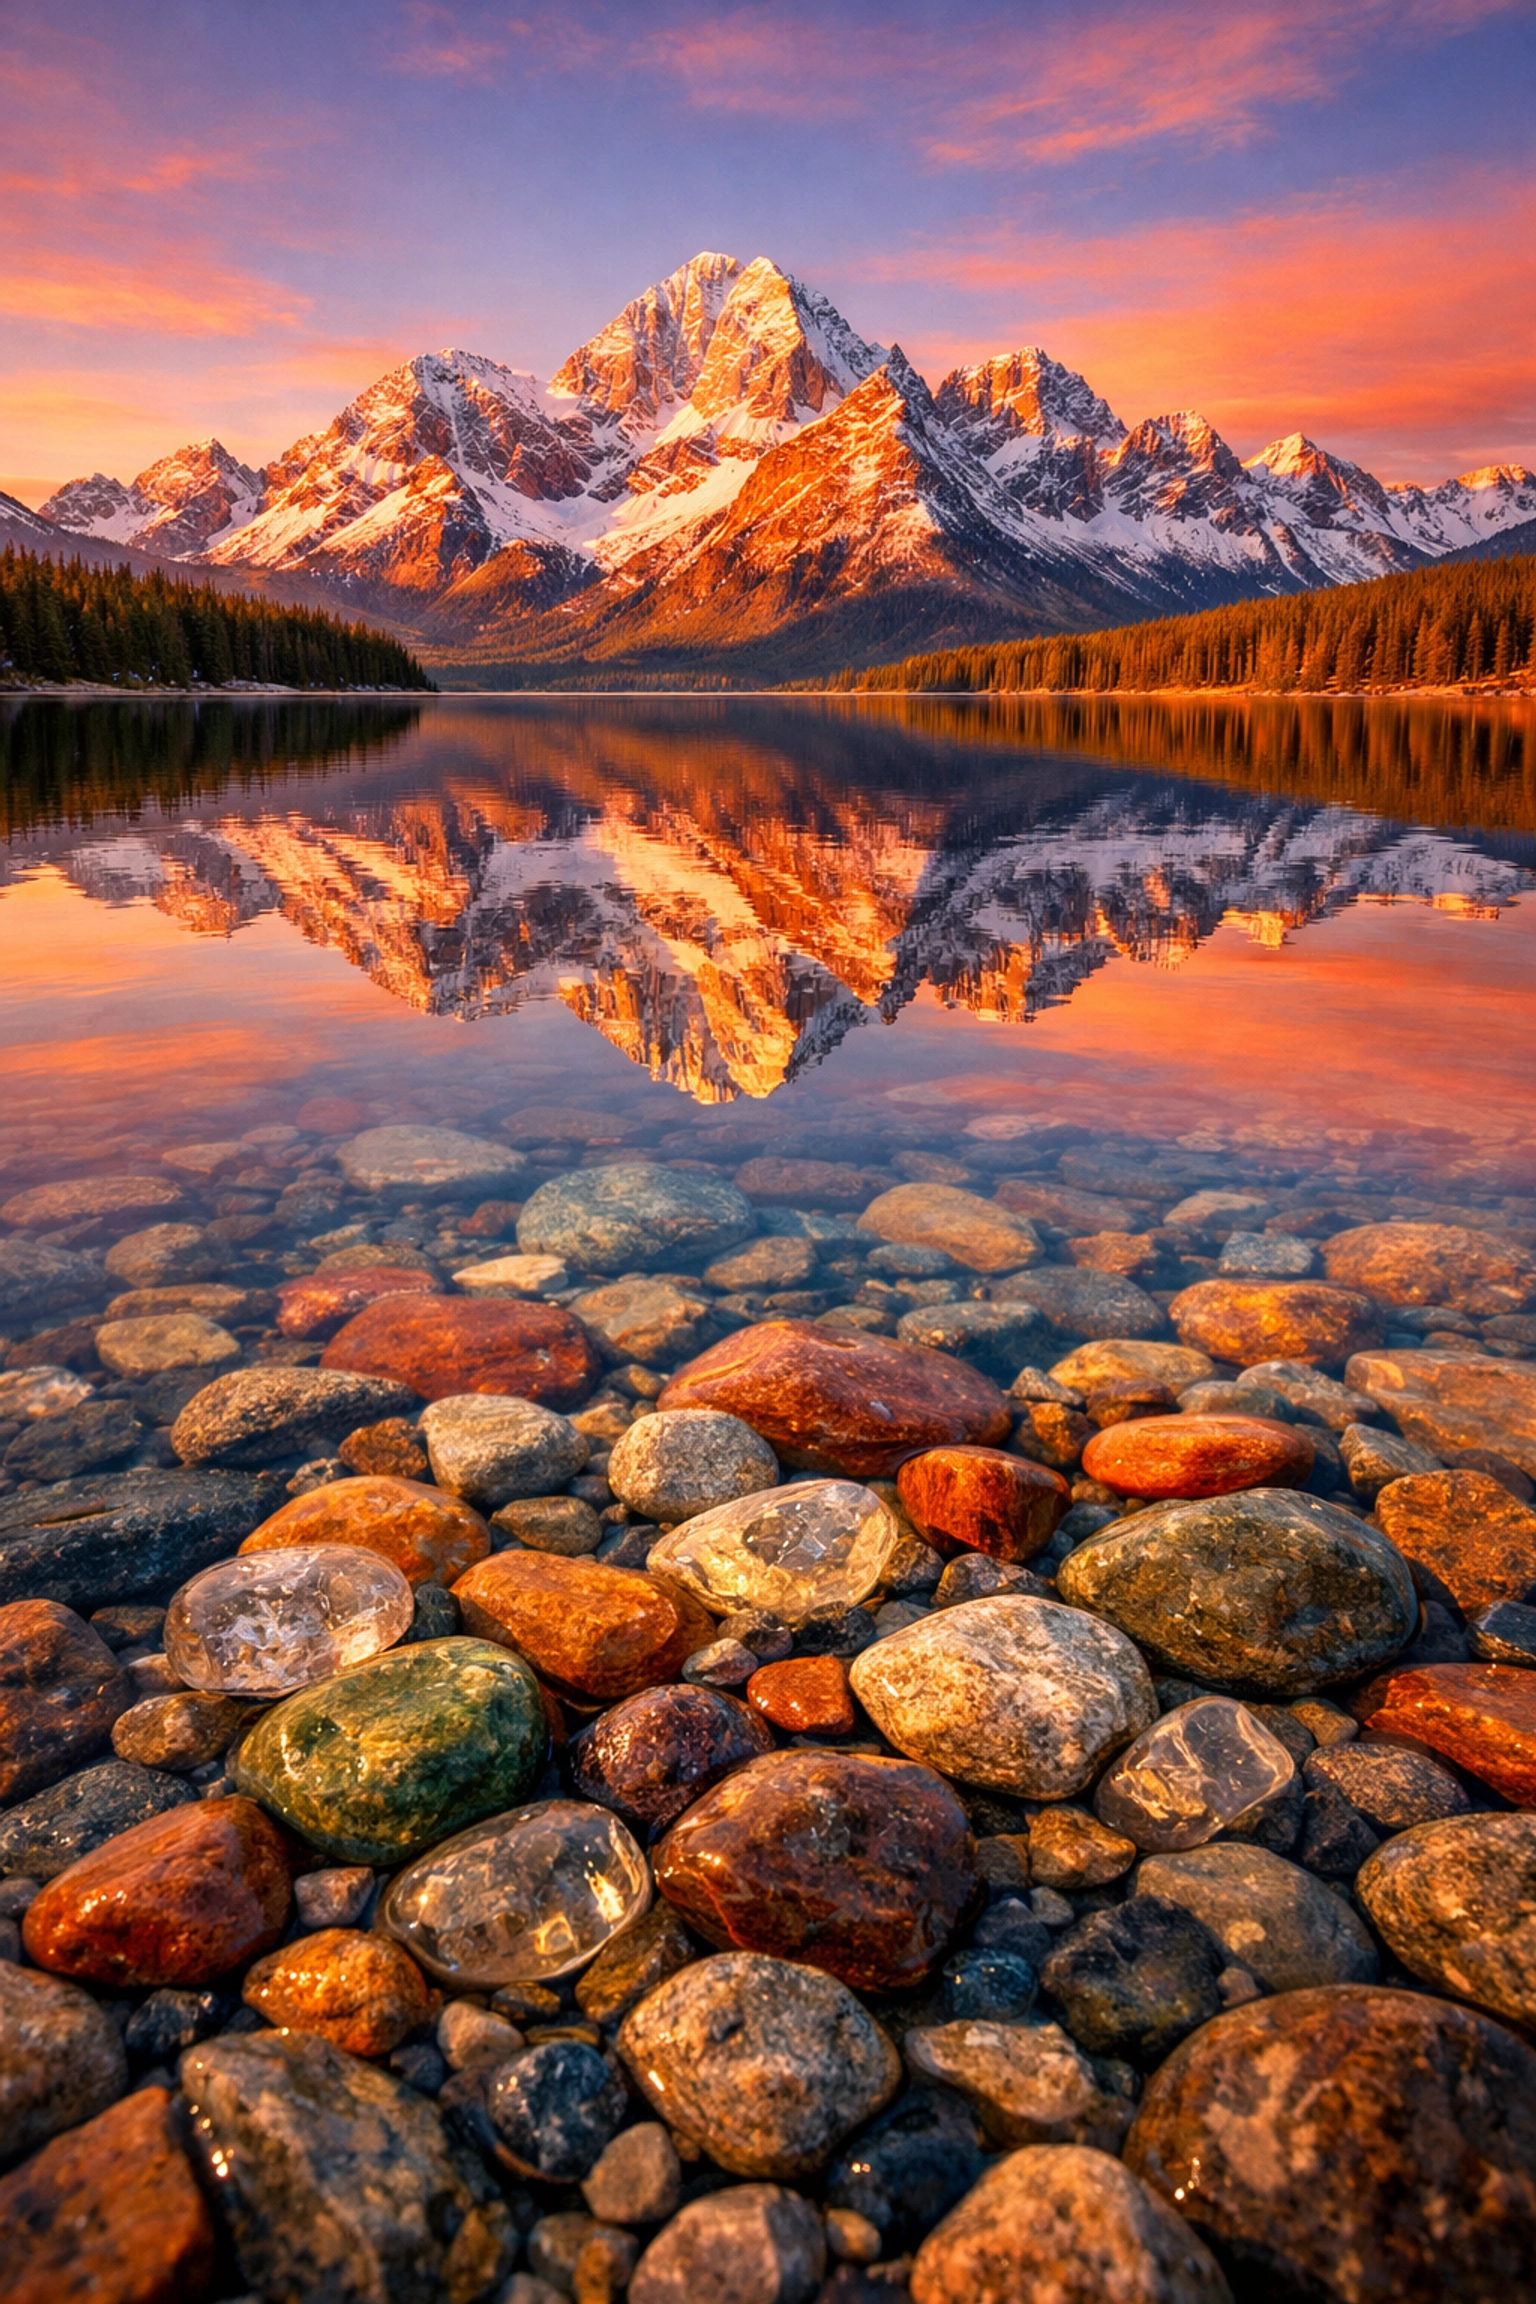
Your camera probably has a grid overlay, turn it on. The rule of thirds suggests placing your subject or the horizon along those lines. But don't be a slave to it. Sometimes, centering a subject for perfect symmetry creates a powerful, zen-like image. This is especially true with water reflections, where the top half of your photo is a mirror image of the bottom.
Foreground Interest
Don’t just focus on the big mountain in the distance. Find something interesting to put in the foreground, a cool rock, some wildflowers, or even some rare textures. This creates layers and gives the image a 3D feel.
2. Mastering the Light
In landscape photography, you don't take photos of things; you take photos of light hitting things.
The Golden Hour
You’ve heard it a million times because it’s true. The hour after sunrise and the hour before sunset provide soft, warm light that makes everything look magical. It minimizes harsh shadows and brings out the textures in the landscape. If you're looking for top spots for majestic sunset photography, timing is everything.
The Blue Hour
Don't pack up as soon as the sun disappears. The 20-30 minutes after sunset (or before sunrise) is the "Blue Hour." The sky turns a deep, moody blue, and the city lights or the moon can create a truly ethereal landscape.
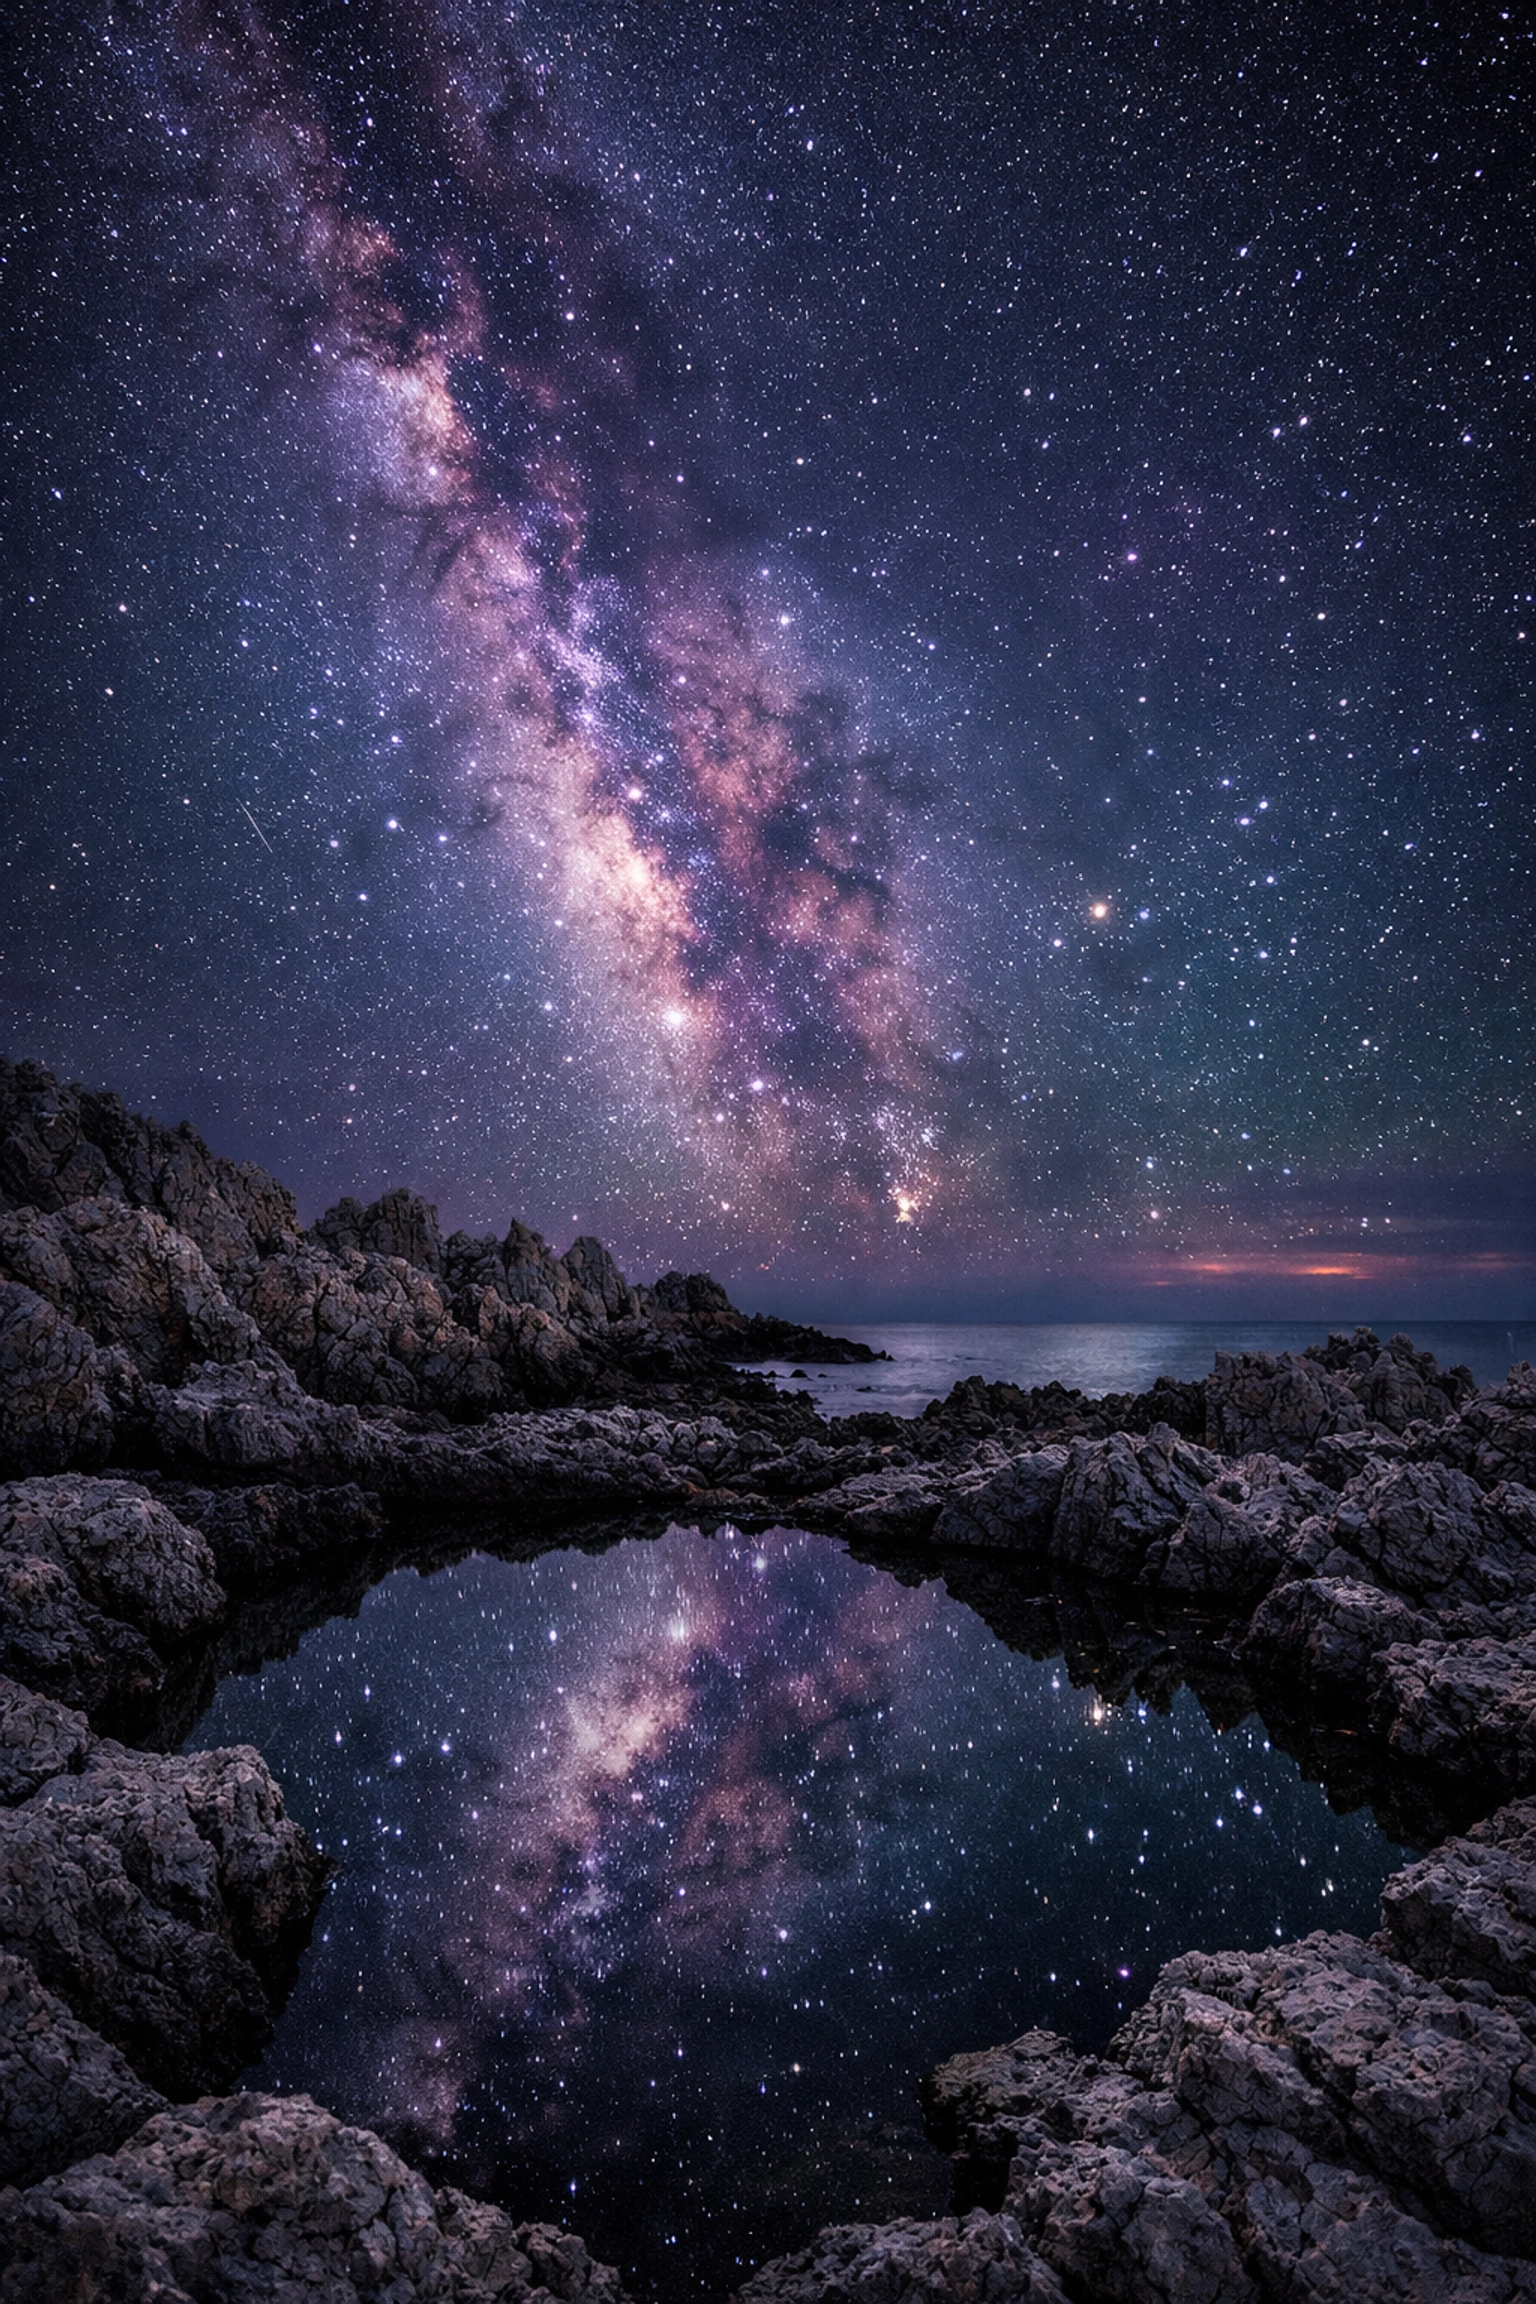
Night Sky Photography
If you're brave enough to stay out after dark, the rewards are huge. To capture the Milky Way, you’ll need to bump your ISO up (usually between 1600 and 3200) and keep your aperture as wide as it goes (f/2.8 or lower). Just make sure you’re far away from city lights to avoid light pollution. If you want more tips on gear, check out PhotoGuides.org for some deep dives into astro-setups.
3. The Technical Nitty-Gritty
Let’s talk about settings. You want your photos to be sharp from the blade of grass at your feet to the mountain peak miles away.
Aperture and Depth of Field
For landscapes, you generally want a deep depth of field. This means using a higher f-stop, like f/11, f/16, or even f/22. This ensures that the entire scene stays in focus. However, be careful with f/22, as some lenses can suffer from "diffraction," which actually makes the image slightly less sharp.
ISO: Keep it Clean
Keep your ISO as low as possible (usually ISO 100). Higher ISOs introduce "noise" or grain, which can ruin the fine details of a landscape. Since you’ll be using a small aperture and a low ISO, your shutter speed will probably be slow, which brings us to…
Use a Tripod
Seriously. If you’re a landscape photographer without a tripod, you’re just a person taking blurry walks in the woods. A solid tripod allows you to use those slow shutter speeds without the camera shaking. It also slows you down and makes you more intentional about your composition.
4. Capturing Water in Motion
Water is one of the most dynamic elements in landscape photography. Whether it’s a crashing ocean wave or a silky smooth waterfall, how you capture it changes the whole vibe of the photo.
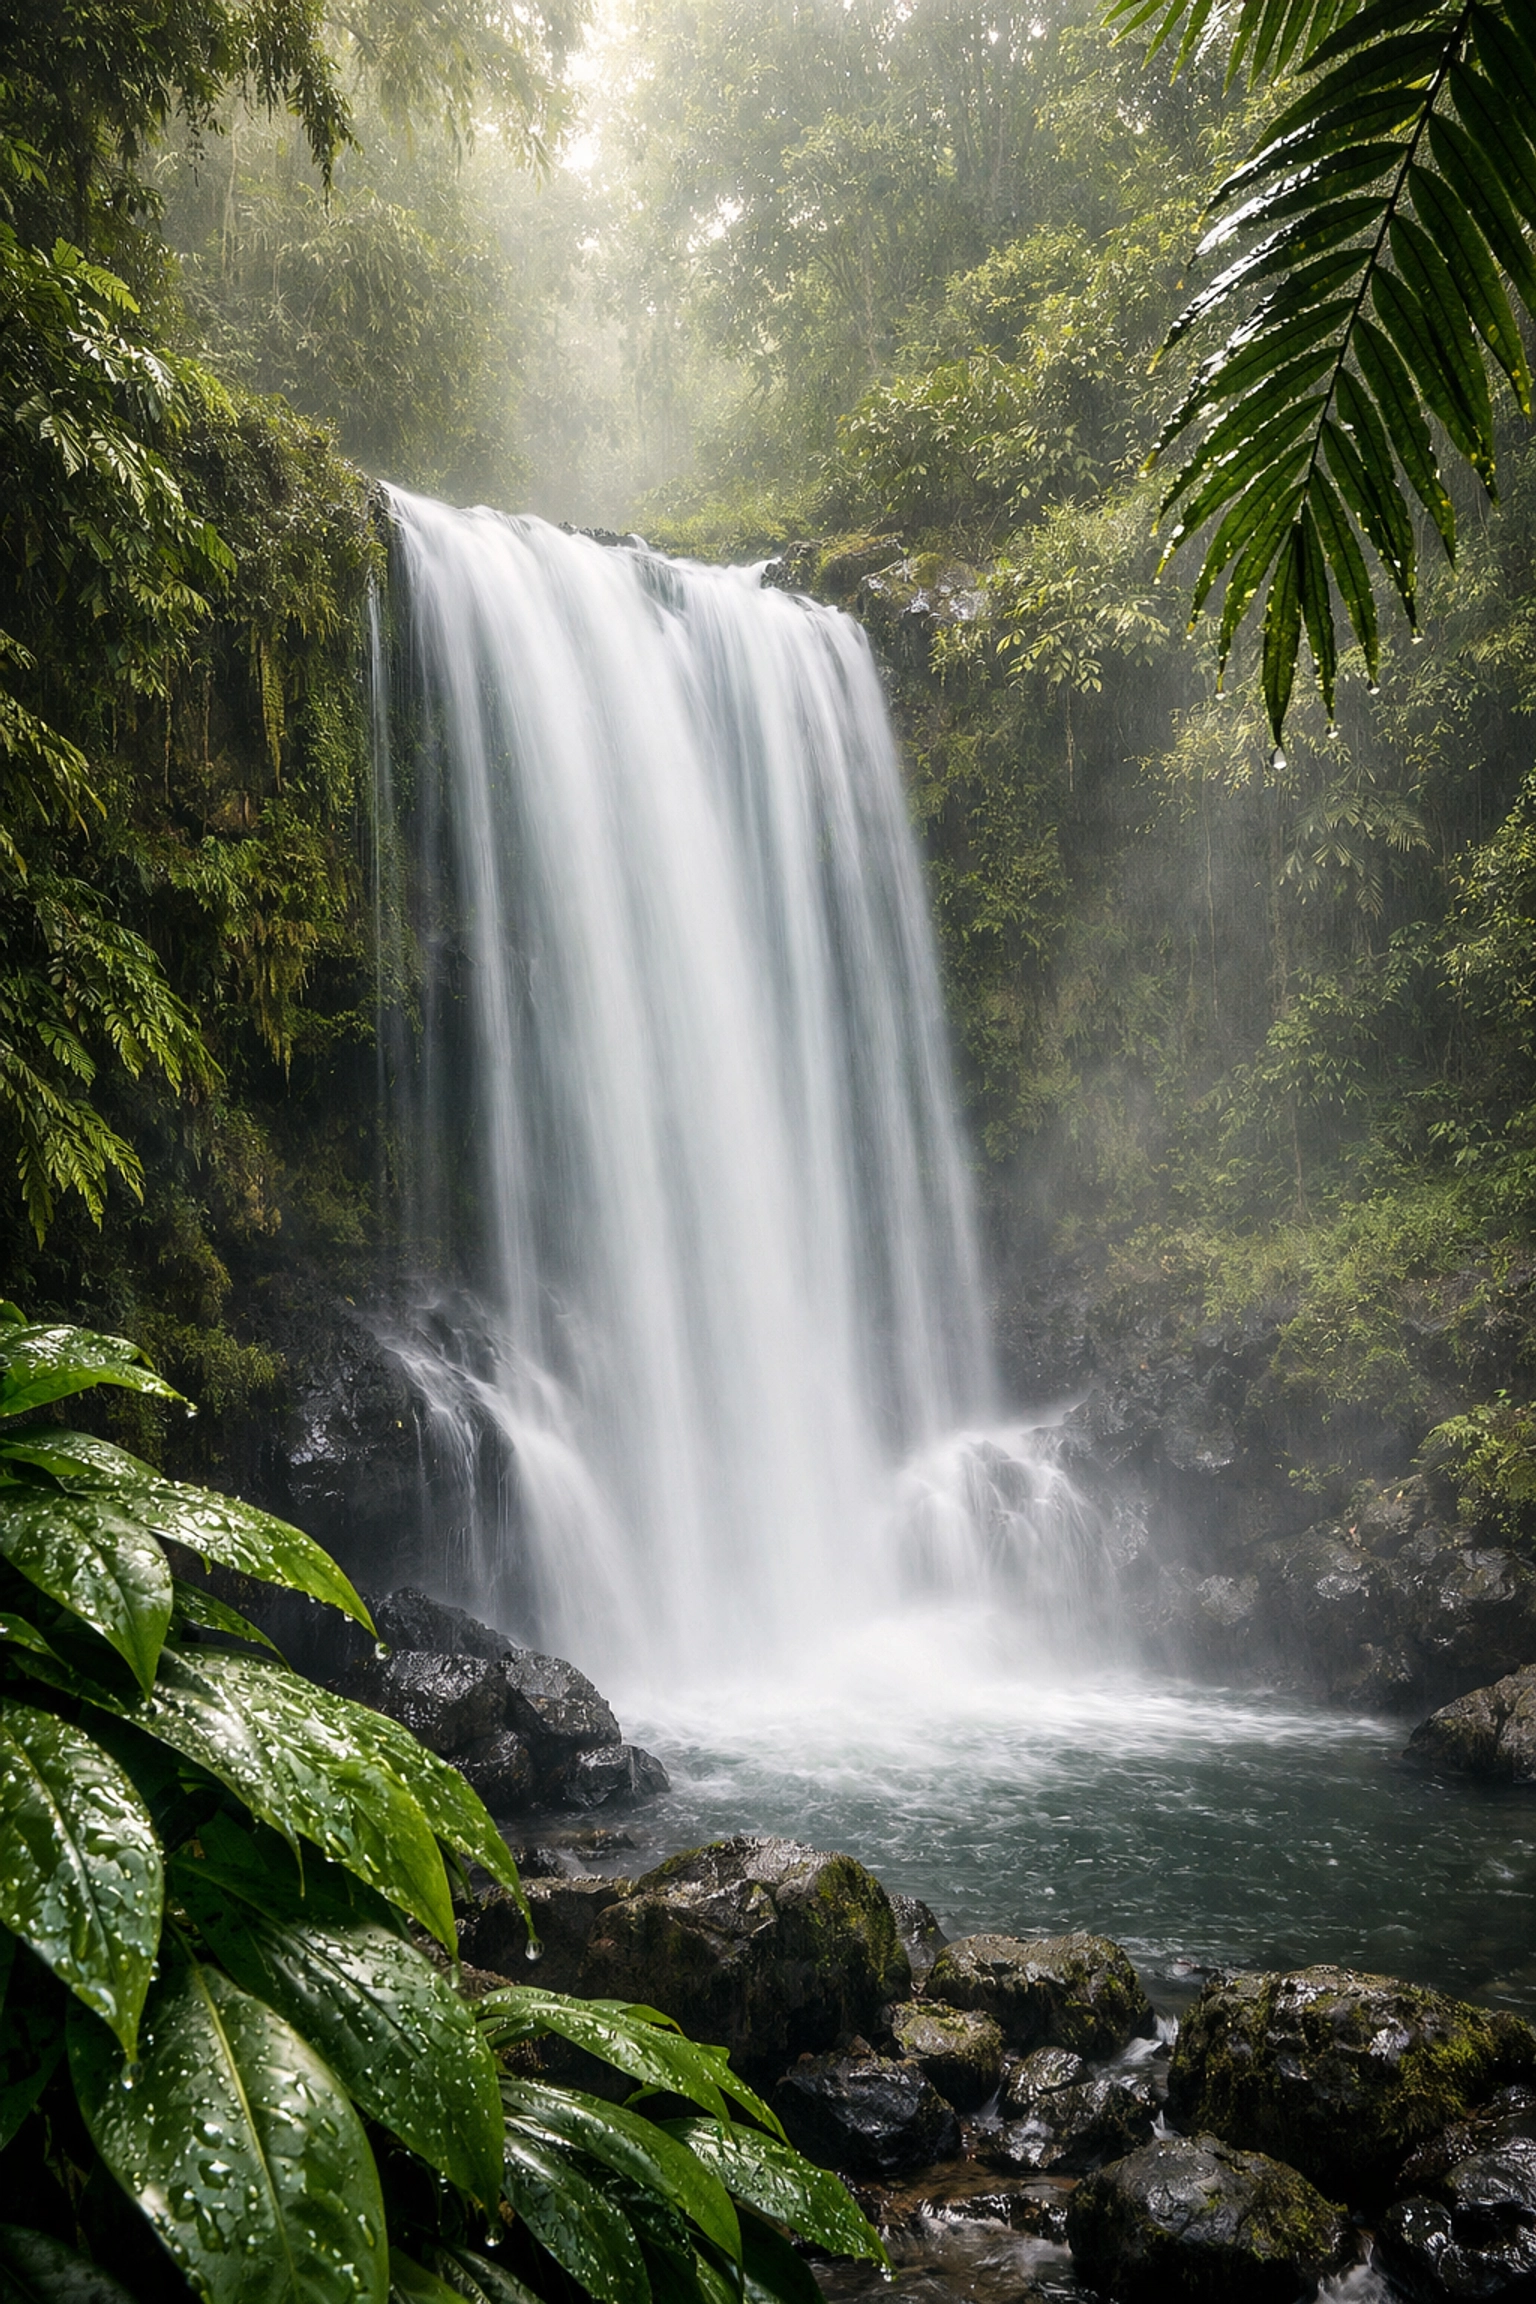
The Silky Effect
To get that misty, ethereal look on a waterfall, you need a long exposure. Use a slow shutter speed (1/2 second to several seconds). If it’s too bright outside to go that slow, you’ll need an ND (Neutral Density) filter, which is basically sunglasses for your camera. We’ve put together an essential water photography gear guide to help you choose the right tools for this.
Fast Shutter for Power
Sometimes you want to freeze the action. If you’re shooting massive waves at picturesque coastal escapes, a fast shutter speed (1/1000th or higher) will capture every individual droplet and show the raw power of the ocean. For more on this, dive into our best camera settings for water landscapes.
5. Finding Your Location
You don't always have to fly to Iceland to get a great shot (though it helps). Often, the best shots come from places other people haven't explored yet.
- Scout Ahead: Use apps like Google Earth or PhotoPills to see how the sun will hit a specific spot.
- Look for the "Enigmatic": Sometimes the best photos come from lesser-known vistas that don't have a designated "photo spot" sign.
- Seclusion is Key: If you can find secluded paradises, you’ll avoid the crowds and have the freedom to set up your tripod wherever you want.
If you’re looking for inspiration for your next trip, Edin Chavez often shares his personal favorites over at blog.edinchavez.com.
6. Advanced Techniques
Once you’ve mastered the basics, it’s time to level up.
Bracketing
The camera doesn't see as much dynamic range as the human eye. Sometimes the sky is too bright, and the ground is too dark. Bracketing is the process of taking three (or more) photos at different exposures, one for the highlights, one for the shadows, and one for the midtones, and merging them later in software.
Focus Stacking
If you have something very close to your lens and a mountain very far away, even f/11 might not keep everything sharp. Focus stacking involves taking multiple shots, focusing on different points in the scene, and blending them for ultimate sharpness. This is a pro move often used in mastering light and water.
Hyperfocal Distance
This sounds like sci-fi, but it’s just math. Hyperfocal distance is the point where you should focus to keep the maximum amount of your scene in "acceptable focus." There are plenty of apps to help you calculate this, but a good rule of thumb is to focus about one-third of the way into the scene.
7. The Power of Post-Processing
Taking the photo is only half the battle. Post-processing is where you bring your vision to life. You aren't "faking" the photo; you’re bringing back the colors and details that the camera’s sensor couldn't quite capture.
We highly recommend using Luminar for landscape editing. It has some of the most intuitive AI tools for sky replacement, atmospheric haze, and enhancing natural details without making them look "over-processed." It’s a game-changer for cleaning up shots from urban photography or rugged nature scenes.
For high-end printing and to see how pro-level editing looks on a gallery wall, check out www.edinfineart.com. Seeing your work in print changes how you shoot in the field.
8. Don't Forget the Gear (But Don't Obsess)
You don't need the newest camera to be a great photographer, but certain gear makes life easier.
- Wide-Angle Lens: Great for those expansive views.
- Telephoto Lens: Surprisingly useful for "compressing" landscapes and focusing on small details.
- Circular Polarizer: This is like magic. It cuts glare on water and makes the clouds pop against the blue sky.
- Remote Shutter Release: To avoid even the slightest vibration when you press the button.
If you're looking for high-end studio gear or professional services, the folks at www.edinstudios.com and www.proshoot.io know their stuff.
9. Final Thoughts: Just Get Out There
The best landscape photography tip I can give you is this: show up. Show up when it's cold. Show up when it's raining. Show up when you'd rather be in bed. The most incredible light usually happens right when the weather is at its worst.
Nature is unpredictable, and that’s what makes it beautiful. You’re not just taking a picture; you’re capturing a moment in time that will never happen exactly the same way again.
So, grab your gear, check the weather, and go find some stunning nature imagery. We’ll be here to help you turn those shots into masterpieces.
And hey, keep an eye on our social media! Our manager Sonny is always sharing tips that link back to our latest guides, so you’ll never miss a beat. Now, go shut your aperture and start shooting!


