
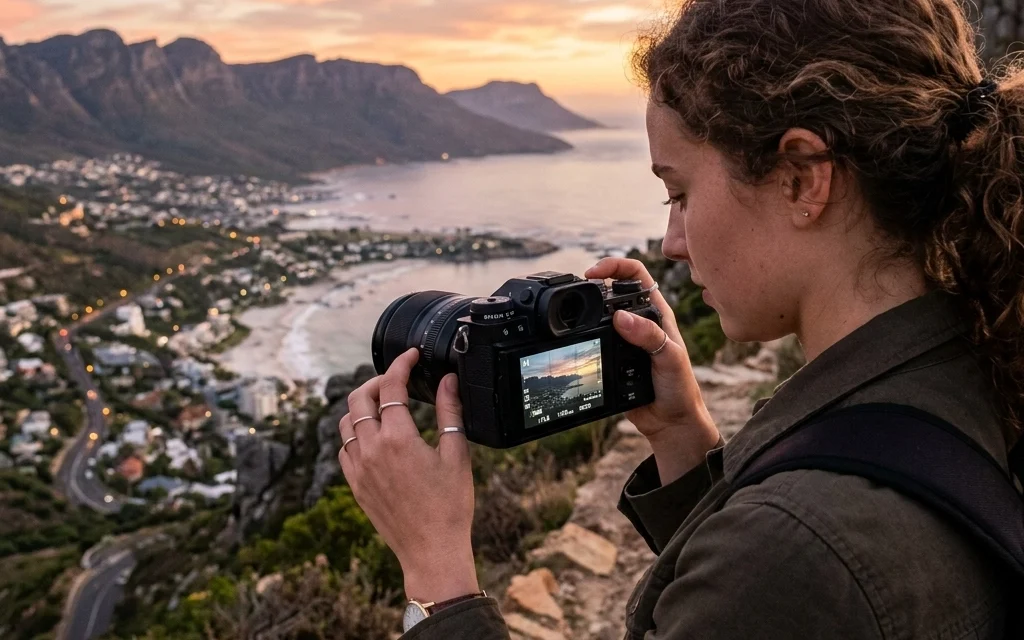
You know that little "A" on your camera dial? The one that stands for "Auto" (or "Panic Mode," as some of us call it)? It’s been your best friend since you unboxed your camera. And hey, there’s no shame in that. Modern cameras are terrifyingly smart. They can track a bird’s eye through a forest and nail the exposure 90% of the time.
But that remaining 10% is where the magic happens.
If you’ve ever felt like your photos don’t quite look the way you saw the scene in your head, maybe the sunset looks washed out, or your subject is a blurry mess, it’s because the camera is guessing. When you switch to Manual Mode (the big, scary "M"), you stop guessing and start telling the camera exactly what to do.
Welcome to Manual Mode 101. We’re going to strip away the jargon, look under the hood, and show you how to take total control of your photography. It’s time to shut your aperture (or open it) and start making images, not just taking them.
The Holy Trinity: The Exposure Triangle
Before we start twisting dials, we have to talk about the Exposure Triangle. It sounds like a secret society, but it’s actually just the relationship between three settings: Aperture, Shutter Speed, and ISO.
Think of exposure like catching rain in a bucket. To get the "perfect" amount of water (light), you can change how wide the bucket is (Aperture), how long you leave it out in the rain (Shutter Speed), and how "thirsty" the bucket is (ISO).
If you change one, you usually have to change another to keep the balance. That’s the "triangle" in a nutshell.
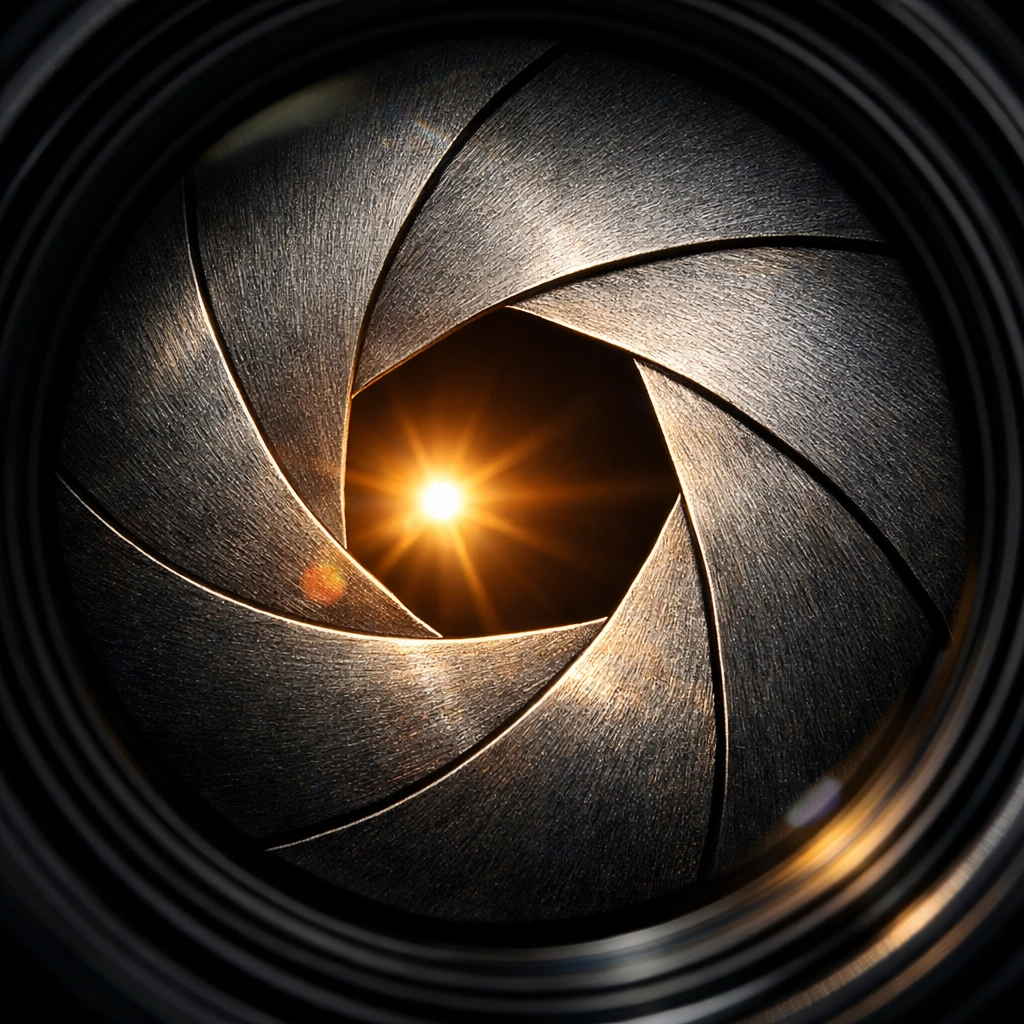
1. Aperture: The "Eye" of Your Lens
Aperture is the opening in your lens that lets light through to the sensor. It’s measured in "f-stops" (like f/1.8, f/5.6, or f/16).
Here’s the part that trips everyone up: The smaller the number, the bigger the hole.
- f/1.8: Huge opening, tons of light, blurry background (shallow depth of field).
- f/16: Tiny opening, very little light, everything is in focus (deep depth of field).
If you’re shooting portraits and want that creamy, out-of-focus background that makes your subject pop, you’ll want a low f-number. If you’re shooting a massive mountain range and want every pebble in the foreground and every peak in the back to be sharp, you’ll want a high f-number.
For a deeper dive into how this affects your shots, check out The Ultimate Guide to Portrait Photography Techniques.
2. Shutter Speed: The "Timer"
Shutter speed is how long your camera’s "curtain" stays open. It’s measured in fractions of a second (1/1000) or full seconds (30”).
- Fast Shutter Speed (1/500 and up): Freezes motion. Perfect for sports, wild kids, or a bird in flight.
- Slow Shutter Speed (1/30 or lower): Blurs motion. This is how people get those "silky" waterfall shots or light trails from cars at night.
The catch? If your shutter is open for a long time, the camera picks up every little shake of your hands. Generally, if you’re shooting slower than 1/60, you probably need a tripod or very steady hands.

3. ISO: The "Sensitivity"
ISO is your camera’s digital sensitivity to light. Back in the day, you’d buy "fast" or "slow" film. Now, you just push a button.
- Low ISO (100-400): Best for bright, sunny days. This gives you the cleanest, highest-quality image.
- High ISO (1600+): Best for dark rooms or night shots. It lets you "see" in the dark, but it comes with a price: Noise.
"Noise" is that grainy, digital sand that shows up in dark photos. High-end modern cameras are getting better at handling it, but the rule of thumb is to keep your ISO as low as possible for the cleanest shot.
How to Read Your Camera’s Mind (The Light Meter)
When you’re in Manual Mode, you aren't flying totally blind. Inside your viewfinder (or on the screen), you’ll see a little scale with a "0" in the middle, a "-" on the left, and a "+" on the right. This is your Exposure Meter.
- If the ticker is on the minus side, your photo is going to be too dark (underexposed).
- If the ticker is on the plus side, your photo is going to be too bright (overexposed).
- If it’s at zero, the camera thinks you’ve hit the sweet spot.
Your job in Manual Mode is to adjust your Aperture, Shutter Speed, and ISO until that little ticker lands where you want it. Most of the time, that’s right in the middle.
The Manual Mode Workflow: A Step-by-Step Guide
Now that you know what the buttons do, how do you actually use them? Here’s a simple workflow to get you started.
Step 1: Set Your ISO Based on the Sun
Before you even look at your subject, look at the sky. Is it bright out? Set your ISO to 100. Are you indoors in a dimly lit room? Start at ISO 800 or 1600. Set it and (mostly) forget it for a moment.
Step 2: Choose Your Aperture Based on the "Look"
What are you shooting?
- A person? Go low (f/1.8 – f/4) to blur the background.
- A landscape? Go high (f/8 – f/11) to keep it all sharp. For more on this, read The Ultimate Guide to Landscape Photography.
Step 3: Dial in Shutter Speed to Balance the Meter
Now, look through the viewfinder. Half-press the shutter button to wake up the light meter. Spin your shutter speed dial until the meter hits "0."
Step 4: Take the Shot and Adjust
Check your screen. Is it too dark? Slow down the shutter or open the aperture. Is it too bright? Do the opposite. The "0" on the meter is just a suggestion, sometimes you want a shot to be darker or moodier. You’re the boss now.

Why You Should Shoot in RAW
If you’re taking the time to learn Manual Mode, you must stop shooting in JPEG. Switch your camera to RAW.
A JPEG is a finished product; the camera makes decisions about color and contrast and throws away the extra data. A RAW file is like the raw ingredients for a meal. It looks a bit flat and "meh" straight out of the camera, but it holds a massive amount of detail in the shadows and highlights.
When you bring a RAW file into a program like Luminar, you have the power to "save" a photo that was slightly too dark or fix a sky that was too bright. It’s the ultimate safety net for Manual Mode beginners.
Common Manual Mode Mistakes (And How to Fix Them)
"My Photos are Blurry!"
This is usually a shutter speed issue. If you’re shooting people, try to stay above 1/125. If they are moving fast, go to 1/500. If you’re at 1/15 and wondering why your cat looks like a ghost, it’s because the shutter is open too long for hand-holding.
"My Background Isn't Blurry Enough!"
Check your aperture. If you're at f/8, the lens is closing down too much. Move to the lowest f-number your lens allows. Also, try moving closer to your subject; physical distance affects depth of field just as much as settings do.
"My Photos Look Grainy!"
Your ISO is too high. If you're outdoors and your photos look like a sandstorm, you probably left your ISO on 3200 from the night before. Always check your ISO when you change locations.
Practice Makes… Less Terrible Photos
Nobody masters Manual Mode in an afternoon. It takes muscle memory. You need to get to the point where you can find those dials without taking your eye away from the viewfinder.
Try this drill:
- Go outside during the hour before sunset (Golden Hour).
- Set your camera to Manual.
- Pick an object, a flower, a fence post, a friend.
- Take a shot at f/2.8, then f/5.6, then f/11.
- Notice how you have to change your shutter speed each time to keep the meter at "0."
By seeing how the settings interact in real-time, you'll start to develop an intuition for light. If you need some creative inspiration to get you out the door, take a look at these 25 creative street photography ideas.
When Not to Use Manual Mode
Wait, what? Didn't I just spend 1,000 words telling you to use it?
Yes, but here’s a secret: Professional photographers don't use Manual 100% of the time. If you’re at a wedding or a fast-paced event where the light is changing every two seconds (like moving from direct sun to deep shade), Manual Mode can actually slow you down and cause you to miss the shot.
In those cases, "Aperture Priority" (A or Av) is your best friend. You pick the Aperture, and the camera handles the Shutter Speed. It’s like Manual Mode with a helper.
But to use those "semi-auto" modes effectively, you first have to understand the fundamentals we covered today. Manual Mode is the foundation. Once you know the rules, you know when it’s okay to let the camera help you break them.
Mastering the Edit
Once you've nailed your exposure in Manual Mode and captured those juicy RAW files, the journey isn't over. The "darkroom" of the digital age is your computer.
Using tools like Luminar allows you to enhance what you've captured. You can use AI-driven tools to enhance the sky, bring out the texture in a landscape, or perfect the skin tones in a portrait. If you find yourself struggling with the "look" of your images even after getting the settings right, you might be making some common mistakes. Check out our guide on 7 mistakes you’re making with photo editing to get back on track.
Keeping Up with the Gear
The world of photography moves fast. Whether it's a new sensor that handles high ISO better than ever or a lens with a wider aperture, staying informed helps you make better decisions. We try to keep things simple here, but if you want to keep your pulse on the industry, Today's Photography News is a great place to spend three minutes.
For more technical breakdowns and deep dives into specific gear, I always recommend checking out PhotoGuides.org. They have fantastic resources that complement what we do here at Shut Your Aperture.
Final Thoughts
Manual Mode isn't about being a "purist." It’s about having the tools to express your vision. When you stop letting the camera decide how your memories look, you start creating art.
It will be frustrating at first. You will take a lot of pitch-black or pure-white photos. That’s okay. Every pro you admire started exactly where you are: staring at a light meter and wondering why the numbers keep changing.
Keep your head up, keep your shutter clicking, and most importantly, keep experimenting. If you want to see what's possible when you push the boundaries of photography, take some lessons in landscape photography from Peter Lik or explore the role of luminosity in real estate photography.
You’ve got the gear. You’ve got the knowledge. Now go out and shut your aperture!


