
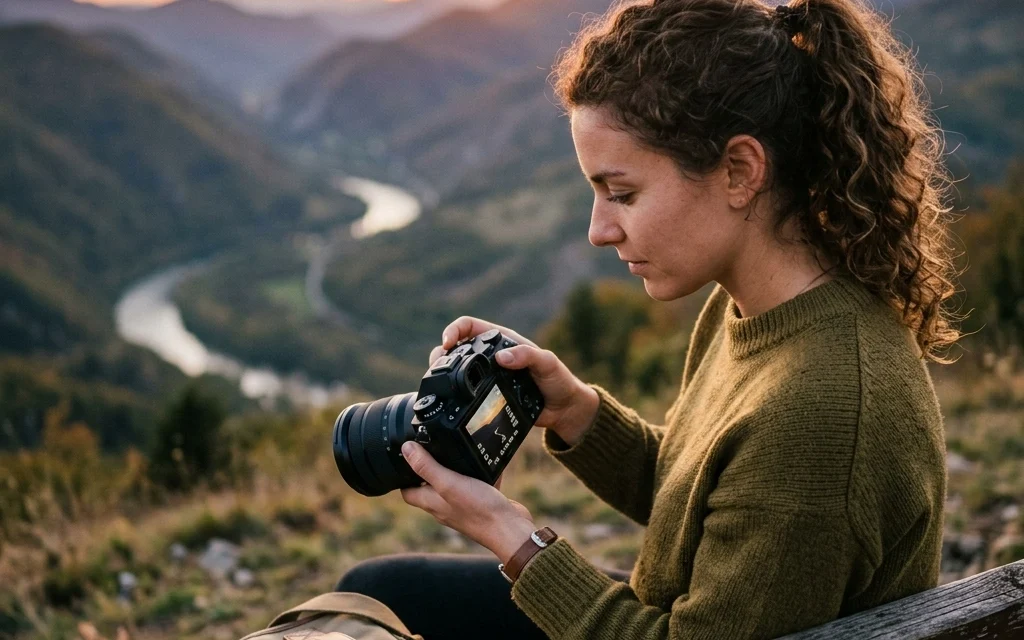
Let’s be honest: that little "M" on your camera’s mode dial is intimidating. It’s like the final boss in a video game you aren’t quite ready to beat. Most beginners stick to the "Auto" mode, the green square of safety, because it’s easy. It takes the photo, it figures out the light, and it usually does a "fine" job.
But "fine" isn't why you bought a camera, is it? You bought it to create something awesome.
Stepping into Manual Mode is the moment you stop letting the camera make the creative decisions and start making them yourself. It’s the difference between taking a snapshot and making a photograph. If you want to master landscape photography or capture the perfect urban street scene, you need to know how to control your gear.
In this guide, we’re going to break down Manual Mode into pieces that actually make sense. No tech-heavy jargon, just the stuff you need to know to get out there and shoot.
Why Bother with Manual Mode?
You might be wondering, "My camera is a literal computer; why should I do the work?"
The problem with Auto mode is that the camera doesn’t know what you’re looking at. It doesn’t know if you want that waterfall to look like silky ribbons or if you want to freeze a bird in mid-flight. It just looks at the light and tries to make everything "average."
Manual mode gives you the keys to the kingdom. You get to decide:
- How much of the background is blurry (Depth of Field).
- Whether motion is frozen or blurred.
- How bright or dark the image actually is.
Once you understand the basic mechanics, you’ll realize it’s not as complicated as it looks. It all comes down to one concept: The Exposure Triangle.
The Foundation: The Exposure Triangle
Think of the Exposure Triangle as a three-legged stool. If you move one leg, you have to adjust the others to keep the stool level. In photography, these "legs" are Aperture, Shutter Speed, and ISO.
If you want a brighter photo, you can open the aperture, slow down the shutter, or crank up the ISO. But each of these choices comes with a trade-off. Manual mode is simply the art of balancing these three things to get the look you want.
1. Aperture: The Eye of the Lens
Aperture is the opening in your lens. Think of it like the pupil of your eye. When it’s dark, your pupil gets bigger to let in more light. When it’s bright, it shrinks.
In photography, aperture is measured in "f-stops" (like f/2.8, f/8, or f/16). This is where it gets a little counter-intuitive:
- Low f-number (e.g., f/1.8): Wide opening. Lots of light. Very blurry background (shallow depth of field).
- High f-number (e.g., f/11): Small opening. Less light. Everything is in focus from the front to the back.
If you’re shooting a portrait and want that creamy, out-of-focus background, you want a low f-number. If you’re shooting a massive mountain range, you’ll want a higher f-number to keep the whole scene sharp. For more on how this impacts professional work, check out how luminosity in real estate photography plays a role in making spaces look inviting.
2. Shutter Speed: The Timekeeper
Shutter speed is how long the camera’s sensor is exposed to light. It’s measured in fractions of a second (like 1/1000) or full seconds (like 2”).
- Fast Shutter Speed (e.g., 1/1000): Freezes action. Great for sports, wildlife, or kids running around.
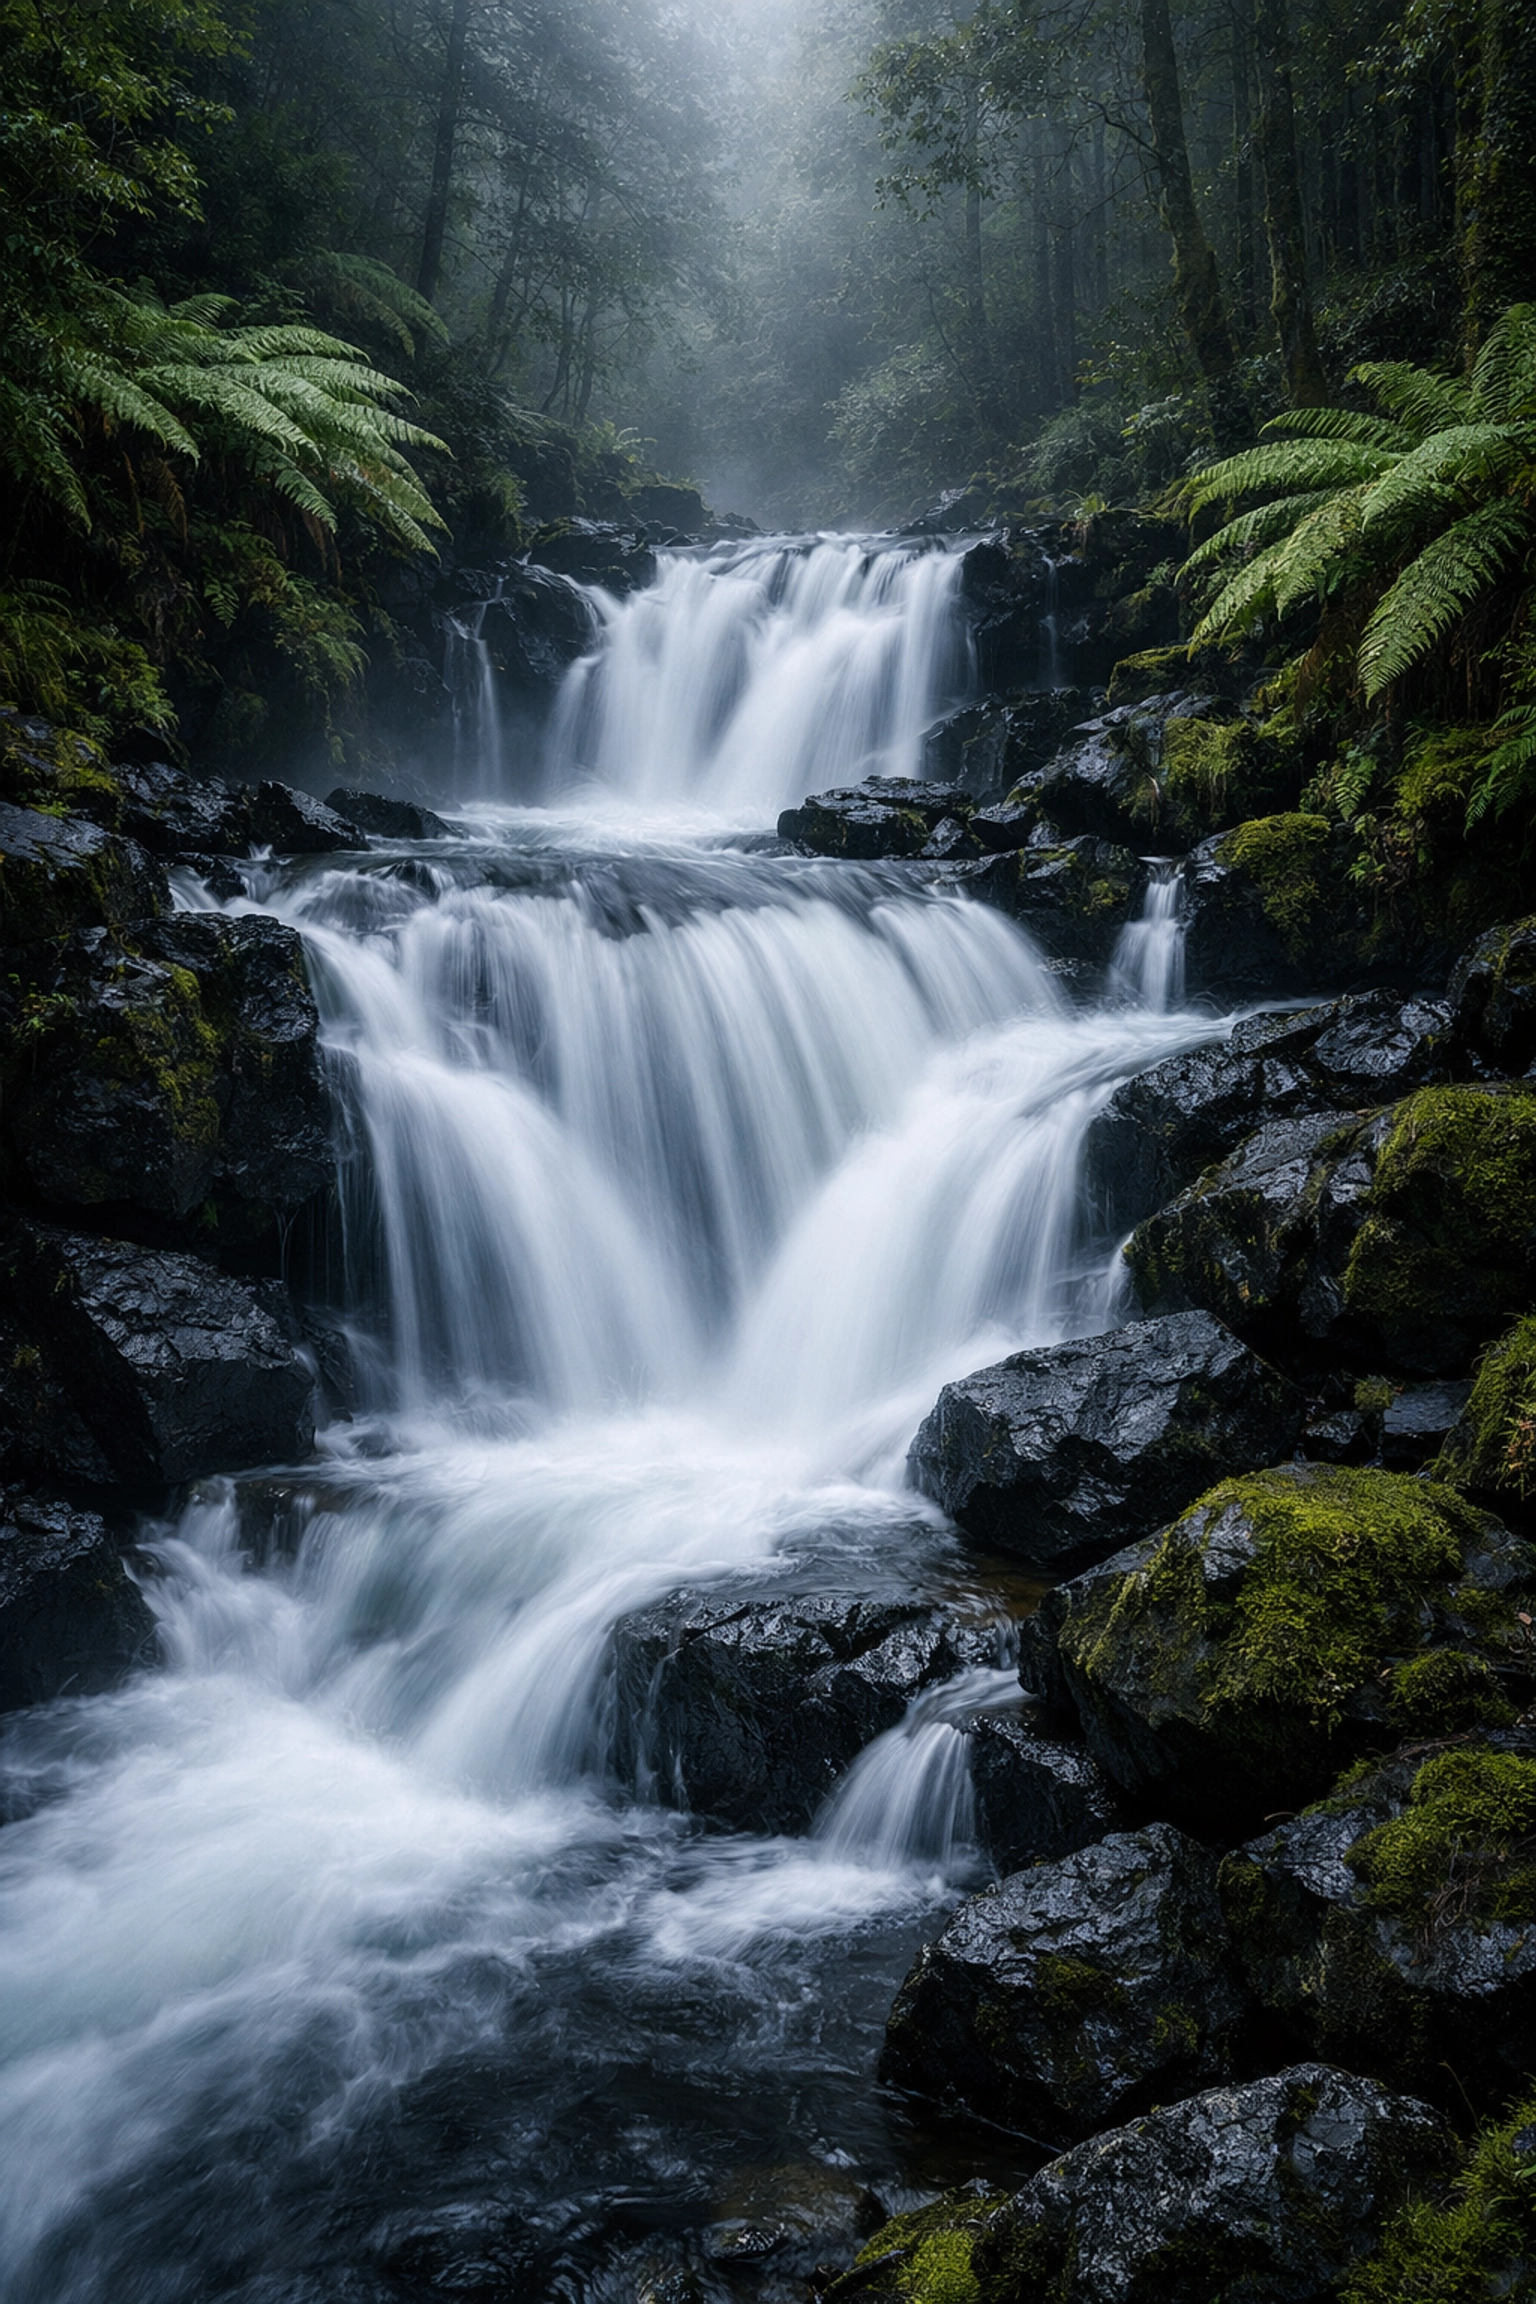
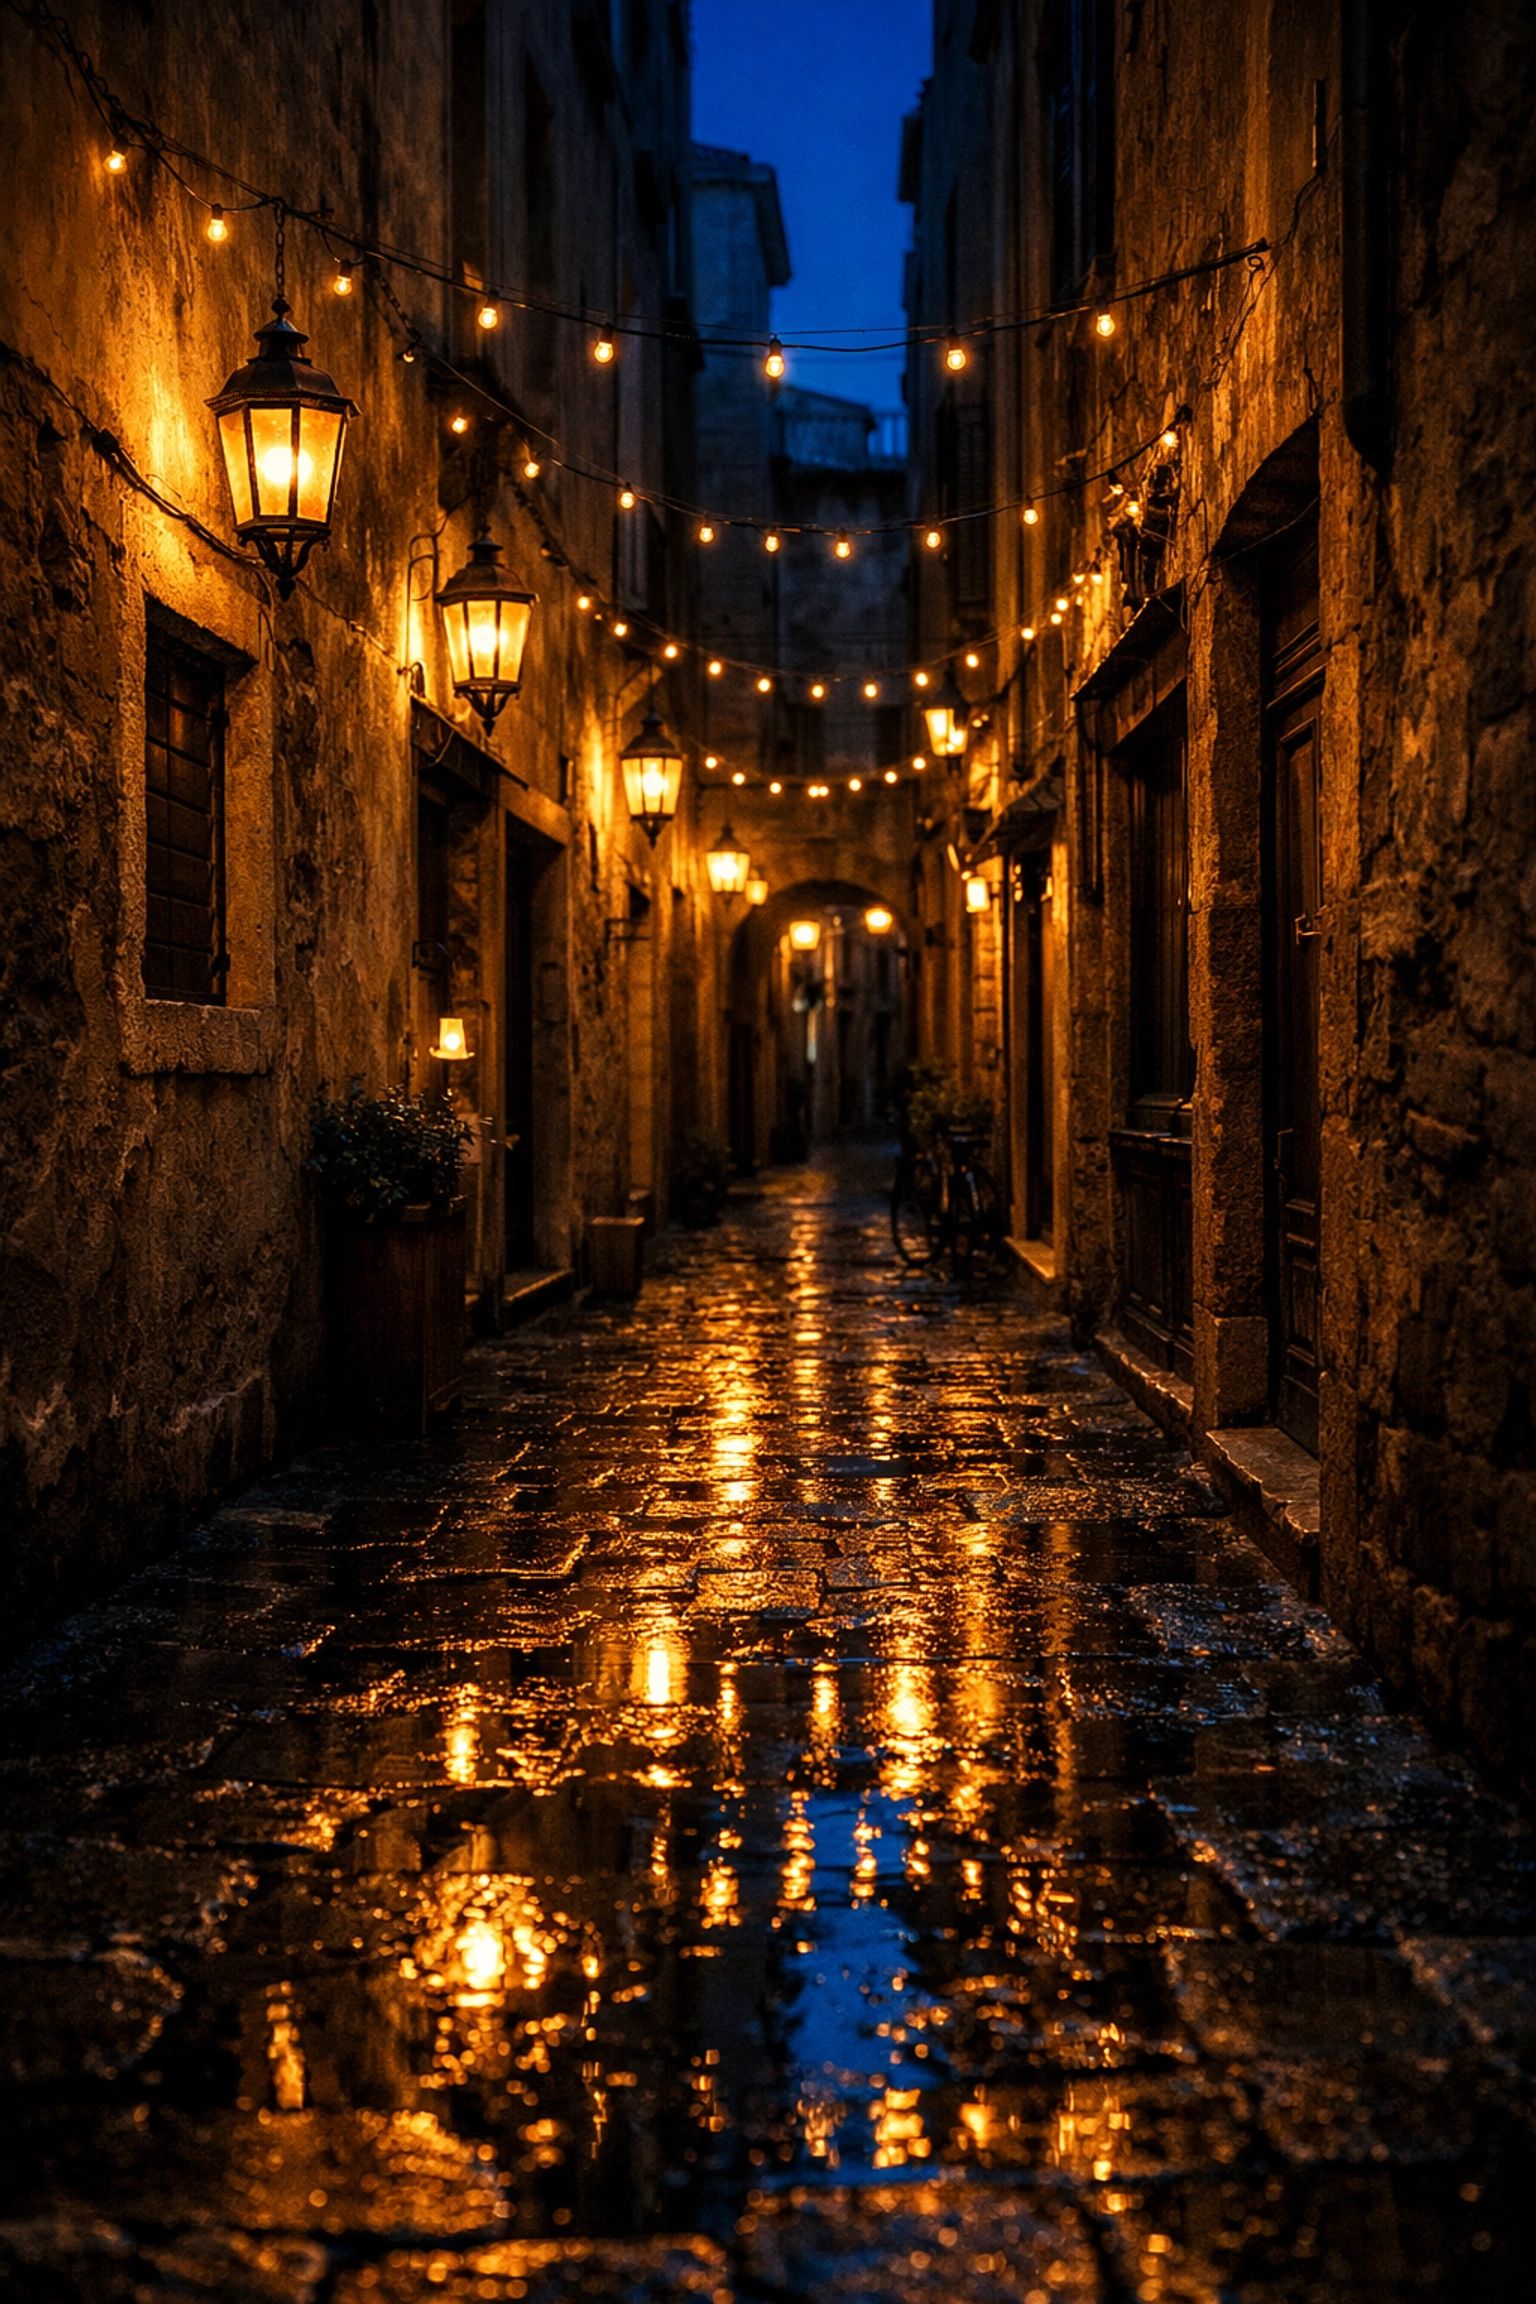
- Slow Shutter Speed (e.g., 1/10 or 30 seconds): Blurs motion. This is how you get those silky water effects or light trails from cars at night.
The catch? If your shutter is open for a long time, any movement, including the slight shake of your hands, will make the whole photo blurry. If you’re shooting slow, use a tripod. For deep dives into gear that helps with this, PhotoGuides.org has some solid breakdowns on stabilization.
3. ISO: The Sensor’s Sensitivity
ISO is your camera’s sensitivity to light.
- Low ISO (e.g., 100 or 200): Best for bright daylight. The image will be clean and crisp.
- High ISO (e.g., 3200 or 6400): Necessary for low-light situations (like a dark restaurant or a concert).
The trade-off here is "noise" or grain. If your ISO is too high, your photo will start to look "crunchy" and lose detail. Always try to keep your ISO as low as possible, only raising it when you’ve already adjusted your aperture and shutter speed and still need more light.
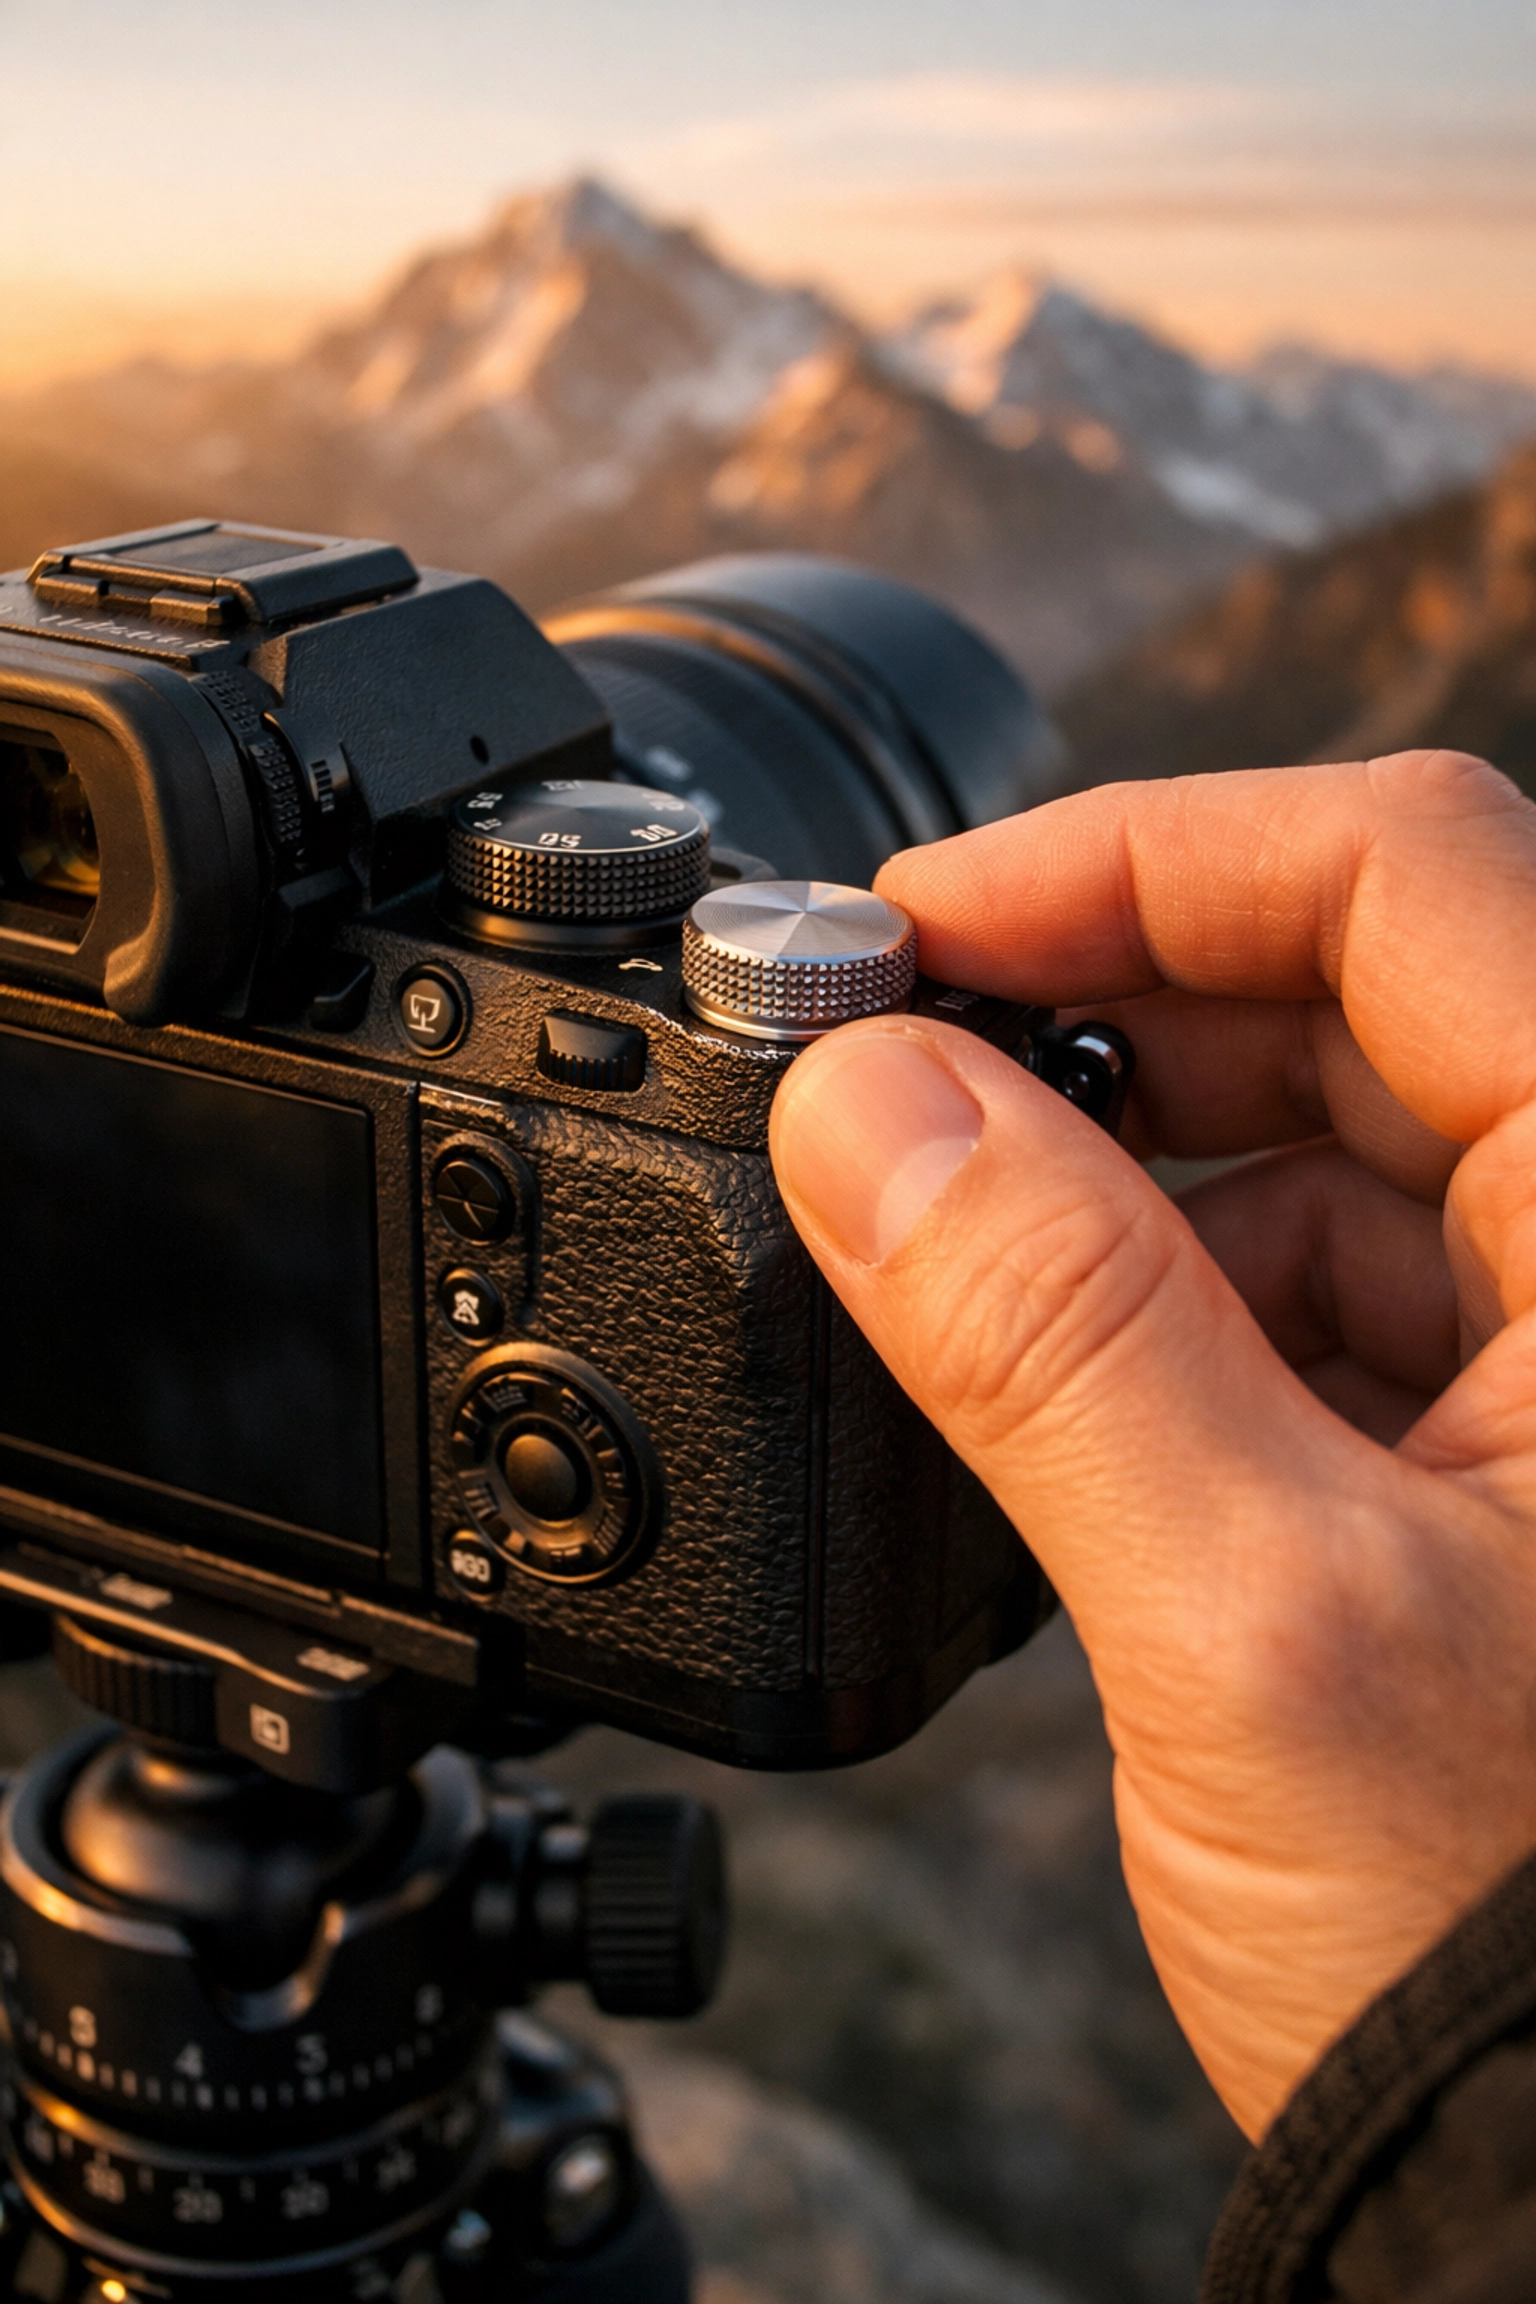
Reading the Light Meter
When you switch to Manual Mode, you aren’t flying totally blind. Inside your viewfinder (or on your screen), you’ll see a little scale with a "0" in the middle, some positive numbers on the right, and negative numbers on the left. This is your Light Meter.
As you change your settings, a little marker will move along this scale.
- If it’s at 0, the camera thinks your exposure is perfect.
- If it’s in the minus (-), your photo will be dark (underexposed).
- If it’s in the plus (+), your photo will be bright (overexposed).
Your goal isn't always to hit zero. Sometimes you want a moody, dark photo, so you might intentionally go into the minus. But the meter is your guide to let you know where you stand before you even click the shutter.
Your Step-by-Step Manual Workflow
Alright, enough theory. How do you actually take a photo in manual mode without losing your mind? Follow this simple workflow:
Step 1: Set Your ISO
Start with your ISO based on the environment. If you’re outside in the sun, set it to 100. If you’re indoors with some window light, maybe 400 or 800. If you’re in a cave… well, crank it up.
Step 2: Decide Your Creative Priority
What is the most important part of the shot?
- If you want a blurry background, set your Aperture first (e.g., f/2.8).
- If you’re shooting something moving fast, set your Shutter Speed first (e.g., 1/500).
Step 3: Adjust the Third Setting to Balance the Meter
Once you’ve set your ISO and your primary creative setting, look at your light meter. Adjust the final setting until the meter is near the center.
Step 4: Take the Shot and Review
Take the picture. Look at the screen. Is it too dark? Slow down the shutter or open the aperture. Is it too bright? Do the opposite.
Common Mistakes Beginners Make
Even the pros mess up. But when you’re starting out, there are a few traps everyone falls into.
1. Forgetting the ISO
It’s easy to set your aperture and shutter, take a shot, and wonder why it’s pitch black. Often, it’s because you left your ISO at 100 while shooting in a dimly lit room. Check your ISO every time the lighting environment changes.
2. Trusting the Screen Too Much
Your camera screen is bright. Sometimes, a photo looks great on the back of the camera but is actually way too dark when you get it home on your computer. Learn to read your histogram: that little graph that shows the distribution of light. If everything is smashed to the left, you're losing detail in the shadows.
3. Not Using the Right Tools for Post-Processing
Manual mode gets you 90% of the way there, but the "digital darkroom" is where the magic happens. Even a perfectly exposed manual shot can benefit from a little touch-up. I personally use Luminar for a lot of my quick edits because it simplifies the complex stuff. If you find yourself struggling with the "look" of your images after the fact, you might be making some common photo editing mistakes.
Putting It Into Practice
The best way to learn is to fail. Seriously. Go into your backyard or a local park and pick a subject: a flower, a fence post, your dog.
- Experiment with Depth of Field: Take the same photo at f/2.8, f/8, and f/16. Notice how the background changes.
- Experiment with Motion: Find some moving water (a fountain or a sink) and shoot at 1/1000 and then at 1/10. See the difference?
- Push the ISO: Take a photo in a dark room at ISO 100 (it will be dark) and then at ISO 6400. Look at the grain.
The more you do this, the more "instinctive" it becomes. Eventually, you won't even have to think about the numbers. You’ll just know that if you want "that look," you need "these settings."
If you’re looking for more inspiration on how professional photographers handle light and composition, take a look at some of the lessons in landscape photography from Peter Lik. Seeing how the masters use these settings can help bridge the gap between technical knowledge and artistic vision.
Don't Give Up
Manual mode is a conversation between you and your camera. In Auto, the camera does all the talking. In Manual, you're finally speaking up.
It will be frustrating at first. You will miss shots. You will overexpose things. But every mistake is a data point that makes you a better photographer. For more tips on the business side or high-end production, check out www.proshoot.io or visit blog.edinchavez.com for more personal insights into the craft.
You have the gear. Now you have the basics. Go out there, turn that dial to "M," and start shooting. The world looks a lot different when you’re the one in control.

