
Look, we’ve all been there. You’re standing on the edge of a canyon or watching the sun dip below the ocean horizon, and it’s breathtaking. You pull out your camera, click the shutter, and… the photo looks like a flat, boring version of what you’re actually seeing. It’s frustrating.
Landscape photography is one of those things that looks easy on Instagram but is actually a specialized craft. It’s about more than just pointing your lens at something pretty. It’s about light, timing, gear, and: most importantly: having a plan.
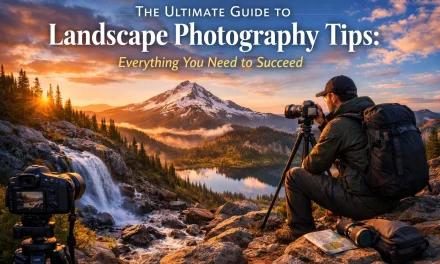
At Shut Your Aperture, we want to help you stop taking "okay" photos and start capturing epic ones. This guide is going to walk you through everything you need to know to master the art of the landscape, from the gear that actually matters to the settings that will make your images pop.
Why Landscape Photography?
Before we dive into the technical stuff, let’s talk about why we do this. Landscape photography is about storytelling. It’s about capturing the "vibe" of a place. Whether you’re shooting ethereal landscapes in the mountains or moody coastal scenes, you’re trying to share a feeling with the world.
It’s also an excuse to get outside. Some of the best shots I’ve ever taken weren’t just about the photo; they were about the hike, the cold morning air, and the peace of being out in nature.
The Gear You Actually Need (and What You Don’t)
One of the biggest myths in photography is that you need a $5,000 setup to take a good picture. You don’t. You can get incredible shots with an entry-level DSLR or even a high-end smartphone. However, if you want to take things to the next level, there are a few pieces of gear that are non-negotiable.
1. A Reliable Camera Body
You don't need the latest flagship model, but a camera with manual controls is a must. If you’re looking to upgrade, check out some reviews over at ProShoot.io to see what’s currently leading the pack in terms of dynamic range and weather sealing.
2. Wide-Angle and Telephoto Lenses
Most people think landscapes = wide angle. And they’re mostly right. A lens in the 16mm to 35mm range (on full-frame) is perfect for capturing those vast, sweeping vistas. But don’t sleep on telephoto lenses. A 70-200mm lens can help you compress the scene and pick out interesting details in the distance, like a lone tree on a ridge or the peak of a mountain.
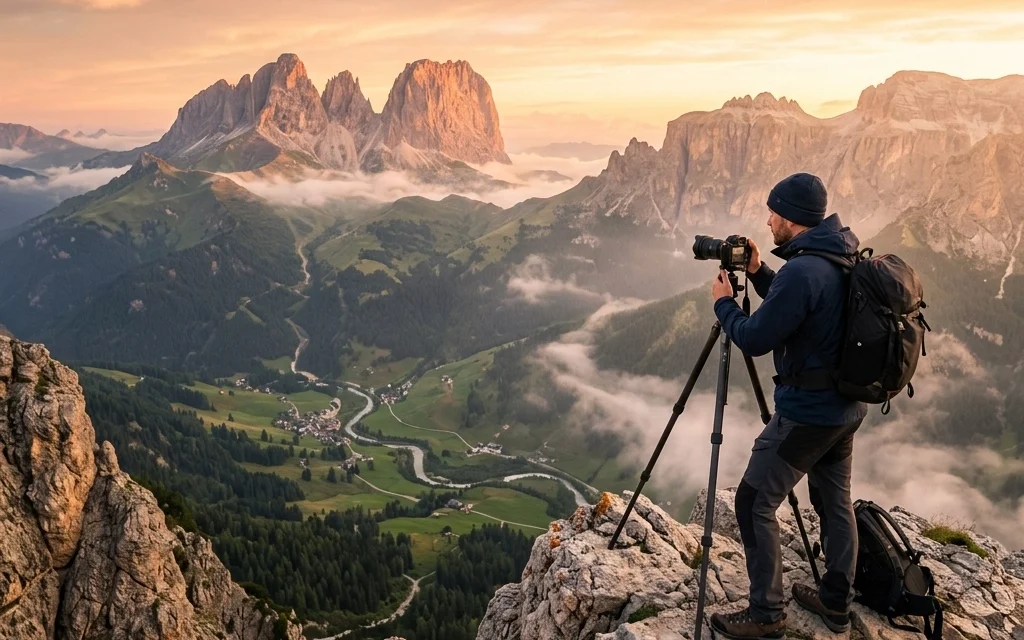
3. The Tripod is Your Best Friend
If you buy one thing after reading this, make it a sturdy tripod. Landscape photography often happens during "the golden hour" or "the blue hour" when light is low. To keep your images sharp and your ISO low, you’ll need longer shutter speeds. You can’t hold a camera steady for 2 seconds by hand: unless you’re a robot.
4. Filters: The Secret Sauce
Circular Polarizers (CPL) and Neutral Density (ND) filters are essential. A polarizer cuts through glare on water and makes the sky a deeper blue. An ND filter acts like sunglasses for your lens, allowing you to use long exposures even in the middle of the day to get that silky-smooth water effect.
Mastering Your Camera Settings
Once you’ve got your gear, you need to know how to use it. Forget "Auto" mode. If you want to succeed in landscape photography, you need to be in the driver's seat.
Aperture (The f-stop)
For landscapes, you usually want everything from the foreground to the background to be sharp. This means you need a deep depth of field. Most landscape photographers live in the f/8 to f/13 range. Don’t go all the way to f/22 unless you absolutely have to, as you’ll start to see "diffraction," which actually makes your image less sharp.
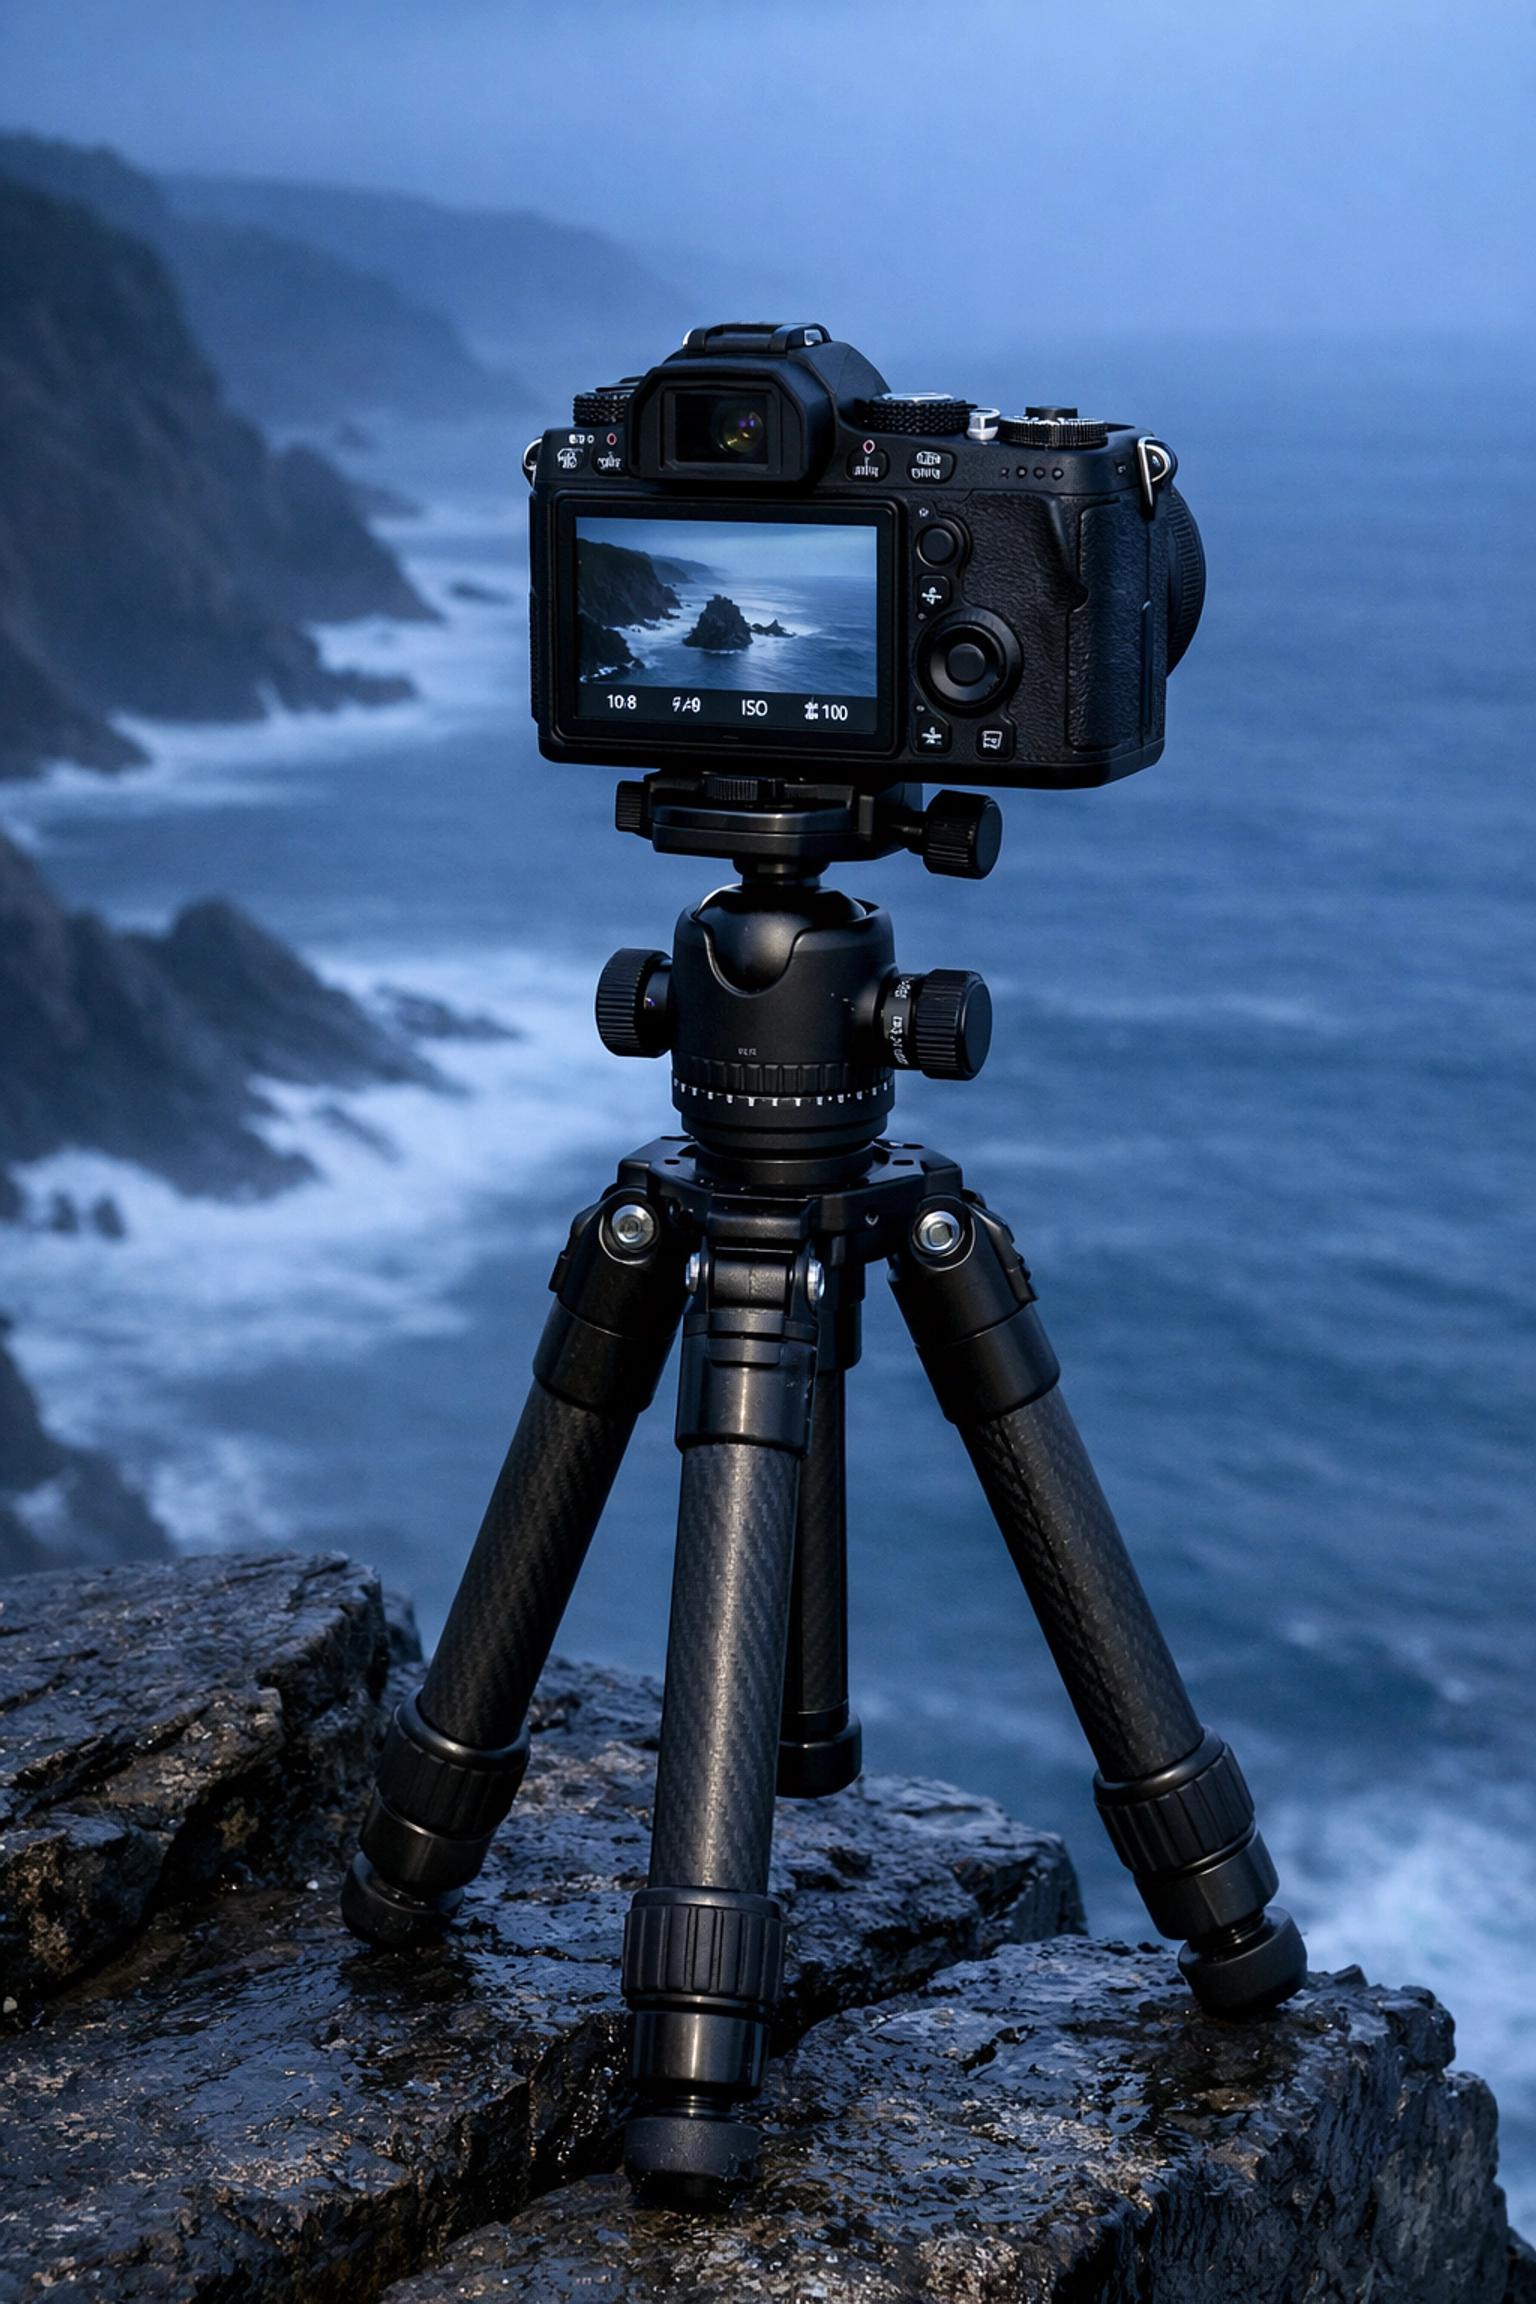
ISO
Keep it low. ISO 100 is the goal. This ensures your images are clean and free of "noise" (that grainy look that ruins a high-quality print). If you’re using a tripod, there’s almost no reason to ever go above ISO 400 for a standard landscape shot.
Shutter Speed
This is where the magic happens. Your shutter speed will depend on what you’re trying to achieve.
- Want to freeze a crashing wave? Use a fast speed like 1/1000s.
- Want that misty, ethereal water look? Use a slow speed like 2 seconds or more.
Manual Focus vs. Autofocus
Autofocus is great, but in low light, it can struggle. I often switch to manual focus, use the "Live View" on my screen, and zoom in 10x to make sure my focus is tack-sharp on my main subject. For more technical deep dives on sharpness, PhotoGuides.org has some great tutorials on hyperfocal distance.
Composition: How to Frame the World
Composition is what separates a snapshot from a photograph. It’s the arrangement of elements within your frame.
The Rule of Thirds
Imagine your frame is divided into a 3×3 grid. Instead of putting the horizon right in the middle, try putting it on the top or bottom line. Put your main subject (like a mountain peak or a lighthouse) on one of the intersecting points. It feels more natural and balanced to the human eye.
Leading Lines
Use roads, rivers, or even fallen logs to lead the viewer’s eye into the frame. Leading lines create a sense of depth and pull the person looking at your photo right into the scene.
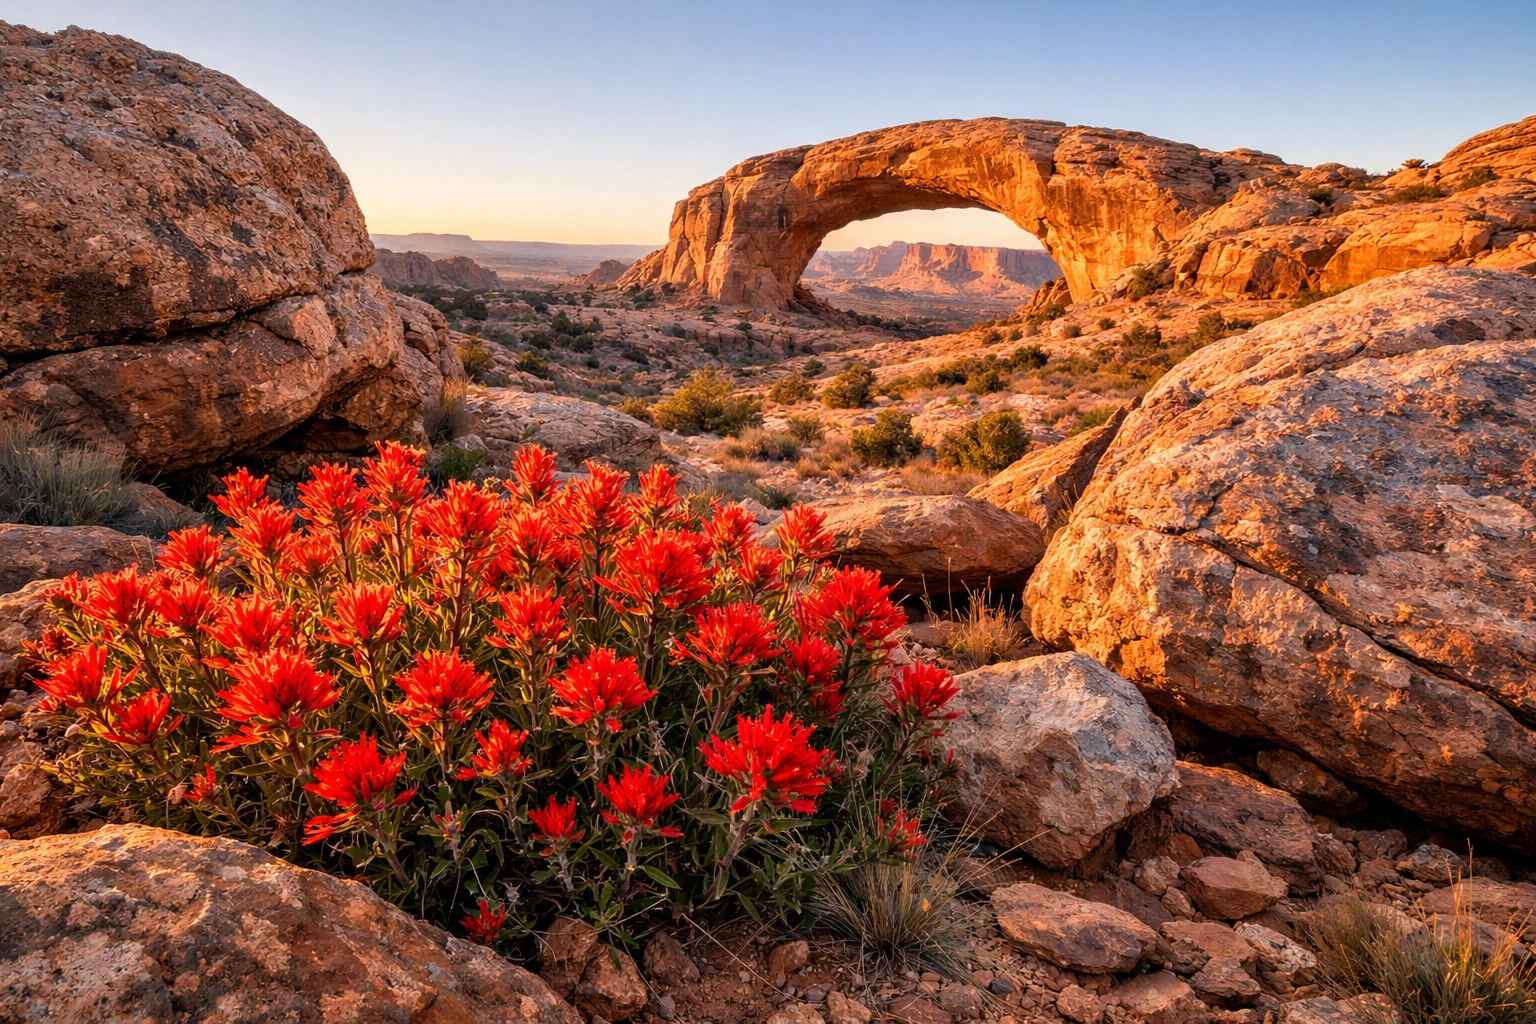
Foreground Interest
This is the "secret" of pro landscape photographers. Don’t just shoot the mountain in the distance. Find something interesting in the foreground: a cool rock, a patch of flowers, or a puddle: to give the image a 3D feel. It anchors the shot and gives the viewer a place to start their journey through the image.
Finding the Best Locations
You can be the best photographer in the world, but if you’re shooting in a boring parking lot, your photos will be boring. Location scouting is half the battle.
While the big national parks are great, they’re often crowded. I’m a huge fan of finding hidden gem locations for travel photography. Sometimes the lesser-known vistas provide the most unique and rewarding shots because you aren't fighting fifty other tripods for the same view.
Check out blog.edinchavez.com for some of Edin’s personal favorites and stories from the road. Finding secluded paradises is what makes your portfolio stand out from the crowd.
The Importance of Light
In landscape photography, light is everything. You could have the most beautiful mountain in the world, but if the light is flat and gray, the photo won’t work.
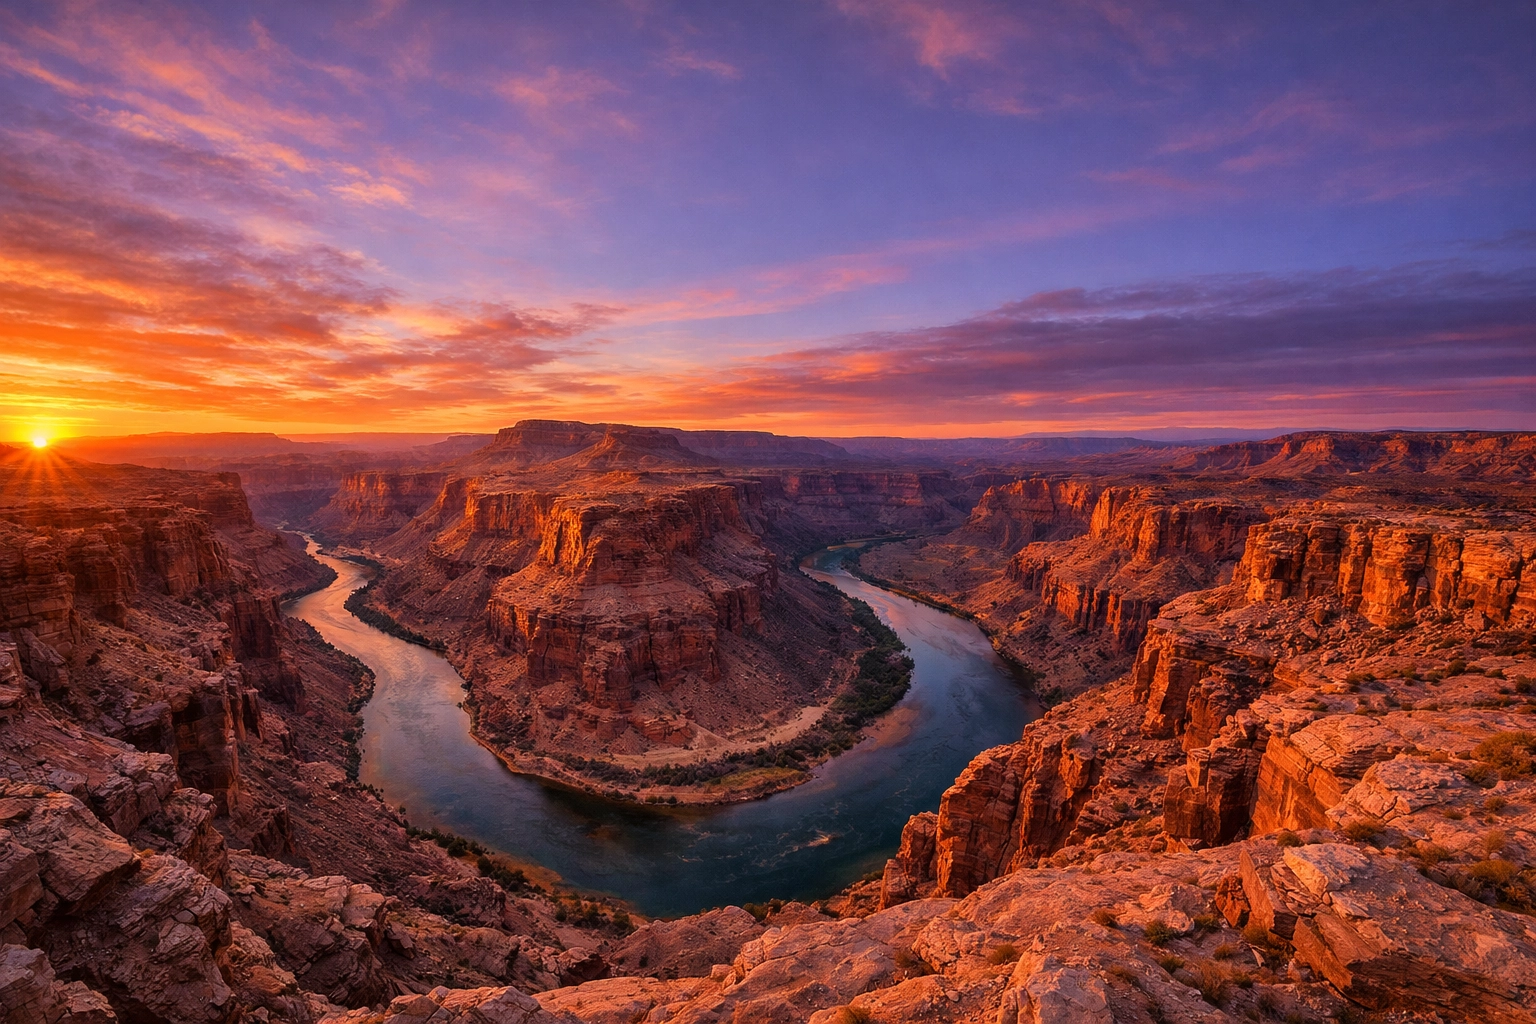
The Golden Hour
This is the hour just after sunrise and just before sunset. The light is soft, warm, and creates long, beautiful shadows that emphasize the texture of the land.
The Blue Hour
This happens about 20-30 minutes before sunrise and after sunset. The sky turns a deep, moody blue, and the city lights (if you’re shooting near a town) start to glow. It’s a great time for enchanting urban photography or moody coastal shots.
"Bad" Weather is Good Weather
Don't pack up just because it starts to rain or get cloudy. Stormy skies add drama. Mist and fog can turn a boring forest into something out of a fairy tale. Some of the best nature imagery comes from the moments just before or after a big storm.

Post-Processing: Bringing the Image to Life
Taking the photo is only 70% of the job. The other 30% happens at your computer. RAW files are designed to be edited; they come out of the camera looking a bit flat because they hold so much data.
I highly recommend using Luminar for your editing. It’s incredibly intuitive and uses AI to help you enhance skies, add sunbeams, and bring out details in the shadows without making the photo look "fake."
However, be careful not to overdo it. One of the most common issues beginners face is pushing the sliders too far. If you're worried about your editing style, take a look at our guide on 7 mistakes you’re making with photo editing to make sure you’re staying on the right track.
For those looking to get really creative, you might want to experiment with using rare textures to give your landscapes a more tactile, fine-art feel.
Advanced Techniques to Try
Once you’ve mastered the basics, it’s time to level up. Here are three techniques that will make your work look professional:
1. Focus Stacking
Sometimes, f/11 isn't enough to get everything sharp if your foreground object is inches from your lens. Focus stacking involves taking 3 or 4 shots of the exact same scene, but changing the focus point for each one (one for the foreground, one for the middle, one for the background). You then blend them in post-processing for infinite sharpness.
2. Long Exposure Landscapes
Using a heavy ND filter (like a 10-stop) allows you to leave your shutter open for 30 seconds or even several minutes. This turns moving clouds into soft streaks and makes water look like glass. It’s a classic look that never gets old.
3. Panoramic Stitched Images
Sometimes the world is just too big for a wide-angle lens. Instead of squeezing it all in, turn your camera vertically and take a series of overlapping shots as you rotate across the scene. You can stitch these together in software to create a massive, high-resolution file that looks incredible as a large print. Check out Edin Fine Art to see how these massive landscapes look when they are printed and hung on a wall.
Putting It All Together
Landscape photography is a journey. You’re going to have days where you wake up at 4 AM, hike for three miles, and then the sun never breaks through the clouds. It happens. But that’s what makes the successful days so sweet.
Success in this field comes down to:
- Preparation: Knowing your gear and your location.
- Patience: Waiting for that perfect "kiss" of light.
- Persistence: Going back to the same spot until the conditions are right.
If you want to see more of the behind-the-scenes work that goes into high-end productions, swing by Edin Studios.
The most important thing? Just get out there. Stop worrying if your camera is "good enough" and start looking for the beauty in your own backyard or the next hidden gem you discover.
The world is a big, beautiful place: go out and shut your aperture on it. Stay tuned for more tips, and don't forget to tag us in your shots so we can see what you’re creating!


