
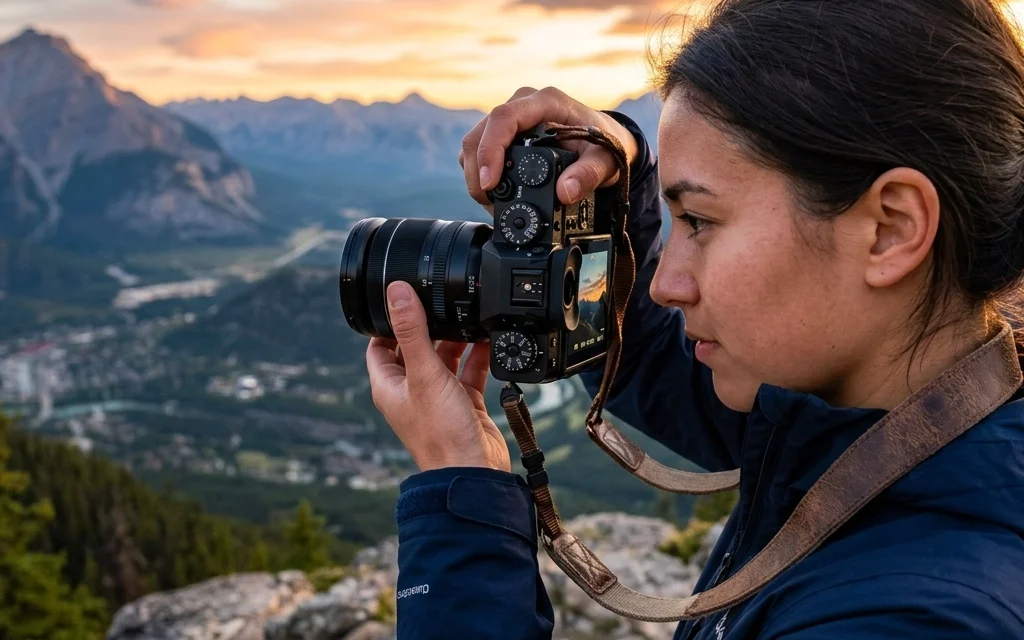
So, you finally did it. You stopped taking photos with your phone and bought a "real" camera. Maybe it was a birthday gift, a mid-life crisis purchase, or you just realized your iPhone 15 Pro Max still can't quite capture the Milky Way the way you see it in magazines. Whatever the reason, you’re now holding a piece of technology that has more buttons than a space shuttle, and you’re probably a little intimidated.
First off: relax. Take a breath. Everyone starts exactly where you are right now. Even the pros at Shut Your Aperture once looked at a mode dial and wondered what the "P" stood for (spoiler: it’s not "Professional").
Photography is essentially the art of capturing light. That’s it. Everything else: the lenses, the sensors, the tripods, the fancy software like Luminar: is just a tool to help you bend that light to your will. In this guide, we’re going to strip away the jargon and get you comfortable with your new best friend. By the end of this, you’ll be shooting in something other than "Auto" mode, and your photos will actually start looking like the ones you’ve been double-tapping on Instagram.
Which Camera Did You Get?
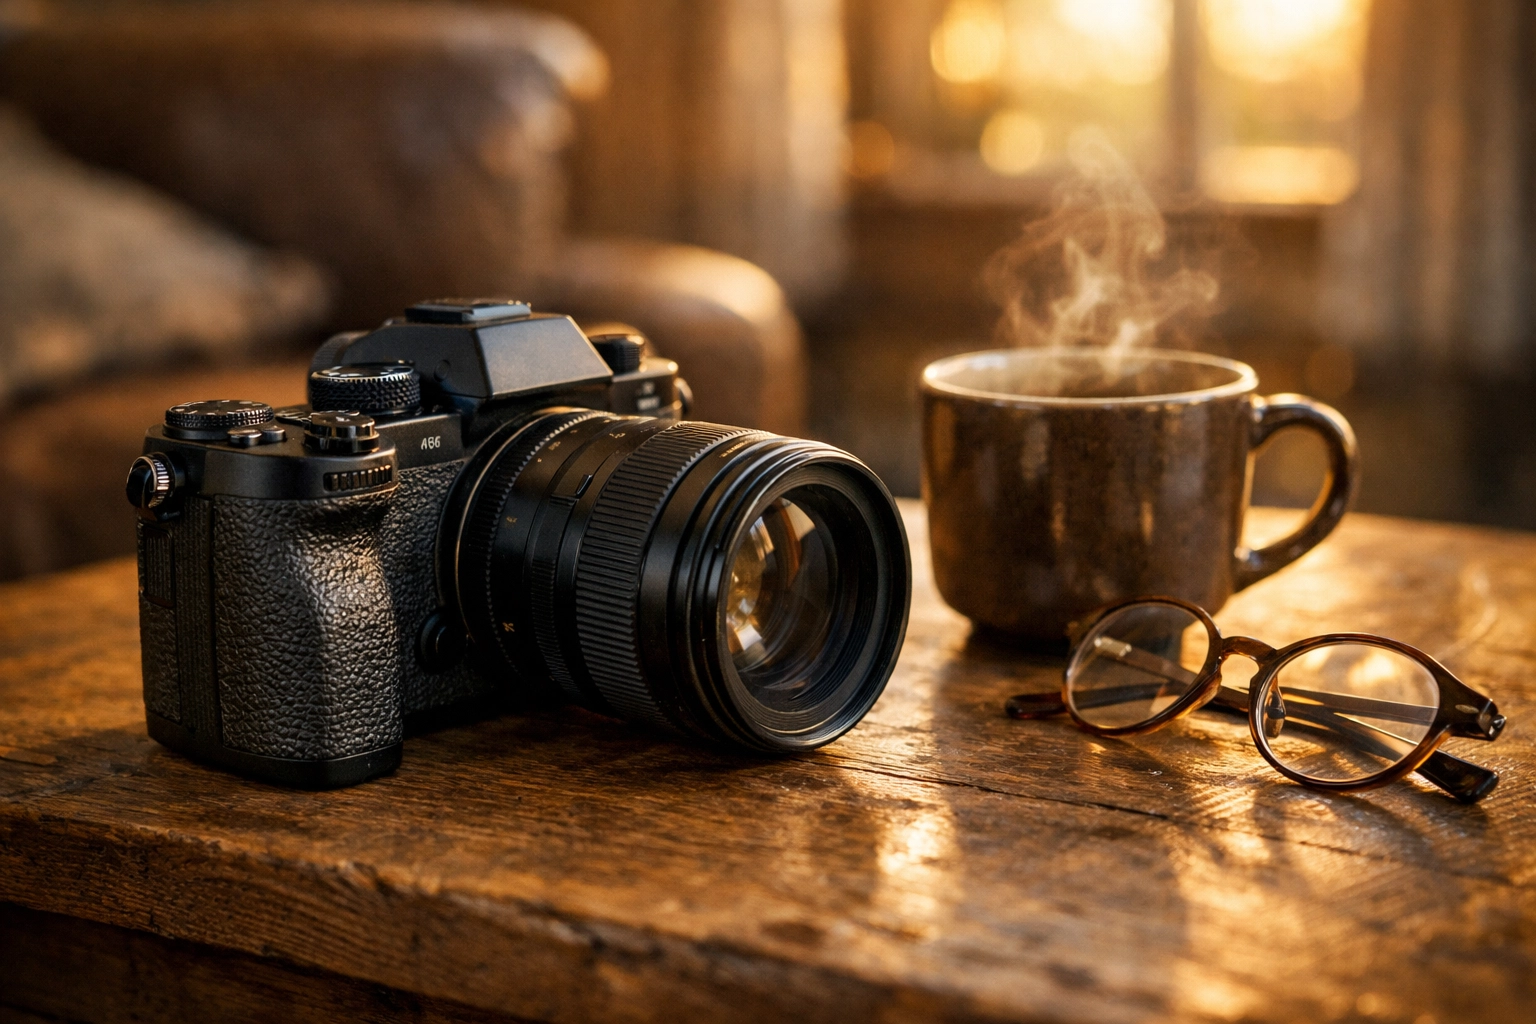
Before we dive into the settings, let’s talk about the tool in your hand. Most beginners start with one of three types of cameras:
- DSLR (Digital Single-Lens Reflex): These are the classic "big" cameras. They have a mirror inside that reflects light into an optical viewfinder. They’re sturdy, have great battery life, and make you look like you know what you’re doing.
- Mirrorless: These are the new kings of the hill. They don't have a mirror, which makes them smaller, lighter, and faster. Most pro-level tech is moving this way.
- Point-and-Shoot / Bridge Cameras: These are compact and usually have a fixed lens. They’re great for travel, but they offer a bit less control than the first two.
Regardless of what you have, the fundamentals remain the same. Whether you’re shooting on a vintage Canon AE-1 or a brand-new Sony A7R V, light is light. If you're looking for more advanced gear advice later, check out some of the resources at ProShoot.io.
The Holy Trinity: The Exposure Triangle
If there is one thing you need to memorize, it’s the Exposure Triangle. This is the foundation of all photography. It’s made up of three elements: Aperture, Shutter Speed, and ISO.
Think of exposure like a bucket of water. To get the "perfect" amount of water, you can have the tap wide open for a short time, or a tiny drip for a long time. If you leave the tap open too long, the bucket overflows (overexposed/too bright). If you don't leave it long enough, the bucket is empty (underexposed/too dark).
1. Aperture (The "Eye")
Aperture is the opening in your lens. It’s measured in "f-stops" (like f/2.8, f/8, or f/16).
- Low f-stop (e.g., f/1.8): Wide opening. Lets in tons of light. This creates that blurry, creamy background (bokeh) that everyone loves for portraits.
- High f-stop (e.g., f/11): Small opening. Lets in less light. This keeps everything from the foreground to the background in focus: perfect for when you're following the ultimate guide to landscape photography.
2. Shutter Speed (The "Timer")
This is how long the camera's "curtain" stays open.
- Fast Shutter Speed (e.g., 1/1000 sec): Freezes motion. Great for sports or birds flying.
- Slow Shutter Speed (e.g., 1/2 sec or longer): Blurs motion. This is how people get those silky smooth waterfall shots or light trails from cars. Note: If you go slower than 1/60, you’ll probably need a tripod to avoid "camera shake" from your hands.
3. ISO (The "Sensitivity")
ISO is how sensitive your camera's sensor is to light.
- Low ISO (100-400): Use this when it’s bright outside. It gives you the cleanest, highest-quality image.
- High ISO (3200+): Use this in dark rooms or at night. It makes the sensor more "sensitive," but the trade-off is "noise" or graininess in your photo.
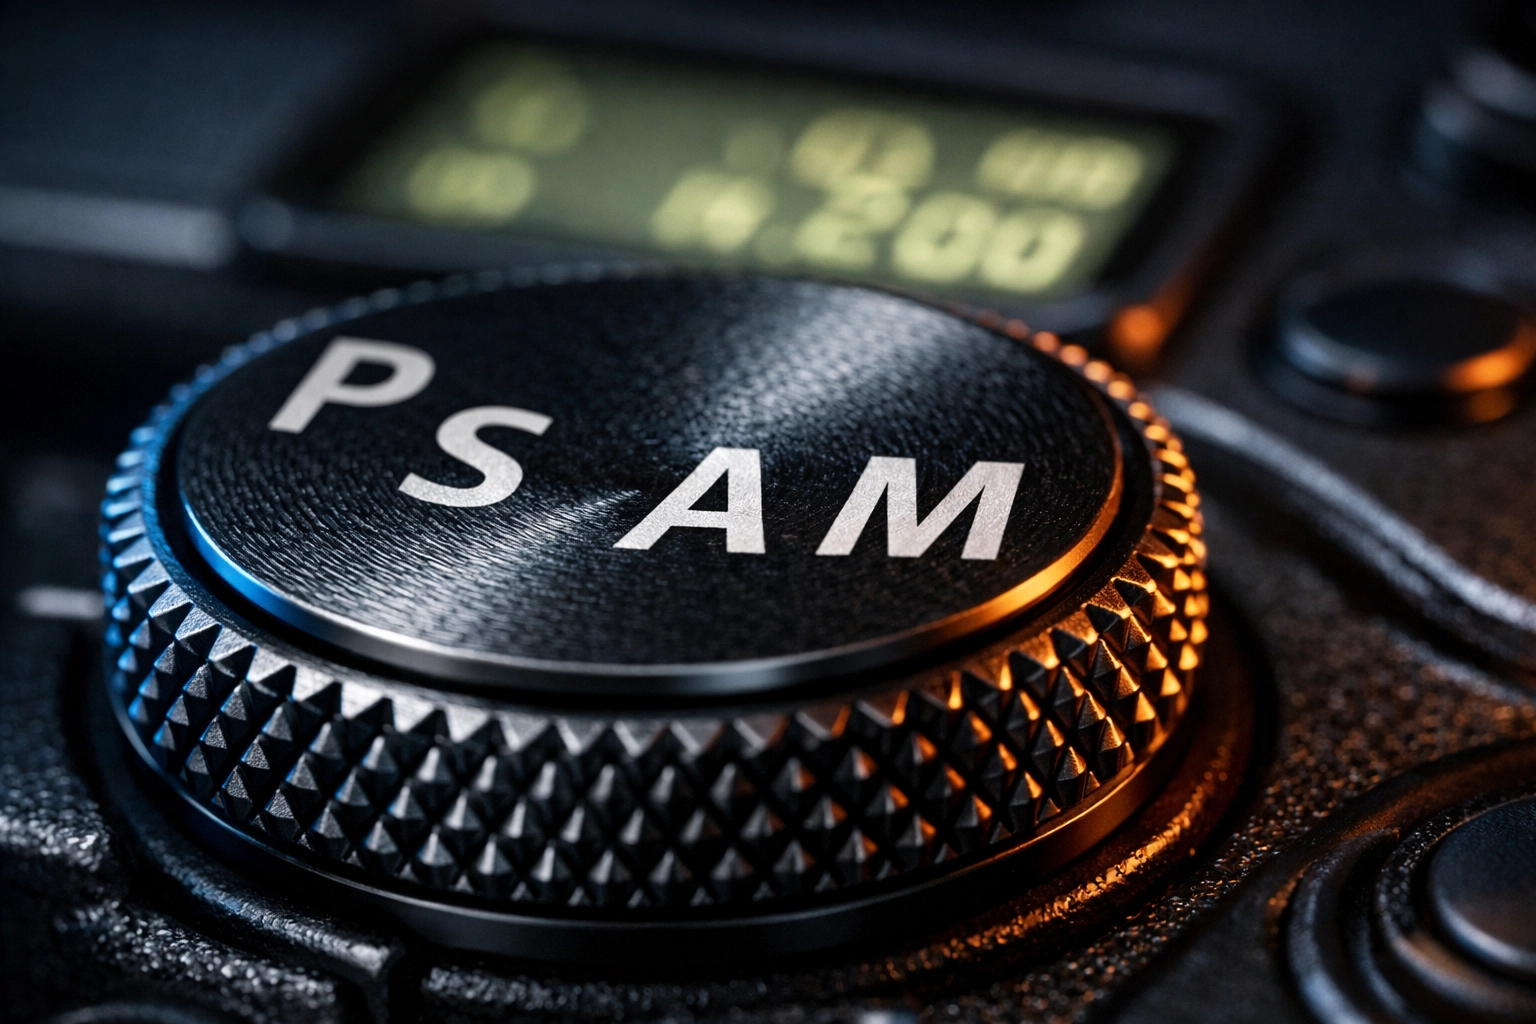
Mastering the Mode Dial
Look at the top of your camera. See that dial with all the letters? That’s your cockpit. Here is how to use it:
- Auto (Green Icon): The camera makes all the decisions. Avoid this as soon as possible. It’s like buying a Ferrari and only driving it in a school zone.
- Aperture Priority (A or Av): You pick the Aperture (to control blur), and the camera handles the Shutter Speed. This is the "sweet spot" for 90% of photographers.
- Shutter Priority (S or Tv): You pick the Shutter Speed (to freeze or blur motion), and the camera handles the Aperture. Use this for sports or moving water.
- Program (P): The camera picks both, but lets you change things like ISO or flash. It's like "Auto" but for people who want a tiny bit of control.
- Manual (M): You control everything. It’s scary at first, but it’s the only way to truly master light.
Composition: How to Actually Make Good Photos
You can have a $10,000 camera, but if your composition sucks, your photo sucks. Composition is simply how you arrange the elements in your frame. Here are a few "rules" (that you can eventually break):
The Rule of Thirds
Imagine a tic-tac-toe grid over your viewfinder. Instead of putting your subject dead center, place them on one of the lines or where the lines intersect. This instantly makes the photo feel more balanced and professional.
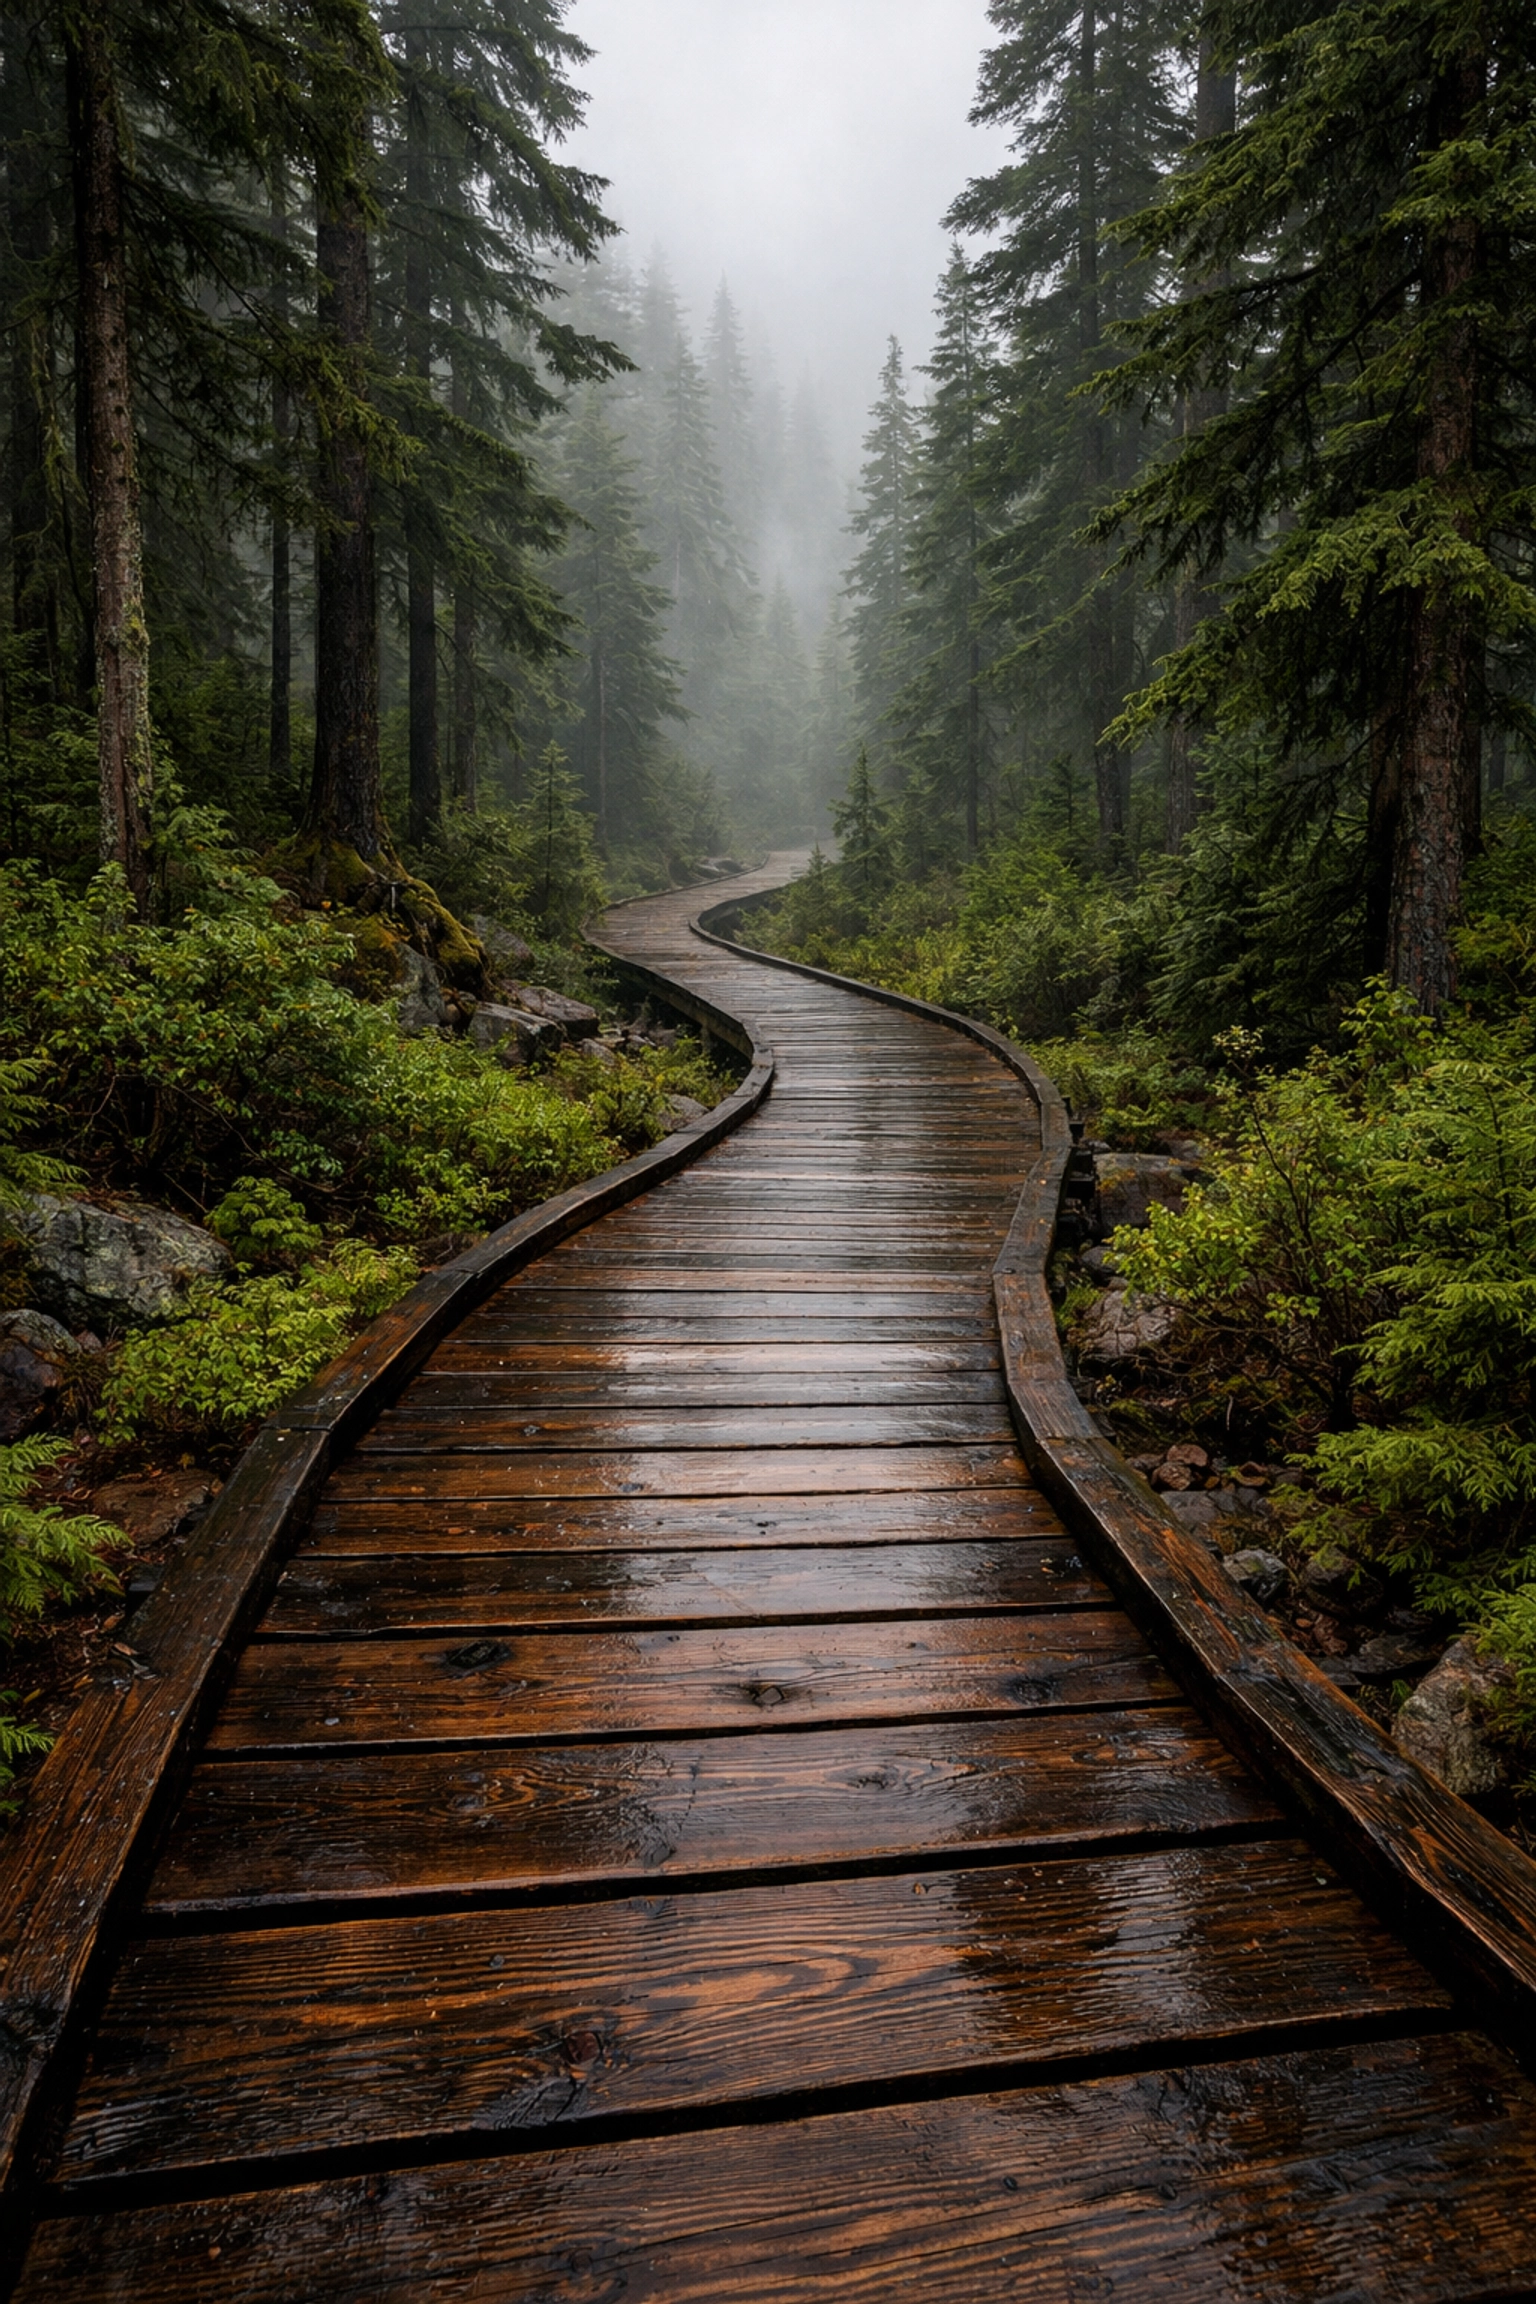
Leading Lines
Use natural lines (roads, fences, rivers, or even shadows) to lead the viewer’s eye toward your subject. This is a classic trick used when exploring hidden gem locations for travel photography.
Frame Within a Frame
Use a window, an archway, or even some overhanging tree branches to "frame" your main subject. It adds depth and makes the image feel three-dimensional.
Perspective
Don't just stand there and click. Get low. Climb something. Move left. A photo taken from eye level is what everyone sees every day. A photo taken from the ground looking up? Now that’s interesting. For more composition inspiration, check out PhotoGuides.org.
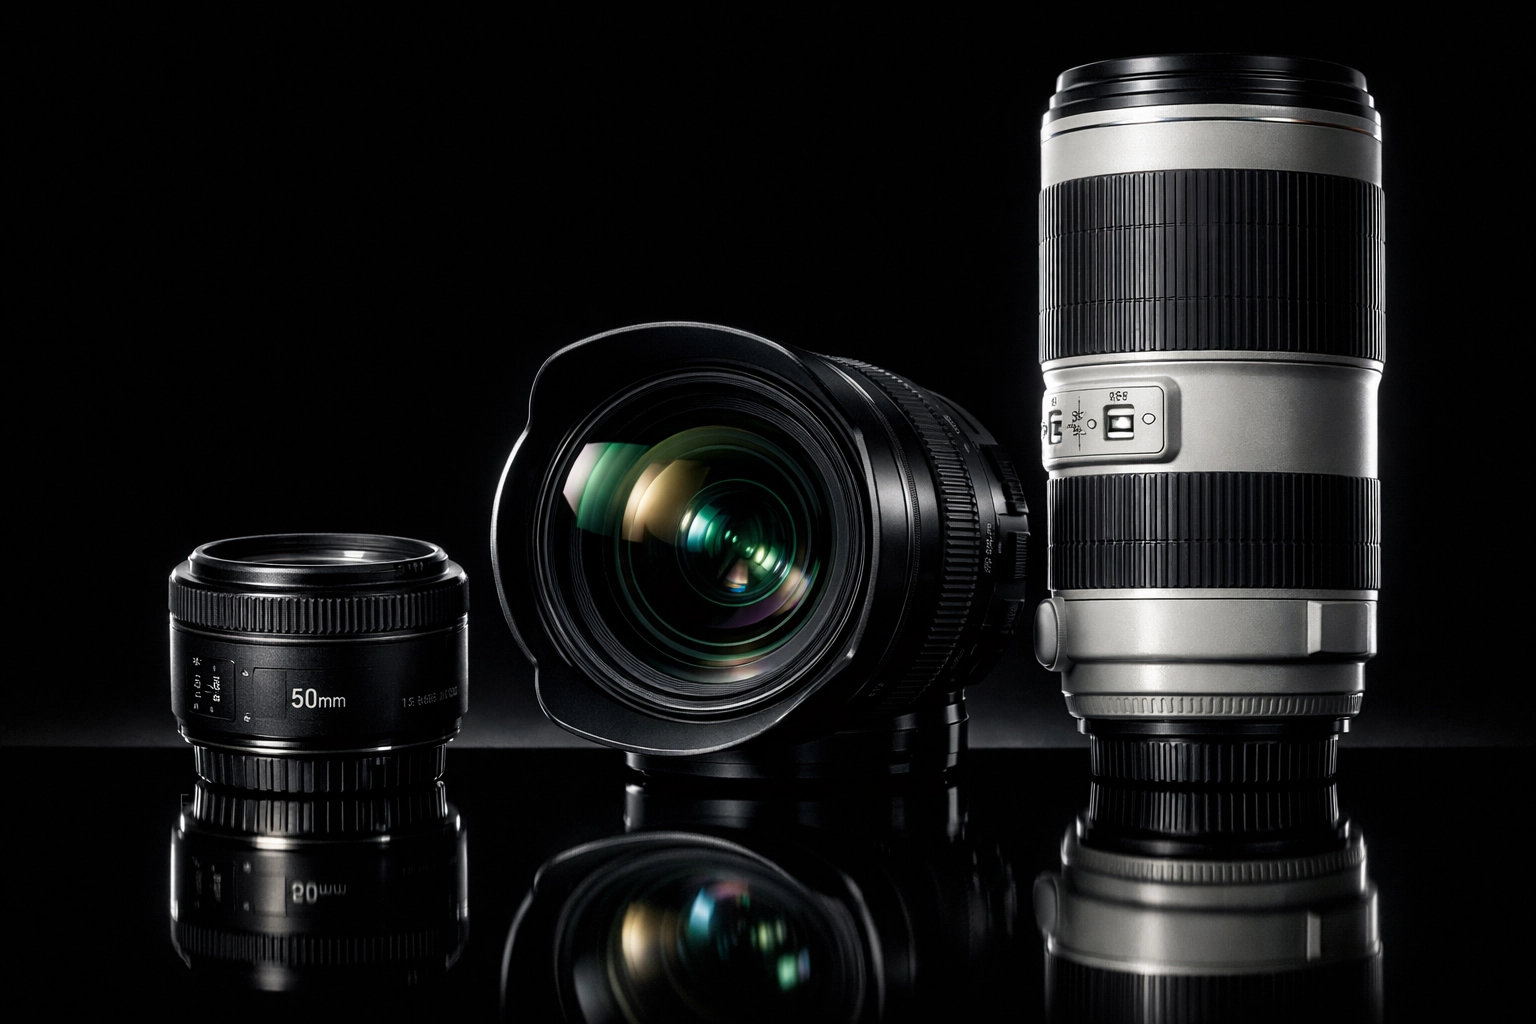
Lenses: Why One Size Doesn’t Fit All
Most beginner cameras come with a "kit lens" (usually an 18-55mm). It’s a jack-of-all-trades, master of none. If you really want to level up, you’ll eventually want to look at:
- Prime Lenses: These don’t zoom. That sounds like a downside, but because they have fewer moving parts, they are usually sharper and have wider apertures (like f/1.8). A 50mm prime (the "Nifty Fifty") is usually the first lens every beginner should buy.
- Wide-Angle Lenses: Great for those ethereal landscapes.
- Telephoto Lenses: For when you want to take a photo of a bird or a mountain from a mile away.
Post-Processing: The Darkroom of the Digital Age
A common myth is that "real" photographers don't edit their photos. That’s nonsense. Even in the film days, photographers were dodging and burning in the darkroom.
When you shoot, your camera captures a "RAW" file. This file contains tons of data but looks a bit flat and gray straight out of the camera. Post-processing is where you bring those colors to life.
I highly recommend starting with Luminar. It uses AI to simplify the boring stuff (like masking or sky replacement) so you can focus on the creative side. If you're struggling with your edits, you might be making some common mistakes. Check out our post on 7 mistakes you’re making with photo editing to get back on track.
Finding Your Style
Photography is a journey, not a destination. In the beginning, you’ll want to photograph everything: your cat, your coffee, the sunset. Do it. The more you shoot, the more you’ll realize what you actually enjoy.
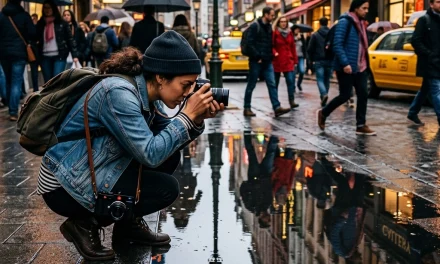
Maybe you find yourself drawn to the grit of the city. In that case, you should unlock the secrets to enchanting urban photography. Or maybe you prefer the solitude of nature and want to find secluded paradises to build your portfolio.
Don't worry about "finding your style" in the first month. Your style is just the result of your unique perspective and a thousand mistakes.
Practical Tips for Your First Week
- Read the Manual: I know, it's boring. But knowing where the "AF-Area" button is can be the difference between a sharp photo and a blurry mess.
- Keep Your Camera With You: The best camera is the one you have with you. If it stays in its bag in the closet, you won't learn.
- Shoot in RAW: Go into your settings and change "JPEG" to "RAW" (or RAW+JPEG). You’ll thank me later when you’re editing in Luminar.
- Look at Fine Art: Visit Edin Fine Art or Edin Chavez’s blog to see what’s possible when you master these fundamentals. Seeing high-level work helps train your eye.
- Don’t Overthink It: Photography should be fun. If you’re getting frustrated with the settings, switch back to "Aperture Priority" and just enjoy the process of looking at the world differently.
Putting It All Together
Mastering your first camera isn't about memorizing every spec in the manual. It’s about understanding how light works and how you can use Aperture, Shutter Speed, and ISO to capture it.
Start by practicing the Rule of Thirds. Then, try to get a shot with a blurry background by using a low f-stop. Then, go out at night and see what happens when you push your ISO to 3200. Every click is a lesson.
If you ever feel stuck, remember that even the most famous photographers started with a camera they didn't understand and a bunch of blurry photos. The only difference between them and you is that they kept pressing the shutter.
For more tips on finding unique places to shoot, check out these lesser-known vistas or explore top spots for nature imagery.
Now, quit reading this and go take some photos! The light is probably perfect right now.

