Real estate photography has one unforgiving requirement: the interior must look bright, wide, and attractive in a still image, often under mixed lighting conditions that cameras handle poorly on their own. The settings that make this work are precise and non-negotiable. Here is the complete configuration for shooting real estate interiors that deliver images realtors actually want to use.
Core Exposure Settings
Aperture: f/8
Real estate interiors are shot on a tripod with a wide-angle lens — typically 16–35mm on full-frame. At these focal lengths, f/8 gives you front-to-back depth of field from roughly 0.5 meters to infinity. Shooting wider (f/4, f/5.6) with a wide-angle lens in an interior does not meaningfully separate subject from background — there is no creative reason to do it — and you sacrifice depth of field for no gain. f/8 is the real estate standard.
 Save
SaveAvoid f/16 and smaller unless absolutely necessary for a specific compositional reason. Diffraction softening at f/16 on a 24-megapixel or higher sensor is visible at delivery resolution.
ISO: 100
You are on a tripod. There is no motion to freeze. ISO 100 gives you the cleanest, most detail-rich files. Higher ISO is never an improvement in real estate photography — if you do not have enough light at ISO 100, the solution is additional light sources, a longer exposure, or HDR bracketing.
Shutter Speed: 1/60s on Tripod
With ISO 100 and f/8, your correct shutter speed varies by scene brightness. In a well-lit room at midday with window light, you might be at 1/60s. In a dark bathroom with no window, you might be at 2 seconds. Both are fine on a tripod. Use your histogram to confirm the exposure is correct — aim to expose to the right (bright) without clipping highlights. You will pull the highlights back in Lightroom; you cannot recover lost shadow detail from an underexposed interior.
Focal Length: 16–35mm Wide Angle
The standard real estate focal length on full-frame is 16–35mm. Common specific choices:
- 16mm: Maximum width, useful for small bathrooms and tight bedrooms. Watch for excessive barrel distortion and perspective convergence — correct in Lightroom’s Lens Corrections panel.
- 24mm: The all-purpose real estate focal length. Feels wide without extreme distortion. Canon RF 15-35mm f/2.8 at 24mm, Sony 16-35mm f/2.8 GM at 24mm, or the Nikon Z 14-30mm f/4 at 24mm are all excellent.
- 35mm: Used for large open-plan spaces where 24mm makes the room feel cavernous, or for detail shots (kitchen appliances, bathroom fixtures).
Never shoot real estate with a focal length longer than 50mm for establishing room shots. It compresses space and makes rooms feel small — the opposite of what you are trying to achieve.
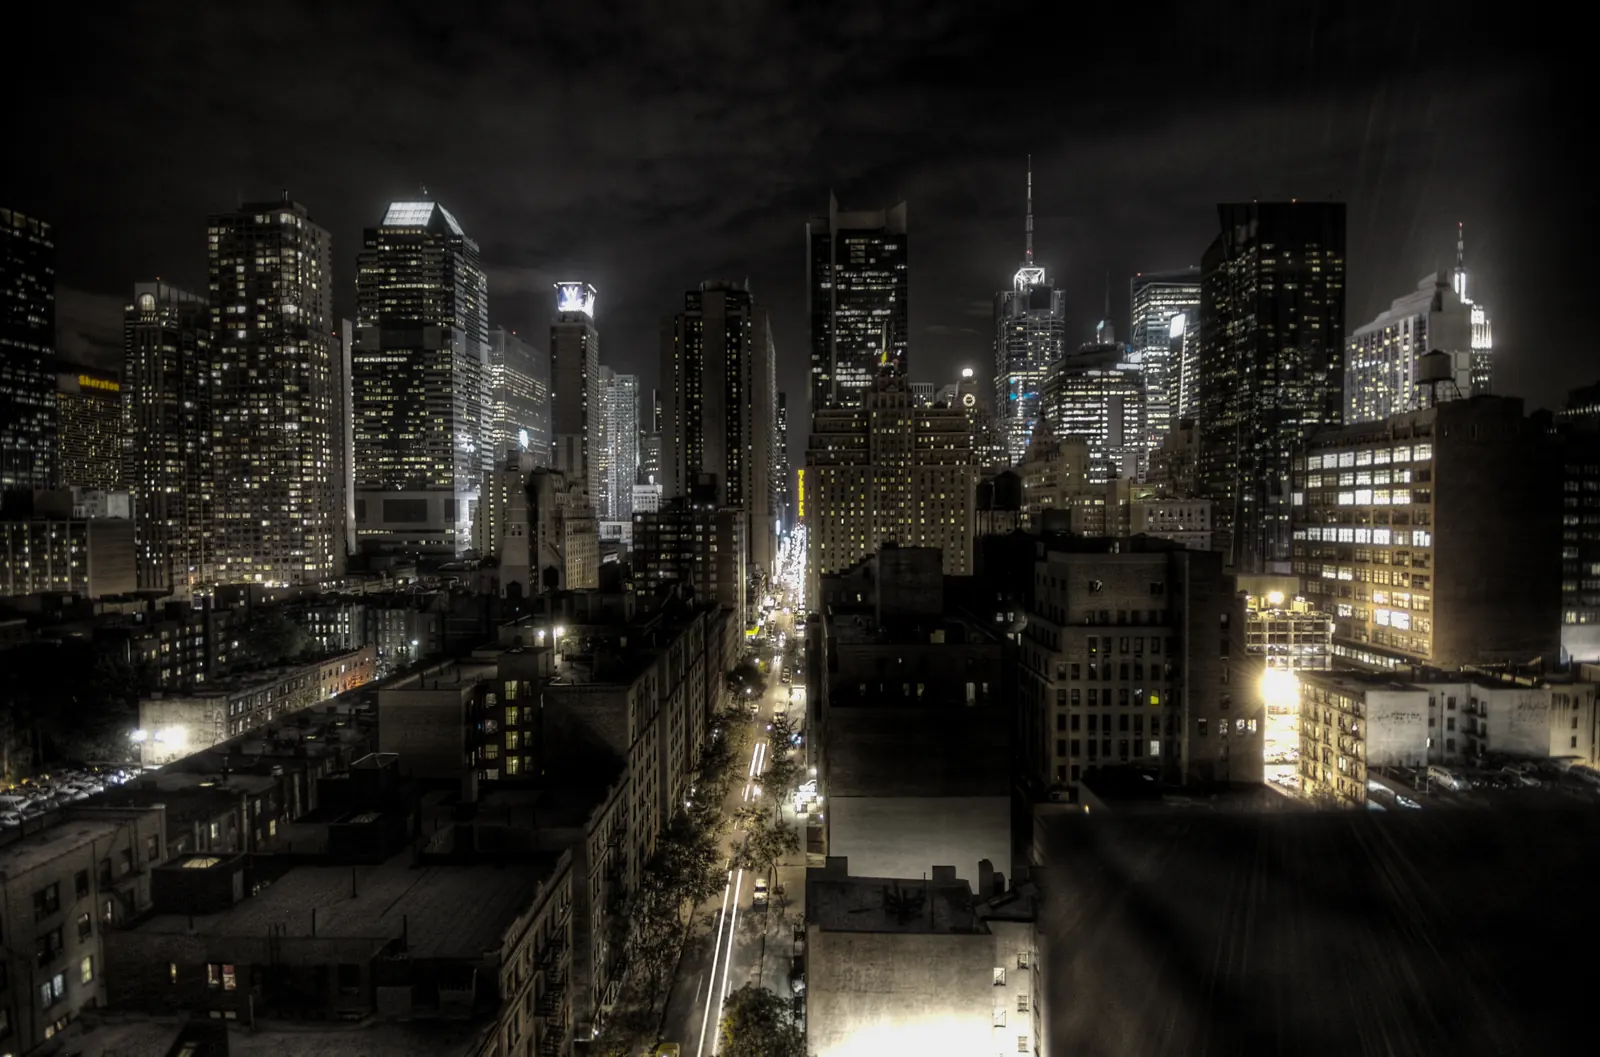
HDR Bracketing: 3 to 5 Frames
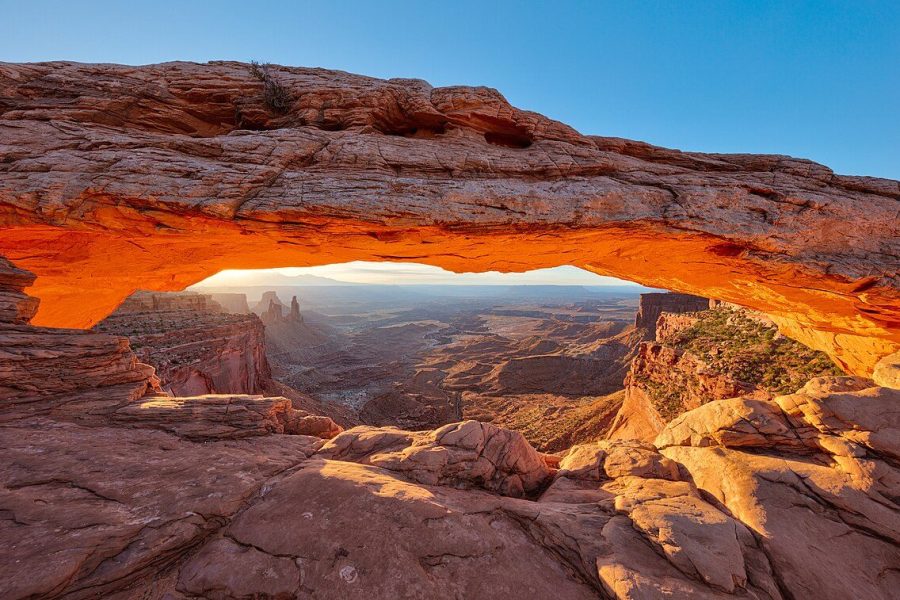
The dynamic range problem in real estate interiors is severe: a bright window view may be 10–12 stops brighter than the shadowed interior. No single exposure can capture both accurately. HDR bracketing solves this.
Setting Up HDR Brackets
Shoot 3-frame or 5-frame brackets at 2EV increments:
- 3-frame bracket (most common): Normal exposure, +2EV (for shadow detail), -2EV (for window detail). Configure in your camera’s AEB (Auto Exposure Bracketing) menu.
- 5-frame bracket (challenging scenes): -4EV, -2EV, 0, +2EV, +4EV. Used when the window view is important and the room is very dark.
Set your camera to continuous drive mode and fire all brackets in a single shutter-button press (or cable release). This ensures all frames are taken before the light changes.
Processing HDR in Lightroom
Import all bracket frames. Select them all. Right-click → Photo Merge → HDR. Uncheck Auto Settings, set Deghosting to Medium (to handle slight movement in curtains or trees outside the window), and let Lightroom generate the merged DNG. The resulting file retains full RAW editability — you can then apply your real estate preset and fine-tune from there. For a complete workflow, see our real estate HDR preset workflow guide.
Flash: Bounce Technique
HDR bracketing handles the window problem but can leave rooms looking flat without supplemental light. An on-camera or off-camera speedlight adds depth, fills shadows, and makes spaces feel more three-dimensional.
Bounce Flash Setup
Never fire flash directly at an interior — it creates harsh, unnatural shadows and completely defeats the purpose of your wide-angle perspective. Instead:
- Angle the flash head to bounce off the ceiling at approximately 45 degrees behind you
- Set flash to TTL at -1/3 to -2/3 EV compensation — slightly under-powered for a naturalistic supplemental look
- Shoot at 1/60s, f/8, ISO 400 with flash (slightly higher ISO to balance ambient and flash)
- Walk-in flash: fire multiple off-camera flashes throughout the room while the shutter is open in a dark room (painting with light technique)
Composition: Shooting from Doorways
The camera position in a real estate interior determines the perceived size of the room. The rules:
- Shoot from the doorway or corner: This shows the maximum amount of the room in one frame. Standing in the middle of the room and shooting a wall shows nothing.
- Camera height at 5 feet (eye level seated): 4.5 to 5 feet from the floor. Lower than standing eye level, which creates a less natural perspective. Exactly level — use your camera’s built-in level or a hot shoe bubble level.
- Keep verticals vertical: Walls must be perfectly vertical in the frame. If they taper inward or outward, fix it in Lightroom → Transform → Vertical correction. Some photographers tilt the camera slightly upward to show ceiling height — this requires Transform correction afterward.
- Show three walls when possible: A living room shot showing two walls at the corner plus the fireplace wall gives a sense of the room’s layout that a flat-on wall shot cannot.
Ideal Time of Day for Real Estate
Schedule exterior shots for golden hour — one hour after sunrise or one hour before sunset. The warm directional light eliminates the harsh shadows of midday and makes every property look better. The sky has color and drama.
For interiors, the ideal time is when the dominant window direction aligns with soft, indirect light — north-facing rooms on overcast days are gorgeous; south-facing rooms in direct afternoon sun create extreme contrast that even HDR struggles with. Shoot south-facing interiors in the morning when the sun is on the east side, or use heavy window diffusion.
Declutter Checklist
Send this list to the agent or seller before every shoot:
- Remove all personal photos from walls and surfaces
- Clear kitchen counters completely — nothing should be visible except appliances (and hide them if possible)
- Close all closet doors
- Remove all toilet items from bathroom counters (leave only soap dispenser)
- Close toilet lids
- Remove cars from the driveway for exterior shots
- Mow lawn and edge within 48 hours of shoot
- Turn on all interior lights and replace burned-out bulbs (matching color temperature throughout — all warm or all cool, never mixed)
For Lightroom processing of your real estate images, our guide to best Lightroom presets for real estate photography covers HDR look, window pull technique, and vertical correction workflows.
Skylum’s Luminar Neo has the industry’s best one-click sky replacement and atmosphere AI — the two edits real estate listings need most. Tagged as affiliate per FTC.
Frequently Asked Questions
What aperture is best for real estate photography?
f/8 is the standard. It gives front-to-back sharpness with wide-angle lenses on a tripod without the diffraction softening that f/16 introduces at higher megapixel counts.
How many HDR brackets should I shoot for real estate?
Three frames at 2EV increments handles most situations. Use five frames at 2EV increments when windows are critical to the composition and the room is very dark.
Should I use flash for real estate photography?
Yes, but always bounced off the ceiling. Bounced flash fills shadows and adds depth without the harsh, unnatural look of direct flash. Set TTL at -1/3 to -2/3 EV compensation.
What focal length should I use for real estate interiors?
16–35mm on full-frame. 24mm is the most versatile. Use 16mm for small spaces, 35mm for detail shots or very large open-plan areas.
What is the best time of day to shoot real estate exteriors?
Golden hour — one hour after sunrise or before sunset — gives warm directional light, eliminates harsh shadows, and adds drama to the sky.