So, you want to be a photographer? Not just someone who snaps a blurry photo of their avocado toast, but a real-deal, "I-get-paid-for-this" professional. Whether you just unboxed your first DSLR or you’ve been stuck in "Program Mode" for three years, you’ve come to the right place.
Welcome to the ultimate guide to photography tutorials. At Shut Your Aperture, we aren't just a blog; we are building the number one photography school online. We believe that photography shouldn't be gated behind confusing jargon and expensive degrees. It should be accessible, simple, and: most importantly: fun.
In this guide, we’re going to walk through the essential building blocks of photography, from mastering your gear to the advanced techniques that separate the amateurs from the pros. Let’s dive in.
Phase 1: Understanding Your Gear (The Basics)
Before you can win a Pulitzer, you need to know which button does what. Most people pick up a camera and feel overwhelmed by the dials. Don't worry; we've all been there.
The first step is choosing the right tool for the job. If you’re just starting, check out our guide on the best cameras for beginners. You don't need a $5,000 setup to take great photos, but you do need a camera that allows you to control the settings manually.
Essential Gear Check:
- The Camera Body: Whether it's a mirrorless or a DSLR, make sure it has a manual mode.
- Lenses: A "nifty fifty" (50mm f/1.8) is the best first lens you’ll ever buy.
- Maintenance: A dirty sensor will ruin your life. Keep your gear clean by following our camera maintenance guide.
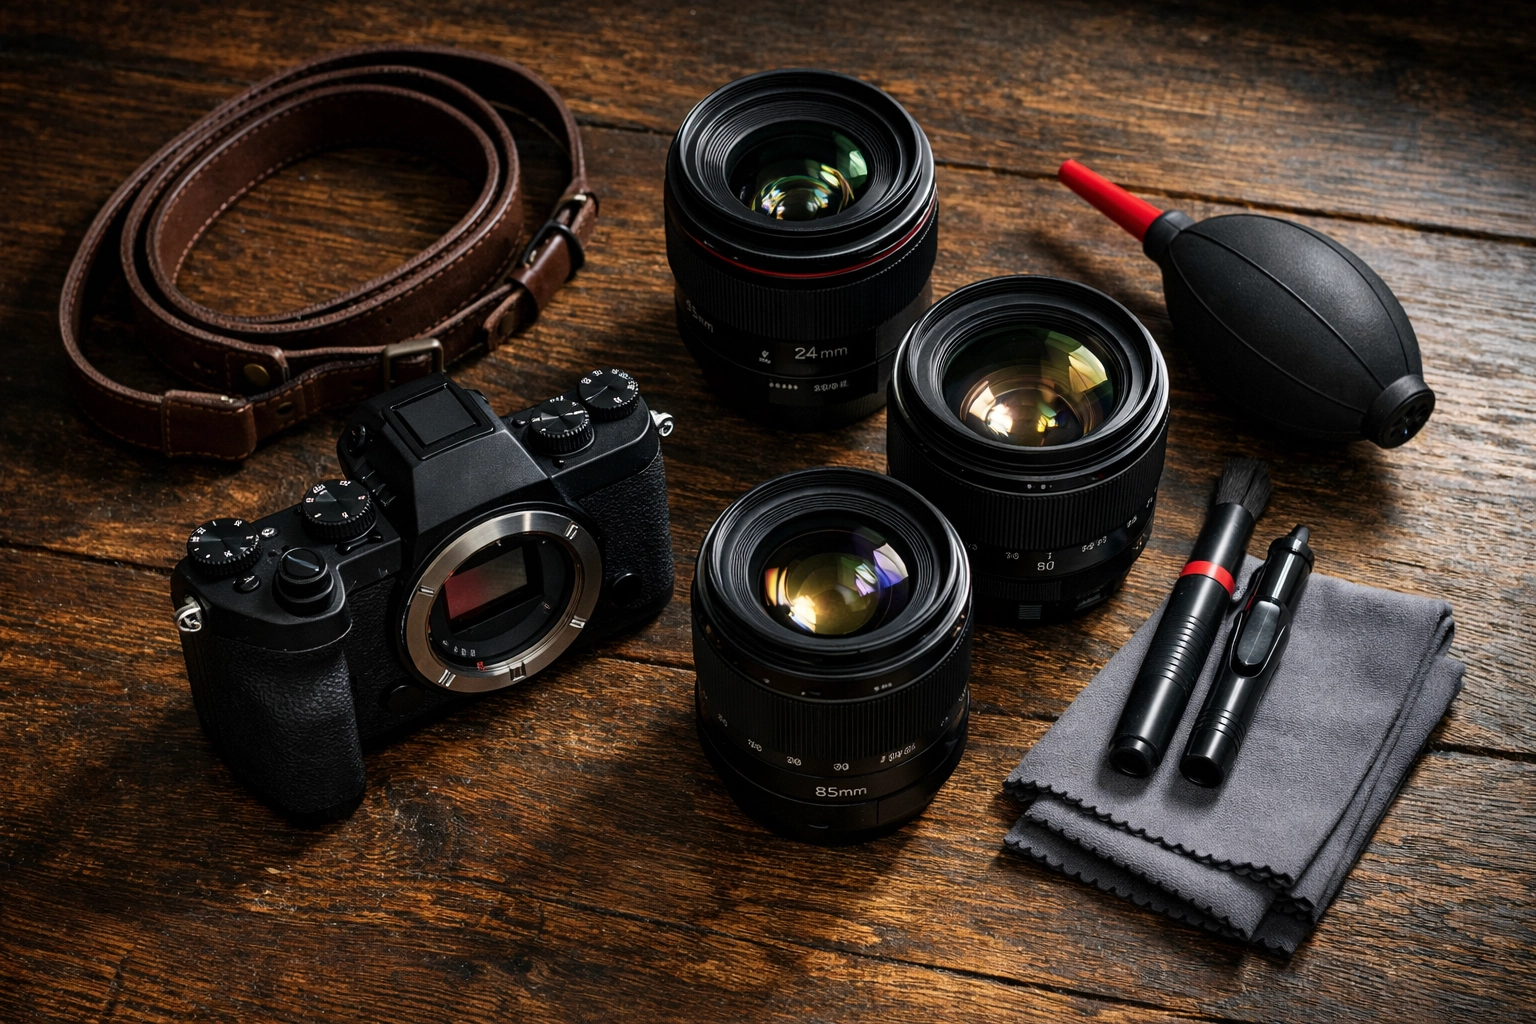
SEO Alt Text: A high-end mirrorless camera on a wooden table with various prime lenses, demonstrating professional photography gear essentials.
Phase 2: Mastering the Exposure Triangle
If photography is a language, the exposure triangle is the alphabet. It consists of three elements: Aperture, Shutter Speed, and ISO.
- Aperture (f-stop): This controls the opening of your lens. A wide opening (like f/1.8) lets in a lot of light and gives you that blurry background (bokeh) everyone loves. A narrow opening (like f/11) keeps everything from the foreground to the background in focus.
- Shutter Speed: This is how long the sensor is exposed to light. Fast shutter speeds (1/1000s) freeze motion. Slow shutter speeds (1/10s or longer) create motion blur, perfect for silky waterfalls.
- ISO: This is your camera’s sensitivity to light. Low ISO (100) is best for bright days. High ISO (3200+) is for dark situations, but be careful: high ISO can introduce "noise" or graininess.
Learning how these three work together is the core of all photography tutorials. You can find more foundational tips on our top photography tips page.
Phase 3: How to Use Manual Mode Camera
This is the big one. This is where the magic happens. Learning how to use manual mode camera is the single most important step in your journey to going pro. When you're in Auto, the camera makes the decisions. When you're in Manual, you are the artist.
The Manual Mode Workflow:
- Set your ISO first: If it’s sunny, go 100. If it’s cloudy, try 400. If you’re inside, start at 800.
- Choose your Aperture: Do you want a blurry background? Go for a low number (wide aperture). Do you want a sharp landscape? Go for a high number (narrow aperture).
- Adjust your Shutter Speed: Use your camera's light meter (that little scale at the bottom of your viewfinder) to adjust the shutter speed until the marker hits the middle (zero).
- Take a test shot: Look at the screen. Is it too dark? Slow down the shutter. Too bright? Speed it up.
It takes practice, but once it clicks, you'll never go back to Auto. For a deeper look into professional techniques, check out ProShoot.io, where we dive even deeper into professional workflows.
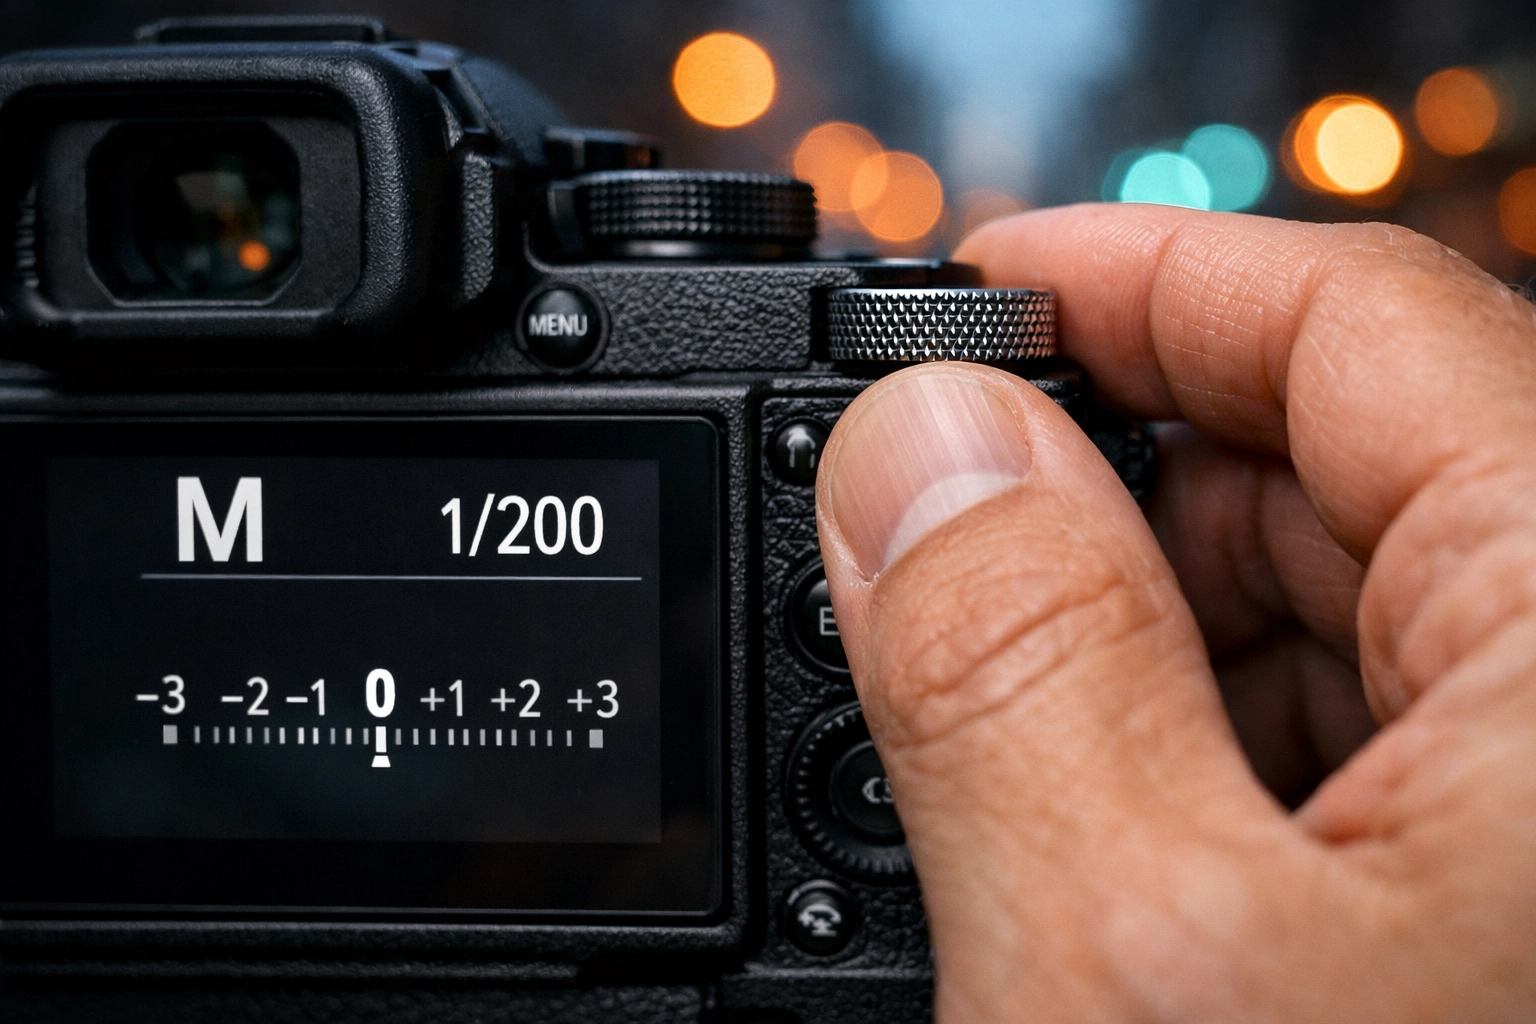
SEO Alt Text: Close-up of a photographer's hands adjusting the dial on a camera in manual mode, focusing on the settings displayed on the back LCD screen.
Phase 4: Composition and Storytelling
A perfectly exposed photo of a trash can is still a photo of a trash can. To make people stop scrolling, you need composition.
- Rule of Thirds: Imagine your frame is divided into a 3×3 grid. Place your subject on the lines or at the intersections.
- Leading Lines: Use roads, fences, or shadows to lead the viewer’s eye toward your subject.
- Framing: Use natural elements like trees or windows to frame your subject.
If you’re interested in travel and landscape work, our guide on mastering canyon and gorge travel photography is a masterclass in composition in difficult environments.
Phase 5: Advanced Lighting Techniques
Light is everything. The word "photography" literally means "writing with light." To go pro, you need to understand both natural and artificial light.
Natural Light
The "Golden Hour" (the hour after sunrise and before sunset) is a photographer's best friend. The light is soft, warm, and flattering. But what happens at noon? You learn to use reflectors or find shade.
Studio and Artificial Light
When the sun goes down, the pros keep working. Understanding off-camera flash and continuous lighting is what allows you to shoot high-end portraits. If you want to see what the experts are doing behind the scenes, read our post on portrait photography techniques revealed.
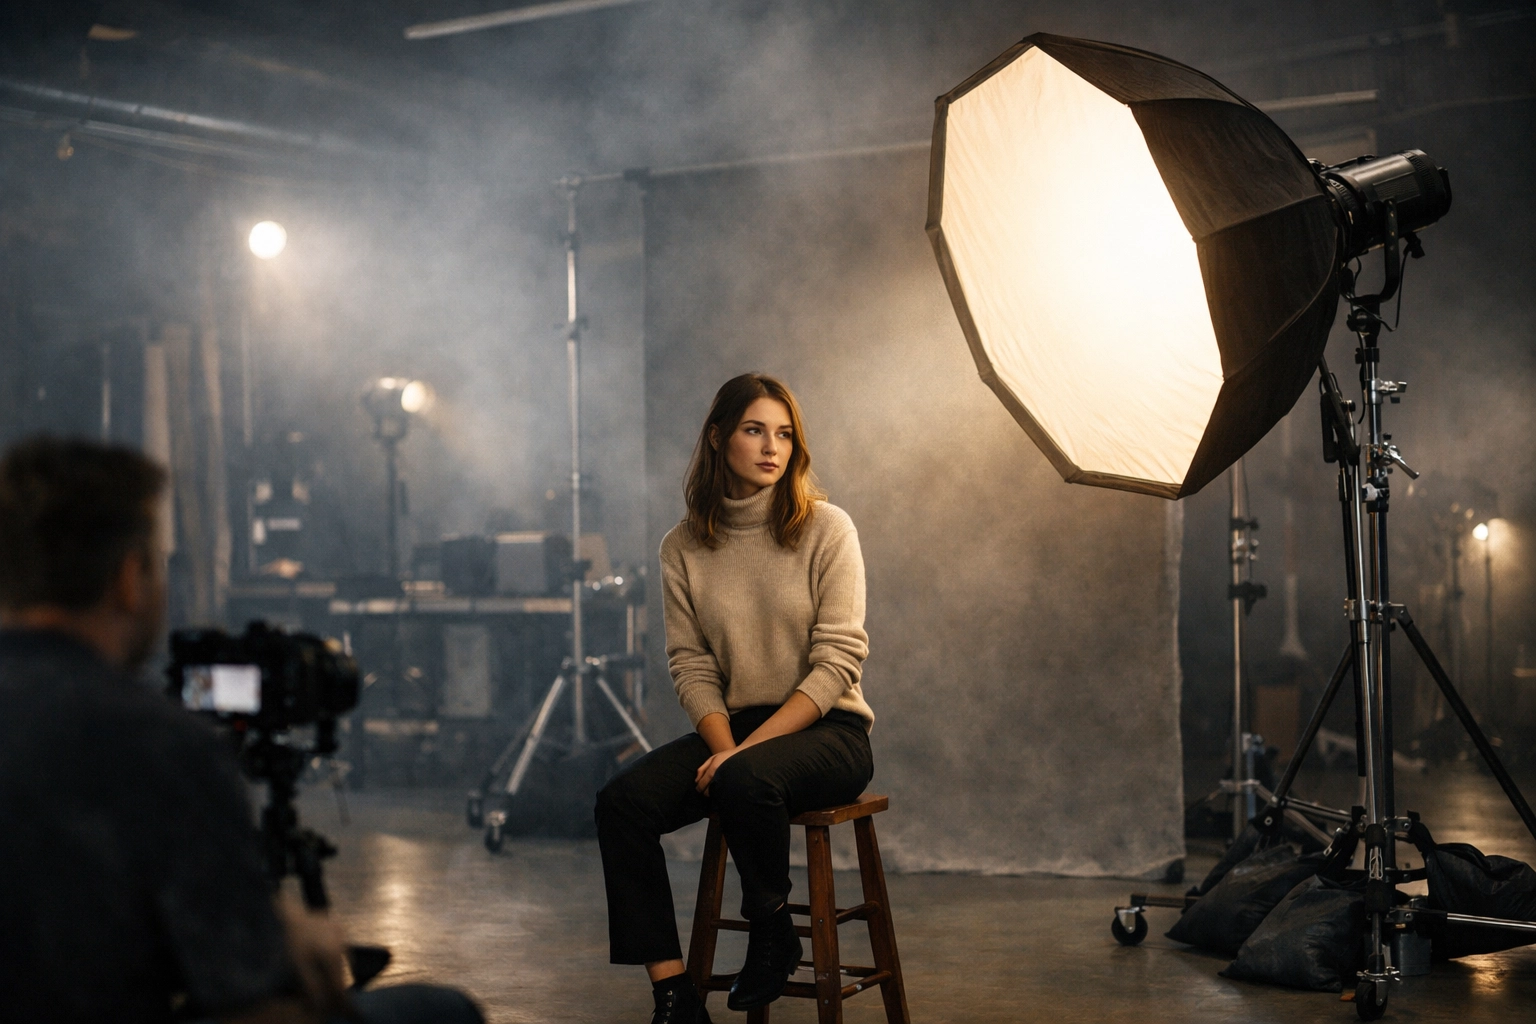
SEO Alt Text: A professional photography studio setup with softboxes and a model, showing advanced lighting techniques for portraiture.
Phase 6: Post-Processing and Editing
The shot you take in-camera is just the raw material. The real "developing" happens on your computer.
I always tell my students: shoot in RAW. It preserves more data than JPEG, giving you way more control in editing. When it comes to software, there are plenty of options, but one of my personal favorites for a fast and powerful workflow is Luminar.
Luminar uses AI to help with sky replacements, skin retouching, and lighting adjustments that used to take hours. If you want to level up your editing game quickly, Luminar is a fantastic tool to have in your kit.
For more inspiration on what a finished professional image should look like, head over to Edin Chavez’s personal blog or browse the gallery at Edin Fine Art.
Phase 7: Finding Your Niche
To succeed and go pro, you eventually need to specialize. Are you a wedding photographer? A street photographer? A vlogger?
If you’re leaning toward video, you should check out our list of the best vlogging cameras or the best 4k video cameras.
If you prefer the art of the human form, we have an extensive guide on fine art nude poses that explores the intersection of anatomy and light.
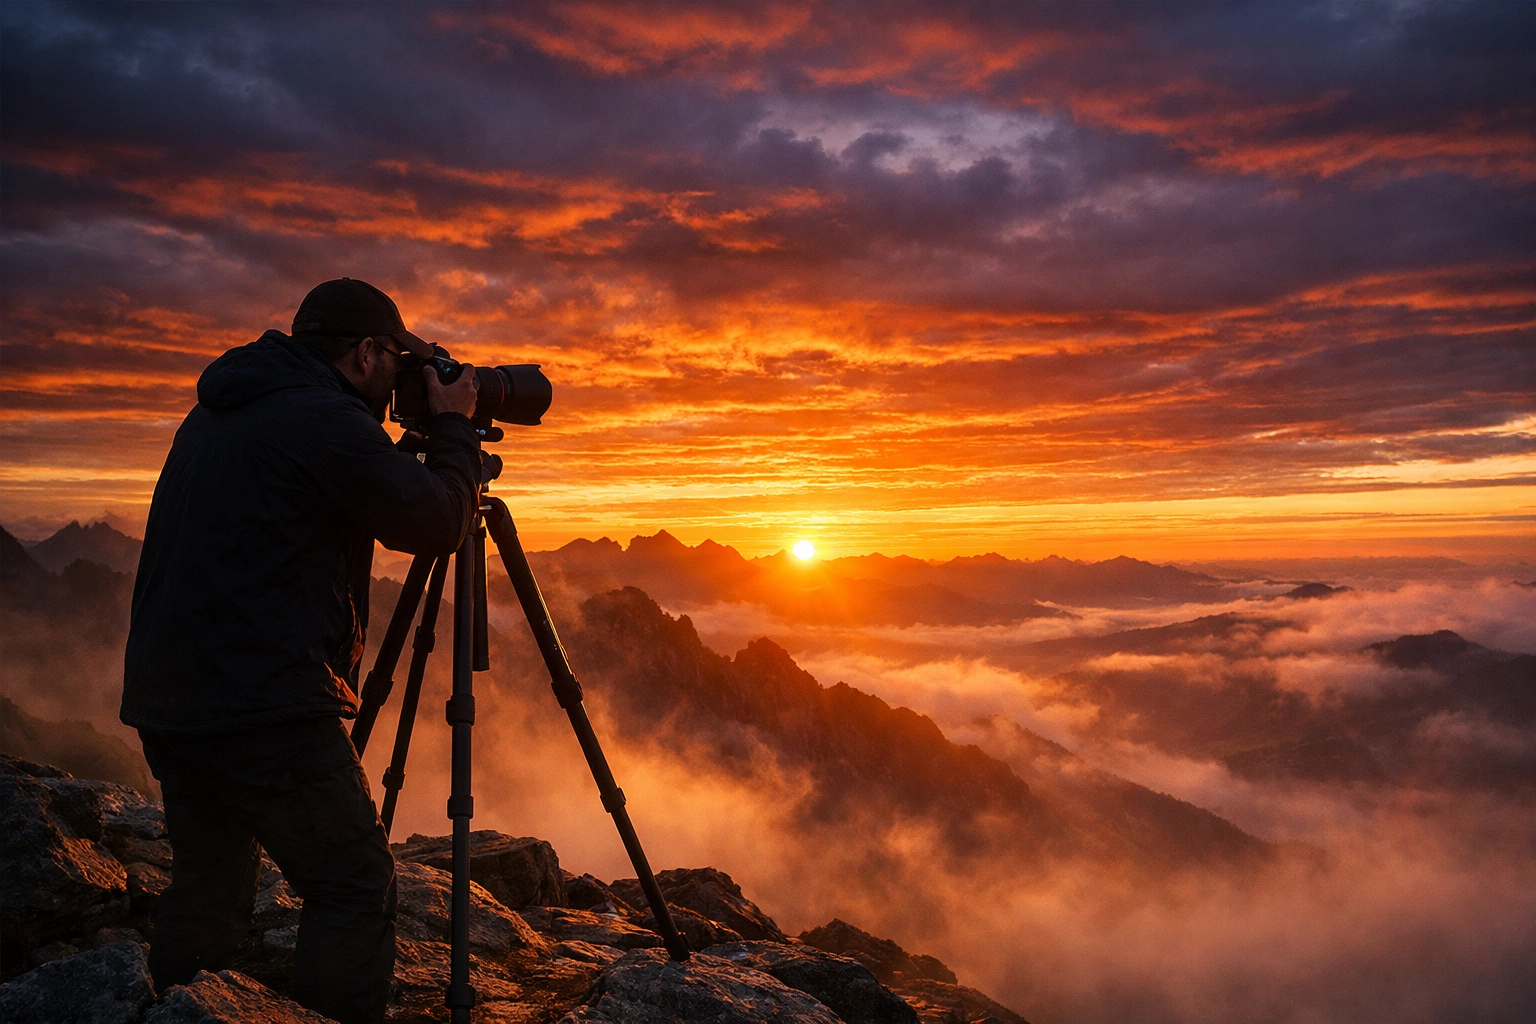
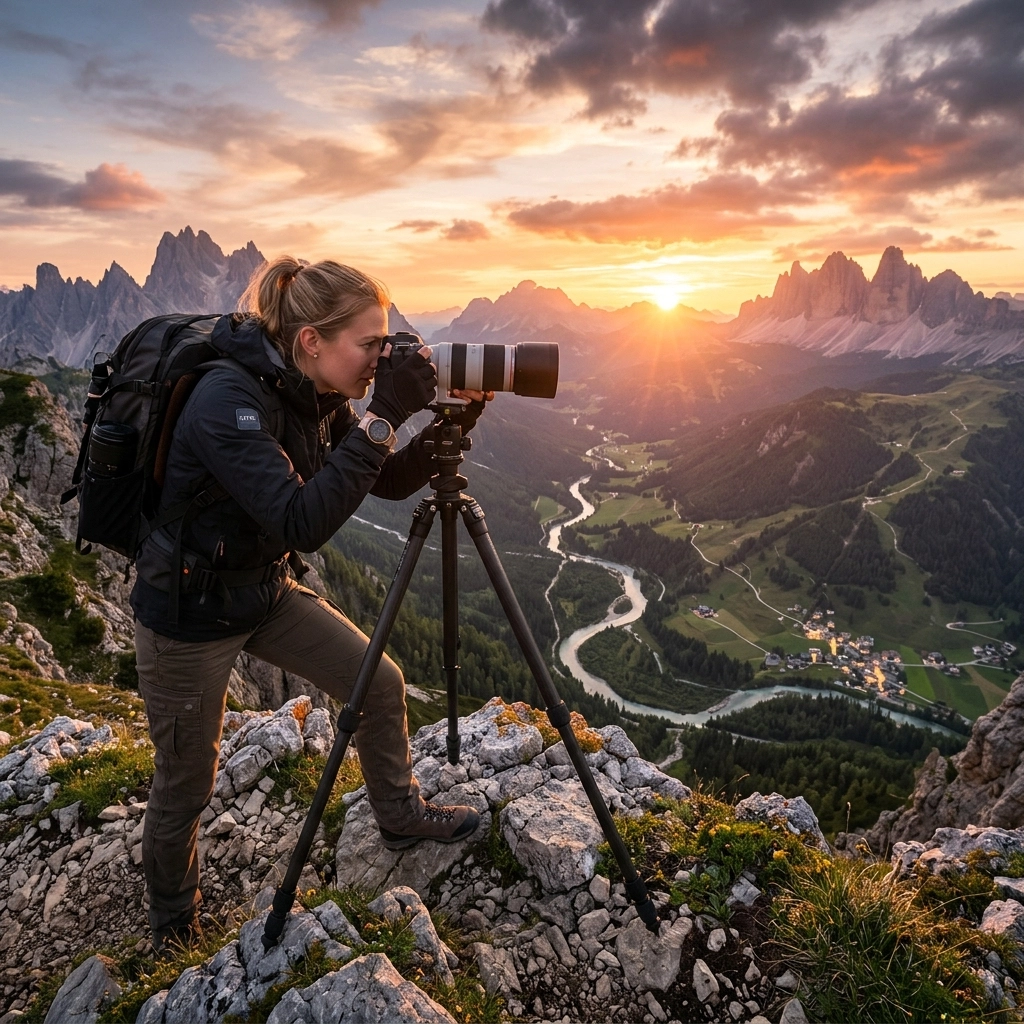
SEO Alt Text: A photographer standing on a mountain peak during sunrise, symbolizing the journey to becoming a professional photographer.
Phase 8: The Business of Photography
This is the part many photography tutorials skip. Being a professional photographer is 20% taking photos and 80% running a business.
- Portfolio: You need a website that looks professional. No "free" watermarked sites. Check out PhotoGuides.org for tips on building your presence.
- Contracts: Never shoot without a contract. Period.
- Marketing: Use social media to your advantage. We work closely with our social media manager, Sonny, to ensure our blog content reaches the right people.
- Stay Updated: The industry moves fast. Whether it's a new sensor or a firmware update, stay informed via our photography news and latest tips.
Why Shut Your Aperture is the Number One Photography School
There are a million places to learn photography. Why choose us? Because we keep it simple. We don't believe in fluff. We believe in getting you out there, camera in hand, taking photos that make you proud.
We are constantly updating our content with the latest gear reviews, like choosing the best camera in 2024 and camera comparison insights. We want to be your one-stop shop for everything from your first shutter click to your first gallery showing.
Final Thoughts for the Aspiring Pro
The path from beginner to pro isn't a straight line. You’re going to take thousands of bad photos. That’s okay. In fact, it’s necessary. Every bad photo teaches you something about what not to do next time.
Master the exposure triangle, learn how to use manual mode camera, and start seeing the world in terms of light and shadow. Don't forget to use tools like Luminar to bring your vision to life.
If you ever feel stuck, come back here. Dive into our sitemaps: whether it's sitemap 3, sitemap 5, or sitemap 6: to find specific tutorials tailored to your current struggle.
Photography is a journey, not a destination. Shut Your Aperture is here to make sure you have the best map possible. Now, get out there and start shooting. The world is waiting for your perspective.