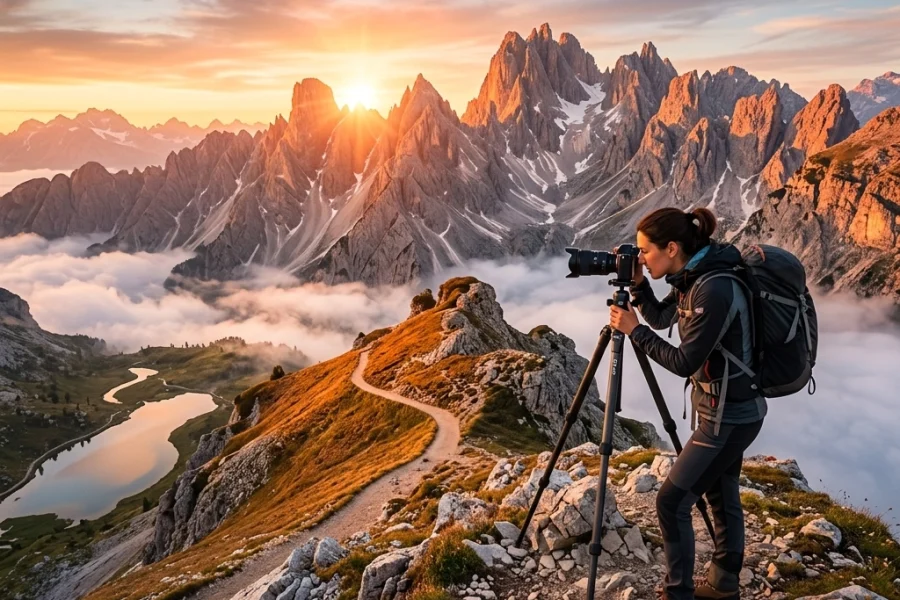
You finally did it. You took the training wheels off. You clicked that dial over to the big "M" and felt like a real photographer. Then you looked at your back screen and saw… nothing. Or maybe a blurry mess. Or perhaps a photo so bright it looked like you captured the exact moment a nuclear reactor went into meltdown.
Don't sweat it. We’ve all been there. Transitioning to Manual mode is a rite of passage at Shut Your Aperture. It’s the moment you stop letting a computer chip make creative decisions for you and start telling the camera exactly what you want. But here’s the thing: Manual mode is a double-edged sword. With great power comes the great responsibility of not messing up the exposure triangle.
If your photos are looking a bit "meh" lately, or if you’re finding yourself frustrated with the technical side of things, you’re probably falling into one of these seven common traps. Let’s break down the mistakes that are killing your shots and, more importantly, how to fix them before your next shoot.
1. The "Bokeh Addiction" (Keeping Your Aperture Too Open)
We get it. You bought a fast lens: maybe a 35mm or 50mm f/1.8: and you want that creamy, blurry background in every single shot. It’s the "pro look," right? Well, yes and no.
The biggest mistake beginners make in Manual mode is leaving their aperture wide open (the lowest f-stop number) for everything. When you shoot at f/1.8, your depth of field is razor-thin. If you’re shooting a portrait and the person tilts their head slightly, one eye might be sharp while the other is a blurry mess. If you’re shooting a group of people, the person in the front will be clear, and everyone behind them will look like a thumbprint.
The Fix:
Stop chasing bokeh at the expense of focus. If you’re shooting more than one person, stop down to at least f/4 or f/5.6. This ensures everyone’s face is actually in focus. If you’re shooting landscapes, you’ll want even more depth, likely around f/8 to f/11. Learning when to close that aperture is just as important as knowing how to open it. For a deeper dive into making your subjects pop without losing clarity, check out our ultimate guide to photography tutorials.

2. The High ISO Panic
When the light starts to fade, most new photographers panic and crank the ISO up to 6400 or higher. While modern mirrorless cameras are incredible at handling low light, high ISO still introduces "noise": that grainy, digital texture that eats away at your sharp edges and ruins your colors.
The mistake isn't just using high ISO; it's using it when you don't have to. Often, people forget they have two other ways to get more light: a slower shutter speed or a wider aperture.
The Fix:
ISO should be your last resort. Follow this order:
- Open your aperture as much as is practical for the shot.
- Slow down your shutter speed (as long as you aren't introducing motion blur).
- Only then, if the photo is still too dark, start nudging your ISO up.
If you do end up with a noisy photo, don't delete it just yet. Advanced editing software like Luminar has incredible AI-driven noise reduction tools that can save a shot that would have been unusable five years ago. For more tips on cleaning up your files, keep an eye on our software updates section.
3. Ignoring the Reciprocal Rule (The Shutter Speed Trap)
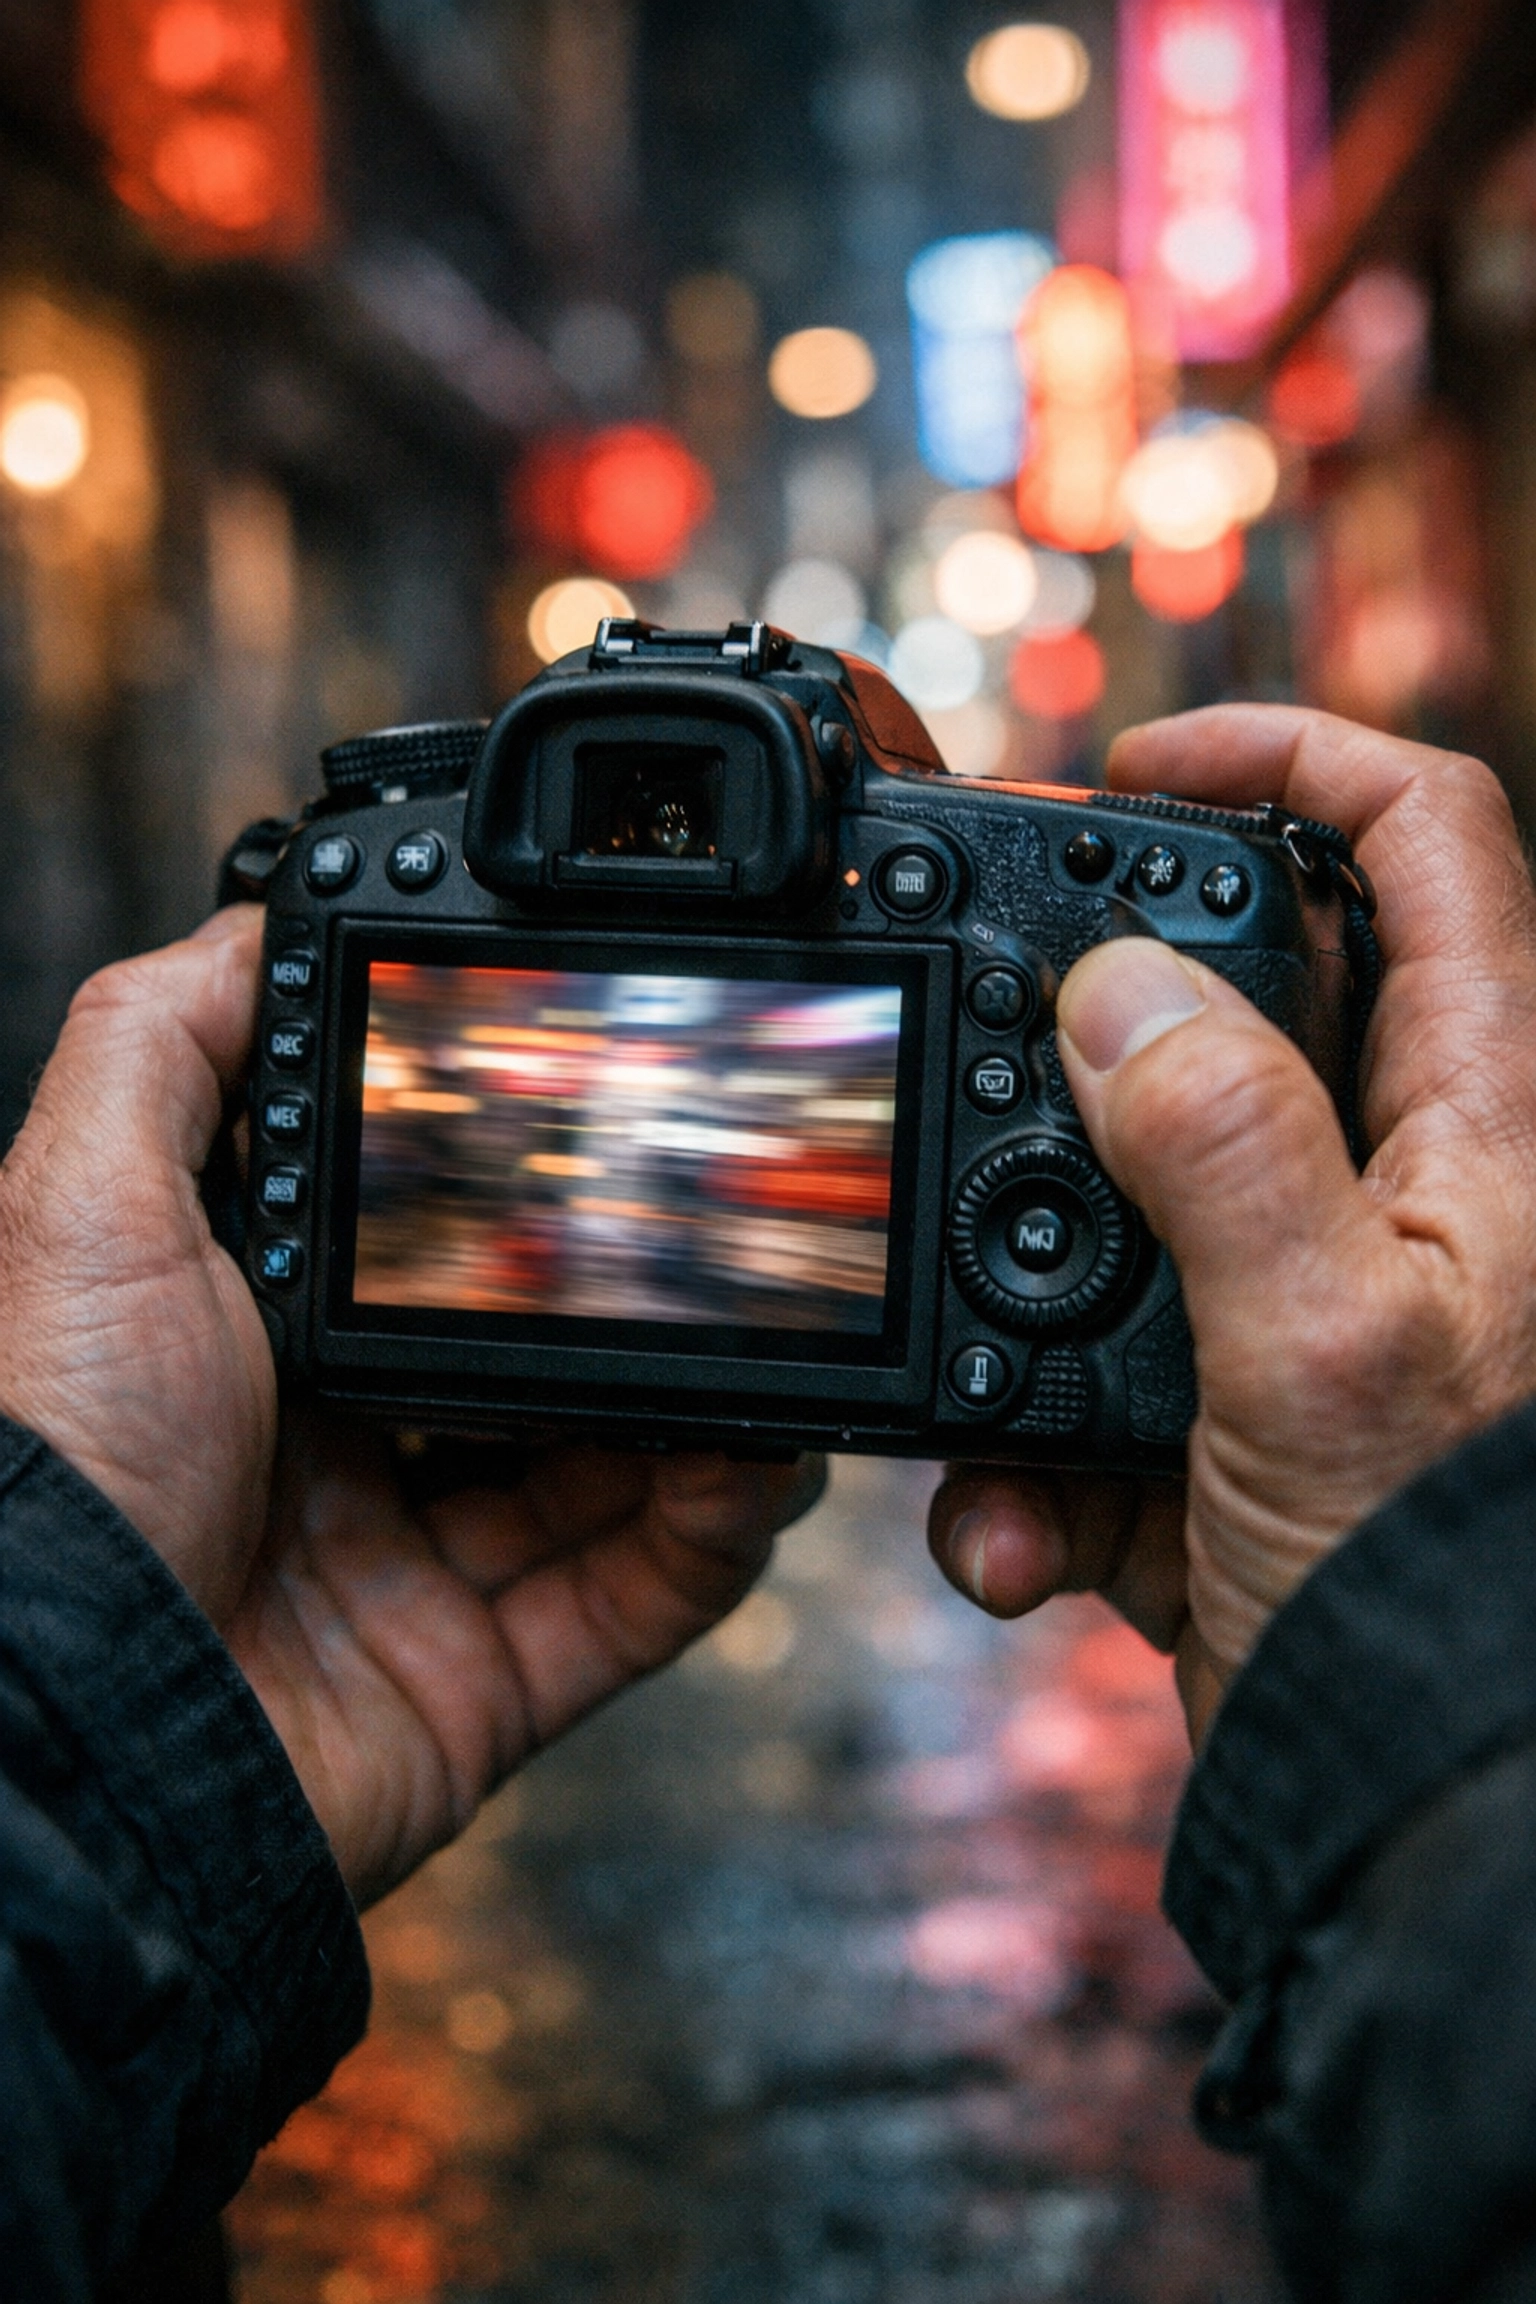
Have you ever taken a photo that looked sharp on your camera's small LCD screen, but when you got home and opened it on your computer, it was slightly "soft" or blurry?
This is usually caused by camera shake. In Manual mode, it’s easy to forget that your shutter speed needs to be fast enough to compensate for the tiny, natural movements of your hands. A classic mistake is shooting at 1/30th or 1/50th of a second while handholding a long lens.
The Fix:
Memorize the Reciprocal Rule. It’s a simple math trick: Your shutter speed should be at least 1 divided by your focal length.
- If you are shooting with a 50mm lens, your shutter speed should be at least 1/50s.
- If you are using a 200mm zoom lens, you need at least 1/200s to keep things sharp.
Keep in mind that if your subject is moving (like a dog or a kid), the reciprocal rule isn't enough: you’ll need much faster speeds (1/500s or higher) to freeze the action. If you want to see how the pros handle movement and perspective, take a look at how Peter Lik manages his legendary landscape compositions.
4. Trusting the Exposure Meter Too Much
Inside your viewfinder, there’s a little scale with a "0" in the middle. Most people think that as long as the little ticker is on the zero, the exposure is "correct."
Here’s the secret: Your camera is smart, but it’s also kind of dumb. It’s designed to turn everything into "18% gray." If you’re shooting a person standing in the snow, the camera sees all that white and thinks, "Whoa, way too bright!" It will then tell you to underexpose the shot, turning your beautiful white snow into a muddy gray. Conversely, if you’re shooting a black cat in a coal cellar, the camera will try to brighten it up, turning the black fur into a noisy gray.
The Fix:
Learn to read your Histogram. The histogram is a graphical representation of the tones in your image. If the "mountain" is all the way to the left, you’re losing detail in the shadows (underexposed). If it’s all the way to the right, you’re "blowing out" the highlights (overexposed). Don't just aim for the middle of the meter: aim for a histogram that reflects the actual scene. In real estate photography, for example, understanding the role of luminosity is the difference between a flat photo and a luxury listing.
5. Setting "Fiddle" Fatigue
A common sight: A new photographer standing in front of a beautiful sunset, clicking and scrolling through dials for five minutes, only to look up and realize the sun has already disappeared.
The mistake here is trying to change all three settings (Aperture, Shutter Speed, and ISO) for every single shot. If you are standing in the same spot under the same light, the light isn't changing: so why are your settings?
The Fix:
Pick your "priority" setting and lock it.
- If you want a specific look (like a shallow depth of field), set your Aperture and leave it.
- Set your ISO based on the overall light of the environment (e.g., ISO 100 for a sunny day, ISO 800 for a shady forest).
- Now, the only thing you have to "fiddle" with is your Shutter Speed to get the right exposure.
By only changing one variable at a time, you’ll work ten times faster and miss fewer moments. For more technical workflows, you can always check out resources at PhotoGuides.org.
6. Fighting the Light Instead of Using It
Manual mode gives you control over how the camera receives light, but it doesn't change the quality of the light itself. A huge mistake is trying to "fix" bad lighting with Manual settings. If you’re shooting a portrait at high noon with the sun directly overhead, no amount of f-stop tweaking is going to get rid of those nasty "raccoon eye" shadows under your subject’s eyes.
Beginning photographers often get so caught up in the math of the exposure triangle that they forget to look at the physics of the light source.
The Fix:
Before you even touch your camera, look at your light. Where is it coming from? Is it hard or soft?
- If the light is too harsh, move your subject into the shade.
- If you’re indoors, move them closer to a window.
- If you're shooting architecture, consider how cinematic techniques can help you manipulate light to create a mood rather than just "getting an exposure."
Light is the "paint" of photography. Manual mode is just the brush. Don't blame the brush if you're using dirty paint.
7. The Perfectionism Paralysis
The final mistake isn't technical: it's mental. Many photographers feel that if they are in Manual mode, every single shot has to be a masterpiece. They spend so much time worrying about the "perfect" exposure that they lose their creative spark. They forget about composition, storytelling, and emotion because they are staring at a light meter.
Photography is an art form, not a math test. If you miss the shot of a lifetime because you were worried about whether your ISO was at 400 or 500, you’ve failed the ultimate goal of being a photographer.
The Fix:
Give yourself permission to mess up. Shoot a lot. If you realize your settings were slightly off, that's what RAW files and post-processing are for. Tools like Luminar are designed to help you recover shadows or pull back highlights that you might have missed in the heat of the moment.
Focus on the story first. If you want to see how to elevate your shots from "technically correct" to "emotionally moving," check out our piece on ethereal imagery in real estate. Sometimes, a little "imperfection" is exactly what a photo needs to feel real.

Bonus Tip: The "Safety Net" Technique
If you’re still feeling overwhelmed by Manual mode, try this: Take a shot in Aperture Priority mode (A or Av) first. See what settings the camera chooses. Then, switch to Manual and use those settings as your "base camp." From there, you can tweak the shutter speed or aperture to get the specific look you want. It’s like having a guide lead you halfway up the mountain before you take over the climb.
Manual mode doesn't have to be a battle. It’s a conversation between you and your gear. Once you stop making these seven mistakes, you’ll find that the conversation gets a whole lot easier: and your photos get a whole lot better.
For more professional insights and to see how we apply these rules in a studio setting, visit edinstudios.com or browse the incredible fine art collections at edinfineart.com. And if you ever feel like you've hit a wall, remember that even the world's most famous photographers started exactly where you are today: fiddling with a dial and wondering why the screen was black.
Keep shooting, keep failing, and eventually, the "M" mode will become second nature. See you out there.