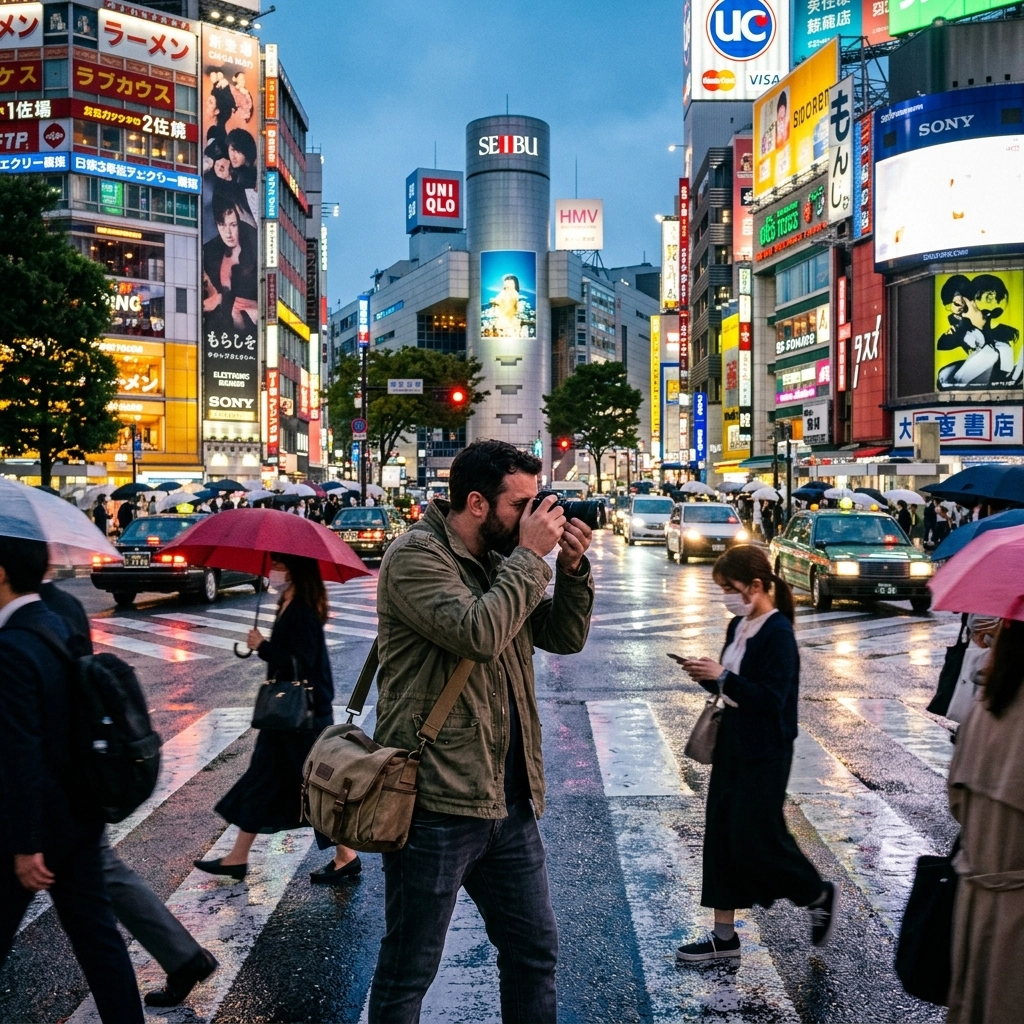
Street photography is the wild west of the photography world. There are no models, no lighting assistants, and no "do-overs." It’s just you, your camera, and the unpredictable flow of the human experience. If you’ve ever felt that rush of adrenaline when you see a perfect moment unfolding on a city sidewalk, you’re already a street photographer at heart.
But there’s a big difference between taking a snapshot of a building and capturing a "decisive moment" that tells a story. Success in this genre requires a mix of technical skill, psychological grit, and a bit of luck. Whether you're a seasoned pro or someone just trying to figure out why their street shots look like boring tourist photos, this guide is for you.
What Exactly is Street Photography?
At its core, street photography is candid photography of life in public spaces. It doesn't actually have to happen on a "street", it could be in a park, a subway station, a beach, or a crowded mall. The defining factor is that it is unplanned and unposed.
A great street photo isn't just a picture of a person; it’s a picture of a moment. It captures a gesture, a look, or a strange juxtaposition that would have otherwise gone unnoticed. It’s about finding the extraordinary in the ordinary. If you want to dive deeper into the history and philosophy of this craft, check out some of the resources over at PhotoGuides.org, which has been a staple for photographers for years.
The Mental Game: Overcoming the Fear
Let’s address the elephant in the room: street photography can be terrifying. The idea of pointing a camera at a stranger is enough to make most people break into a cold sweat. You’re worried they’ll get angry, yell at you, or, worse, ask you what you’re doing.
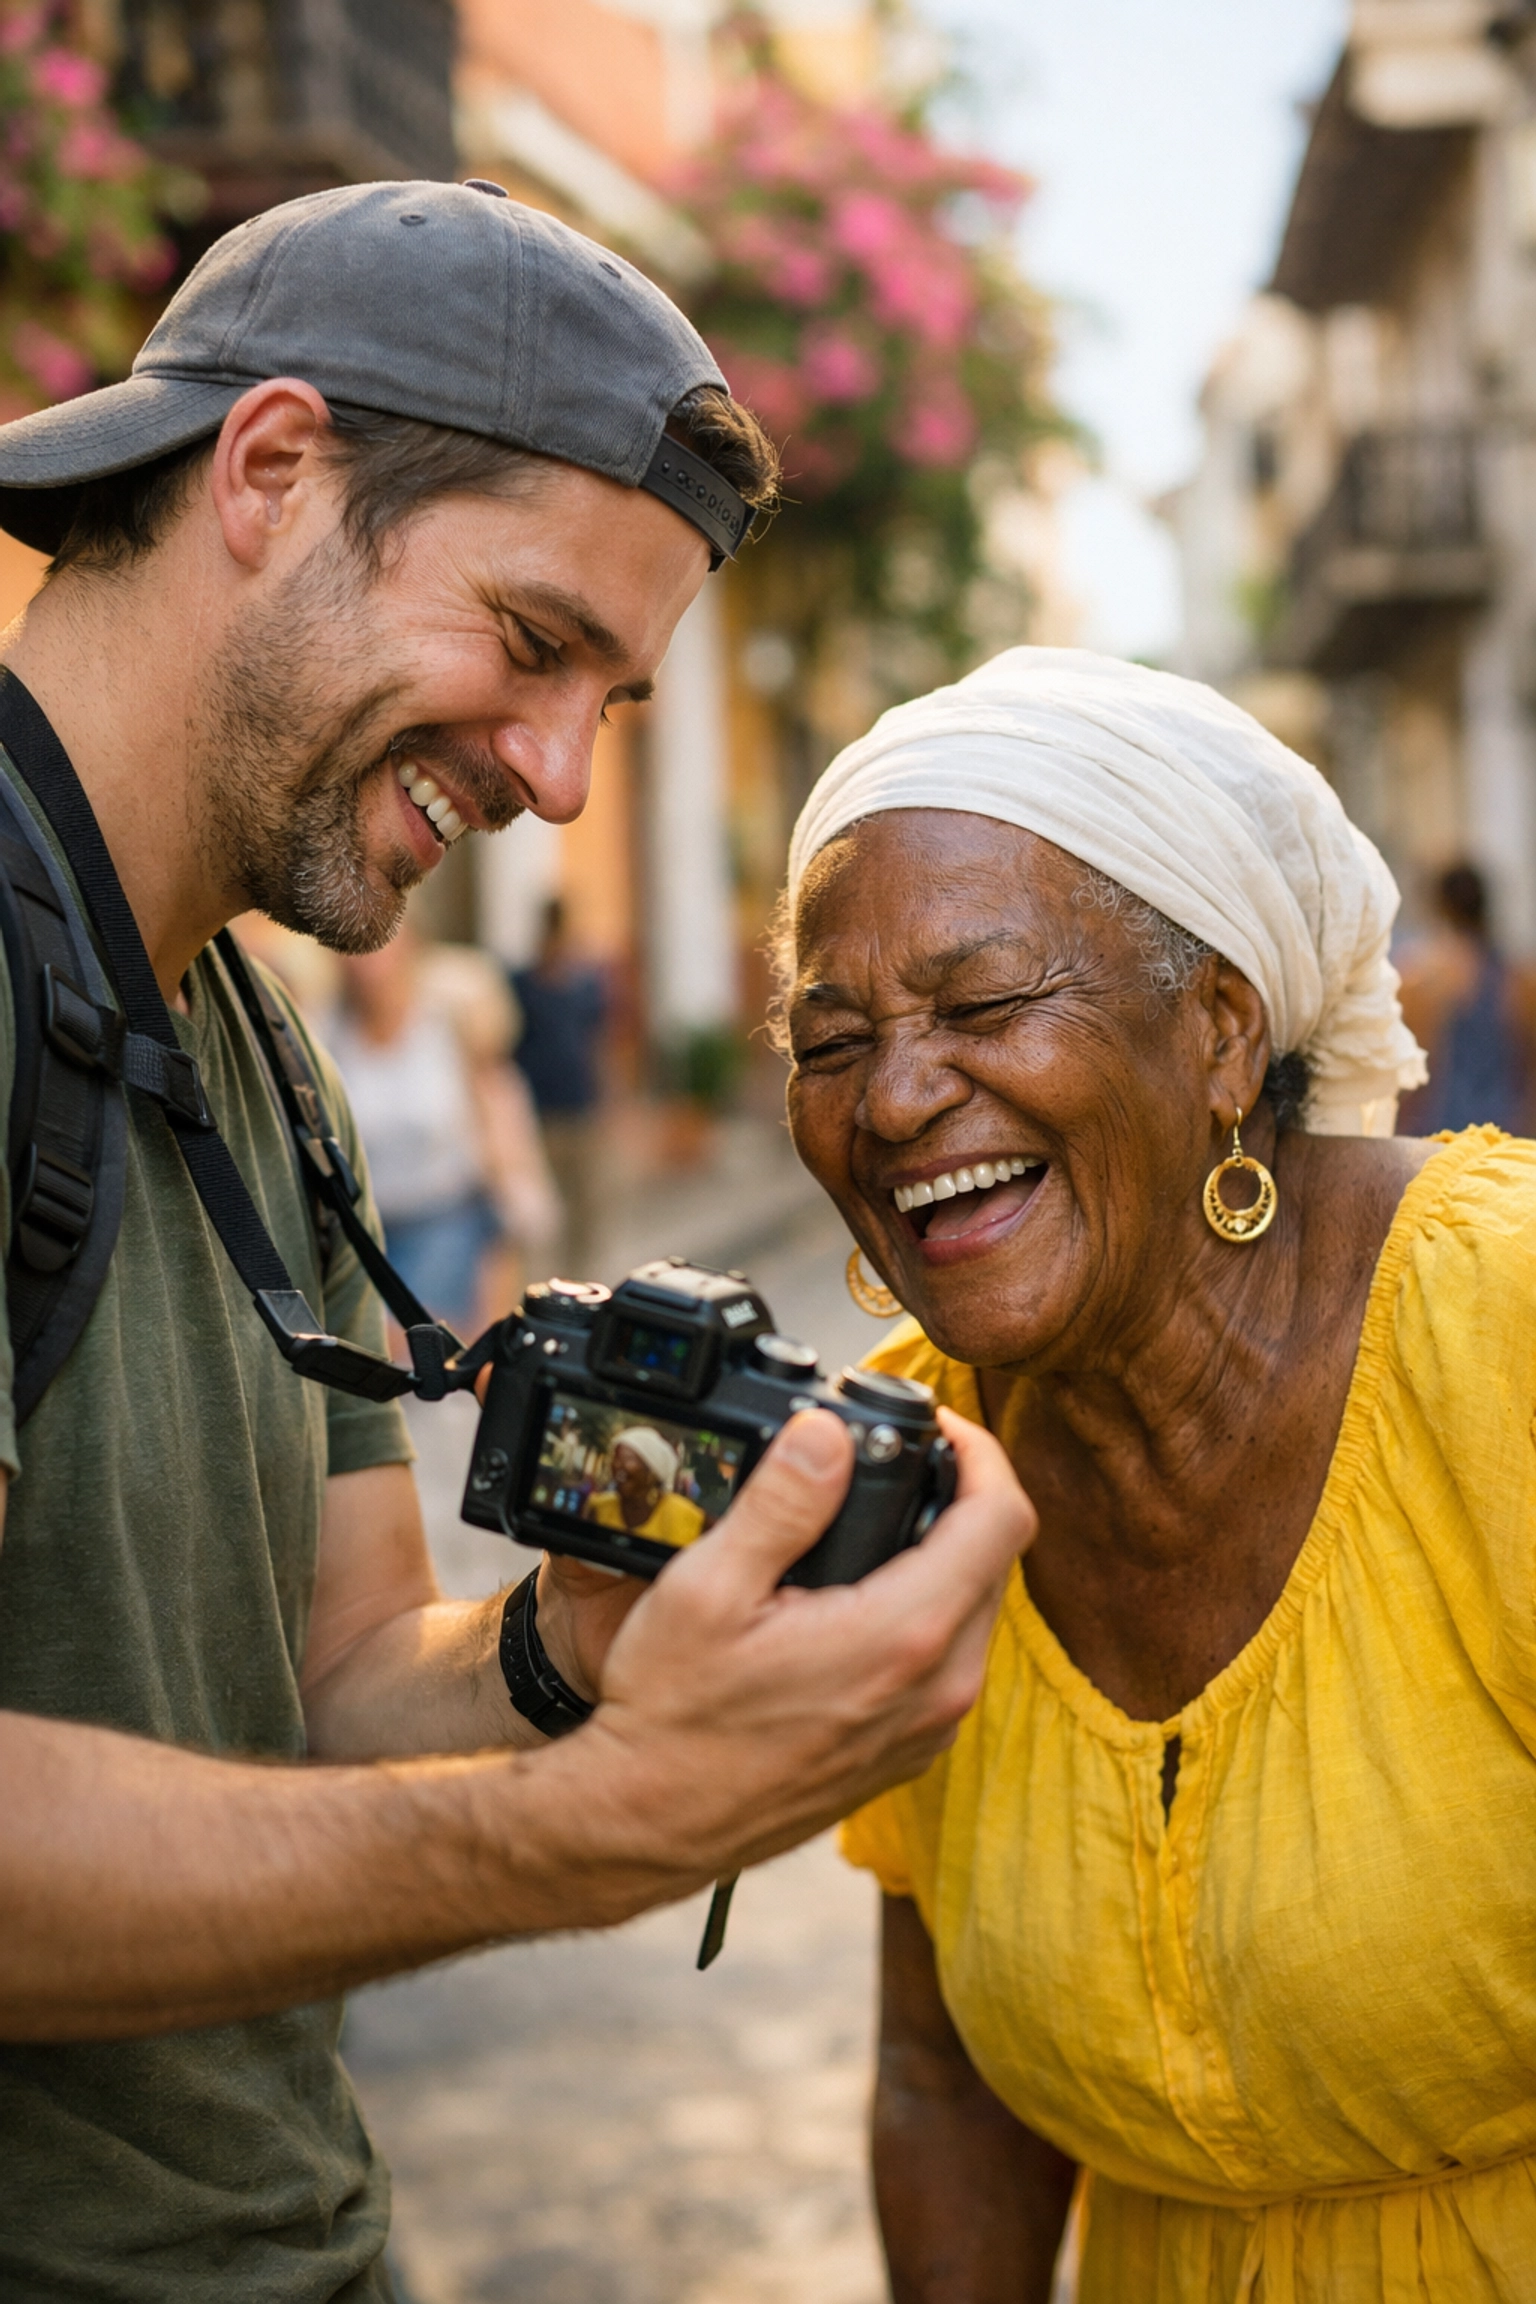
Here is the secret: most people don't care. In our modern world, everyone has a camera in their hand. To succeed, you need to change your mindset. You aren't "taking" something from people; you are documenting the world.
Strategies to Build Confidence
- The "Tourist" Technique: Act like a tourist. Look at the buildings, look at the sky, and then "happen" to take a photo of the person in front of you.
- Smile: If someone catches you taking their photo, don’t look down and run away. Smile, nod, and maybe even show them the photo. Most of the time, a friendly vibe diffuses any tension.
- Start at Events: Go to places where people expect to be photographed, festivals, parades, or busy markets. It’s a great way to practice without the "creepy" factor. If you find yourself transitioning into professional gigs, check out our ultimate guide to event photography gear to see how the kit differs.
Choosing the Right Gear
You don’t need the most expensive camera to be a street photographer. In fact, a giant camera with a massive lens is usually a disadvantage because it makes you stand out like a sore thumb.
The Camera
Small and fast is the name of the game. Mirrorless cameras are the gold standard here because they are quiet and discreet. If you’re currently debating an upgrade, you might want to look at the Nikon Z6 III vs Sony A7 IV. Both are incredible for street work because of their fast autofocus and compact bodies.
The Lens
Forget the zoom lenses. Carrying a 70-200mm lens makes you look like a paparazzo. Instead, stick to "prime" lenses (fixed focal lengths).
- 35mm: The classic street focal length. It’s wide enough to capture the environment but tight enough to keep the subject prominent.
- 50mm: Great for portraits and isolating subjects from the background.
- 28mm: For those who like to get right in the middle of the action.
Master Your Settings
In street photography, things happen fast. If you’re fiddling with your dials, you’ll miss the shot.
Shutter Priority (Tv or S)
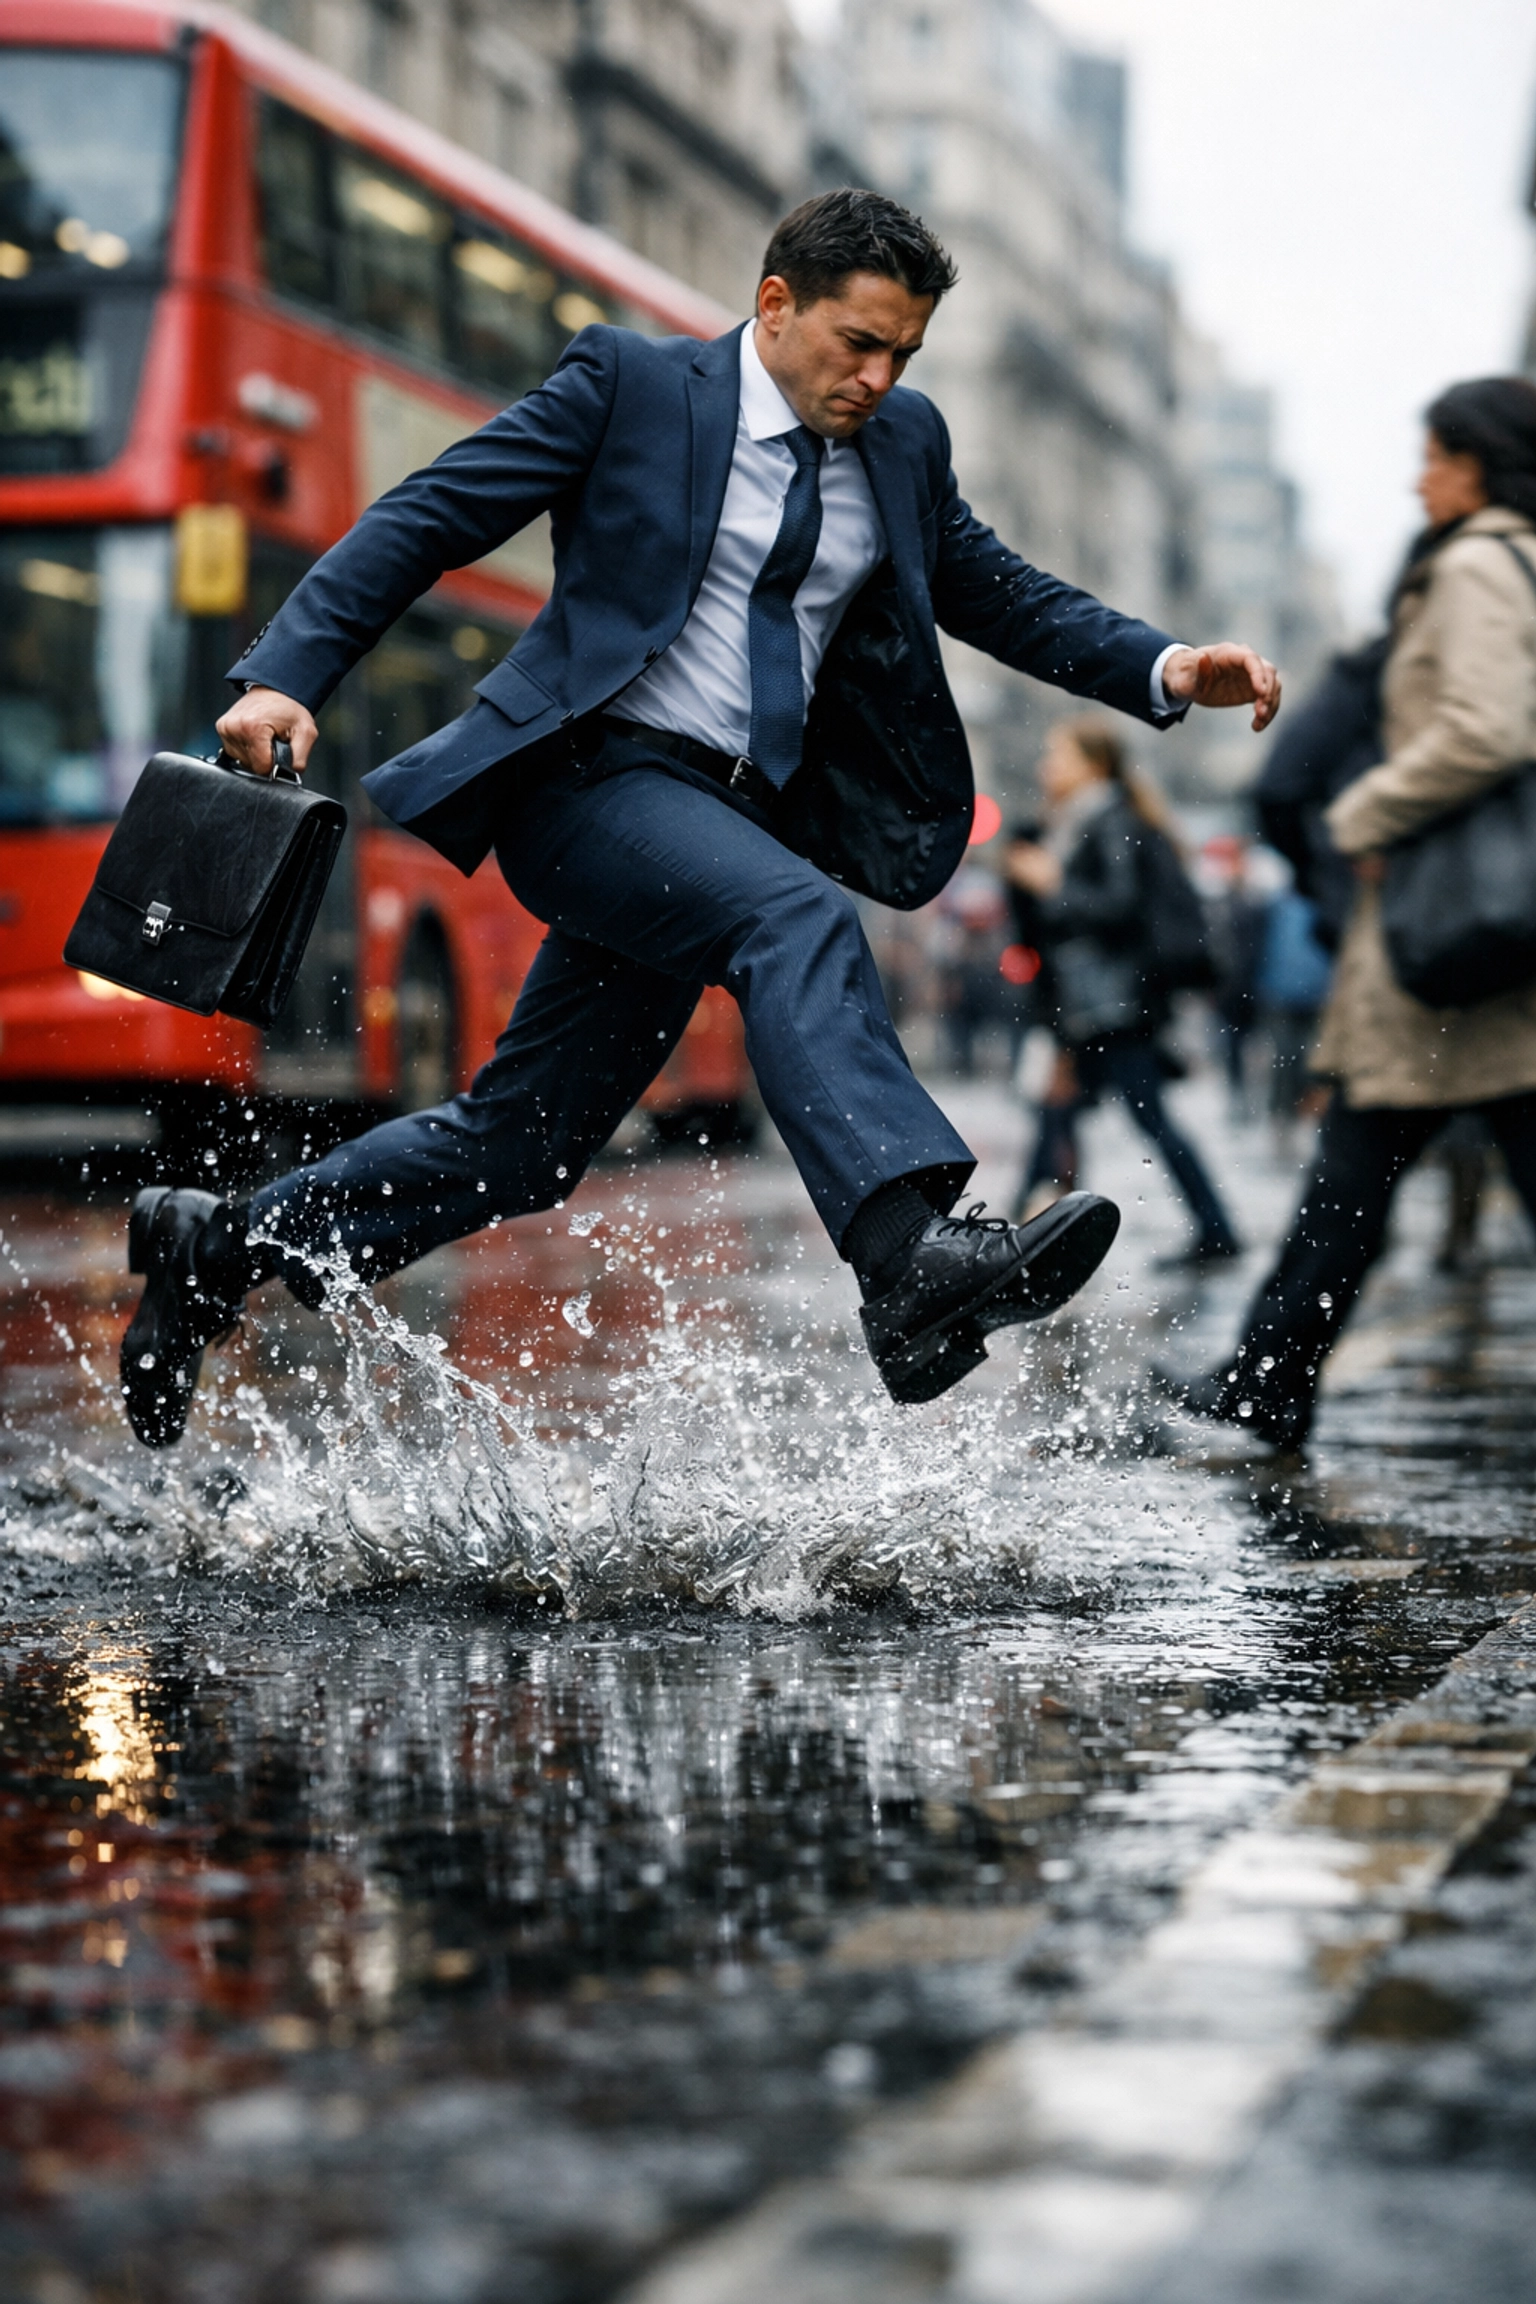
Movement is the biggest challenge. A shutter speed of 1/250s is the bare minimum to freeze a walking person. If they’re running or on a bike, you’ll want 1/500s or faster. Using Shutter Priority lets you set the speed while the camera handles the rest.
Aperture and "Zone Focusing"
Many pros use a technique called Zone Focusing. They set their aperture to something like f/8 or f/11, which creates a large "depth of field." They then manually set their focus to a specific distance (say, 10 feet). Anything that walks into that "zone" will be sharp. This eliminates the need for autofocus entirely.
Auto ISO
Lighting changes constantly as you move between sun and shadow. Set your camera to Auto ISO with a maximum limit (like 3200 or 6400). This ensures your shutter speed stays high enough to keep things sharp even when you duck into a dark alley.
Composition: How to Make a Photo "Pop"
A person walking down a street is a snapshot. A person walking past a mural that looks like it’s eating them? That’s street photography.
The Decisive Moment
Coined by Henri Cartier-Bresson, this is the exact second when all the elements in the frame come together perfectly. It could be a foot hitting the ground, a bird flying into the corner of the frame, or a person’s expression changing. It requires patience and anticipation.
Juxtaposition
This is placing two contrasting things in the same frame. Think of a wealthy businessman sitting next to a street performer, or a "Diet" sign next to someone eating a giant burger. These contrasts create humor, irony, or social commentary.
Leading Lines and Framing
Use the environment to your advantage. Use shadows, doorways, or alleyway walls to "frame" your subject. Look for leading lines: like crosswalks or railings: that pull the viewer's eye toward the person you're photographing.
Hunting vs. Fishing
There are two main ways to approach street photography:
- The Hunter: You walk around constantly, looking for interesting characters and reacting to what happens. This is great for covering a lot of ground and seeing a variety of scenes.
- The Fisherman: You find a great background with perfect light and you wait. You wait for the right person to walk into your "trap." This is often more successful because you’ve already sorted out the composition and lighting; you’re just waiting for the final piece of the puzzle.

Lighting: Embracing the Harsh and the Dark
Most photographers hate the midday sun because it creates harsh shadows. Street photographers love it.
High Contrast
Use those harsh shadows to create "low key" images. Look for "pockets" of light hitting a sidewalk while the rest of the street is in deep shadow. When a person walks into that light, they’ll pop against a black background.
Golden Hour
The hour after sunrise and before sunset provides long shadows and a warm glow. This is the best time for silhouettes. Position yourself so the sun is behind your subject to create a dramatic outline.
Street Photography at Night
Don't put your camera away when the sun goes down. Use neon signs, streetlamps, and car headlights as your light sources. If you find your night skies looking a bit dull after the shoot, you can always enhance them later using Luminar or by mastering night sky filters in Photoshop.
The Ethics and Legality
Before you head out, you need to know the rules. In the United States and many other countries, you have a legal right to take photos in public places. This includes people. However, "legal" doesn't always mean "right."
- Respect Privacy: If someone clearly doesn't want their photo taken, don't take it. If they ask you to delete it, it's often better to just do it than to start a fight.
- The Golden Rule: Don't take photos of people in vulnerable situations (homelessness, injuries, etc.) unless you have a very specific journalistic reason and you’re treating the subject with dignity.
- Commercial vs. Editorial: You can take street photos and show them in a gallery or a book (Editorial). You cannot use a stranger's face to sell shoes or a soft drink without a signed model release (Commercial).
For more on the fine art side of things, check out Edin Fine Art to see how street moments are transformed into gallery-quality prints.

Post-Processing Your Street Shots
Editing is where you give your photos a "soul." Many street photographers prefer Black and White because it strips away distractions and focuses on the shapes, emotions, and light.
The Power of Black and White
When you remove color, you force the viewer to look at the story. If a bright red car in the background is distracting from your subject, a B&W conversion can save the shot.
Enhancing the Mood
Whether you're going for a gritty, film-like look or something clean and modern, software like Luminar makes it easy to add grain, contrast, and vignettes.
Sometimes the "street" part of your photo is perfect, but the sky is a flat, grey mess. If you want to get creative, you can learn how to create a dramatic sky in Photoshop or even add an aurora borealis effect for a surreal street-art vibe. If you’re more into the technical side of retouching, Edin Studios offers great insights into high-end production.
Practice Makes… Better
You won't get a masterpiece every time you go out. In fact, you might take 500 photos and only like one of them. That’s normal. Even the legends of street photography had massive piles of "okay" photos for every one "great" shot.
The more you do it, the more you’ll start to "see" the world in frames. You’ll notice the way a shadow falls across a doorway or the way a couple is holding hands before the moment even happens.
If you’re looking for more inspiration or want to see some of Edin’s personal work and travel stories, head over to blog.edinchavez.com. He’s been pounding the pavement for years and has some incredible stories from the field.
Key Takeaways for Success:
- Be Discreet: Use a small camera and act like you belong there.
- Be Fast: Use Shutter Priority and Auto ISO.
- Be Patient: Find a great spot and wait for the "fishing" technique to pay off.
- Be Kind: A smile goes a long way in public spaces.
- Be Creative: Don't be afraid to experiment with sky manipulation or high-contrast editing.
Street photography is a journey, not a destination. It’s about the walk, the people you meet, and the stories you tell. So, grab your camera, hit the pavement, and remember to shut your aperture every once in a while to see what the world is trying to show you. For more professional tips on making it in the industry, don't forget to visit ProShoot.io.
Happy shooting!