shutyouraperture-20). Buying through these links costs you nothing extra and helps fund our free guides.
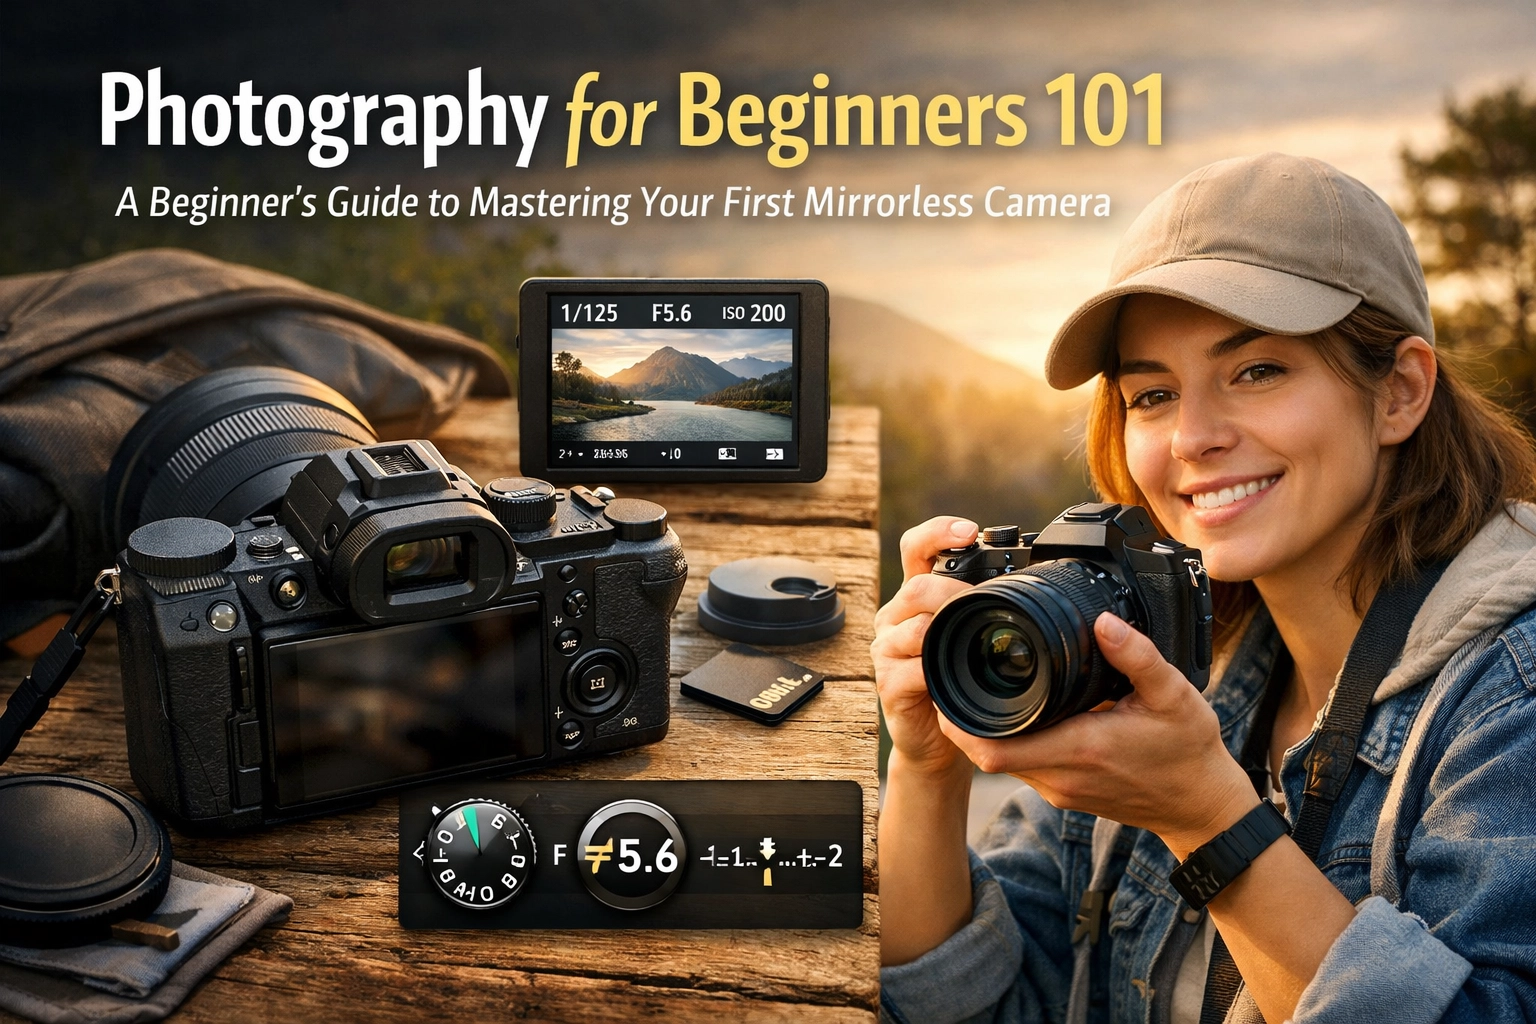
So, you finally pulled the trigger. You’ve got that shiny new box on your kitchen table, and inside is your first mirrorless camera. Congratulations! You’ve just joined a world that is equal parts creative, technical, and: if we’re being honest: a little bit addictive.
Transitioning into mirrorless technology is one of the best moves you can make for your photography for beginners journey. Unlike the older DSLRs, mirrorless cameras are generally lighter, faster, and packed with tech that makes learning way more intuitive. But let’s be real: opening that box can be overwhelming. There are more buttons than a spaceship and a manual that reads like a physics textbook.
Don't sweat it. At Shut Your Aperture, we believe photography should be fun, not frustrating. This guide is designed to take you from "What does this button do?" to "Look at this amazing shot I just took." We’re going to cover everything from the exposure triangle to the best mirrorless cameras and how to use manual mode camera without breaking a sweat.
Why Mirrorless is a Game Changer for Beginners
Before we dive into the settings, let’s talk about why you bought this thing. The biggest advantage of a mirrorless camera is the "What You See Is What You Get" (WYSIWYG) factor.
In the old days, you’d look through an optical viewfinder, take a photo, and then look at the back of the screen to see if it was too dark or too bright. With mirrorless, the Electronic Viewfinder (EVF) or the rear LCD shows you exactly how the photo will look before you press the shutter. If you change a setting, you see the screen get darker or brighter in real-time. This is huge for anyone looking for photography tutorials that actually make sense.
 Save
Save
The Core: Mastering the Exposure Triangle
If you want to move past the "Auto" mode: and trust me, you do: you need to understand the Exposure Triangle. This is the foundation of all photography. It’s made up of three parts: Aperture, Shutter Speed, and ISO. They all work together to determine how much light hits your sensor.
1. Aperture (The F-Stop)
Think of aperture like the pupil of your eye. When it’s dark, your pupil gets bigger to let in more light. When it’s bright, it gets smaller. In photography, aperture is measured in f-stops (like f/1.8, f/4, or f/11).
A wide aperture (a low number like f/1.8) lets in a lot of light and creates that beautiful, blurry background we call "bokeh." This is one of the most popular portrait photography techniques because it makes your subject pop. A narrow aperture (a high number like f/16) lets in less light but keeps everything from the foreground to the background in sharp focus: perfect for landscape photography tips.
2. Shutter Speed
This is how long your camera’s "eye" stays open. If you’re shooting sports or a fast-moving dog, you need a fast shutter speed (like 1/1000th of a second) to freeze the action. If you’re shooting a waterfall and want that silky, flowing water look, you’ll use a slow shutter speed (like 2 seconds). Just remember: if your shutter is open for a long time, you’ll probably need a tripod to avoid blurry shots.
3. ISO
ISO is your camera's sensitivity to light. In bright daylight, you want a low ISO (usually 100). As it gets darker, you might need to bump it up to 1600 or 3200 to get a bright enough image. The tradeoff is "noise" or grain. Modern sensors in the best mirrorless cameras are incredible at handling high ISO, but it's always best to keep it as low as possible for the cleanest image.
How to Use Manual Mode Camera
I know, Manual mode (the "M" on your dial) looks intimidating. But here is the secret: it’s just a balancing act. Your goal is to get the "light meter" in your viewfinder to hit the middle (zero).
- Set your Aperture first based on how much blur you want in the background.
- Set your Shutter Speed second based on whether your subject is moving.
- Adjust your ISO last to make sure the image is bright enough.
Because you have a mirrorless camera, you can literally watch the image change as you turn the dials. If you want to dive deeper into specific gear for different scenarios, check out our ultimate guide to event photography gear.
Save
Mirrorless Specific Features You Need to Use
One of the reasons you see so many camera gear reviews praising mirrorless is the extra tech. Here are two features you should turn on right now:
Eye Auto-Focus (Eye-AF)
Most modern mirrorless cameras can detect a human (or animal) eye and lock focus on it instantly. This is a total life-saver for portrait photography techniques. No more blurry eyes and sharp noses!
Focus Peaking
If you ever want to try manual focusing, turn on Focus Peaking. It highlights the sharp parts of your image in a bright color (usually red or peaking). It makes manual focusing feel like cheating.
Exploring Different Styles of Photography
Now that you know how the machine works, what are you going to shoot?
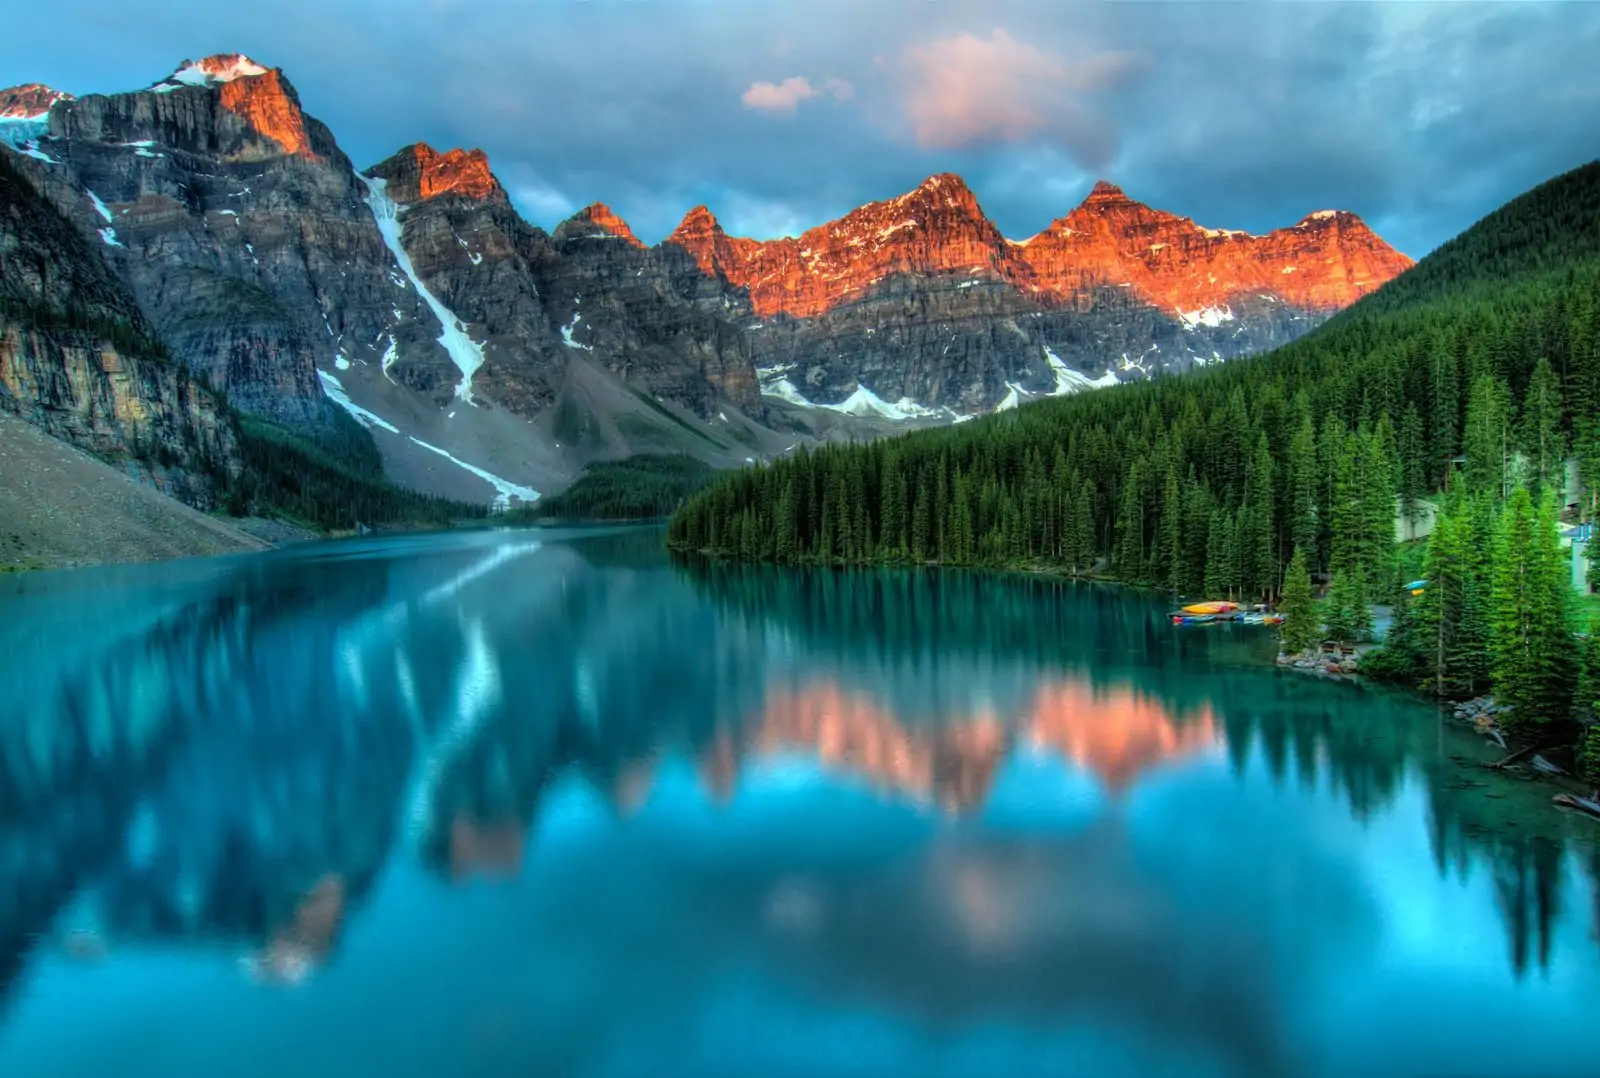
Landscape Photography Tips
When shooting landscapes, the light is everything. The "Golden Hour": the hour after sunrise and the hour before sunset: is your best friend. Use a narrow aperture (f/8 or f/11) and a sturdy tripod. If the sky is looking a bit dull, don't worry. There are plenty of photo editing tutorials that can help you fix that later. For instance, you can learn about mastering sunrise sky gradients in Photoshop to give your landscapes that extra punch.
Street Photography Ideas
Mirrorless cameras are perfect for the street because they are small and quiet. My favorite street photography ideas involve finding a "stage": a spot with great light or a cool background: and waiting for the right person to walk into it. Use a wider lens (35mm is classic) and keep your shutter speed fast to catch those candid moments. You can find more inspiration and gear talk over at Shut Your Aperture.
Portrait Photography Techniques
Communication is more important than your camera settings here. Talk to your subject, make them laugh, and keep them comfortable. Use a lens with a focal length between 50mm and 85mm to get the most flattering look. For more professional insights, Edin Chavez shares some great stories and galleries over at Edin Fine Art.
Save
Post-Processing: Where the Magic Happens
Taking the photo is only half the battle. The other half happens on your computer. Photo editing tutorials can sometimes feel as complex as the camera itself, but it doesn't have to be.
If you're just starting out, I highly recommend checking out Luminar. It uses AI to simplify complex tasks like enhancing skies or smoothing skin, which is perfect for beginners who want professional results without spending five years in school.
Speaking of skies, if you’ve ever taken a perfect landscape shot only to realize the sky is a flat, white mess, we’ve got you covered. Check out our quick guide to sky replacement in Photoshop to save those "almost perfect" shots.
Selecting Your First Lenses
Most mirrorless cameras come with a "kit lens" (usually a 18-55mm or 24-70mm). These are great for learning the ropes, but eventually, you’ll want to expand.
- The "Nifty Fifty": A 50mm f/1.8 lens is usually cheap, small, and amazing for portraits. It's the first lens every beginner should buy.
- Wide-Angle: If you’re into landscapes, look for something around 16mm to 24mm.
- Telephoto: For wildlife or sports, you’ll want something that reaches 200mm or more.
Always keep an eye on photography news to see when new lenses are being released for your specific camera mount. The industry moves fast!
Save
Tips for Staying Motivated
The biggest mistake beginners make is leaving their camera in the bag. Here’s how to stay sharp:
- The 365 Project: Try to take one photo every single day. It doesn't have to be a masterpiece; it just has to be a photo.
- Limit Yourself: One day, go out with only one lens and one focal length. It forces you to move your feet and think more about composition.
- Read and Watch: Follow photography tutorials on YouTube and read blogs like Edin’s Blog to see how the pros do it.
- Experiment with Night Photography: Mirrorless sensors are great in the dark. Try your hand at long exposures. If you want to get creative with your night shots, you can even learn how to create an aurora borealis effect in Photoshop.
Composition: The Secret Sauce
You can have the most expensive camera in the world, but if your composition is messy, your photo won't resonate.
- Rule of Thirds: Imagine a tic-tac-toe grid over your image. Place your subject on one of the lines or intersections rather than right in the middle.
- Leading Lines: Use roads, fences, or shorelines to lead the viewer’s eye toward your subject.
- Frame within a Frame: Look for windows, arches, or overhanging branches to "frame" your subject.
Final Thoughts on Your Photography Journey
Starting photography is like learning a new language. At first, you’re just translating words (f-stops and shutter speeds), but eventually, you start to speak fluently. You’ll stop thinking about the buttons and start thinking about the light, the emotion, and the story.
Mirrorless cameras are the perfect tool for this journey because they get out of your way and let you see the world as it is: or as you want it to be. Whether you're interested in landscape photography tips or you want to master street photography ideas, the most important thing is to keep shooting.
Don't forget to explore our other resources, like mastering night sky filters in Photoshop, to take your editing to the next level. The world is a beautiful place; now go out there and capture it!
Save
Photography for beginners is a marathon, not a sprint. Take your time, enjoy the process, and don't be afraid to make mistakes. Every "bad" photo you take is just a stepping stone to a great one. Welcome to the craft!
Quick Amazon shortcuts for the camera categories covered in this guide. Use them if Prime shipping or your existing Amazon credit makes more sense than B&H. As an Amazon Associate ShutYourAperture earns from qualifying purchases.


