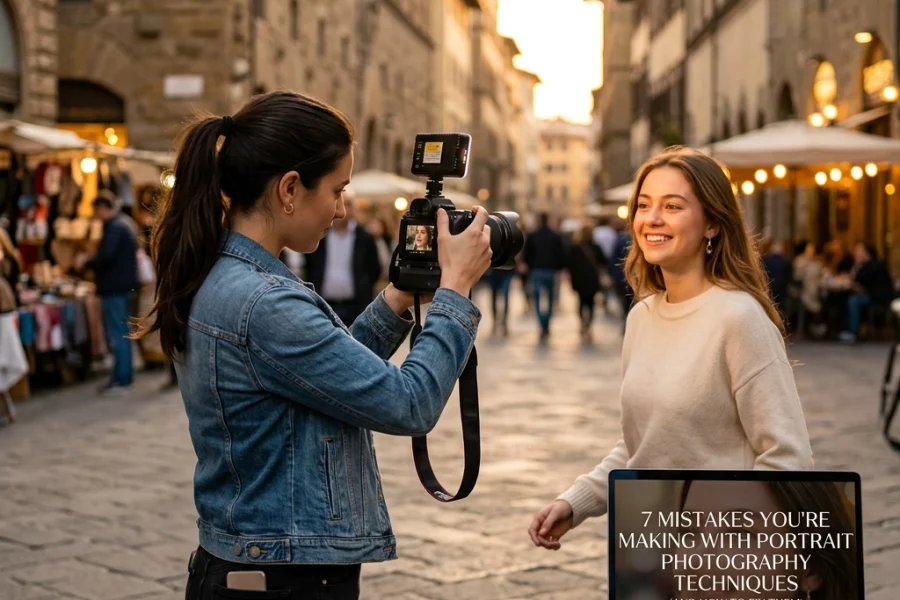
Switching your camera dial from that "Green Box" Auto mode to the "M" for Manual is a rite of passage. It’s the moment you stop being a passenger and start driving the car. But let’s be real: the first time you go full manual, it usually feels less like driving a Ferrari and more like trying to fly a 747 with a blindfold on.
You’ve probably heard that manual mode is the "only way" to get professional results. While that’s mostly true, it’s also the fastest way to ruin a perfectly good photo if you don’t know what you’re doing. I see it all the time: photographers with incredible gear like the Sony Alpha a6000 or even a Nikon D4s producing shots that are grainy, blurry, or just plain weird because they’ve fallen into common manual mode traps.
If your photos look worse now than they did on Auto, don't worry. You're not a bad photographer; you're just making one of these seven common mistakes. Let’s break them down and get your shots back on track.
1. The "Wide Open" Obsession (Aperture is Too Open)
We all love bokeh. That creamy, blurred-out background is the hallmark of "professional" photography. Because of this, many beginners set their aperture to the widest possible setting (like f/1.8 or f/2.8) and leave it there forever.
The problem? When your aperture is wide open, your depth of field is razor-thin. If you’re shooting a portrait and the person tilts their head slightly, one eye might be in focus while the other is a blurry mess. If you're doing corporate headshots, having half the client's face out of focus is a one-way ticket to a reshoot.
The Fix:
Stop using f/1.8 for everything. If you’re shooting a group of people, stop down to f/4 or f/5.6 to ensure everyone is sharp. Even for single subjects, sometimes f/2.8 or f/4 provides a much more pleasing (and sharp) result than f/1.4. Check your focus on the back of the screen and zoom in to make sure the "important" parts: usually the eyes: are actually crisp.

2. Fighting the Light Source Instead of Using It
Manual mode gives you control over exposure, but it doesn't give you control over physics. A common mistake is trying to "fix" bad lighting by cranking up your settings rather than moving your subject or yourself.
I’ve seen photographers try to shoot into the sun without a plan, then wonder why their subjects are just dark silhouettes. They try to "fix" it by boosting the ISO to 6400, which just results in a noisy, washed-out mess.
The Fix:
Before you even touch your dials, look at where the light is coming from. If you're shooting outdoors, find some "open shade" or position the sun behind you (or at a 45-degree angle). Use your manual settings to enhance the light, not fight it. If you’re struggling with lighting in complex environments, checking out some photography tutorials can help you understand the relationship between light and your sensor.
3. The "Manual Mode Twitch" (Changing Settings Too Often)
When you first start with manual mode, there’s a tendency to fiddle with the dials after every single click. You take a photo, look at the screen, click-click-click the dial, take another, look again. This is a great way to miss the "decisive moment."
If you’re in a consistent lighting environment: like a studio or a cloudy day outside: your exposure shouldn’t change much from shot to shot. Constant fiddling leads to inconsistent photos that are a nightmare to edit later in Luminar.
The Fix:
Find your "base" exposure for the scene. Set your ISO and Aperture first, then use your Shutter Speed to fine-tune. Once you have a look you like, leave it alone until the light changes or you move to a new spot. This frees your brain to focus on the subject and the story rather than the math.

4. The ISO Noise Monster
This is probably the biggest "photo killer" in the bunch. Beginners often reach for the ISO dial the second the light starts to fade. While modern cameras like the Panasonic Lumix S5 II are incredible at handling high ISO, there is still a limit.
High ISO introduces "noise" or grain. It eats away at your colors, destroys your dynamic range, and makes your images look "muddy." If you find yourself shooting at ISO 3200 in the middle of the day because you wanted a super high shutter speed for no reason, you’re killing your image quality.
The Fix:
Think of ISO as your last resort. Use the "Exposure Triangle" properly. Can you open your aperture more? Can you slow down your shutter speed? If you’re shooting stationary subjects, use a tripod so you can keep your ISO at 100 even in low light. Your goal should always be the lowest ISO possible for the situation. If you do end up with some noise, tools like Luminar have great AI denoising features, but it's always better to get it right in the camera.
5. Forgetting About Shutter Speed for Motion
In manual mode, it’s easy to focus so much on the light meter that you forget what shutter speed actually does to the motion in your frame.
I’ve seen stunning landscape photography ruined because the photographer used a shutter speed that was just a little too slow, resulting in "micro-blur" from the wind hitting the trees or the camera shaking slightly. Conversely, people often try to freeze action (like a bird in flight) with a shutter speed of 1/200, which just results in a blurry streak.
The Fix:
Remember the rules of thumb. If you’re hand-holding, your shutter speed should generally be at least 1/ (2x your focal length). If you’re shooting at 100mm, stay above 1/200. If you want to freeze fast action, think 1/1000 or higher. If you want that silky water look in your landscapes, you’ll need a tripod and a slow shutter speed (maybe several seconds). Don't just look at the exposure bar; think about the motion.

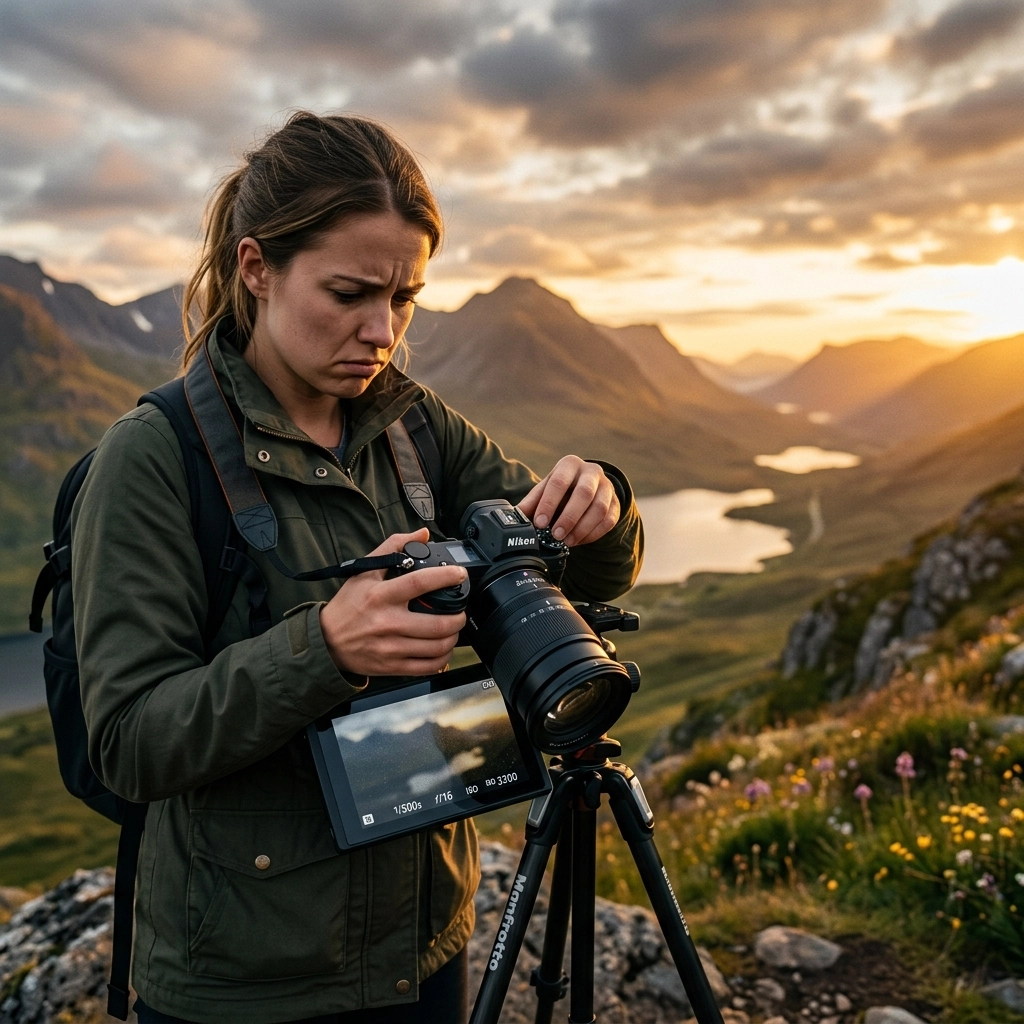
6. Trusting the LCD Screen Too Much
Your camera's LCD screen is a liar. It’s designed to make your photos look bright and punchy so you feel good about yourself while shooting. If you’re out in bright sunlight, the screen looks dark, so you overexpose your photo. If you’re shooting at night, the screen looks blindingly bright, so you underexpose.
I can’t tell you how many times I’ve come home from a shoot in a place like Varanasi, India, thinking I nailed the exposure, only to realize on my computer that everything was a stop too dark.
The Fix:
Learn to read the Histogram. The histogram is a mathematical representation of the tones in your image. If the graph is all scrunched up against the left side, your shadows are "clipped" (pure black). If it’s hitting the right side, your highlights are "blown" (pure white). Trust the math, not the glowing rectangle on the back of your camera.
7. Technical Tunnel Vision (Neglecting Composition)
This is the "Manual Mode Paradox." You get so focused on the technical settings: balancing the aperture, checking the ISO, squinting at the shutter speed: that you completely forget to actually look at the photo you’re taking.
You end up with a perfectly exposed photo of a subject with a telephone pole growing out of their head. Or a technically "correct" shot that has zero emotional impact because the composition is boring. You're so busy being a technician that you forget to be an artist.
The Fix:
Once your settings are dialed in, take a breath. Step away from the dials. Look at the edges of your frame. Is there distracting clutter? Are you using the rule of thirds? Is there a leading line that could make the shot more dynamic? Manual mode should be the foundation that allows you to be creative, not a cage that keeps you from seeing the beauty in front of you. Check out some of the Photographer of the Week features on our site to see how the pros balance technical skill with artistic vision.

Bonus Tip: Practice Makes… Better
Manual mode isn't something you master in a weekend. It’s a muscle. The more you use it, the more instinctive those dial turns become. Eventually, you won't even think about "Exposure Triangle" math; you'll just feel the light and know what to do.
If you’re looking for more inspiration or want to see how the pros handle complex shoots, check out our behind-the-scenes look at a hi-end product shoot or dive into the world of drones.
Also, don't be afraid to visit PhotoGuides.org for more technical breakdowns, or head over to Edin Chavez's blog to see how these principles are applied in the real world of professional travel and commercial photography. If you want to see what the final result of mastering manual mode looks like, browse the galleries at Edin Fine Art.
Summary Checklist for Your Next Shoot:
- Aperture: Is it too wide for the subject?
- Lighting: Am I working with the light or against it?
- Consistency: Can I keep my settings the same for this scene?
- ISO: Is this the lowest possible ISO for the shot?
- Shutter Speed: Does this speed match the motion I want to capture?
- Histogram: Did I check the math, or just the screen?
- Composition: Did I remember to actually look at the frame?
Manual mode is a tool. It’s there to give you the creative freedom to tell the story you want to tell. Don't let the technical bits "kill" your photos: let them be the reason your photos finally come to life.
Now, get out there, take your camera off Auto, and start making some mistakes. It’s the only way to get better.