Let’s be real for a second. You can have the fanciest camera in the world, we’re talking the latest Panasonic Lumix S5 II or that Sony A7 IV, but if your lighting is garbage, your portraits are going to look, well, garbage.
Lighting is the difference between a photo that looks like a high-end magazine cover and one that looks like it was taken by your cousin at a dark dive bar. Mastering it doesn't require a PhD in physics; it just requires a bit of observation and the right approach.
At Shut Your Aperture, we believe in keeping things simple. You don't need a $20,000 studio setup to get professional results. You just need to know how light works. Whether you're working on corporate headshots or creative fine art, these five steps will help you master the craft.
1. Understand Your Light Sources: The "Vibe" Factor
Before you even touch a shutter button, you need to understand what you’re working with. Not all light is created equal. In the photography world, we generally break light down into three main categories: Natural, Artificial, and Ambient.
Natural Light
This is the sun. It’s free, it’s beautiful, and it’s arguably the most flattering light source if you know when to use it. The "Golden Hour" (that hour right after sunrise and right before sunset) is the holy grail. The light is soft, warm, and wraps around your subject like a cozy blanket. If you’re shooting during high noon, you’re dealing with harsh shadows: the kind that make people look like they haven’t slept in a week.
Artificial Light
This is anything you plug in or put batteries in: strobes, speedlites, or constant LEDs. The benefit here is control. You are the god of your own tiny sun. You can change the intensity, the color, and the direction. If you’re serious about moving past "hobbyist" status, you need to get comfortable with flashes.
Ambient Light
This is the light already present in a room: overhead fluorescents, a neon sign, or the glow from a window. Often, the best portraits come from a mix of ambient and artificial light.

2. Learn the "Big Five" Lighting Setups
You don’t need to reinvent the wheel. Professional photographers have been using the same five lighting patterns for decades because they work. You can achieve all of these with just one light source and maybe a reflector.
Rembrandt Lighting
Named after the painter, this is the "moody" one. You place the light at a 45-degree angle from the subject. The signature look? A small triangle of light on the cheek of the shadowed side of the face. It adds depth and a bit of mystery.
Split Lighting
This is as simple as it sounds. You place the light at a 90-degree angle to the subject, literally splitting the face into one bright side and one dark side. It’s dramatic, edgy, and great for highlighting strong features.
Loop Lighting
This is the most common setup for a reason: it looks good on everyone. Place the light slightly above eye level and about 30-45 degrees from the camera. It creates a small "loop" shadow from the nose on the cheek.
Paramount (Butterfly) Lighting
Place the light directly in front of the subject but high up, pointing down. This creates a butterfly-shaped shadow under the nose. It’s a staple in glamour photography because it highlights cheekbones and makes the face look slimmer.
Rim Lighting (Backlighting)
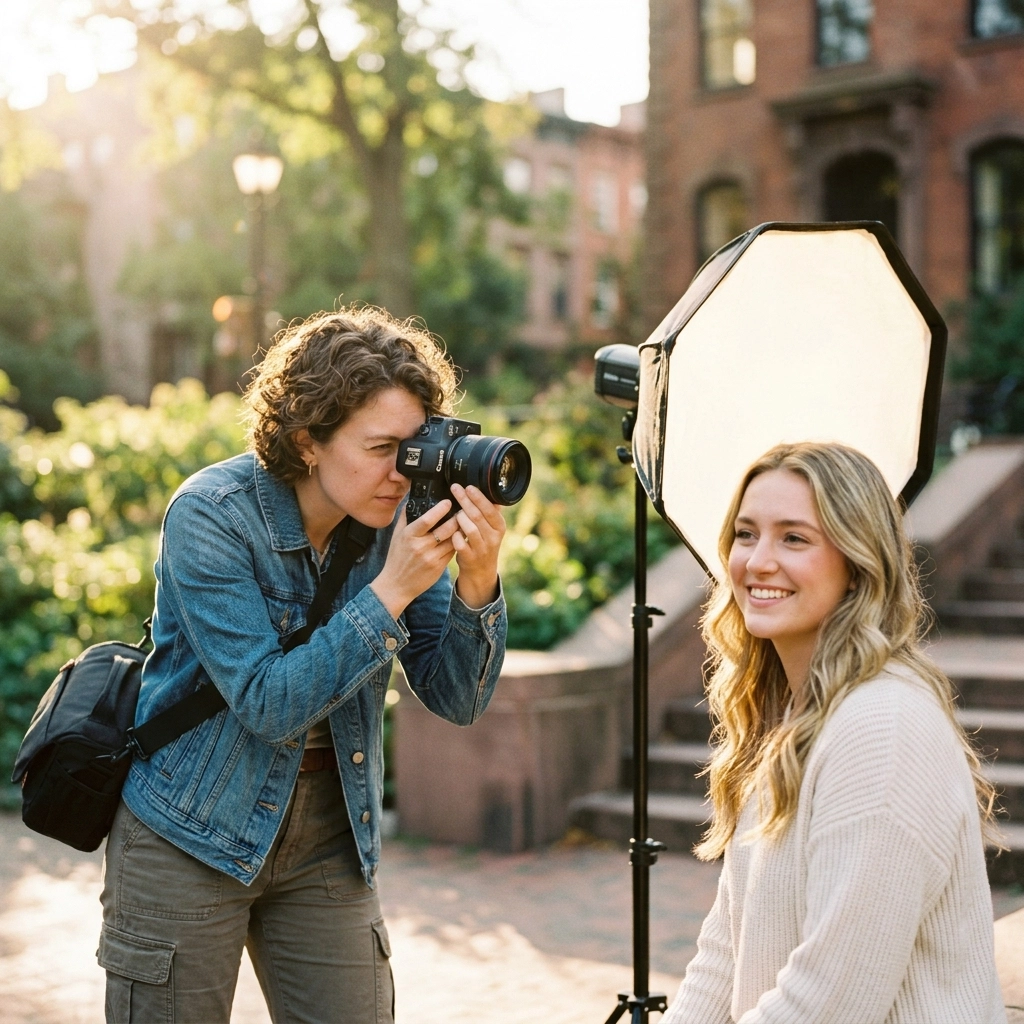
Place the light behind the subject. This creates a "halo" or a rim of light around their hair and shoulders, separating them from the background. It’s perfect for adding a professional "pop" to your images. If you want to see how lighting affects the mood of a scene differently, check out some of the techniques used in landscape photography.
3. Develop Your "Light Eyes"
This is the secret step that separates the pros from the amateurs. You need to start seeing light everywhere you go.
When you’re sitting in a coffee shop, look at how the light from the window hits the person across from you. Is it soft? Is it hard? Where are the shadows falling? When you’re watching a movie, pay attention to how the cinematographer lit the scene.
Developing your "light eyes" means you stop thinking about "settings" and start thinking about "direction." You’ll realize that light isn’t just about making things visible; it’s about creating shape.
A great way to practice this is by looking at professional work on sites like blog.edinchavez.com or PhotoGuides.org. Analyze the catchlights in the eyes: those tiny white dots. They will tell you exactly where the light source was placed. If there’s one big square light, they used a softbox. If there are two circles, they used umbrellas. It’s like detective work for nerds.

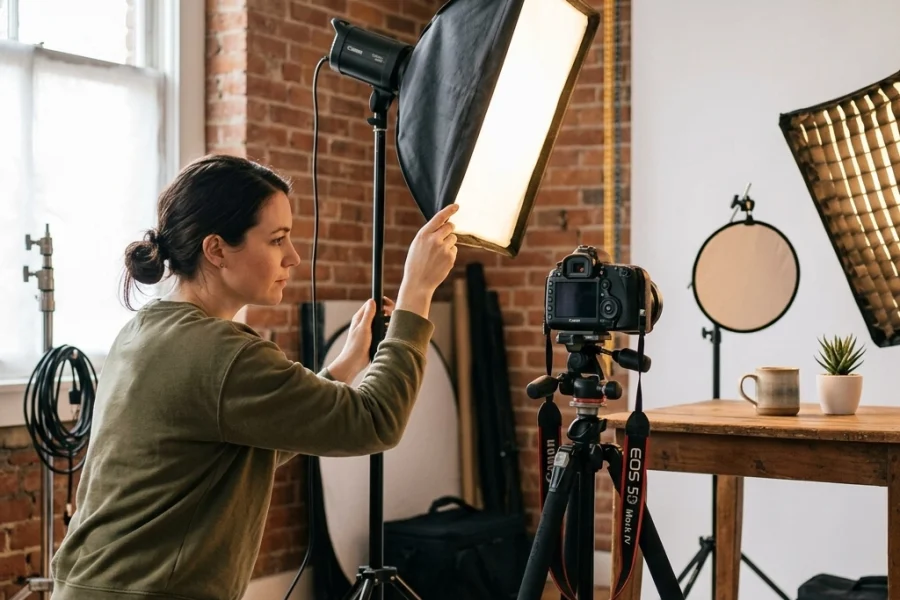
4. Control and Modify: Taming the Beast
Raw light is usually ugly. Direct sunlight is harsh. A bare flash is hideous. To make portraits look high-end, you need to modify the light.
Soften It Up
The bigger the light source relative to the subject, the softer the light. This is why we use softboxes and umbrellas. They take a tiny, harsh bulb and turn it into a massive wall of gentle light. If you’re shooting natural light, a sheer white curtain over a window does the exact same thing.
Use Reflectors
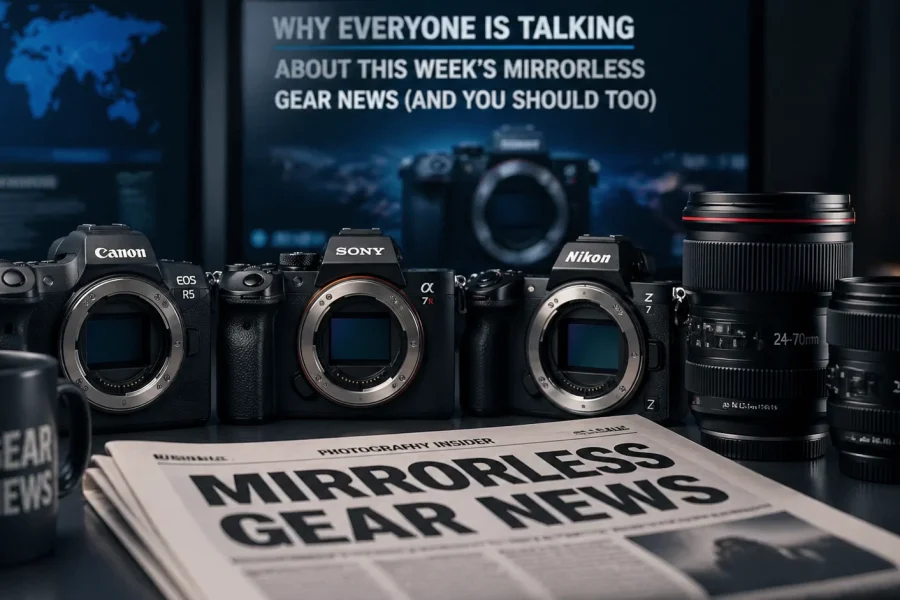
If one side of your subject’s face is too dark, don’t grab another light: grab a reflector. A simple white or silver board can bounce light back into the shadows, filling them in without losing the "shape" of the face. You can find more tips on essential gear in our latest photography news updates.
The Power of Post-Processing
Sometimes, the light on location isn't perfect. Maybe the sky was a bit too flat, or the shadows were a bit too muddy. This is where tools like Luminar become your best friend. With AI-driven lighting tools, you can actually "re-light" your subject in post-production, adding a glow or softening shadows that you couldn't control during the shoot. It’s not cheating; it’s finishing the job.
5. Practice Daily (Even Without a Model)
You don’t need a professional model to master lighting. In fact, it’s better if you don’t have one at first. Models get tired. Models want to see the results. Models cost money.
Grab a mannequin head, a stuffed animal, or even a literal soccer ball. Set it up on a chair and move your light around it. See how the shadows change as you move the light from 0 degrees to 90 degrees. See what happens when you move the light closer or further away (look up the Inverse Square Law if you want to get really technical, but basically: closer = softer and faster fall-off).
The goal is to reach a point where you don't have to think about the "steps" anymore. You should be able to look at a person and know exactly where to put your light to make them look their best. This kind of intuition only comes from repetition.

Bringing It All Together
Mastering lighting is a journey, not a destination. You’ll never be "done" learning, but following these five steps will get you 90% of the way there.
- Know your light sources.
- Memorize the basic patterns.
- Observe light in the real world.
- Learn to modify and soften.
- Practice until it's muscle memory.
Once you’ve got the lighting down, the rest is just details. You can focus on posing, expression, and storytelling. If you’re looking for more inspiration or want to see some world-class examples of light in action, head over to www.edinfineart.com.
We’ve been chatting with Sonny, our Social Media Manager, and he’s going to be dropping some quick video versions of these lighting setups on our socials soon, so keep an eye out for those. They’ll be a great companion to this guide.
Photography is literally "writing with light." If you aren't mastering your light, you aren't really telling the whole story. So, grab your camera, find a window or a flash, and start experimenting. Your portraits: and your clients: will thank you.
Don't forget to keep an eye on our sitemaps for more guides as we continue to roll out our masterclass series for 2026. Happy shooting!