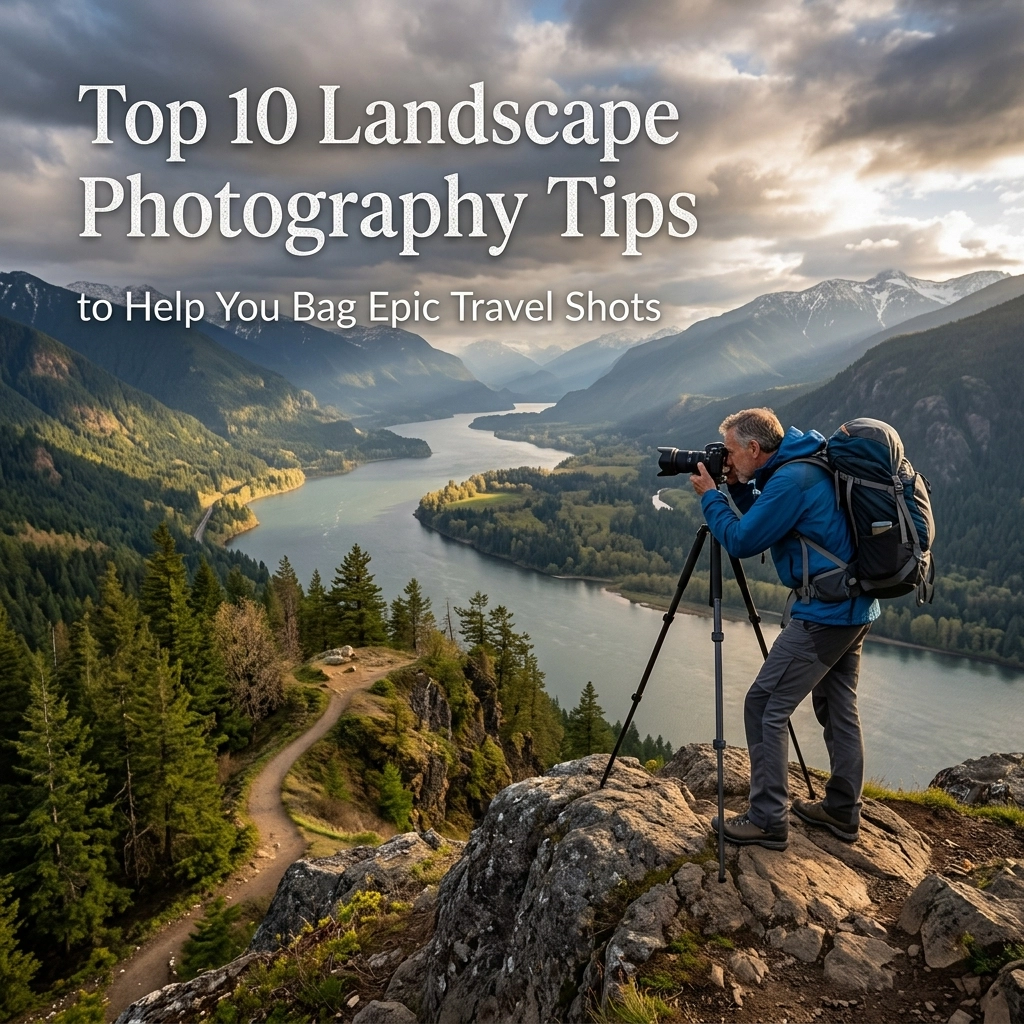
Let’s be real for a second. We’ve all been there. You’re standing on the edge of a cliff in Norway, or maybe watching the sun dip below the horizon in the Utah desert. The air is crisp, the view is mind-blowing, and you feel like you’re starring in a National Geographic documentary. You pull out your camera, click the shutter, and… the photo looks like a flat, grey mess.
It’s frustrating, right? You’re witnessing something epic, but your SD card is just collecting digital garbage.
Landscape photography is one of those things that looks easy until you actually try to do it well. It’s not just about pointing a lens at a mountain. It’s about light, timing, gear, and a whole lot of patience. If you’re just starting out and looking for some solid photography for beginners advice, or if you’ve been at it a while and your shots still lack that "wow" factor, you’ve come to the right place.
At Shut Your Aperture, we want you to stop taking snapshots and start making art. Here are my top 10 landscape photography tips to help you bag those epic travel shots you’ve been dreaming of.
1. Scout Like a Pro (Before You Even Leave the House)
The secret to a great landscape photo usually happens before you even pack your bag. You can’t just show up at 2:00 PM on a Tuesday and expect a masterpiece. You need to know where the sun is going to be, where the best vantage point is, and if you’re going to be fighting a crowd of a thousand tourists.
Use tools like Google Earth and PhotoPills to virtually "walk" through your location. I’ve spent hours looking at topographical maps of the Lofoten Islands before I ever set foot there. If you want to see what a dedicated scouting mission looks like, check out this Norway time-lapse adventure. It’s all about being in the right place at the right time.
Don't just look for the obvious spots. Look for the "shot next to the shot." Sometimes the best view isn't from the observation deck: it's 50 yards to the left behind a cool rock formation.
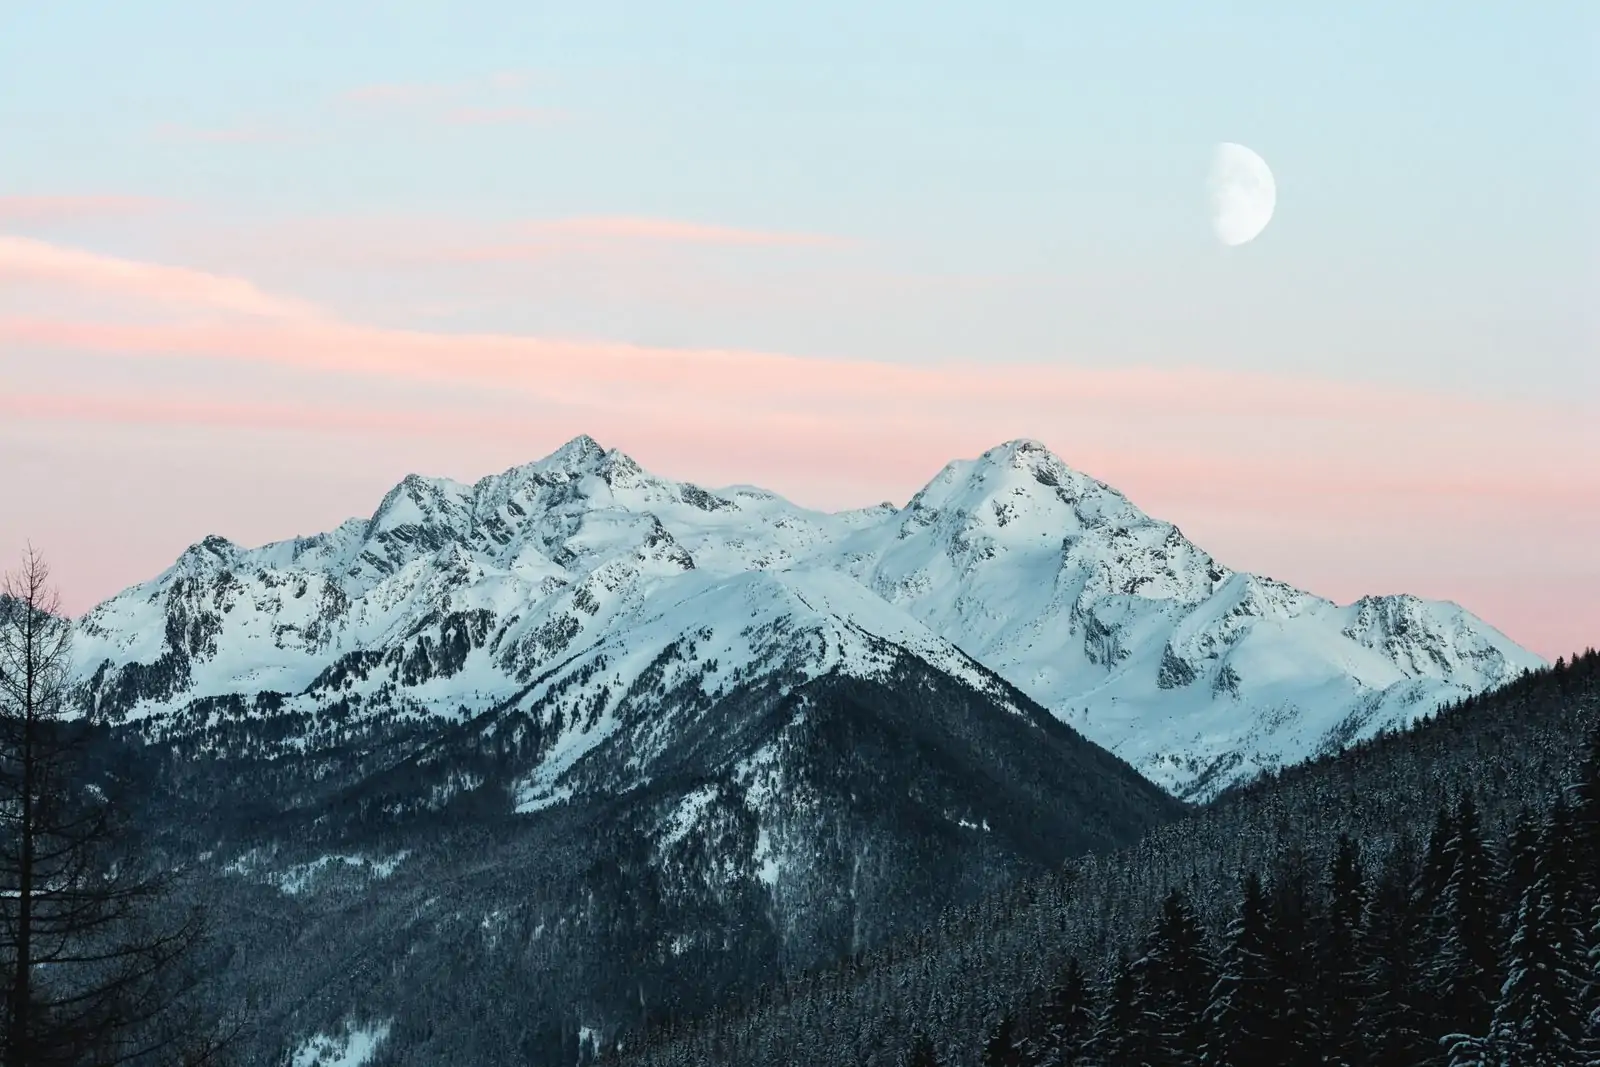
2. Chase the "Golden" and "Blue" Hours
Light is everything. I know, I know: every photography tutorial on the planet tells you this. But they tell you because it’s true. Midday sun is a landscape photographer’s worst enemy. It’s harsh, it creates ugly shadows, and it washes out all the beautiful colors of the earth.
Plan your shoots around the Golden Hour (the hour after sunrise and the hour before sunset) and the Blue Hour (the time just before sunrise and just after sunset). The light is softer, the shadows are longer, and the atmosphere just feels more magical. If you’re struggling with how to handle tricky lighting, head over to Shut Your Aperture for some deep dives on atmospheric conditions.
 Save
Save
3. Invest in the Right Gear (But Don’t Overthink It)
I get asked all the time: "Edin, what are the best mirrorless cameras for landscapes?" Honestly, most modern cameras are incredible. Whether you’re rocking a Sony, Canon, or Nikon, the sensor technology these days is insane.
If you’re wondering if your current setup is holding you back, take a look at our guide on the best mirrorless cameras of 2026. For landscapes, you want something with high dynamic range and good weather sealing because, let’s face it, the best shots happen when the weather is doing something crazy.
And don’t forget the lenses. A solid wide-angle (like a 16-35mm) is a staple for those expansive vistas, but don't sleep on a telephoto (like a 70-200mm). Telephoto lenses allow you to "compress" the landscape, making distant mountains look massive and imposing.
4. Don't Fear the Tripod
I know tripods are heavy. I know they’re a pain to carry on a hike. But if you want sharp, professional-grade landscape photos, you need one. Using a tripod allows you to shoot at lower ISO settings (keeping your images clean and noise-free) and use slower shutter speeds.
This is especially important if you want to get that silky-smooth water effect on waterfalls or waves. You can’t hold a camera steady for 2 seconds by hand: I don’t care how much caffeine you’ve had or how good your in-body image stabilization is. Get a sturdy carbon fiber tripod and thank me later. For more gear-specific talk, I usually post my latest kits over on blog.edinchavez.com.
5. Master the Art of Composition
A beautiful mountain is just a mountain until you compose it into a story. One of the easiest landscape photography tips for beginners is to use the Rule of Thirds. Imagine your frame is divided into a 3×3 grid. Place your horizon on one of the horizontal lines and your main subject on one of the vertical intersections.
But don’t stop there. Use leading lines: like a road, a river, or a fallen tree: to lead the viewer’s eye into the frame. Look for natural frames, like overhanging branches or rock arches, to add depth. If you need some inspiration, check out the work of Adam Urban to see how he uses structure and lines to tell a story.
Save
6. Create Depth with Foreground Interest
One mistake I see all the time in travel photography is a "flat" image. You have a great background, but nothing else. To make a landscape feel three-dimensional, you need a foreground, a middle ground, and a background.
Find a cool rock, a patch of wildflowers, or even some interesting textures in the sand. Get low and get close to these foreground elements. This pulls the viewer into the scene and makes them feel like they are actually standing there with you. This is a classic technique I cover in our photography tutorials.
7. Learn How to Use Manual Mode Camera
If you’re still shooting on "Auto," you’re letting the camera make all the creative decisions for you. And frankly, the camera isn't as smart as you are. Learning how to use manual mode camera settings is the single biggest jump you can make in your photography journey.
For landscapes, you generally want a deep depth of field. This means using a higher f-stop number (like f/11 or f/16) to ensure everything from the blade of grass in front of you to the mountain in the distance is sharp. Balance this with your ISO (keep it low, around 100) and your shutter speed.
If you’re feeling overwhelmed by the technical side, don't sweat it. We’ve got a ton of resources to help you out at learn.shutyouraperture.com.
8. Use Filters (The Real-World Kind)
While we can do a lot in post-processing these days, some things are still better done in-camera.
- Circular Polarizer: This is a must-have. It cuts through glare on water, makes clouds pop against a blue sky, and saturates the greens in foliage. It’s like sunglasses for your camera.
- ND Filters: Neutral Density filters are like tinted windows. They let you use long shutter speeds even in broad daylight, which is how you get those "dreamy" clouds or smooth water.
9. Don’t Ignore the Small Stuff
Sometimes the "landscape" is right at your feet. While everyone else is shooting the massive mountain range, look for the patterns in the ice, the texture of the desert cracked earth, or the way the light hits a single tree.
This often crosses over into street photography ideas or even macro work, but it’s all part of the travel experience. It’s about capturing the vibe of a place, not just the postcard view. You can see some of my more intimate landscape work over at www.edinfineart.com.
Save
10. The Magic Happens in Editing
Raw files out of the camera are meant to be edited. They are flat and boring by design so that they hold as much data as possible. To really bring your travel shots to life, you need a solid workflow.
I’m a huge fan of using Luminar for my landscape edits. It has some incredible AI tools that can enhance skies and add atmosphere without making the photo look "fake." Whether you're doing basic color correction or advanced sky replacement, learning some photo editing tutorials will take your work to the next level.
If you're looking for some weekly motivation to get out there and shoot, we often feature a Photographer of the Week to show you what's possible when you master these techniques.
Why Landscape Photography Matters
Landscape photography is considerably deeper than a hobby; it’s a way to connect with the world. When you’re standing out there in the silence, waiting for the light to hit just right, you aren't thinking about your emails or your mortgage. You’re just there.
It takes practice. You’re going to have days where the weather doesn't cooperate, or you forget your tripod plate, or you accidentally shoot the whole day in JPEG (we’ve all done it). But when everything clicks: the composition, the light, the gear: and you see that epic shot on the back of your screen? There’s no better feeling.
Save
Ready to level up?
If you're serious about getting better, stop reading and go shoot. Grab your camera, find a local park, and practice your manual settings. Check out our latest camera gear reviews to see what's new in the world of tech, and don't forget to head over to learn.shutyouraperture.com for more in-depth training.
Landscape photography is a journey, not a destination. Enjoy the hike, breathe the air, and shut your aperture!
Luminar Neo’s Sky AI, atmosphere AI and SuperSharp are designed for landscape work — replace flat skies, add depth, and recover detail in seconds. Tagged as affiliate per FTC.


