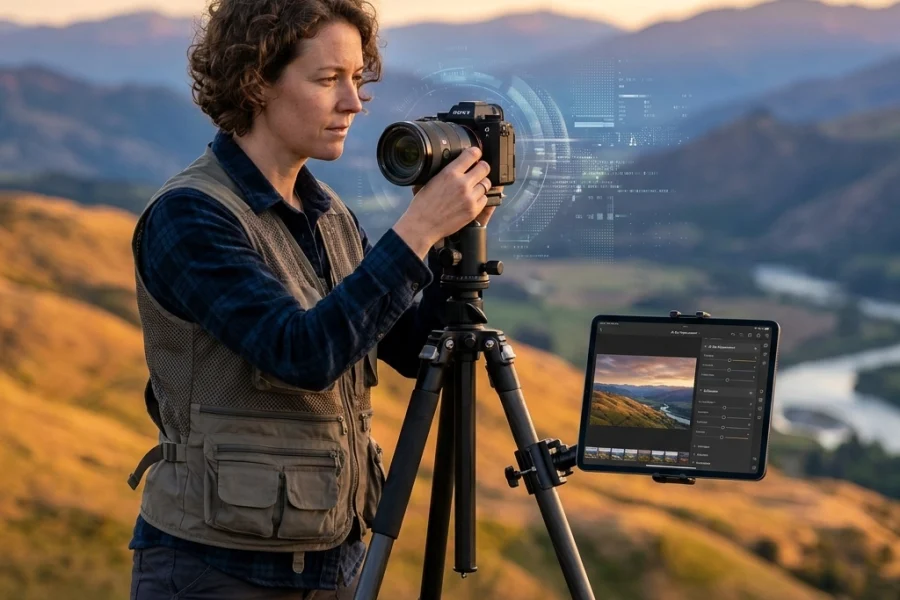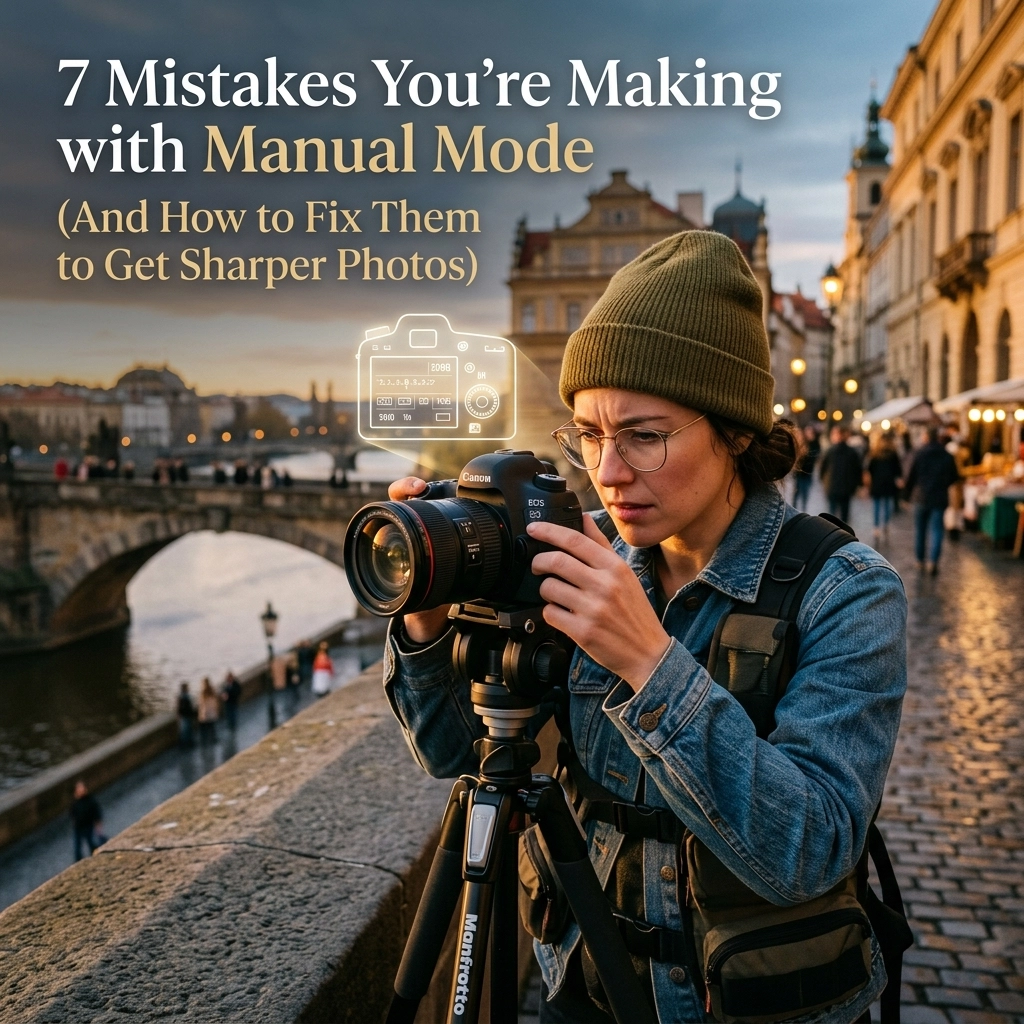
So, you’ve finally done it. You clicked that little dial over to the big “M.” You’ve officially graduated from the "point and pray" school of photography and entered the big leagues. It feels good, doesn't it? You feel like a pilot in a cockpit, flipping switches and taking total control of your destiny.
But then you get home, load your shots onto the computer, and… wait. Why is that gorgeous portrait a blurry mess? Why is the sky a giant white void? And why does it look like you shot through a bowl of oatmeal?
Listen, manual mode is the holy grail of photography, but it’s also a trap if you don’t know where the landmines are buried. Most people switch to manual because they want that "professional" look, but without a solid strategy, manual mode can actually make your photos worse than if you’d just stayed in Auto.
If you're struggling, don't worry. I’ve made every mistake in the book (and probably invented a few new ones). Today, we’re going to break down the seven most common mistakes people make when shooting manual and, more importantly, how to fix them so you can finally get those tack-sharp, perfectly exposed images you’ve been dreaming of.
1. The “Set It and Forget It” Trap
This is arguably the biggest mistake beginners make. You find a "good" exposure for your first shot, and you just… leave it there. You spend the next twenty minutes shooting your subject as they move from the shade of a tree into the bright afternoon sun, but you never touch your dials.
Here’s the reality: Light is a living, breathing thing. It’s constantly shifting. A cloud passes over the sun? Your exposure just dropped two stops. Your subject turns their head slightly away from the window? You’ve got new shadows to deal with.
The Fix: You need to treat your settings like a conversation, not a monologue. Every time the light changes, even slightly, you need to check your meter. If you’re just starting out and find this overwhelming, check out our 5 steps on how to master manual mode. It’ll give you a framework so you aren't just spinning dials at random.

2. Ignoring the Reciprocal Rule (Focal Length vs. Shutter Speed)
Have you ever looked at a photo that should be sharp, but looks just a tiny bit "soft"? Like the focus is okay, but it lacks that crisp edge? That’s almost always camera shake caused by a shutter speed that’s too slow for your lens.
When you’re in manual mode, you have the power to set your shutter speed to whatever you want. The problem is that many photographers think 1/60th of a second is "fast." Well, it might be if you’re shooting with a wide 24mm lens. But if you’re zoomed in at 200mm, 1/60th is going to result in a blurry disaster.
The Fix: Follow the "Reciprocal Rule." At a minimum, your shutter speed should be the reciprocal of your focal length.
- Shooting at 50mm? Use 1/50s or faster.
- Shooting at 200mm? Use 1/200s or faster.
Actually, if you want truly sharp photos, I recommend doubling it. If I’m hand-holding a 50mm lens, I’m rarely shooting slower than 1/125s. If you’re doing high-stakes work like wedding photography, you can’t afford to miss focus because of a slow shutter.
3. ISO Phobia (The Fear of “Grain”)
We’ve all been told that high ISO is the enemy. "It makes your photos grainy!" "It ruins the quality!" While that was true in 2008, modern cameras are incredible at handling high ISO.
The mistake I see is photographers keeping their ISO at 100 in a dark room because they’re afraid of noise. To compensate, they drop their shutter speed to 1/10th of a second. The result? A photo that is "clean" of noise but completely ruined by motion blur.
The Fix: A sharp, grainy photo is always better than a clean, blurry one. Don’t be afraid to push that ISO to 1600, 3200, or even 6400 if it means you can keep your shutter speed fast enough to freeze the action.
Plus, with modern software, noise is a piece of cake to fix. Tools like Luminar have incredible AI-powered denoising features that can clean up a high-ISO shot in seconds without losing the detail. If you want to dive deeper into how technology is changing the game, read up on why everyone is talking about AI-powered mirrorless tech.

4. Shooting “Wide Open” All the Time
I get it. You paid a lot of money for that f/1.8 or f/1.4 prime lens, and you want to see that creamy, blurry background (bokeh). It’s tempting to leave your aperture at its widest setting and never change it.
However, shooting wide open is the fastest way to get out-of-focus shots. When you’re at f/1.4, your depth of field (the area in focus) is razor-thin, sometimes only a few millimeters. If your subject breathes or you sway slightly forward after hitting the shutter, their eyes are now out of focus. Furthermore, most lenses aren't at their sharpest at their maximum aperture.
The Fix: Stop down a bit. If you’re struggling with sharpness, try shooting at f/2.8 or f/4. You’ll still get a beautiful background, but you’ll have a much better chance of actually hitting your focus. Most lenses have a "sweet spot" (usually 2-3 stops from wide open) where they are tact-sharp from corner to corner.
For those looking to level up their professional look, whether it’s for portraits or corporate headshots, understanding the balance between bokeh and sharpness is key.
5. Letting the Camera Choose the Focus Point
Switching to manual mode for exposure is great, but are you still letting the camera decide where to focus? If you’re using "Auto-Area AF," your camera is basically guessing what the most important part of the image is. Usually, it just picks the closest object to the lens.
If you’re taking a portrait and the camera decides the person’s shoulder is more important than their eyes, your photo is going to feel "off," even if your exposure is perfect.
The Fix: Take control of your focus points. Switch to "Single Point AF" or use "Eye-AF" if your camera supports it. Manually move that little square over exactly what you want to be sharp. This is especially important in manual mode because you’re already doing the heavy lifting for exposure, don't let a lazy focus point ruin the work.
For more technical breakdowns on how to handle your first camera's focus systems, check out our beginner’s guide to mastering your first camera.

6. Over-Relying on the Internal Light Meter
Your camera’s light meter is smart, but it’s easily fooled. It wants everything to be "Middle Gray." If you’re shooting a person in a white wedding dress against a white wall, the meter is going to think the scene is way too bright and will try to underexpose it to make it gray. Conversely, if you’re shooting a black cat in a coal mine, it’ll try to overexpose it.
If you blindly follow the little "0" in your viewfinder, your exposures will be inconsistent.
The Fix: Use your histogram and your "blinkies" (highlight alerts). The histogram is a mathematical representation of the light in your shot. It doesn't lie. If the graph is all the way to the right and touching the edge, you’re losing detail in the highlights. If it’s all to the left, your shadows are "crushed."
Learn to read the light with your eyes, not just the meter. If you want to see some examples of how to balance light in high-end environments, take a look at the work over at Edin Fine Art.
7. Neglecting the Importance of Light Direction
Manual mode gives you the "how," but it doesn't give you the "where." A mistake I see constantly is photographers getting so bogged down in their shutter speed and aperture that they forget to look at where the light is actually coming from.
You can have the most expensive camera in the world and perfect manual settings, but if you’re shooting a subject with flat, overhead noon-day sun hitting them, the photo is going to look terrible. Sharpness is often an illusion created by contrast, and contrast comes from good light.
The Fix: Before you even touch your dials, position your subject. Find the "good" light first. Look for soft shadows, catchlights in the eyes, and a light source that defines the shape of your subject. Once the light is right, then dial in your manual settings to capture it.
If you're looking for more inspiration on how to utilize light and composition, PhotoGuides.org is a fantastic resource for deep dives into specific lighting scenarios.

Why Manual Mode is Worth the Headache
At this point, you might be thinking, "Man, this sounds like a lot of work. Why don't I just go back to Aperture Priority?"
You could. And honestly, Aperture Priority is great. But manual mode forces you to understand the "why" behind every photo. When you master it, you stop being a passenger in your own creativity. You start making intentional choices.
Do you want motion blur in that waterfall, or do you want it frozen in time? Do you want the background to disappear, or do you want the viewer to see the environment? Manual mode is the language of photography. The more you speak it, the more stories you can tell.
If you’re serious about moving past the "beginner" phase and really taking your skills to a professional level, you should definitely check out the resources at Shut Your Aperture Academy. We go way deeper into the technical and creative aspects of the craft.

A Quick Cheat Sheet for Sharp Photos in Manual:
- Shutter Speed: Keep it at least double your focal length (e.g., 1/200s for a 100mm lens).
- Aperture: Don't always shoot wide open. Stop down to f/2.8 or f/4 for a bit more "safety" in your focus.
- ISO: Use it! Don't let a fear of noise lead to a blurry photo.
- Focus: Use single-point focus or Eye-Tracking. Don't let the camera guess.
- Review: Always zoom in on your LCD screen after a shot to make sure the eyes are sharp. Don't trust the small thumbnail!
Putting It Into Practice
The best way to fix these mistakes isn't by reading about them: it's by getting out there and shooting. Take your camera to a local park or even just your backyard. Pick an object and try to photograph it using different shutter speeds and apertures. See for yourself how the "Reciprocal Rule" affects your sharpness.
If you find your images are still looking a bit dull, don't forget the power of post-processing. A little bit of sharpening and contrast in Luminar can go a long way, but it can’t fix a fundamentally broken photo. Get it right in the camera first, and the editing becomes the fun part.
Manual mode is a journey, not a destination. You’re going to mess up. You’re going to have days where every single photo is out of focus or totally blown out. That’s part of the process. Every "bad" photo you take is just a lesson in what not to do next time.
For more tips, tricks, and behind-the-scenes looks at how we work, keep an eye on blog.edinchavez.com. We’re always sharing new insights into the world of professional photography.
Now, grab your camera, check your dials, and go get those sharp shots. The light isn't going to wait for you!