You’ve seen the shots. You know the ones, the portraits that look so crisp, so deep, and so professional that you’re convinced the photographer must be using some kind of alien technology or a light rig that costs more than a mid-sized sedan. You go home, try to recreate it with your speedlight or a bright window, and your subject ends up looking like a deer in headlights or a basement-dwelling ghost.
Here is the truth: pro photographers aren't hoarding secret gear. They’re just using a few "rules" that they conveniently forget to mention when you ask for advice. They talk about "soul" and "vision," but really, it’s about where you put the light and, more importantly, where you put the shadows.
If you’ve been struggling to make your portraits pop, you’re in the right place. We’re going to strip away the mystery and give you the actual blueprints pros use. And hey, if you want to take your skills even further after reading this, you should definitely check out the deep-dive tutorials over at Learn Shut Your Aperture.
The Myth of the "Expensive Light"
Before we dive into setups, let’s kill the biggest lie in the industry: that you need a five-figure studio setup to get pro results. Light is light. The sun doesn’t charge a subscription fee, and a $50 manual flash can create the same shadow as a $3,000 strobe if you know how to shape it.
Pro photographers don't want you to know that a white bedsheet is basically a high-end scrim, or that a piece of white foam board from the dollar store is one of the most powerful tools in a portrait kit. The "secret" isn't the source; it's the direction and the quality.
1. Rembrandt Lighting: The Old Reliable
If you only learn one lighting pattern, make it this one. Named after the Dutch master painter (who probably would have been a killer Nikon shooter), Rembrandt lighting is characterized by a small inverted triangle of light on the subject’s cheek on the shadowed side of the face.
How to do it:
Place your light source about 45 degrees to the side of your subject and slightly above eye level. Have the subject turn their face slightly away from the light. When that little triangle appears under the eye on the dark side, you’ve hit the sweet spot.
This look is moody, classic, and adds an instant layer of "I know what I'm doing" to your portfolio. It’s great for adding drama without making things look too experimental. For more on how light interacts with different subjects, check out our guide on mastering light and water for perfect shots.

2. Butterfly Lighting: The Glamour Standard
This is often called "Paramount Lighting" because it was the go-to for old Hollywood movie posters. It’s called butterfly lighting because of the small, butterfly-shaped shadow it creates directly under the nose.
How to do it:
Place your main light directly in front of the subject, but high up. You want the light pointing down at their face. This accentuates cheekbones and makes the skin look smooth. It’s the ultimate "flattery" light, which is why you see it in almost every fashion magazine.
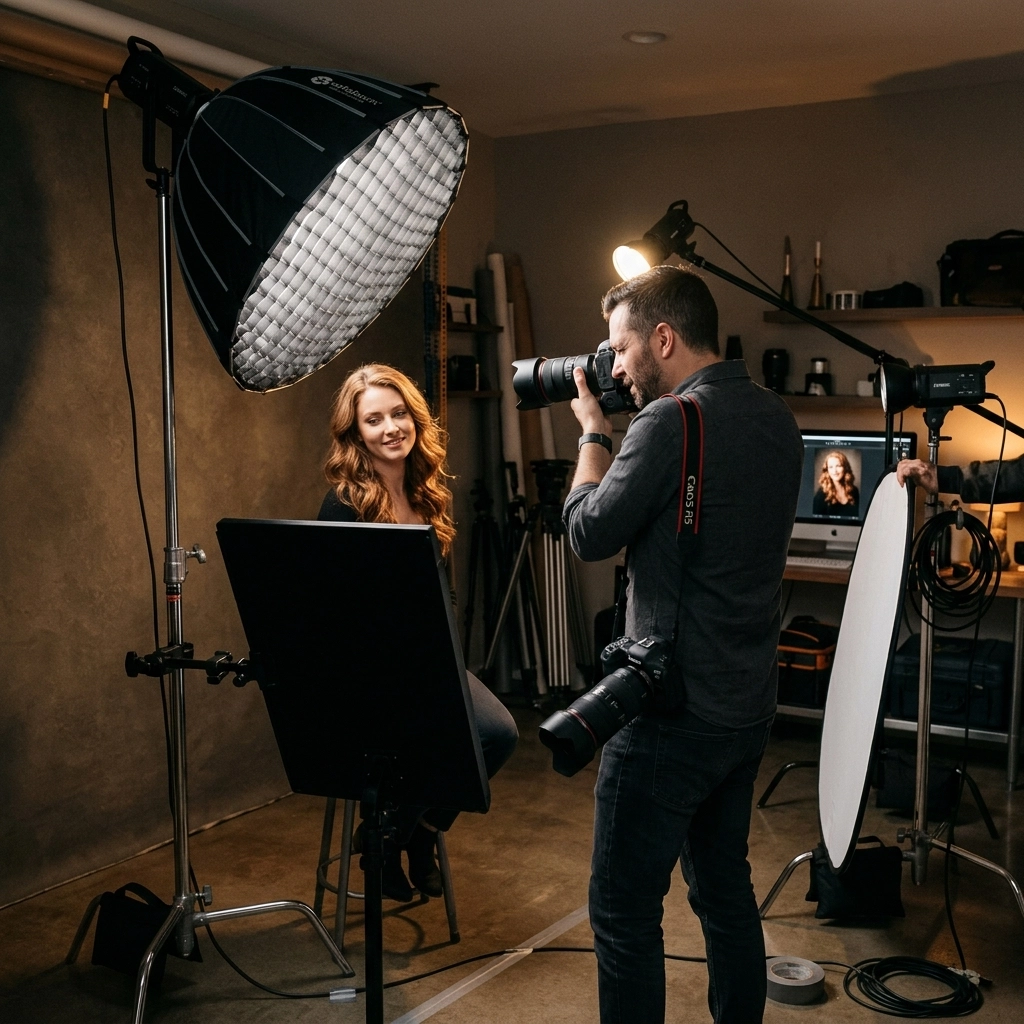
Pro Tip: If the shadows under the chin are too dark, hold a reflector at chest level to bounce some light back up. This is called a "Clamshell" setup, and it’s how you get those glowing, flawless skin tones.
3. The "Secret" of Short Lighting vs. Broad Lighting
This is where most beginners get tripped up. It isn’t just about where the light is, but which side of the face you are photographing.
- Broad Lighting: The side of the face turned toward the camera is the side getting the light. This makes a face look wider. Use this if your subject has a very narrow face and you want to fill them out.
- Short Lighting: The side of the face turned toward the camera is in the shadow. The light hits the "short" side (the side further away). This is the "skinny-fying" light. It sculpts the face, hides imperfections, and is generally much more flattering for 90% of people.
If you want to see how these concepts apply to other genres like street work, peek at these 25 creative street photography ideas.
4. Catchlights: The Soul of the Portrait
Ever look at a photo and think the subject looks "dead" inside? It’s probably because they’re missing catchlights. Catchlights are just the reflection of the light source in the subject’s eyes. Without them, the eyes look like flat, dark pits.
Pros will meticulously position their lights to ensure there’s a sparkle at the 10 o'clock or 2 o'clock position in the iris. It adds life, dimension, and focus. If you’re using natural light, just make sure your subject is looking slightly toward a window or an open door.

5. The Power of Diffusion
Direct light is the enemy of a good portrait. Unless you’re going for a hard-edged, gritty look, you want your light to be "soft." Soft light wraps around the subject, smoothing out wrinkles and skin texture.
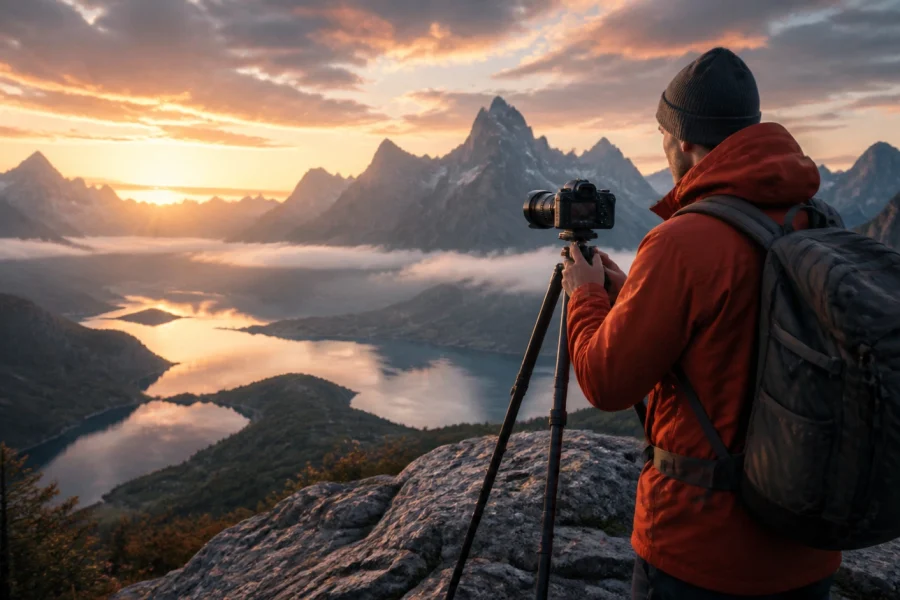
How do you get it? Increase the size of your light source. A tiny flash bulb is a "hard" light. Put that same flash behind a 48-inch umbrella, and it becomes a "soft" light. The bigger the light source relative to the subject, the softer the light. This is why "Golden Hour" works so well: the entire sky becomes your light source.
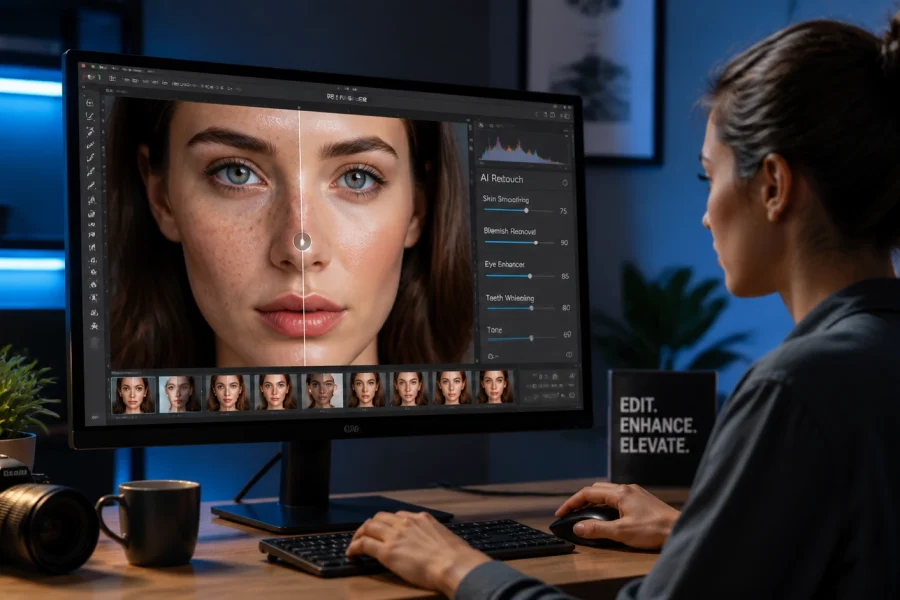
If you're out in the field and the light just isn't cooperating, sometimes you have to fix it in post. Tools like Luminar have incredible "Relight" AI features that can help you balance your exposure and add a professional glow even if you didn't have a softbox on hand.
6. Separating the Subject from the Background
Pro photographers hate "flat" photos. They want depth. One of the easiest ways to get it is to use a "Hair Light" or "Rim Light." This is a light placed behind the subject, pointed at the back of their head or shoulders. It creates a thin outline of light that separates them from a dark background.
It’s the difference between a subject blending into the wall and a subject that looks like they’re three-dimensional. Even when shooting water photography, the principle of backlighting to create separation is a game-changer.
7. Using AI to Enhance Your Lighting Workflow
Let's be real: we don't always get the lighting perfect on location. Maybe the sun ducked behind a cloud, or your flash didn't trigger. In the modern era, you can use AI to save a shot that would have been a "delete" five years ago.
Integrating AI into your workflow doesn't mean you're cheating; it means you're being efficient. You can find more on how to integrate AI into your photography workflow without making it look fake. Using software like Luminar allows you to add "Sunrays" or adjust the "Face Light" with sliders that look surprisingly natural.

8. The "Invisible" Reflector
One of my favorite tricks for natural light portraits is the "ground reflector." If you’re shooting outside, have your subject stand near a light-colored sidewalk or a patch of sand. That ground is acting as a massive reflector, bouncing light back up into their eyes and filling in those "raccoon eye" shadows caused by the overhead sun.
Pros do this all the time. They’ll carry a pop-up reflector, but they’ll also just look for white walls or bright trucks to park their subjects next to. It’s about being aware of your surroundings. If you want to learn more about environmental shooting, Edin has some great thoughts over at blog.edinchavez.com.
9. Don’t Forget the Negative Fill
Sometimes you have too much light. If you’re in a white room, light is bouncing everywhere, and you lose all your shadows. Shadows are what create shape.
"Negative fill" is just a fancy way of saying "put something black next to the subject." Use a black foam board or the dark side of a 5-in-1 reflector to soak up the light on one side of the face. This deepens the shadows and adds that professional "chiseled" look to the jawline.
10. The Psychology of Lighting
Lighting isn't just technical; it's emotional.
- High Key Lighting: (Lots of light, very few shadows) feels happy, airy, and energetic.
- Low Key Lighting: (Mostly shadows, very little light) feels mysterious, intimate, and dramatic.
Before you set up your lights, ask yourself: What is this person’s story? If you're shooting a corporate headshot, go for clean and bright. If you're shooting a moody musician, bring on the shadows. For more on the technical side of gear for different styles, PhotoGuides.org is a killer resource.
Putting It All Together
The "secrets" of portrait lighting aren't about buying more stuff. They are about understanding how light falls on a 3D object (a human face) and how to control the transition between light and dark.
Start with one light. Master the Rembrandt. Then move it around and see what happens when you go high (Butterfly) or to the side (Split). Once you understand the "why" behind the shadows, you’ll never look at a portrait the same way again.
And remember, the learning never stops. If you're looking to upgrade your landscape game while you're at it, don't miss our top 10 landscape photography tips.
Lighting is a language. The more you "speak" it, the better your stories will be. If you’re feeling overwhelmed, just grab a friend, a single lamp, and start moving it around. You’ll see the "secrets" reveal themselves right in front of your eyes. For more advanced techniques and deep-dive courses, head over to Learn Shut Your Aperture and join the community. We're all just chasing the light( might as well do it together.)
Skylum’s Aperty is purpose-built for portrait retouching with AI skin, eye and detail enhancement. Luminar Neo’s Portrait AI complements it for full-body and editorial work. Tagged as affiliate per FTC.