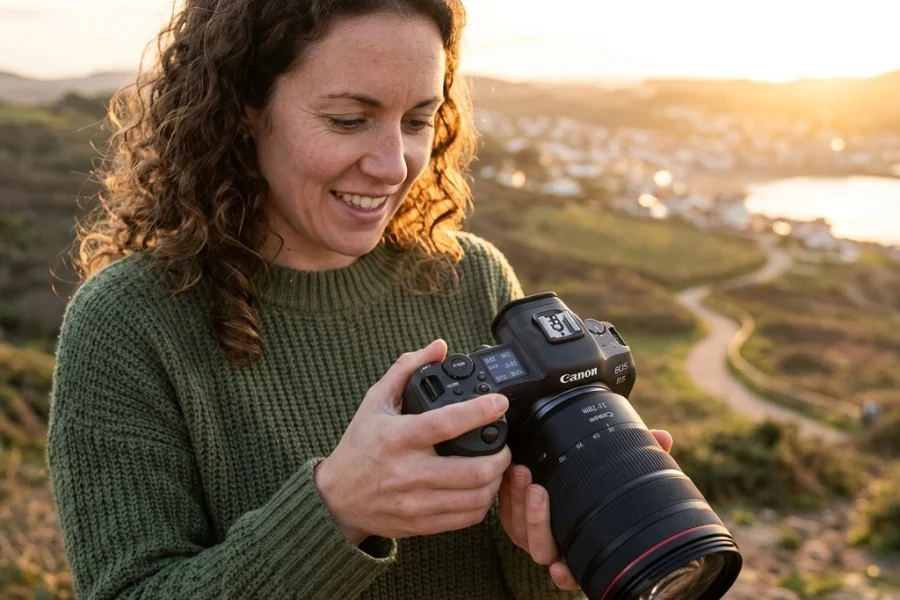
Let’s be honest: taking your camera off the "Auto" setting for the first time feels a lot like jumping out of a plane without knowing if your parachute is actually a backpack full of silverware. It’s terrifying. You’ve spent a chunk of change on a shiny new camera, maybe you’ve been looking at the best mirrorless cameras like the Sony A7R V or the Canon R5, and yet, you’re letting the computer inside the box make all the creative decisions for you.
If you’re tired of your photos looking "just okay" and you’re ready to actually capture what your eyes see, it’s time to talk about Manual Mode. This isn’t just about technical jargon; it’s about taking the steering wheel. This guide is your roadmap to mastering photography for beginners. We’re going to break down the "Exposure Triangle" without making your brain melt, and by the end, you’ll be dialing in settings like a pro.
Why Manual Mode? The Creative Freedom You’re Missing
When you shoot in Auto, your camera tries to make the world look like an average, middle-gray scene. It doesn’t know you’re trying to capture the moody shadows of street photography ideas or the silky movement of a waterfall in a landscape shot. It just wants a "safe" exposure.
Manual Mode gives you the keys to the kingdom. Want that blurry background in a portrait? You need to control the aperture. Want to freeze a hummingbird in mid-air? You need to command the shutter speed. If you’re serious about your craft, check out the deep-dive courses over at Shut Your Aperture Academy where we take these concepts even further.
The Exposure Triangle: The Holy Trinity of Photography
At the heart of every single photo ever taken are three settings: Aperture, Shutter Speed, and ISO. Think of these like a three-legged stool. If you adjust one, you usually have to adjust the others to keep the stool level. This balance is what we call "Exposure."
1. Aperture: The Eye of the Lens
Aperture is the opening in your lens. Think of it like the pupil of your eye. When it’s dark, your pupil gets big to let in more light. When it’s bright, it shrinks.
- F-Stops: This is how we measure aperture. It’s a bit backwards, a small number (like f/1.8) means a huge opening. A large number (like f/22) means a tiny opening.
- Depth of Field: This is the magic part. A wide opening (f/1.8) creates a "shallow" depth of field, that’s the creamy, blurry background everyone loves. A narrow opening (f/11 or f/16) keeps everything from the foreground to the mountains in focus, which is essential for landscape photography tips.

Alt Text: A side-by-side comparison showing a portrait with a blurry background at f/1.8 and a landscape with sharp details from front to back at f/11.
2. Shutter Speed: The Gatekeeper of Time
Shutter speed is how long the "curtain" stays open to let light hit the sensor. It’s measured in fractions of a second.
- Fast Shutter Speed (1/1000 and up): This freezes motion. Use this if you’re shooting sports or a dog running in the park.
- Slow Shutter Speed (1/30 and down): This creates motion blur. If you want those light trails from cars or that "cotton candy" water in a creek, you’ll need a tripod and a slow shutter.
When you're looking at photography tutorials, you'll often see that shutter speed is the biggest culprit for blurry photos. If your shutter is too slow and you’re holding the camera by hand, your heartbeat alone can cause "camera shake." A good rule of thumb is to keep your shutter speed faster than the focal length of your lens (e.g., if you’re at 50mm, stay above 1/50th of a second).
3. ISO: The Sensor’s Sensitivity
ISO is your camera’s sensitivity to light. Back in the day, this was determined by the film you bought. Now, it’s a digital setting.
- Low ISO (100-400): Use this when you have plenty of light (sunlight). It gives you the cleanest, sharpest images.
- High ISO (1600 and up): Use this in dark situations. But beware: the higher you go, the more "noise" or grain you’ll see in your photo.

Alt Text: Close-up comparison of two photos; one shot at ISO 100 showing smooth textures and one shot at ISO 12800 showing digital noise and grain.
How to Read the Light Meter
Every camera has a built-in light meter. When you look through your viewfinder or at your screen in Manual Mode, you’ll see a little scale with a "0" in the middle, and plus/minus numbers on either side.
- If the mark is at 0: Your camera thinks the exposure is perfect.
- If it’s in the minus: Your photo is going to be underexposed (too dark).
- If it’s in the plus: Your photo is going to be overexposed (too bright).
Your job in Manual Mode is to move the dials for Aperture, Shutter Speed, and ISO until that little mark sits right where you want it. Sometimes you want it in the minus for a moody shot, and that’s the beauty of manual, you decide, not the camera.
The Step-by-Step Manual Workflow
When you’re standing in front of a beautiful scene, don’t panic. Follow this order to get your settings right:
- Set your ISO first. Are you outside in the sun? Set it to 100. Are you in a dim living room? Maybe start at 800 or 1600.
- Decide on your Aperture. Do you want a blurry background (low f-stop) or everything sharp (high f-stop)? Set it and leave it.
- Adjust your Shutter Speed. Look at your light meter. Dial the shutter speed until the meter hits the center.
- Take a test shot. Check your screen. Is it too dark? Slow down the shutter. Too bright? Speed it up.
If you’re using specific gear, like the OM System, your workflow might change slightly based on the tech. We have specific guides for this, like OM System OM-1 Mark II settings for portrait photography.
Real-World Scenarios: Putting it Into Practice
The "Creamy Background" Portrait
To get that professional look, you want a wide aperture.
- Aperture: f/1.8 or f/2.8.
- ISO: 100 (if outdoors).
- Shutter Speed: Whatever the light meter tells you (likely very fast).
This setup is a staple of portrait photography techniques. It isolates your subject and makes them pop.
The Sharp-as-a-Tack Landscape
When shooting the grand vistas Edin Chavez captures in his fine art collection, everything needs to be sharp.
- Aperture: f/8 or f/11.
- ISO: 100.
- Shutter Speed: This might be slow, so bring a tripod!
Landscape photography tips often emphasize the "sweet spot" of a lens, which is usually around f/8.
The Fast-Paced Street Scene
Street photography ideas are often about "the decisive moment." You can't be too slow.
- Shutter Speed: 1/500 or faster.
- Aperture: f/5.6 (to give you a bit of wiggle room with focus).
- ISO: Auto ISO (Yes, you can use "Auto ISO" in Manual Mode! It's a great "cheat" for beginners).
For more on this, check out our OM System street photography settings.

Alt Text: An urban street scene captured with a fast shutter speed, freezing a person jumping over a puddle with crystal-clear detail.
Gear Matters (But Only a Little)
People often ask me, "Edin, do I need the most expensive camera to shoot in manual?" The answer is no. Whether you have a $500 entry-level DSLR or a top-tier mirrorless, the physics of light stay the same. However, newer tech makes it easier.
The latest photography news shows that brands like Sony and Canon are making viewfinders so good that you can actually see your exposure change in real-time before you even click the button. That’s a huge advantage over old DSLRs. If you’re stuck choosing between models, we’ve got a head-to-head on the Sony A7 IV vs Canon EOS R6 Mark II that breaks down which handles low light (ISO) better.
Don't Forget Post-Processing
Getting it right in-camera is 90% of the battle, but the final 10% happens in the edit. When you shoot in Manual Mode, you should also be shooting in RAW format. RAW files hold way more data than JPEGs, allowing you to recover shadows and highlights that might look lost.
I personally love using Luminar for a quick and powerful workflow. It uses AI to help with things like sky replacement and skin retouching, but it also gives you full manual control over your exposure adjustments. If you want to dive deeper into this side of things, check out our photo editing tutorials.

Alt Text: A screenshot of a RAW photo being edited, showing the 'before' (dull and flat) and 'after' (vibrant and dynamic) versions side-by-side.
Common Mistakes Beginners Make
Even with a guide, you're going to mess up. That's part of the process. Here are the big ones to watch out for:
- Trusting the LCD Screen: Your screen's brightness can lie to you. In bright sunlight, your photo might look dark on the screen, so you brighten it up, only to find out later on your computer that you blew out all the highlights. Learn to read the Histogram.
- Forgetting to Reset Settings: You were shooting a sunset at ISO 1600 last night. This morning, you go to the beach and start shooting. If you don't check your settings, your beach photos will be ruined by grain and overexposure. Make it a habit to "zero out" your camera before every shoot.
- Ignoring White Balance: While the Exposure Triangle is the big three, White Balance is the secret fourth member. It controls the "temperature" of the light (blue vs. orange). If your photos look too yellow, your white balance is off.
Exercises to Master Manual Mode
Reading about it is one thing. Doing it is another. Take your camera out this weekend and try these three exercises:
Exercise 1: The Depth of Field Test
Find a flower or an object. Set your camera to its widest aperture (lowest f-number). Take a photo. Now, without moving, change your aperture to f/11. You’ll notice your shutter speed needs to get much slower to keep the light meter at zero. Look at the difference in the backgrounds.
Exercise 2: The Motion Blur Test
Find some moving water: a fountain or a garden hose will do. Set your shutter speed to 1/1000. Take a shot. Now, set it to 1/30 (use a tripod!). Notice how the water turns from "frozen droplets" to "silky mist."
Exercise 3: The ISO Challenge
Go into a dark room in your house. Try to take a photo at ISO 100. It’ll probably be pitch black or blurry because the shutter is too slow. Now, crank the ISO to 6400 and see how the camera "sees" in the dark. Zoom in on the photo and look at the grain.
Leveling Up Your Photography
Mastering how to use manual mode camera settings is the single biggest "level up" you will ever experience as a photographer. It’s the difference between taking snapshots and creating art.
If you're looking for more inspiration or want to see what's possible when you master these settings, head over to PhotoGuides.org for more free resources. And remember, photography is a journey. You're going to take a lot of bad photos before you take a great one. The key is to keep that dial on 'M' and keep shooting.
For those of you looking to turn this hobby into something more, or maybe you're just gear-obsessed, stay tuned to our camera gear reviews for the latest updates on the tools that make Manual Mode even more fun to use.
Now, get out there, shut your aperture (or open it wide!), and show the world what you see.

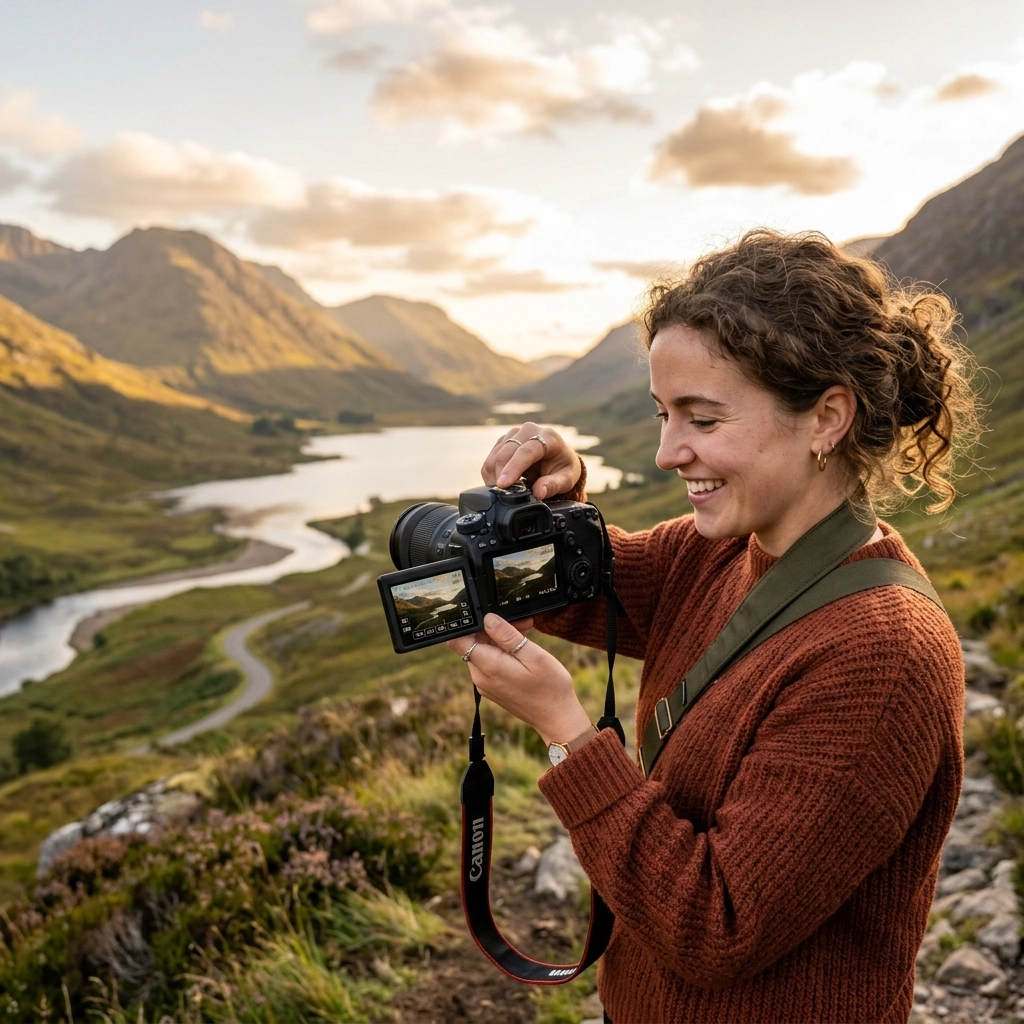
Alt Text: A photographer standing on a cliff edge at sunrise, holding a mirrorless camera on a tripod, capturing the golden hour glow.