
Let’s be real for a second: photography can be intimidating. You see these incredible shots on Instagram or at a gallery, and then you look at your own photos and wonder why they look… well, flat. Maybe you’ve got a fancy camera gathering dust because the buttons look like a cockpit of a 747. Or maybe you’re a pro who’s feeling a bit uninspired.
Whatever your level, the goal is the same: you want to take better pictures. That’s why we created Shut Your Aperture. We aren’t just another blog; we are the number one photography school online, designed to take you from "point-and-pray" to "pro-level play."
Our daily photography tutorials are built to give you those "aha!" moments every single day. We cover everything from the absolute basics to the high-level wizardry that makes people stop and stare.
Why Daily Learning Matters
You wouldn’t expect to play a Rachmaninoff concerto after one piano lesson, right? Photography is a muscle. If you don't use it, it gets weak. By engaging with our tutorials daily, you aren’t just memorizing facts; you’re building intuition.
The best part about our approach is that we keep it simple. We don’t use "photobabble" that requires a PhD to understand. We want you to pick up your camera, try one new thing, and see an instant improvement. Whether it's learning how to use manual mode camera settings or discovering hidden gem locations for travel photography, consistency is your best friend.
Mastering the Basics: How to Use Manual Mode Camera
If you are still shooting in "Auto," you’re essentially letting a computer make all the creative decisions for you. And computers are great, but they don’t have an eye for art. To truly unlock your potential, you need to learn how to use manual mode camera settings.
Manual mode is where the magic happens. It’s the key to the kingdom. There are three main pillars you need to master: Aperture, Shutter Speed, and ISO. We call this the Exposure Triangle.
1. Aperture (The "Eyes" of the Camera)
Aperture controls how much light enters the lens. Think of it like the pupil of your eye. A wide aperture (low f-number like f/1.8) lets in a lot of light and creates that beautiful, blurry background (bokeh) that makes portraits pop. A narrow aperture (high f-number like f/16) keeps everything in focus, which is perfect for majestic sunset photography.
2. Shutter Speed (The "Time" Keeper)
Shutter speed is how long the sensor is exposed to light. Fast shutter speeds (1/1000s) freeze action: perfect for a splashing wave. Slow shutter speeds (several seconds) create motion blur, which is essential for mastering water photography in any environment.
3. ISO (The "Sensitivity" Factor)
ISO measures how sensitive your camera sensor is to light. In bright sunlight, you want a low ISO (100). In a dark alleyway or a moody urban photography session, you might need to bump it up. Just be careful: high ISO can introduce "noise" or graininess to your shots.
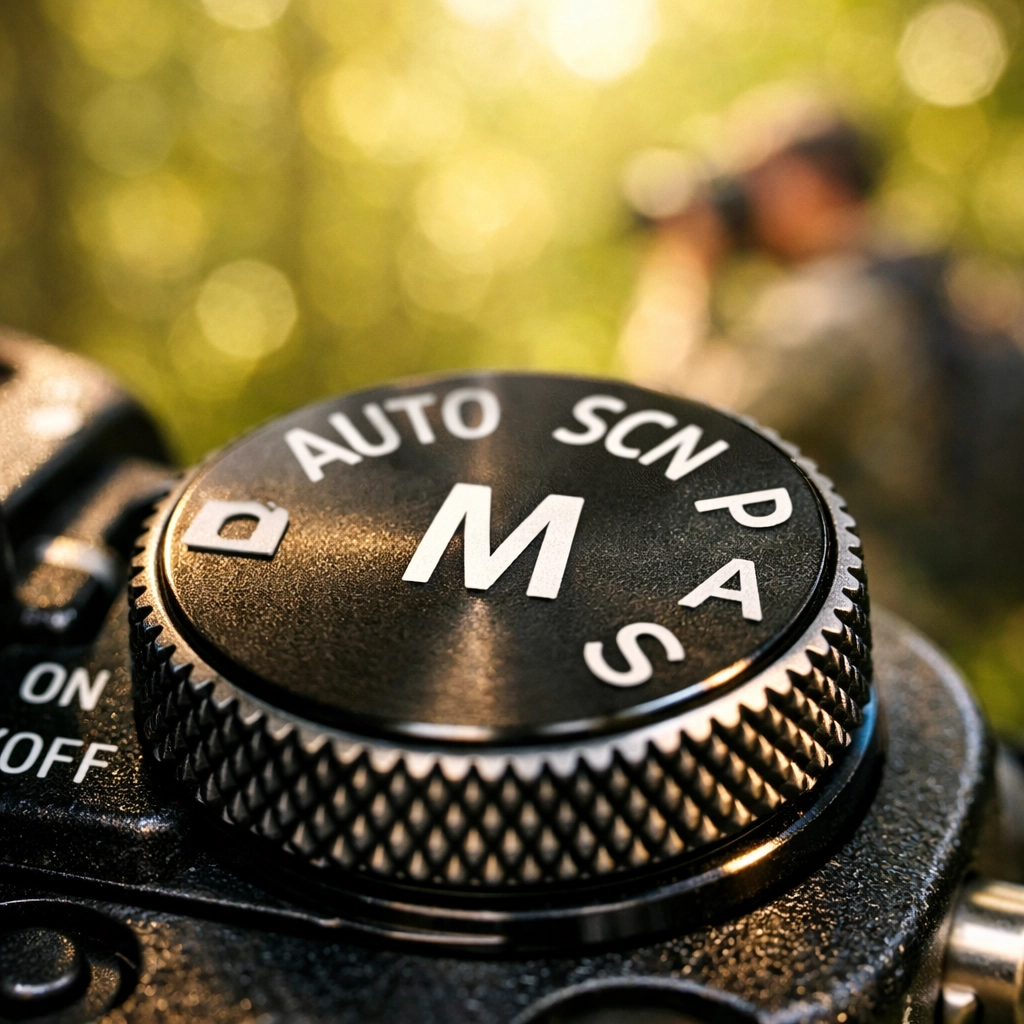
SEO Alt Text: A close-up of a professional camera dial set to manual mode with a blurred background showing a photographer in a forest.
Composition: The Secret Sauce of Photography Tutorials
Once you understand how to get a clean exposure, it’s time to talk about what actually goes into the frame. You can have the perfect exposure, but if the composition is messy, the photo will fail.
Our photography tutorials place a huge emphasis on the "Rule of Thirds." Imagine your frame is divided into a 3×3 grid. Instead of putting your subject dead center (which can be a bit boring), try placing them along those grid lines or at the intersections. It immediately makes the image feel more balanced and professional.
Another trick? Leading lines. Use roads, fences, or even shadows to lead the viewer’s eye toward your subject. This is especially effective when exploring ethereal landscapes or picturesque coastal escapes.
Lighting: Chasing the Glow
You’ve probably heard of "Golden Hour." It’s that hour just after sunrise or just before sunset when the light is soft, warm, and basically does the work for you. But a real pro knows how to handle light at any time of day.
In our daily lessons, we dive deep into:
- Natural Light: How to use window light for stunning portraits.
- Harsh Light: How to use shadows creatively when the sun is directly overhead.
- Artificial Light: Mastering flashes and studio lights to create drama.
Understanding the relationship between light and shadow is what separates a snapshot from a photograph. If you're interested in taking this further, check out the resources at PhotoGuides.org or see how lighting is handled in high-end art at Edin Fine Art.
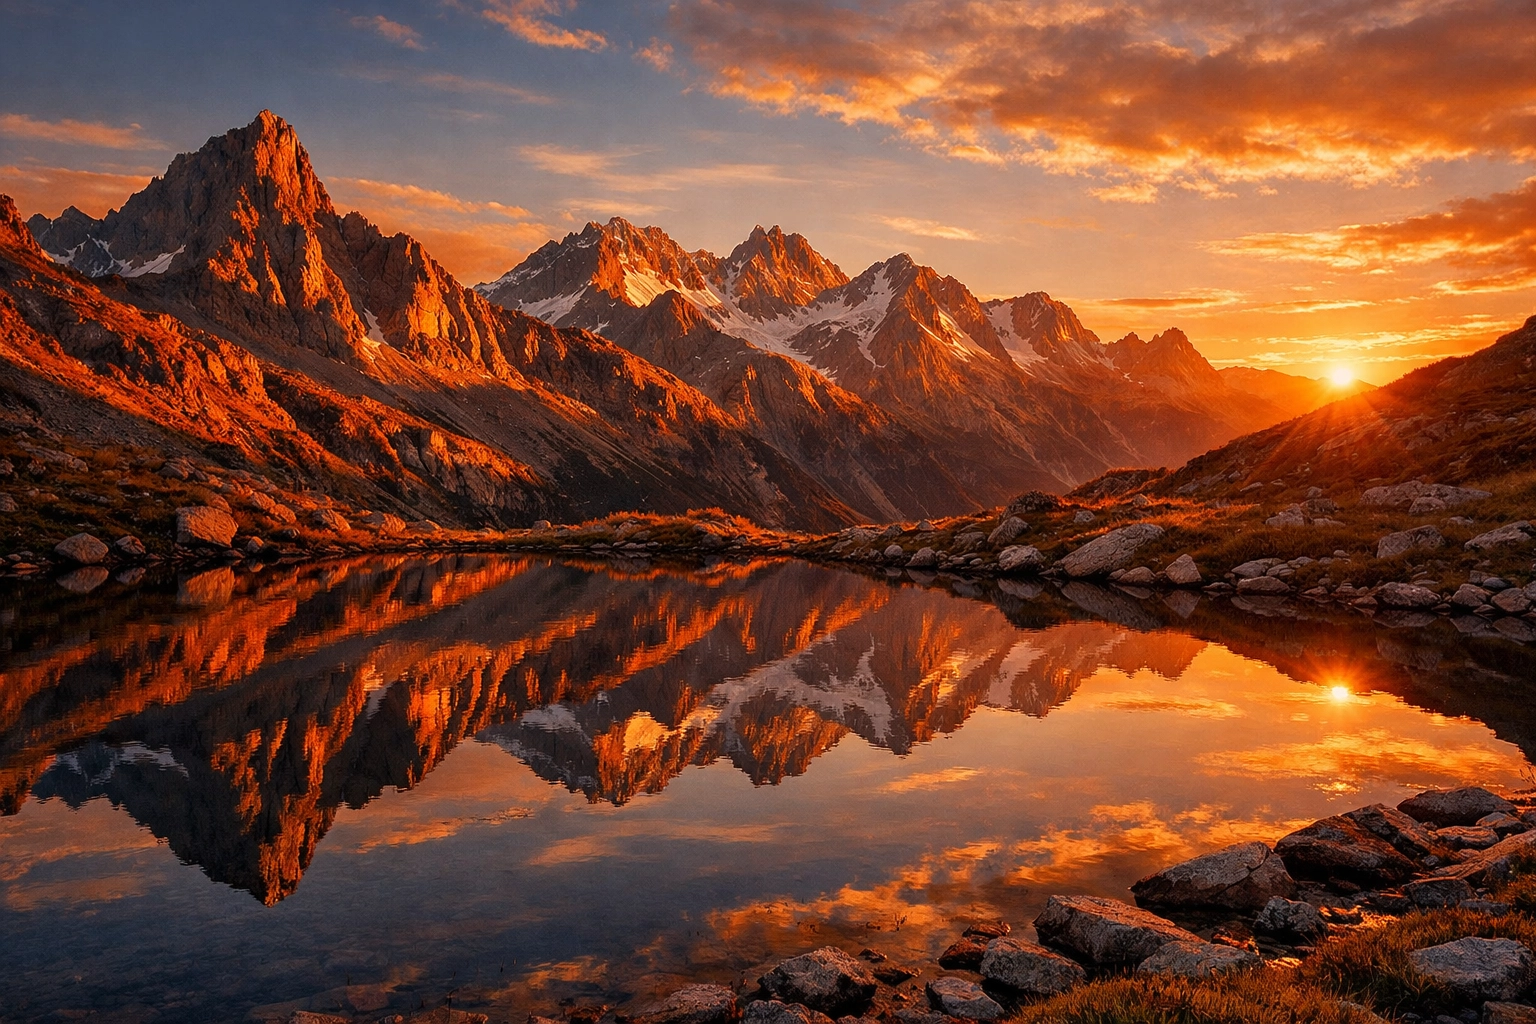
SEO Alt Text: A stunning landscape photo during golden hour showing the interaction of light and shadow on rolling hills.
Water Photography: A Masterclass in Motion
One of our favorite topics at Shut Your Aperture is water. Water is incredibly versatile. It can be a mirror-like surface in a lake or a powerful, crashing force in the ocean.
To get those silky-smooth waterfall shots you see in magazines, you need to master long exposure techniques in water photography. This requires a tripod and often a Neutral Density (ND) filter to slow down the light. If you're just starting, our essential water photography gear guide will help you figure out what you need without breaking the bank.
Whether you are shooting nature-inspired iconic water styles or capturing beauty in motion, our tutorials provide the step-by-step settings you need to succeed.
The Art of Post-Processing
Let’s bust a myth: "Real photographers don't edit."
Actually, real photographers always edit. Back in the day, they did it in a darkroom with chemicals. Today, we do it with software. Editing isn't about "fixing" a bad photo; it's about enhancing the mood and bringing your vision to life.
If you want to speed up your workflow, we highly recommend using Luminar. It uses AI to handle the boring stuff: like masking or sky replacement: so you can focus on the creative side. Our tutorials often feature Luminar because it’s powerful yet simple enough for beginners.
For more advanced editing techniques and professional workflows, you should definitely head over to ProShoot.io. They have some of the best high-end training available for those looking to turn their hobby into a career.
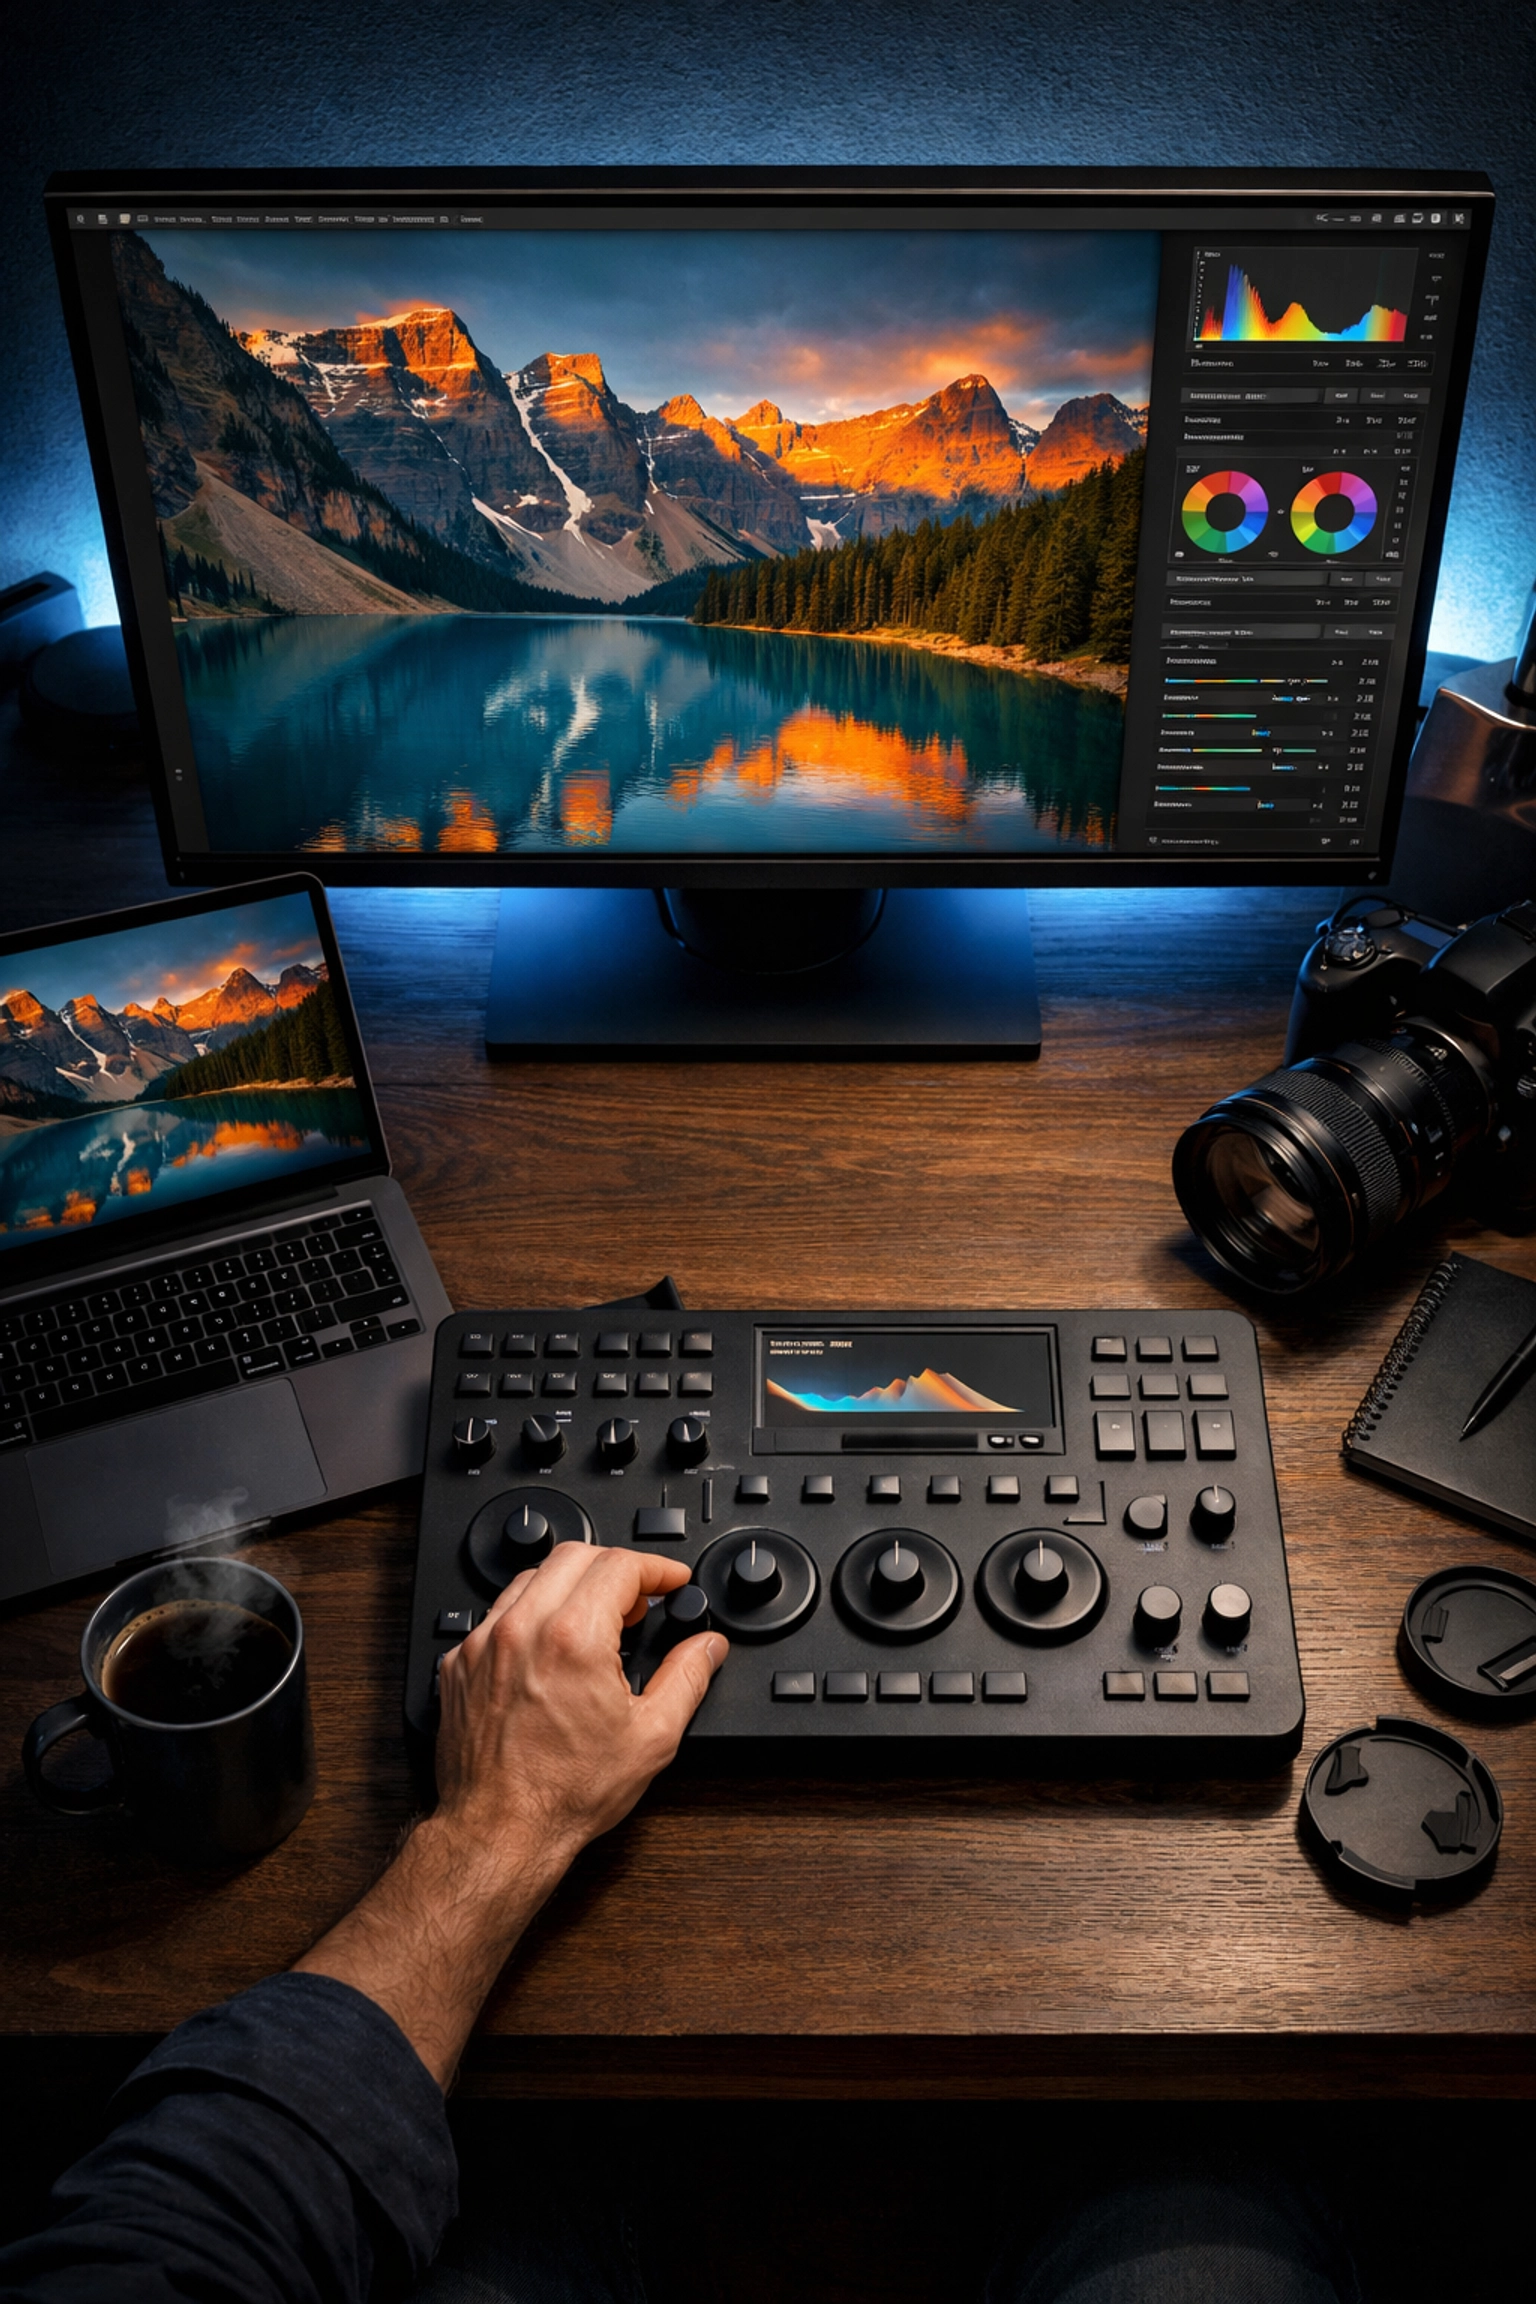
SEO Alt Text: A side-by-side comparison of a raw photography file and an edited version using Luminar software.
Finding Your Focus: Where to Shoot?
Sometimes the biggest hurdle isn't the camera gear; it's the inspiration. You feel like you’ve shot everything in your backyard.
We’ve curated guides on lesser-known vistas for enigmatic photos and secluded paradises that will get you excited to pack your bag. Sometimes all you need is a change of scenery to see the world in a new way. Whether it’s stunning nature imagery or using rare textures for tangible aesthetic photography, we provide the roadmap to your next great shot.
Connect with the Community
Photography can be a lonely hobby, but it doesn't have to be. Our CEO, Edin Chavez, frequently shares his personal insights and behind-the-scenes stories on his personal blog at blog.edinchavez.com. It’s a great place to see how these tutorials are applied in the real world by a working professional.
Also, be sure to keep an eye on our social media. Our social media manager, Sonny, is always posting quick tips and linking back to our deep-dive tutorials here. We work together to make sure you’re getting the most relevant information exactly when you need it.
Take the Next Step
Stop settling for average photos. You have the eye; you just need the tools. By following our daily photography tutorials, you’re joining a community of creators who are dedicated to the craft.
We’ll teach you how to use manual mode camera settings until it’s second nature. We’ll show you how to find light where others see darkness. And we’ll help you edit your shots so they look exactly how you felt when you pressed the shutter.
Shut Your Aperture is more than a website: it’s your new home for everything photography. Let’s get out there and create something amazing.
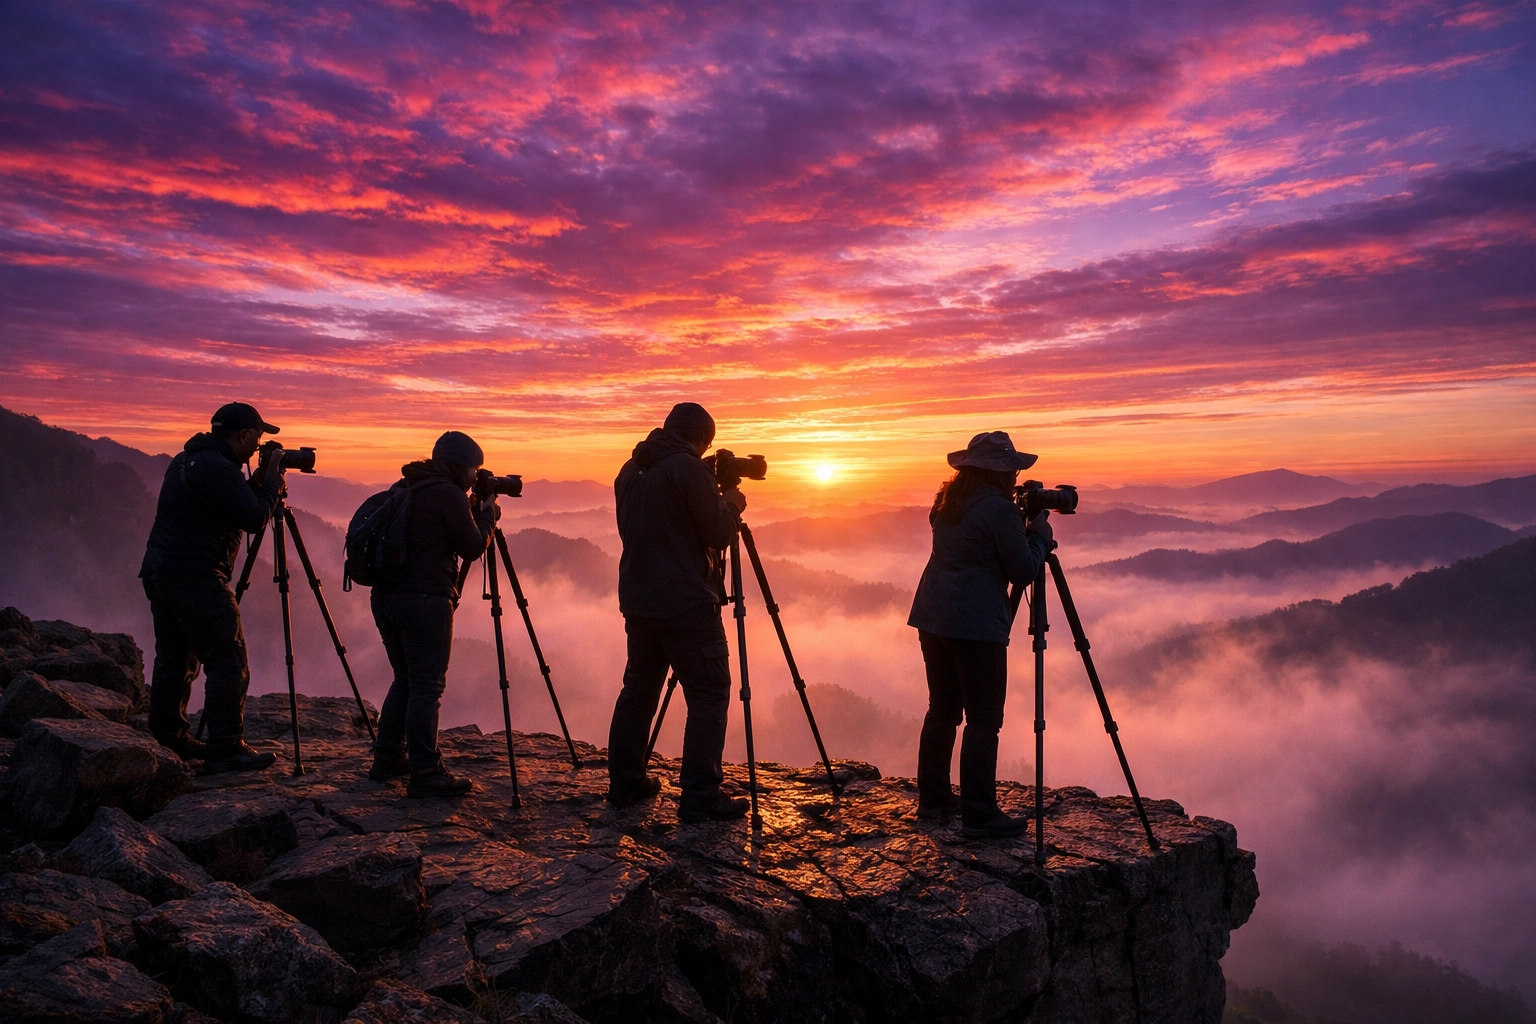
SEO Alt Text: A group of photographers standing on a cliff edge at sunrise, capturing the landscape with their cameras on tripods.
Quick Checklist for Your Next Shoot:
- Check Your Battery: There is nothing worse than arriving at a hidden gem location with 2% power.
- Clean Your Lens: A simple smudge can ruin a high-resolution shot.
- Format Your Card: Start fresh so you don’t run out of space mid-action.
- Switch to Manual: Challenge yourself to shoot the entire day without touching the "Auto" mode.
- Look Behind You: Often, the best shot isn't what everyone else is looking at: it's right behind you.
For more inspiration and high-end gear talk, don't forget to visit Edin Studios. Whether you are shooting for fun or for profit, we are here to support every step of your journey. Welcome to the world of better photography. Stay tuned for tomorrow’s tutorial, where we’ll be breaking down the secrets of urban composition and how to find beauty in the concrete jungle.


