

So, you want to take better pictures of the world? You’re in the right place. Landscape photography is arguably the most popular genre in the world, and for good reason. It’s just you, your camera, and the great outdoors. No models complaining about the heat, no brides stressing over centerpieces, just the wind, the dirt, and hopefully a killer sunset.
But here’s the thing: standing in front of a beautiful mountain doesn’t mean you’ll get a beautiful photo. If it were that easy, everyone would be a pro. To really capture the soul of a place, you need a mix of technical skill, artistic vision, and a whole lot of patience.
At Shut Your Aperture, we’re all about keeping things simple. You don’t need a PhD in physics to understand light, and you don’t need a $20,000 camera to take a shot that makes people stop scrolling. Let’s break down the basics of landscape photography for beginners so you can start hitting the trails with confidence.
The Gear: What You Actually Need (and What You Don’t)
One of the biggest myths in photography is that better gear equals better photos. It doesn't. A better camera just makes it easier to take a high-quality image, but it won't fix a boring composition.
If you're just starting out, don't feel like you need to go into debt. Even a decent smartphone or an entry-level DSLR can produce stunning results if you know how to use it. That said, there are a few essentials that will make your life a lot easier.
1. A Camera with Manual Controls
You want a camera that allows you to change the shutter speed, aperture, and ISO manually. This gives you full creative control. Whether it's a mirrorless, a DSLR, or a high-end point-and-shoot, as long as it has a "Manual" mode, you're golden.
2. A Wide-Angle Lens
Landscape photography is usually about capturing scale. To do that, you need a wide-angle lens. Anything from 14mm to 35mm (on a full-frame sensor) is perfect. It allows you to cram that massive mountain range and the field of wildflowers in front of it into a single frame.
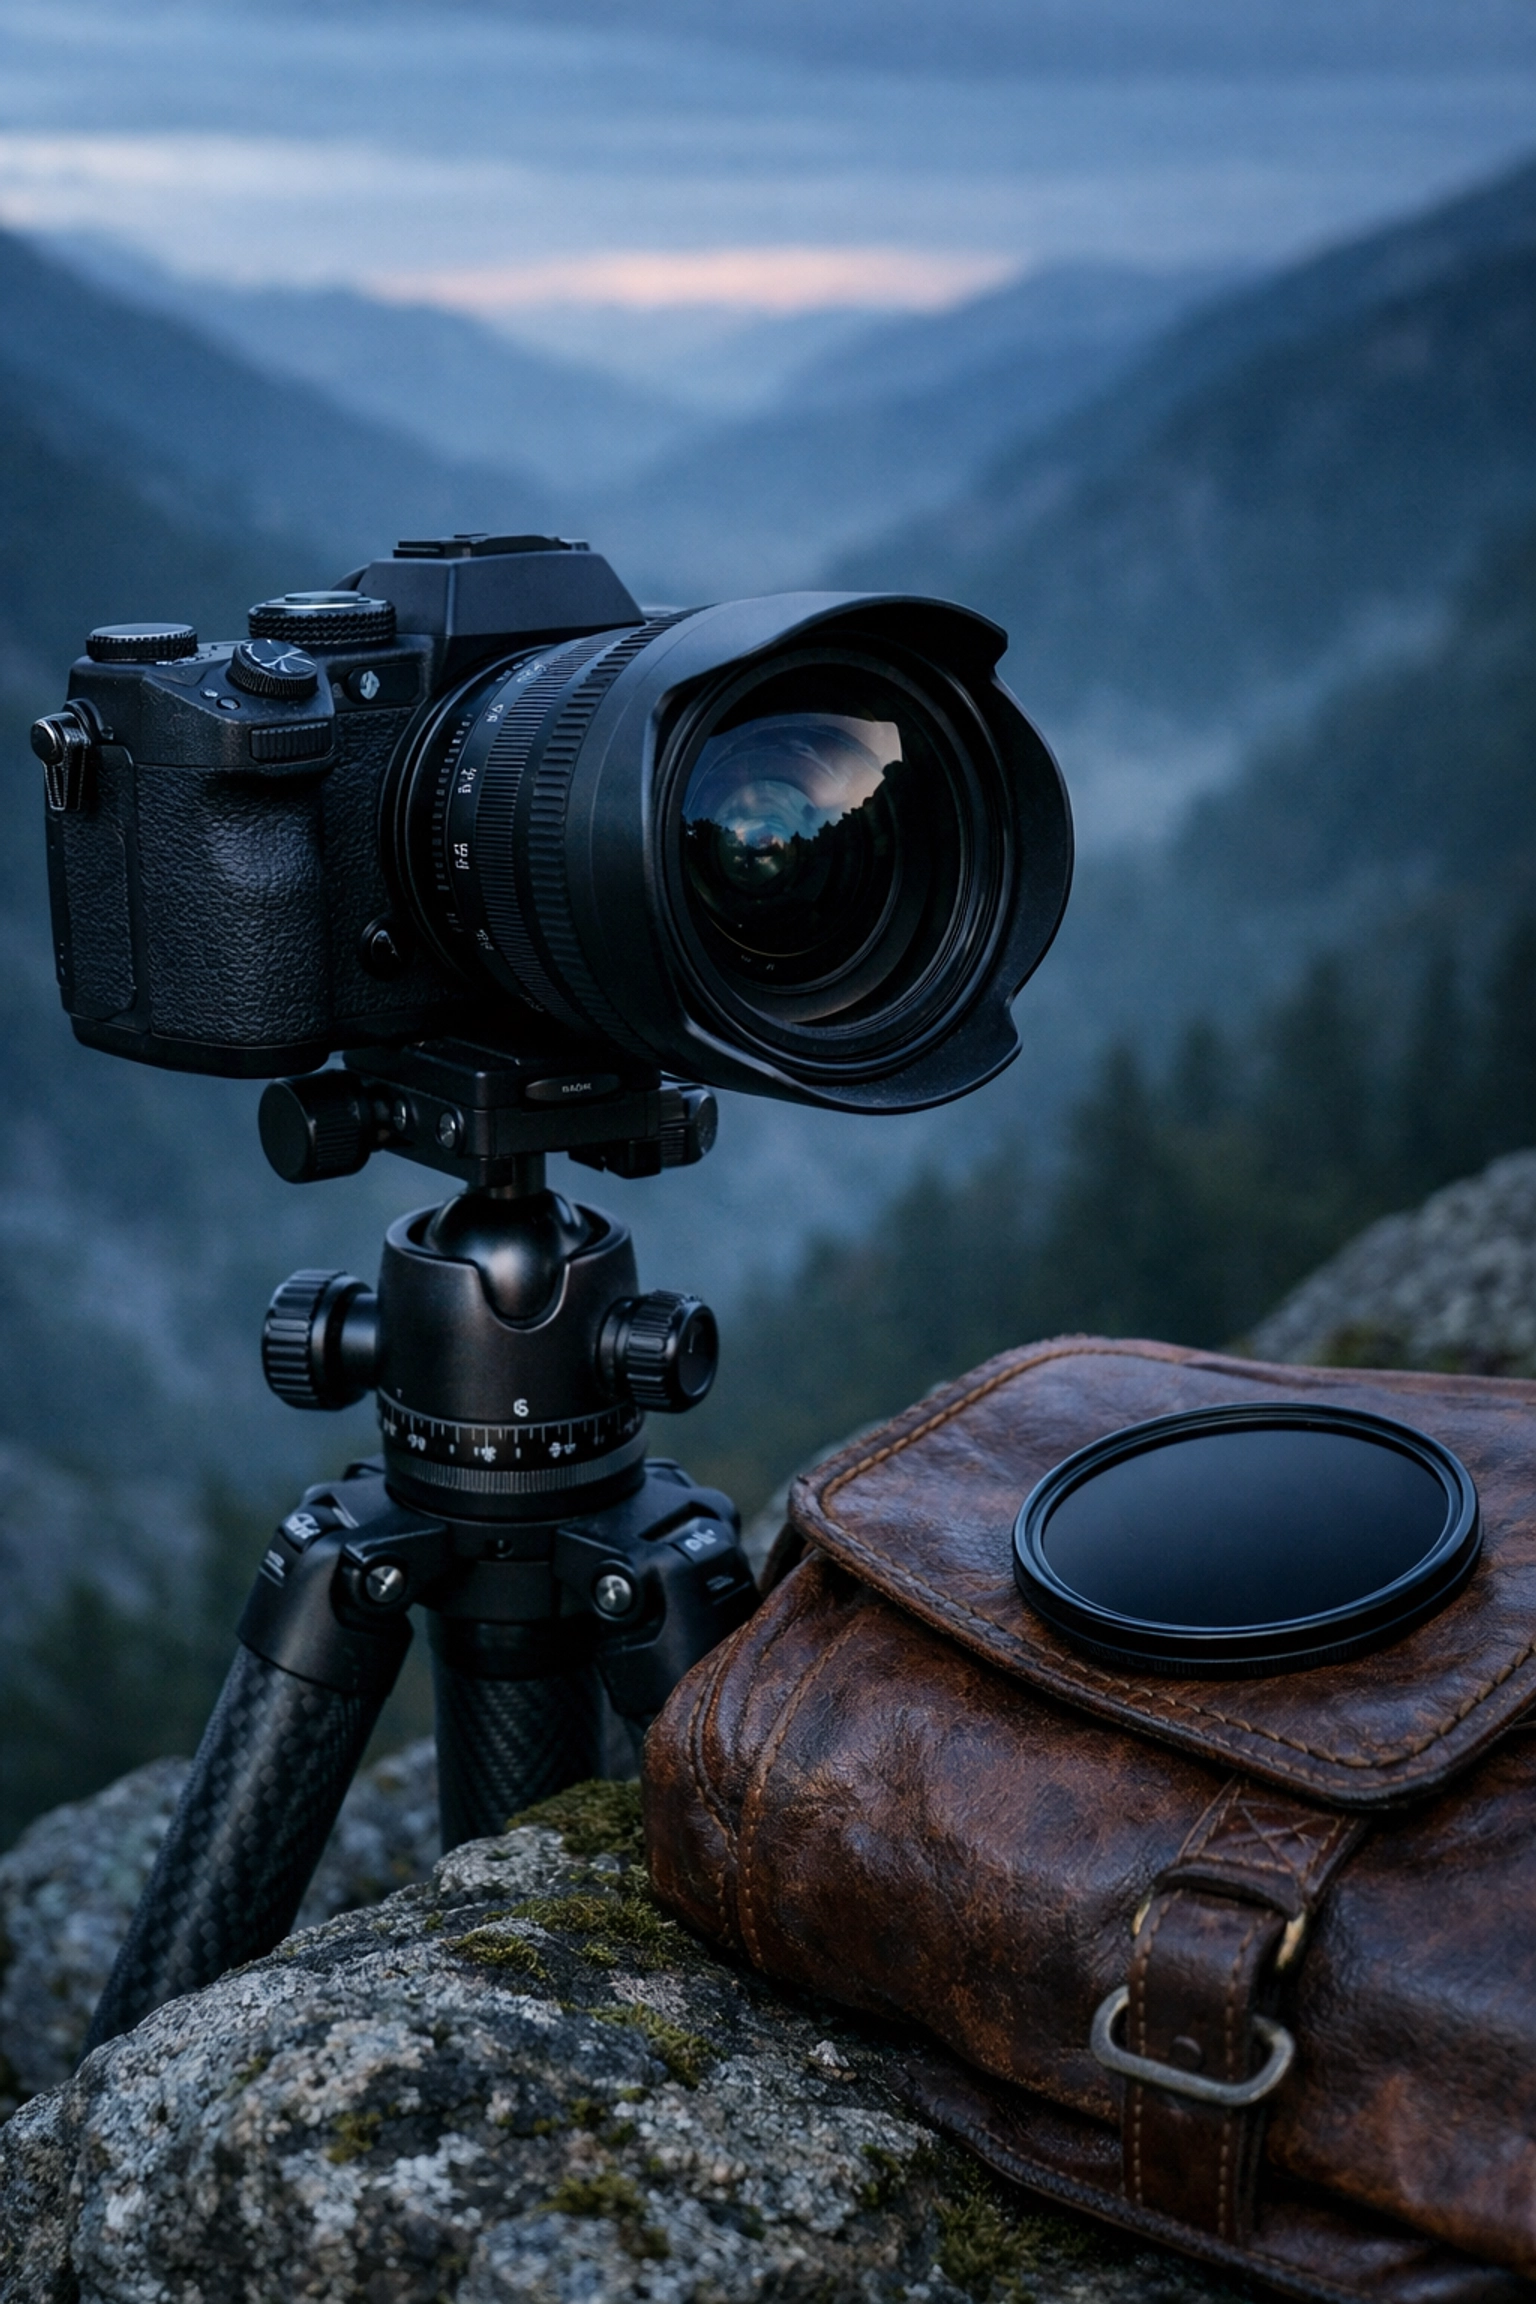
3. A Sturdy Tripod
If you want sharp photos, you need a tripod. Period. Landscapes are often shot in low light (golden hour), which means slow shutter speeds. If you try to hand-hold your camera for a 1-second exposure, your photo will look like a blurry mess. Check out some tips on mastering photography 10 essential tips for more on why stability matters.
4. Filters
While not 100% necessary for day one, filters are a game-changer. A circular polarizer can make the sky pop and remove reflections from water, while Neutral Density (ND) filters allow you to do those cool long exposures where waterfalls look like silk.
Nailing the Camera Settings
Settings can be intimidating, but they don't have to be. For landscapes, we generally want everything to be sharp from the rock at our feet to the mountain in the distance. Here’s your "cheat sheet" for landscape settings:
- Mode: Manual (M) or Aperture Priority (Av/A).
- ISO: Keep this as low as possible (usually ISO 100) to avoid "noise" or graininess.
- Aperture: This is the big one. To get a deep depth of field, you want a higher f-stop. Somewhere between f/8 and f/16 is usually the sweet spot. Avoid going up to f/22, as you might actually lose sharpness due to something called diffraction.
- File Format: Always shoot in RAW. JPEG files throw away data to save space. RAW files keep everything, giving you way more room to play when you’re editing in software like Luminar.
- Focus: Use manual focus or single-point autofocus. Aim about one-third of the way into the scene to maximize your "hyperfocal distance", that’s just a fancy way of saying you’re keeping as much of the scene sharp as possible.
Mastering Composition: The Art of the Frame
Composition is what separates a "snapshot" from a "photograph." It’s how you arrange the elements in your frame to tell a story.
The Rule of Thirds
Imagine your frame is divided into a 3×3 grid. Instead of putting the horizon or your main subject dead center, try placing them along those lines or at the intersection points. It creates a more balanced and interesting image. If you want to dive deeper into why this works, check out how shot compositions impact buyer attraction in real estate; the same psychological principles apply to nature!
Lead the Eye
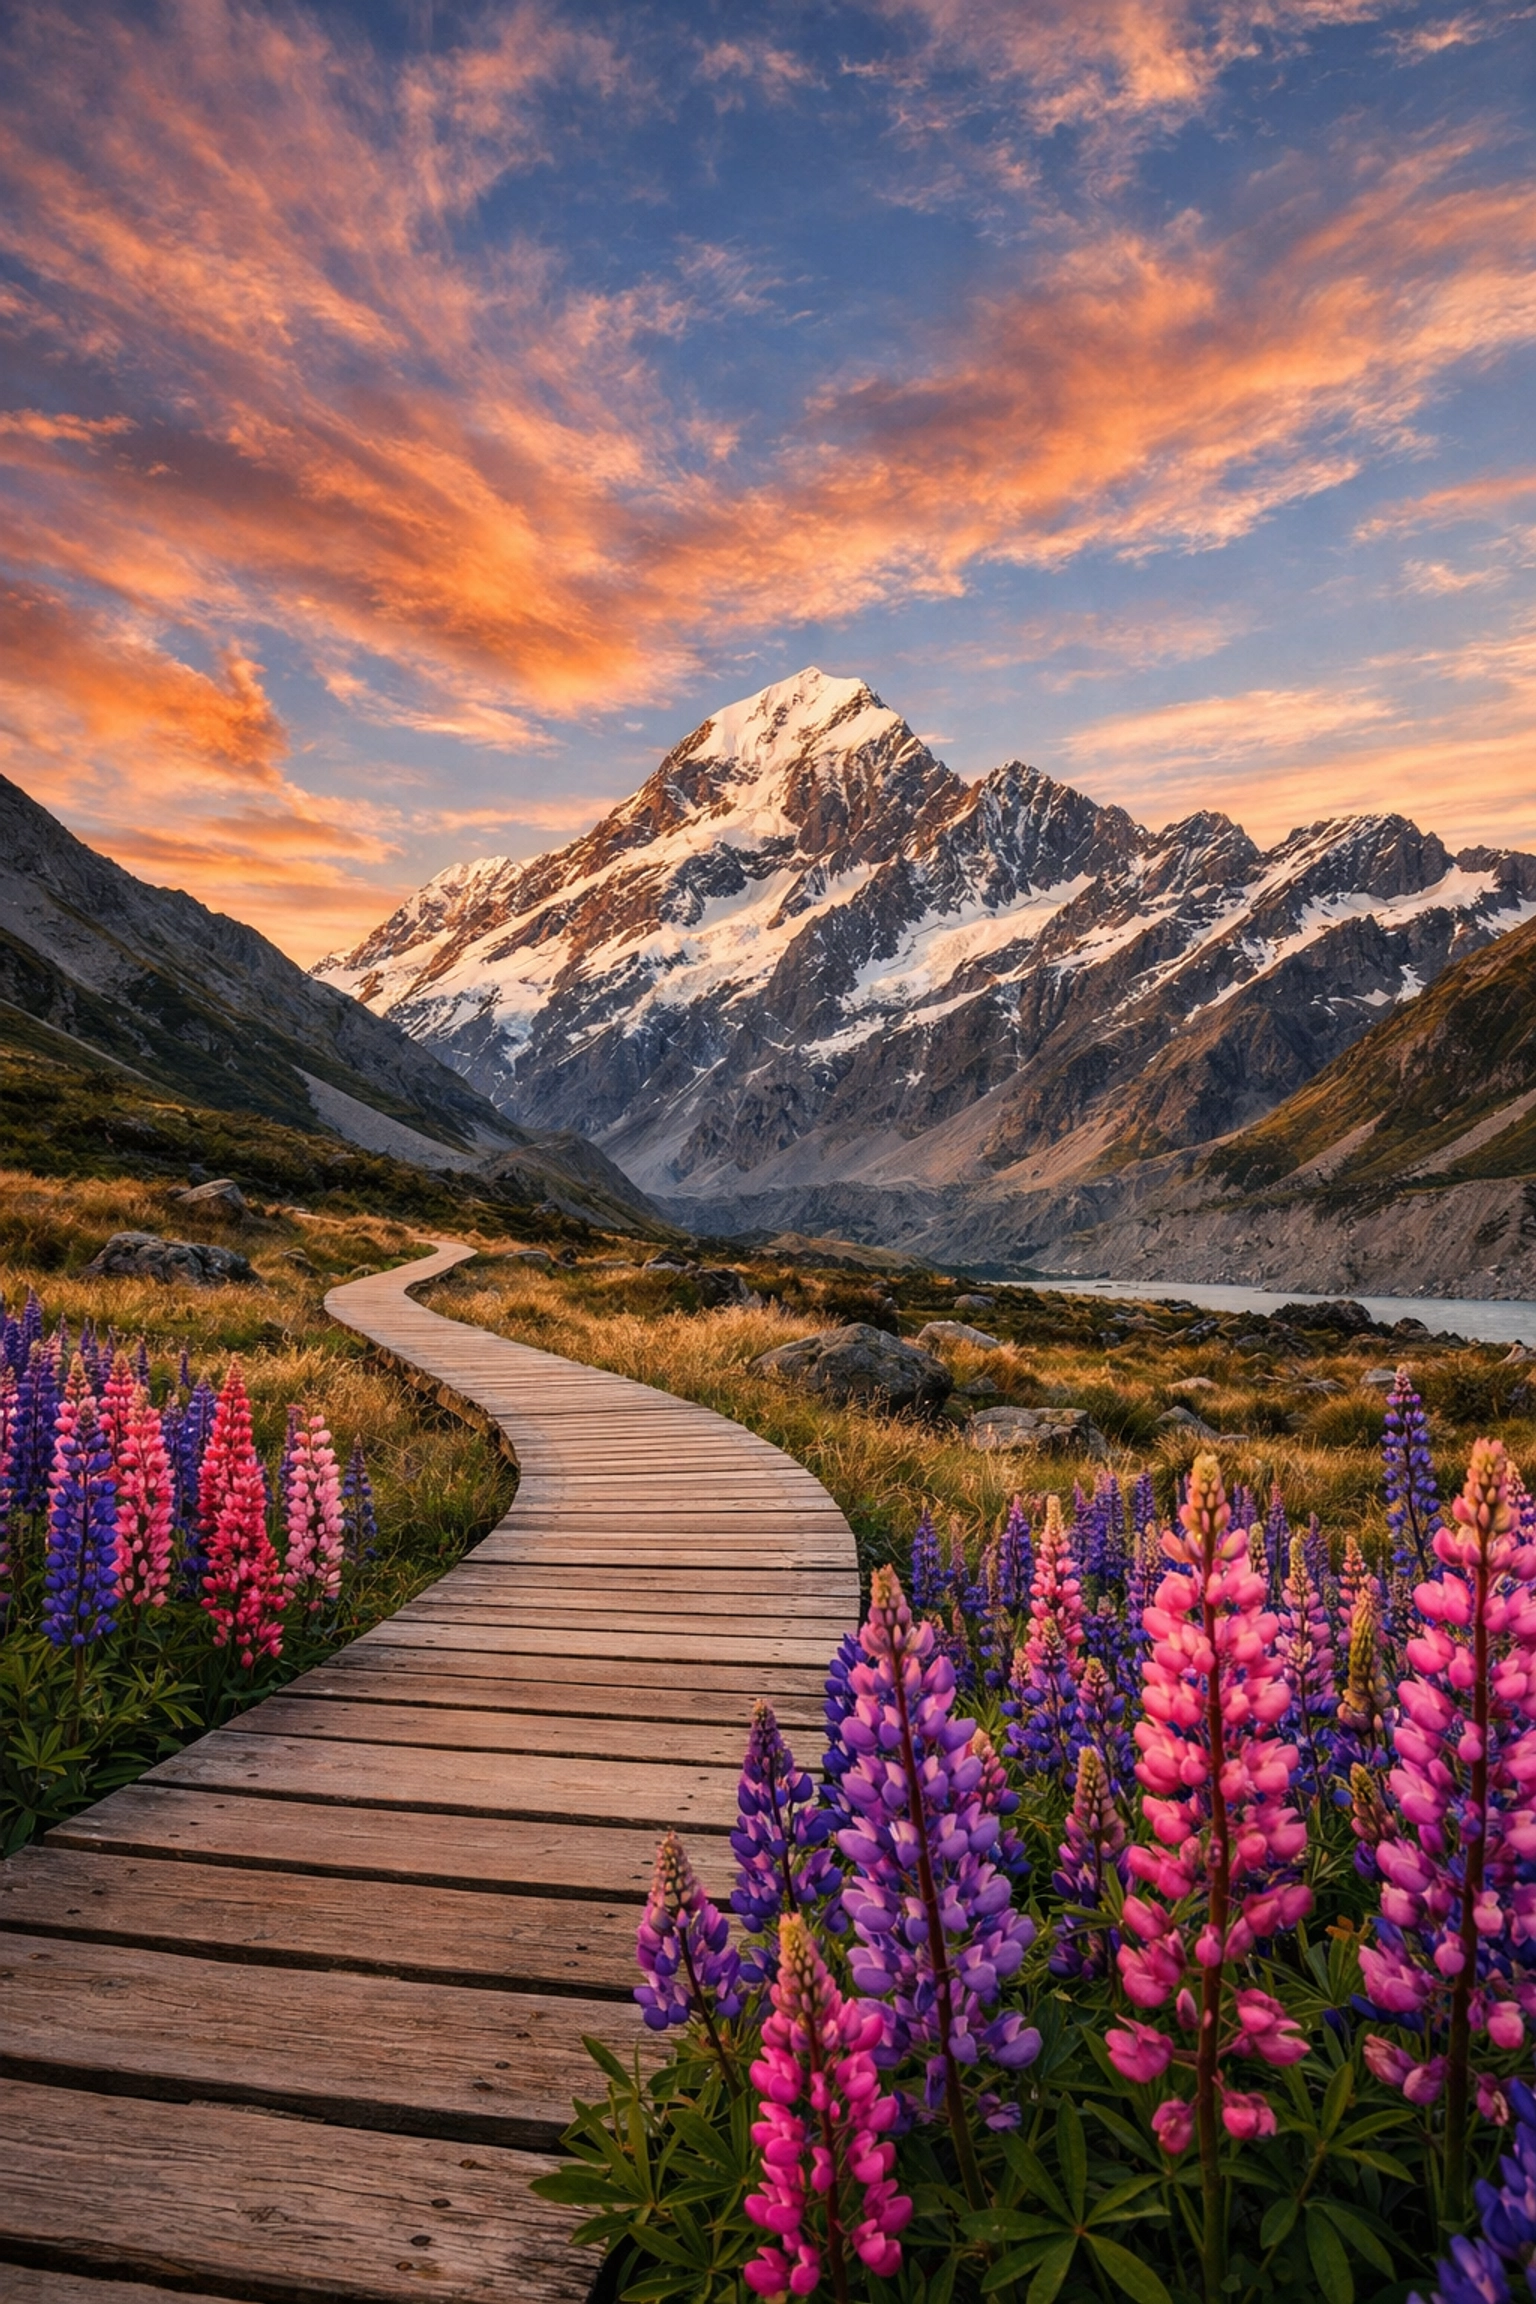
Use natural lines, like a winding path, a river, or even a fallen log, to lead the viewer’s eye into the photo. This creates a sense of depth and keeps the viewer engaged.
Foreground Interest
This is the secret sauce of pro landscapes. Don't just look at the horizon. Find something interesting to put in the foreground, a cool rock, some colorful flowers, or a patch of ice. This gives the viewer a "starting point" and makes the image feel three-dimensional.
Watch the Horizon
There is nothing more distracting than a crooked horizon. Use the level tool in your camera or on your tripod. Also, think about where you place that horizon. If the sky is boring, put the horizon in the top third. If the sky is on fire with color, put the horizon in the bottom third.
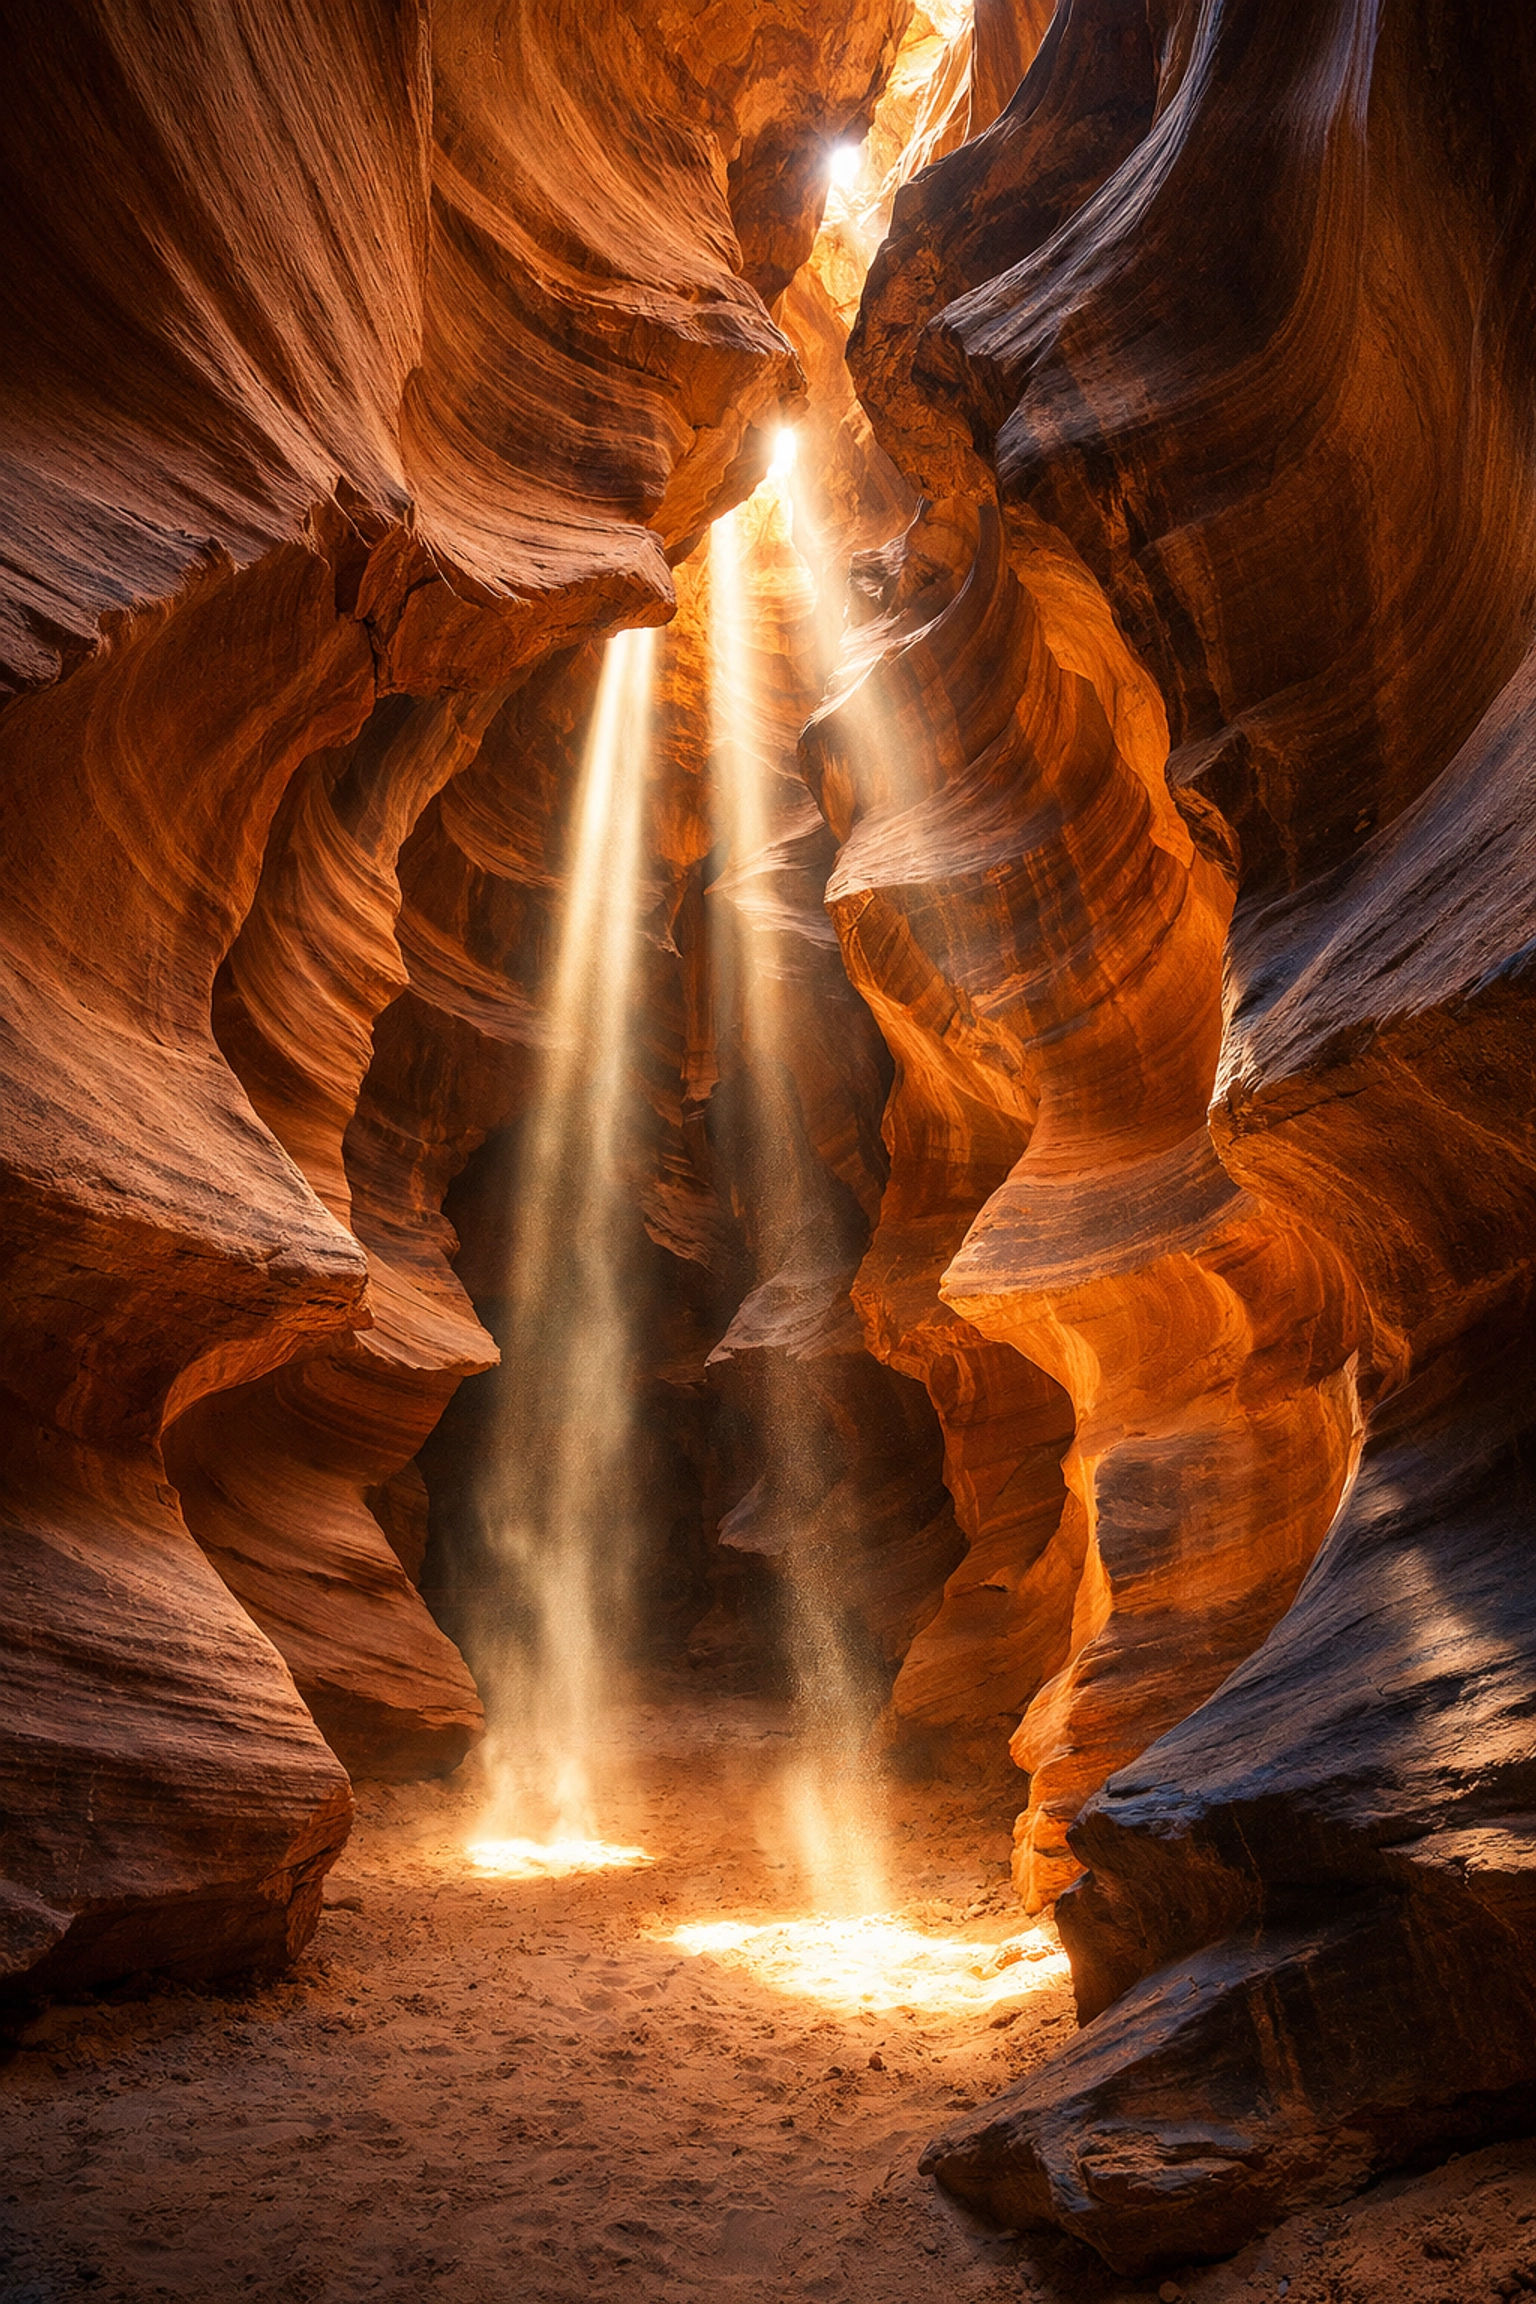
Light: Your Best Friend and Worst Enemy
In landscape photography, light is everything. You can have the best composition in the world, but if the light is flat and boring, the photo will be too.
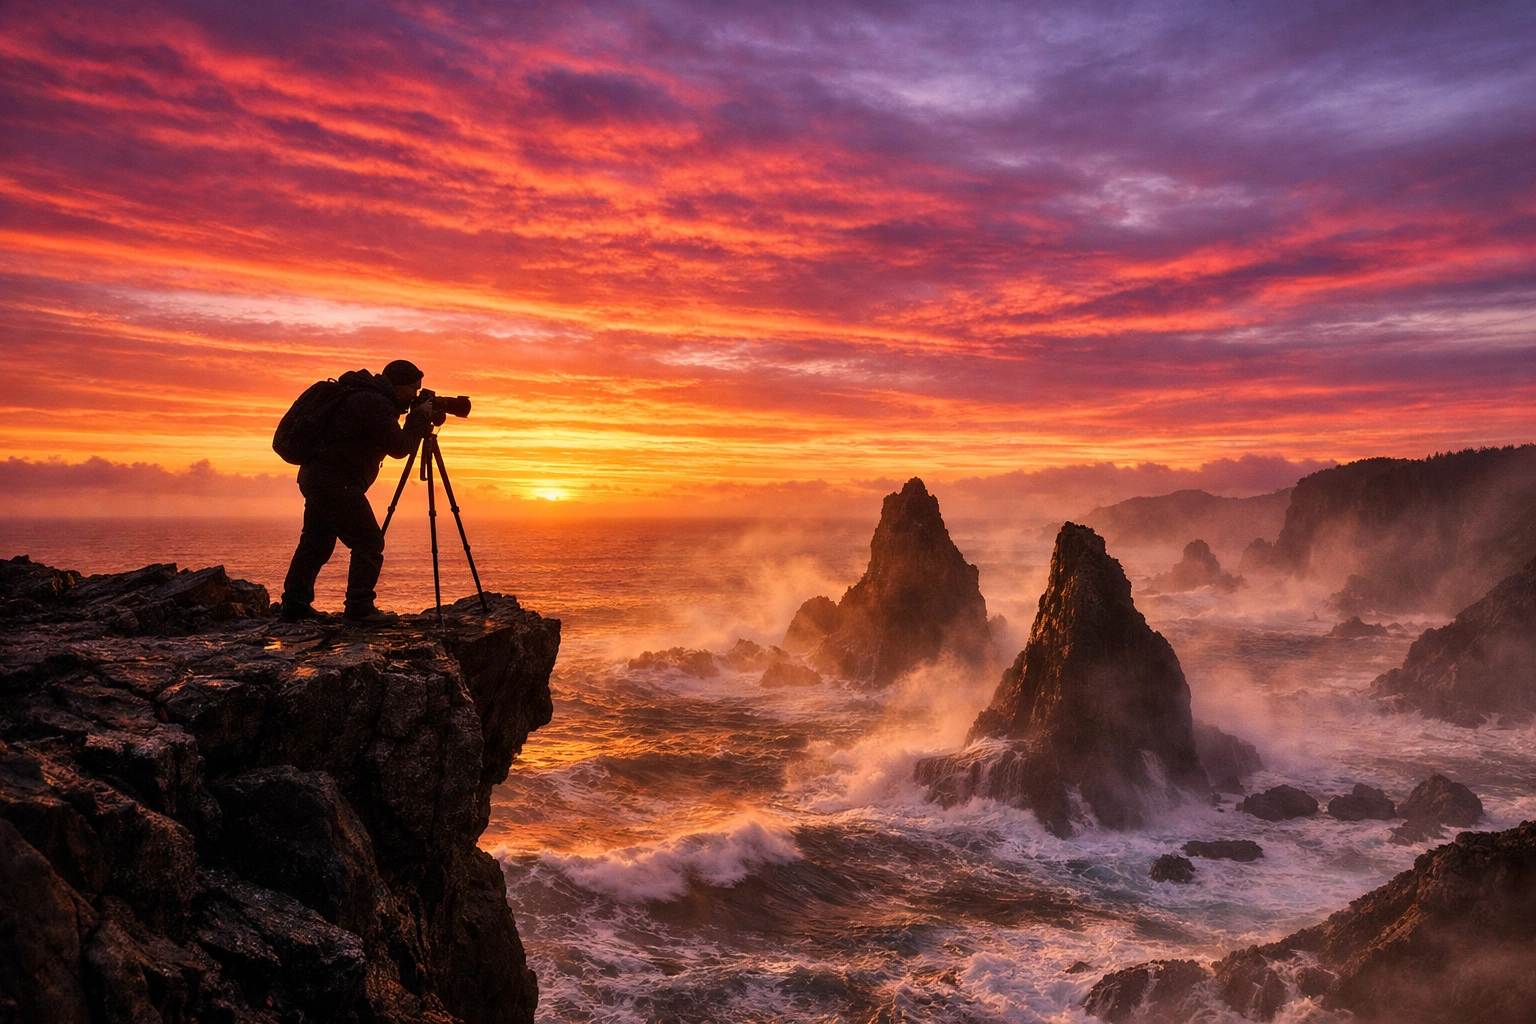
The Golden Hour
This is the hour just after sunrise and just before sunset. The light is soft, warm, and creates long, beautiful shadows that give landscapes texture. This is when the magic happens. Many of the techniques behind Peter Lik’s landscape photography revolve around capturing this perfect, fleeting light.
The Blue Hour
This happens just before sunrise and just after sunset when the sun is below the horizon. The world turns a deep, moody blue. It’s a great time for cityscapes or shots involving water and artificial light.
Mid-Day Sun
Generally, you want to avoid shooting in the middle of the day. The sun is harsh, creating dark shadows and "blown-out" highlights. If you have to shoot at noon, try to find a forest or somewhere with shade, or use a polarizer to help manage the glare.
The Importance of Post-Processing
Let’s get one thing straight: editing is not "cheating." Every iconic landscape photo you’ve ever seen has been edited. In the old days, photographers did it in a darkroom with chemicals. Today, we do it on a computer.
When you shoot in RAW, the image looks a bit flat straight out of the camera. That’s because the camera isn’t making any decisions for you, it’s giving you all the data and letting you decide.
Software like Luminar makes post-processing incredibly intuitive. You can enhance the colors, pull detail out of the shadows, and sharpen the image without needing a degree in graphic design. The goal isn’t to create a fake reality, but to recreate the feeling you had when you were actually standing there.
If you're looking for inspiration on how far you can push an image while keeping it artistic, look at Peter Lik’s iconic works through the years. He’s a master of using light and color to create an emotional response.
Common Mistakes and How to Avoid Them
We all make mistakes when we start out. I’ve forgotten my tripod plate more times than I’d like to admit. But some mistakes are more about technique.
One big issue is "center-focusing", putting everything in the middle of the frame and calling it a day. Another is ignoring the edges of your frame. Always "scan the borders" of your viewfinder before you click the shutter. Is there a stray branch sticking into the side? Is there a piece of trash on the ground? Clean it up or adjust your frame before you take the shot.
For a deeper dive into the pitfalls, take a look at our guide on 7 mistakes you’re making with landscape photography and how to fix them. Knowing what not to do is just as important as knowing what to do.
Learning from the Masters
Landscape photography has a rich history. While social media is great for quick hits of inspiration, looking at the work of masters can teach you a lot about patience and vision.
For instance, Peter Lik’s photographs are inspiring art lovers worldwide because they focus on scale and vibrant color. Even if his style isn't your specific "vibe," analyzing how he uses luminosity and composition can give you ideas for your own work. You can also find some incredible lessons in landscape photography from Peter Lik right here on our site.
Practice Makes… Well, Better
You aren't going to become an expert overnight. Landscape photography is a slow game. It involves a lot of hiking, a lot of waiting for clouds to move, and a lot of waking up at 4:00 AM.
The best way to improve is to get out there and fail. Take the "bad" photos. Figure out why they’re bad. Was the horizon crooked? Was the foreground boring? Was the light too harsh? Each mistake is a lesson that brings you closer to that "wall-worthy" shot.
For more resources and technical guides, don't forget to check out PhotoGuides.org and proshoot.io. They have some killer tips for photographers at every level. If you're interested in the business side or seeing more fine art examples, head over to blog.edinchavez.com or edinfineart.com.
Final Thoughts
Landscape photography is a journey, literally and figuratively. It’s about more than just a file on a memory card; it’s about the experience of being in nature and learning to see the world in a new way.
Don't get bogged down by the "rules." Use the rule of thirds until you understand why it works, then feel free to break it. Buy the gear you can afford, then push it to its limits. Most importantly, keep it simple and have fun. The mountains aren't going anywhere, but that specific light at 6:14 PM? That’s only happening once.
Go out there and capture it. And when you do, make sure to use Luminar to make those colors sing.
Happy shooting!


