There is something visceral about standing on the edge of a canyon or watching the sun dip below the horizon at a quiet beach. You grab your camera, snap a photo, and then… it looks nothing like what you’re seeing. The mountain looks like a tiny hill, the colors are muddy, and the vastness feels flat.
We’ve all been there.
Welcome to the world of landscape photography. It’s one of the most rewarding genres in the craft, but it’s also one of the most frustrating for beginners. The good news? You don’t need a $10,000 setup or a degree in fine arts to take breathtaking photos. You just need to understand a few core principles, get to know your gear, and, most importantly, learn how to see.
At Shut Your Aperture, we believe photography should be simple and fun. So, grab a coffee (or a hiking stick), and let’s dive into how you can start mastering the great outdoors.
What Exactly Is Landscape Photography?
At its simplest, landscape photography is about capturing the world around you. It’s about the environment, whether that’s a jagged mountain range, a dense forest, or even an urban "cityscape." While some people think it’s just about pointing a wide lens at something big, it’s actually about storytelling. You’re trying to convey the mood, the scale, and the emotion of a specific place at a specific time.
If you’ve ever looked at Peter Lik’s iconic works, you know that landscape photography can be high art. It’s about finding that "hero" moment in nature and freezing it forever.
The Gear: Don’t Let It Hold You Back
Before we get into the "how-to," let’s talk about the "what." A common mistake beginners make is thinking they need the latest mirrorless body and a bag full of prime lenses to get started.
Here is the truth: The best camera is the one you have with you. Even a modern smartphone can take incredible landscape shots if you know what you’re doing. However, if you are looking to level up, here is the basic kit we recommend.
1. The Camera
You don’t need a 50-megapixel beast. Any DSLR or mirrorless camera that allows you to control manual settings (Aperture, Shutter Speed, ISO) will do. If you’re just starting out, a crop-sensor camera is perfectly fine.
2. The Lenses
In landscape photography, wide-angle lenses are the MVP. We’re talking about anything from 14mm to 35mm. These lenses allow you to capture that sense of vastness. However, don’t sleep on telephoto lenses (70-200mm). Sometimes, zooming in on a specific peak or a pattern in the trees creates a much more compelling image than a wide shot where everything feels too small.
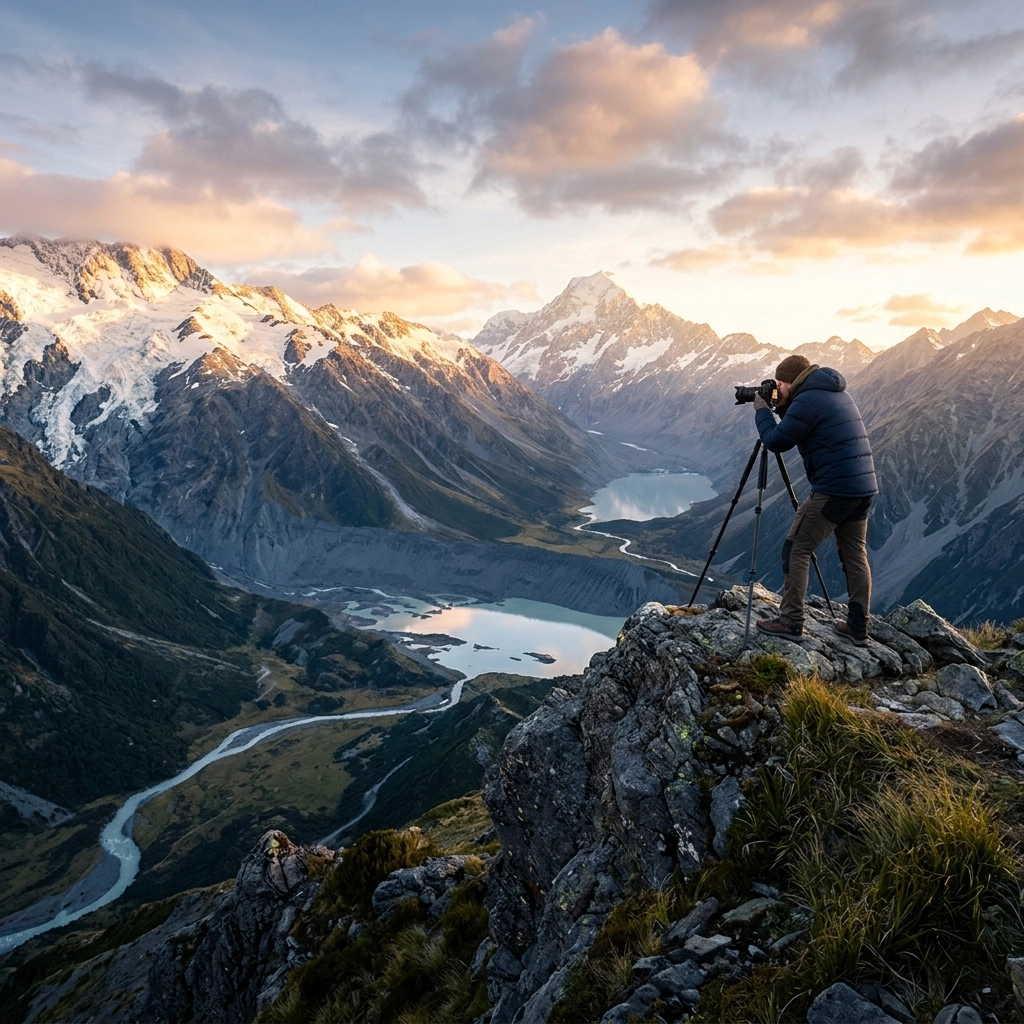
3. The Tripod
This is the one piece of gear you shouldn't skip. Landscapes often require "slow" photography. If you want those silky smooth waterfalls or sharp shots during the "blue hour," you cannot hold the camera by hand. A sturdy tripod is your best friend.
4. Filters
Neutral Density (ND) filters are like sunglasses for your lens. They allow you to use long exposures even in broad daylight. Circular Polarizers are also essential for cutting glare on water and making those clouds pop against a blue sky.
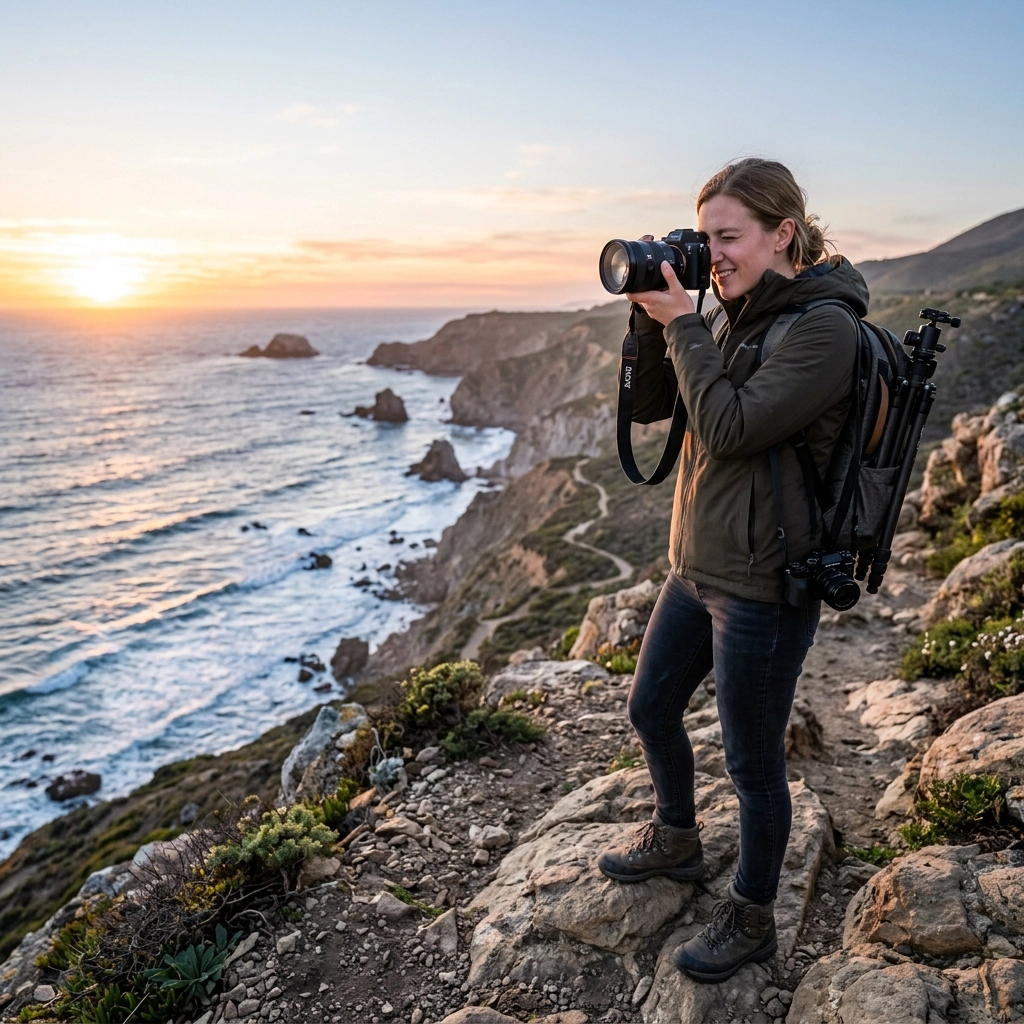
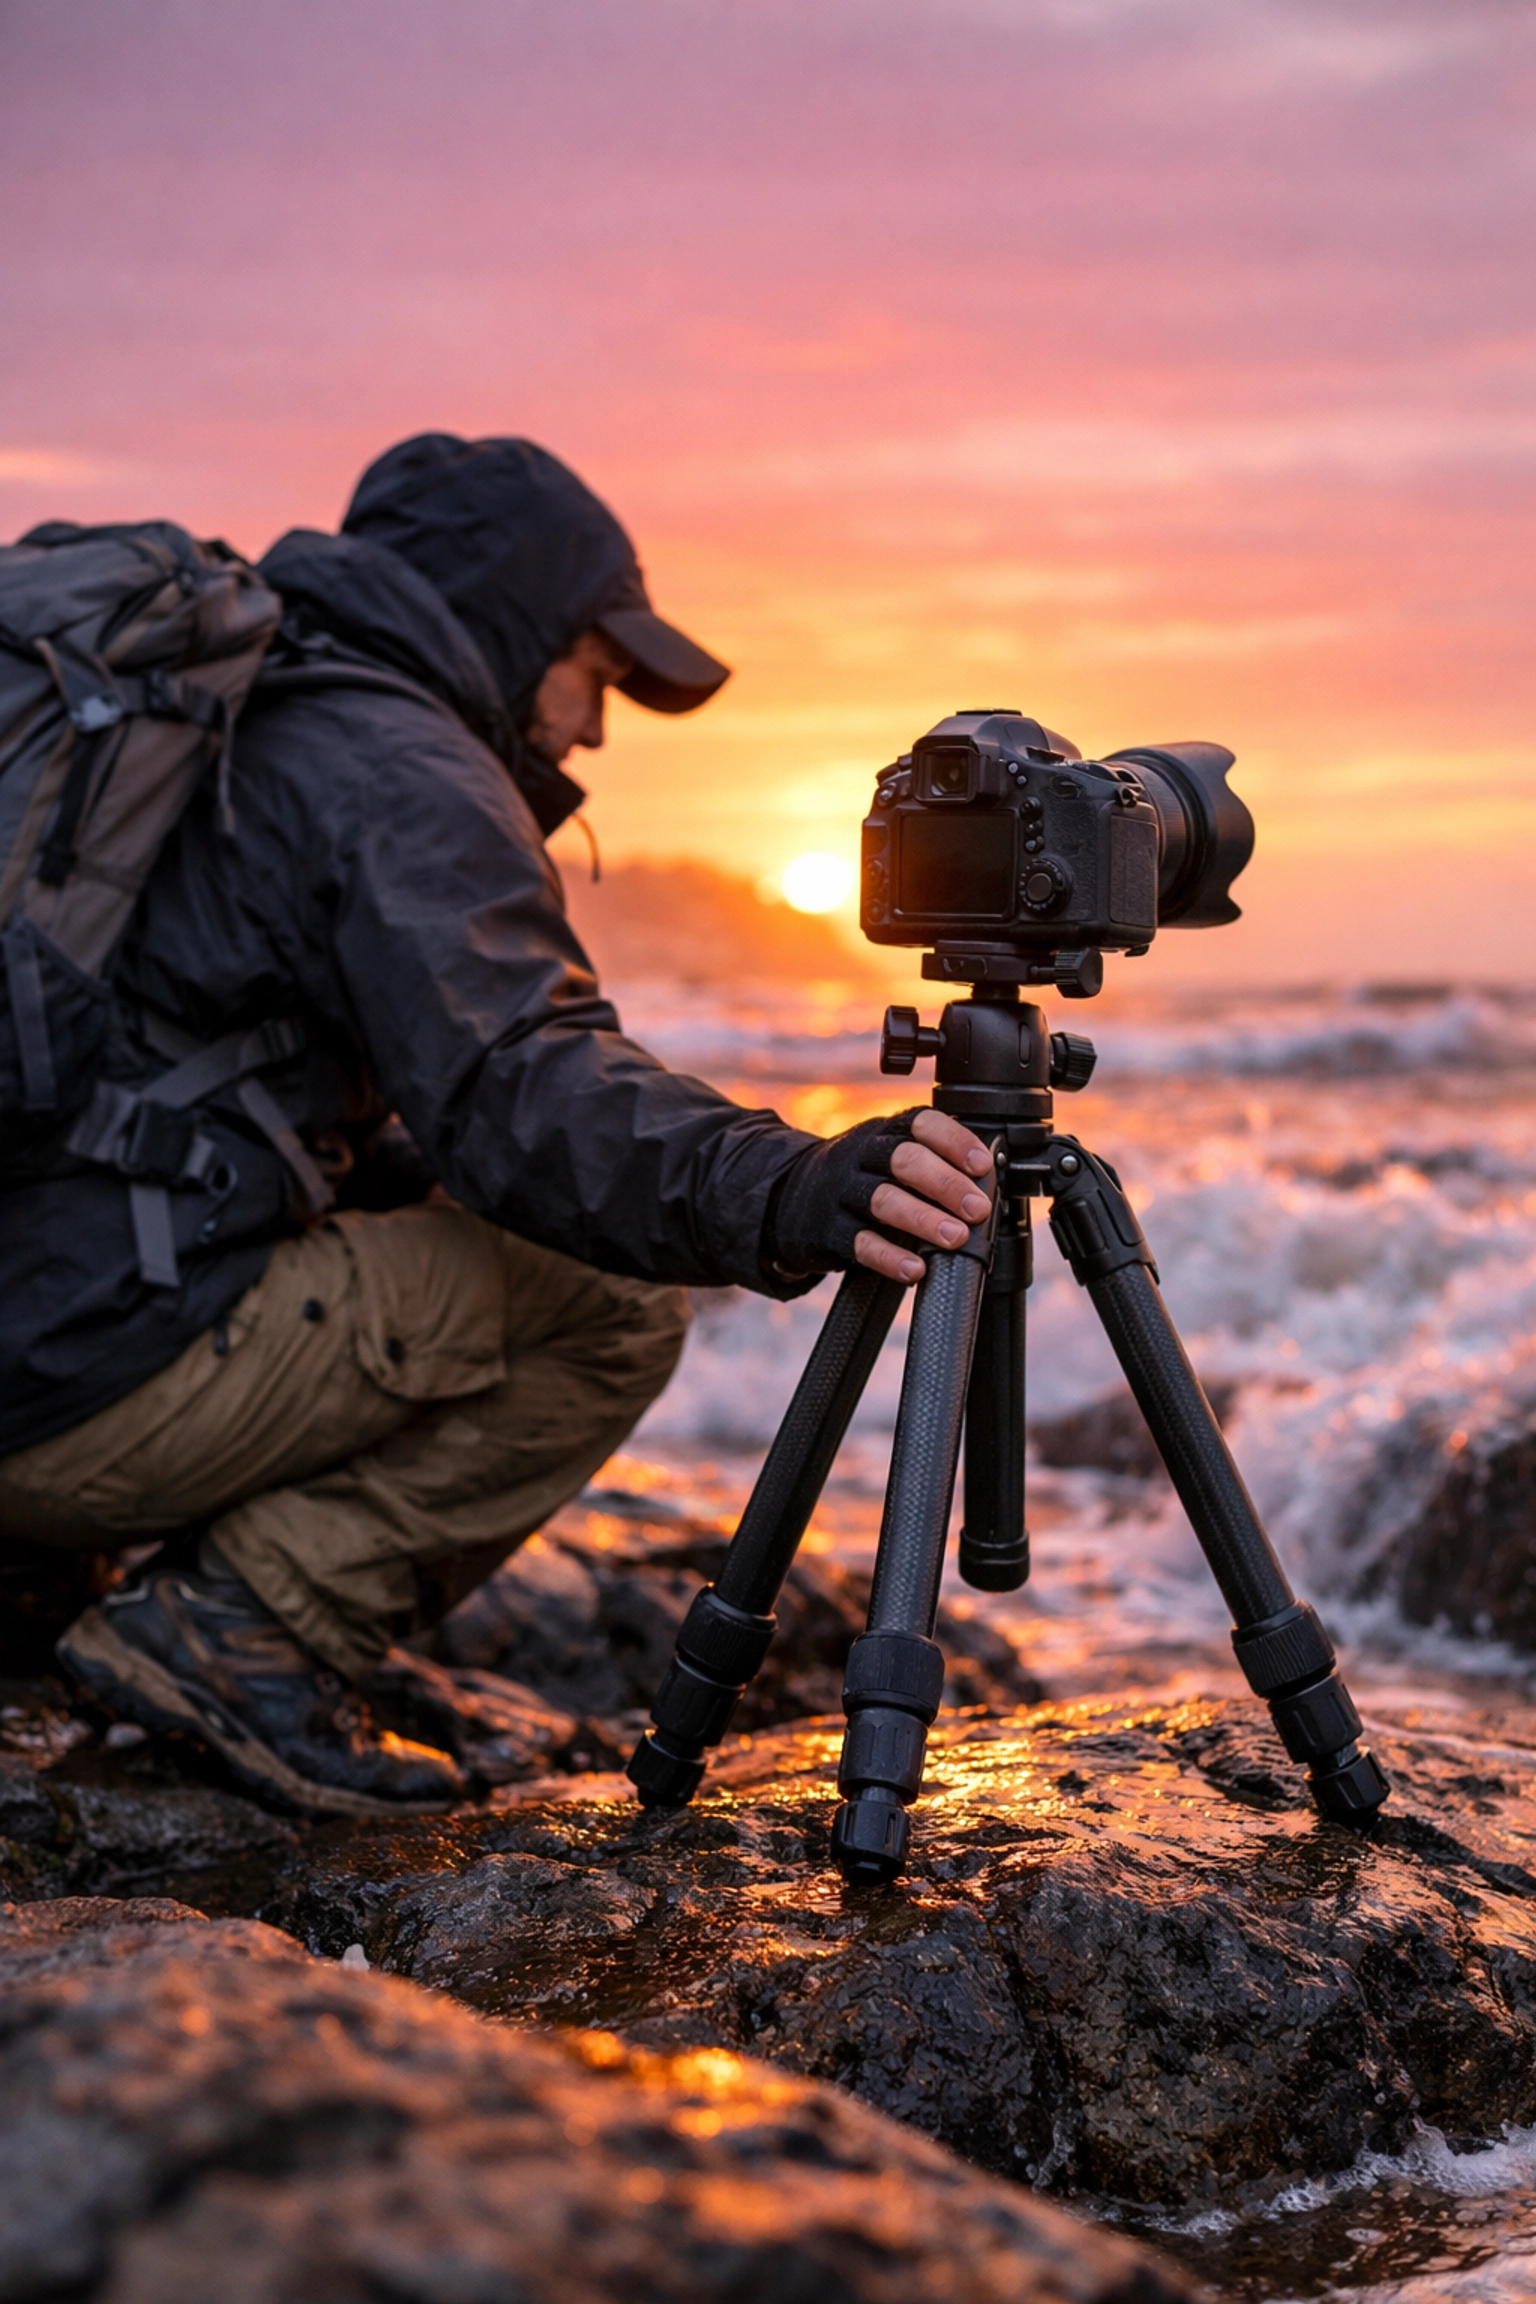 A photographer setting up a tripod on a rocky shoreline during sunrise]
Nailing the Camera Settings
If you leave your camera on "Auto," it’s going to try and make everything average. Landscapes are rarely average. To get those professional-looking shots, you need to take the wheel.
Aperture: The Key to Sharpness
In landscape photography, you usually want everything from the blade of grass at your feet to the mountain in the distance to be sharp. This means you need a deep depth of field.
- The Sweet Spot: Usually between f/8 and f/11.
- The Trap: Avoid going up to f/22. While it seems like it would make things sharper, it actually causes "diffraction," which can make your image look slightly soft.
ISO: Keep It Clean
To get the highest quality image with the least amount of "noise" (that grainy look), keep your ISO as low as possible.
- Target: ISO 100.
- Using a tripod allows you to keep your ISO at 100 even when the sun starts to go down.
Shutter Speed: Creating Movement
This is where the magic happens.
- If you want to freeze a crashing wave, use a fast shutter speed (1/500s or faster).
- If you want that misty, ethereal water look, use a slow shutter speed (1/2s to 30 seconds). This is where your tripod becomes non-negotiable.
For more deep dives into settings that the pros use, check out our guide on portrait photography techniques, many of the exposure principles carry over!
Composition: How to Lead the Eye
Composition is the difference between a "snapshot" and a "photograph." It’s how you arrange the elements in your frame. Here are the most effective shot compositions for landscapes.
The Rule of Thirds
Imagine your frame is divided into a 3×3 grid. Instead of putting the horizon right in the middle, place it on the top or bottom third line. Place your main subject (like a lone tree) on one of the intersecting points. It creates balance and interest.
Leading Lines
Use natural lines to lead the viewer’s eye through the photo. This could be a winding path, a river, a fence line, or even the way the shadows fall. Leading lines create a sense of depth and movement.
Foreground Interest
This is the secret sauce of great landscapes. Don't just look at the mountain in the distance. Find something interesting in the foreground, a rock, a flower, or some textured sand. This gives the viewer a "way in" to the photo and helps create a three-dimensional feel on a two-dimensional screen.
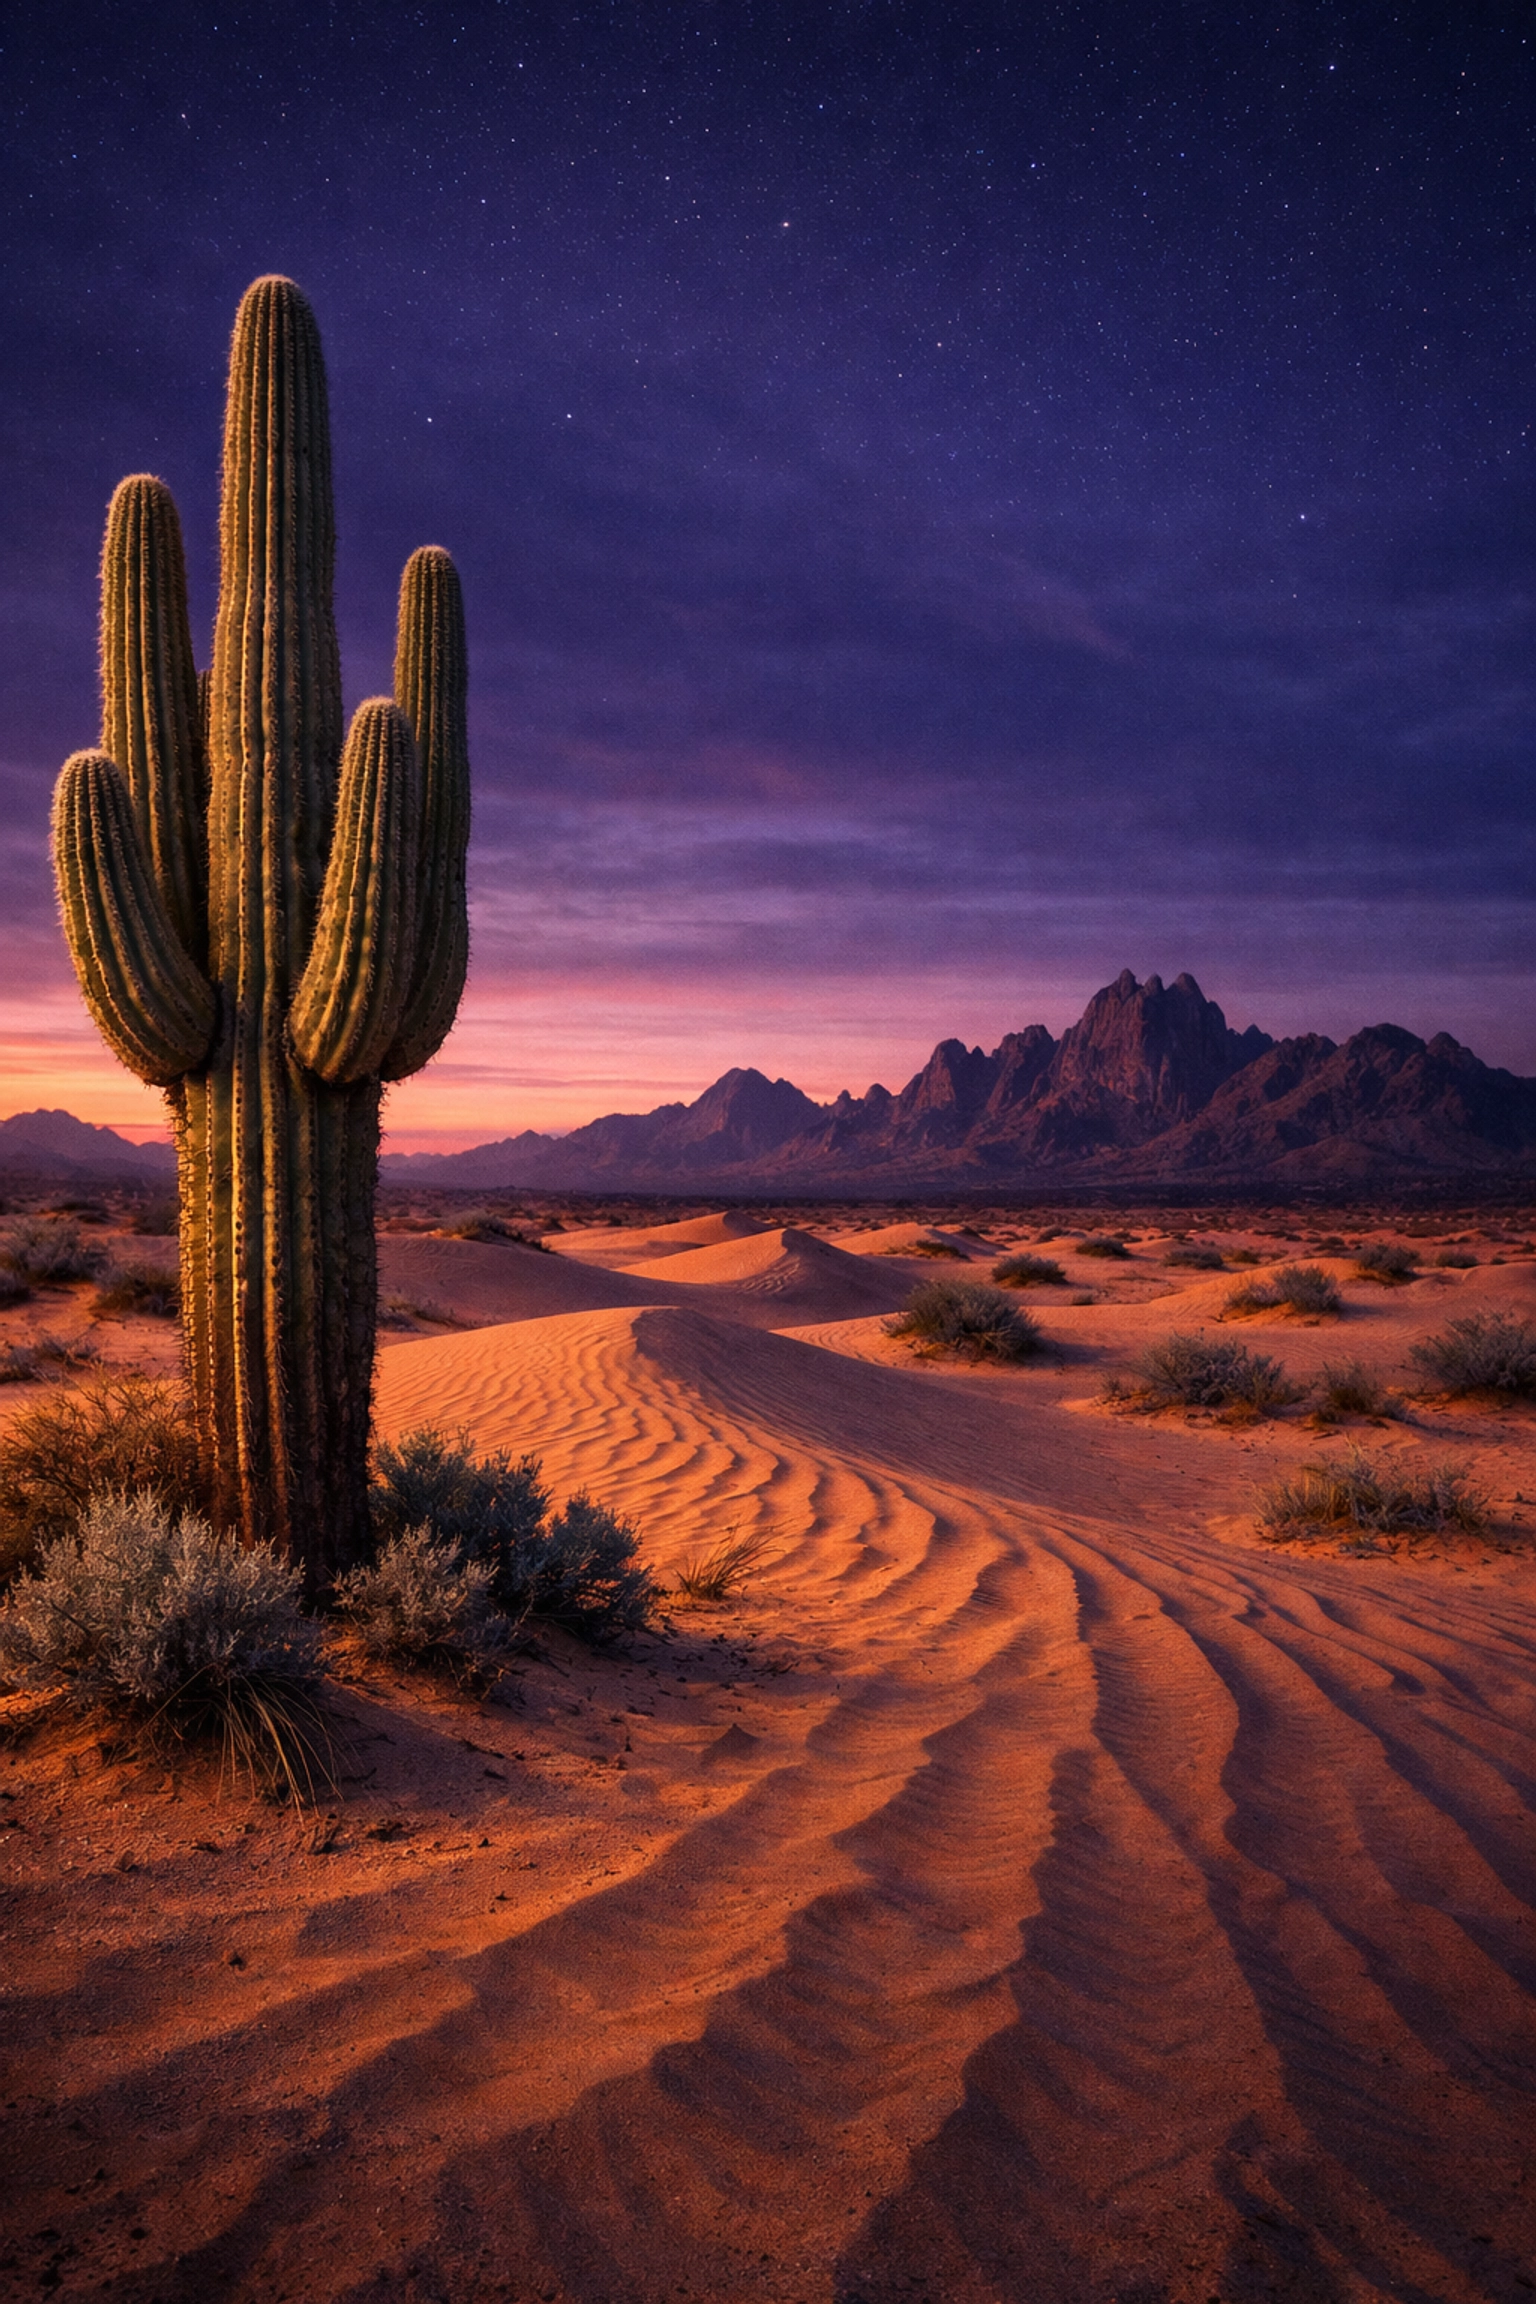 A wide-angle landscape shot of a desert with a prominent cactus in the foreground and mountains in the distance]
Chasing the Light: Timing Is Everything
You can have the best gear and perfect composition, but if the light is bad, the photo will be boring. In landscape photography, we are at the mercy of the sun.
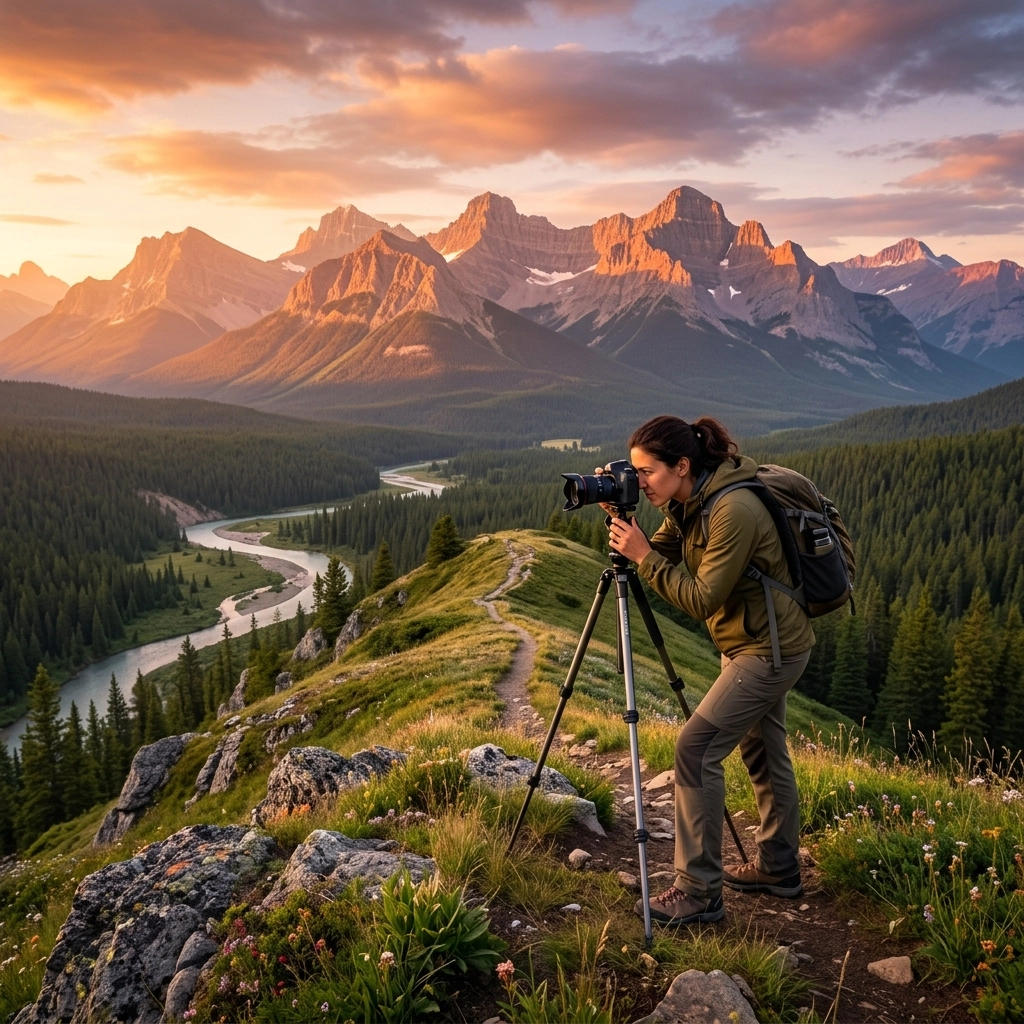
The Golden Hour
This is the hour after sunrise and the hour before sunset. The light is soft, warm, and creates long, beautiful shadows. This is when the world looks most magical. If you want to see how lighting can transform a scene, look at the role of luminosity in photography.
The Blue Hour
This is the period just before sunrise or just after sunset. The sky turns a deep, moody blue, and the city lights (if you’re shooting a cityscape) start to glow. It’s a great time for long exposures.
Don't Fear "Bad" Weather
Beginners often stay home when it’s cloudy or rainy. That’s a mistake. Stormy skies, fog, and mist add drama and mood that a clear blue sky just can't provide. Some of the most ethereal imagery is captured right after a storm.
Planning and Scouting
Great landscape photos aren't usually accidents. They are the result of planning.
- Use Apps: Tools like The Photographer's Ephemeris or PhotoPills can tell you exactly where the sun (or moon) will be at any given time in any location.
- Scout Early: If you want to shoot a sunset, get there two hours early. Walk around, find your foreground interest, and set up your tripod.
- Check the Weather: Use detailed weather apps to look for cloud cover and wind speeds.
For more inspiration on finding unique perspectives, you might find our article on vistas and perspectives useful, as it discusses how to manipulate the viewer's perception of space.
Post-Processing: Bringing the Vision to Life
The photo you take in-camera is just the beginning. To really make your landscapes pop, you need to do some editing. This isn't about "cheating"; it's about bringing back the colors and details that your eyes saw but the camera couldn't quite capture in one go.
We highly recommend using Luminar for landscape editing. It has AI-powered tools specifically designed for landscapes, like "Sky Replacement" (for those boring gray days) and "Sunrays" to add that extra bit of atmosphere. It’s much more intuitive for beginners than Photoshop.
When editing:
- Fix the Horizon: There is nothing worse than a crooked ocean.
- Adjust Contrast: Give your image some punch by deepening the blacks and brightening the whites.
- Watch the Saturation: It’s easy to go overboard. Aim for natural colors. If the grass looks radioactive, you’ve gone too far.
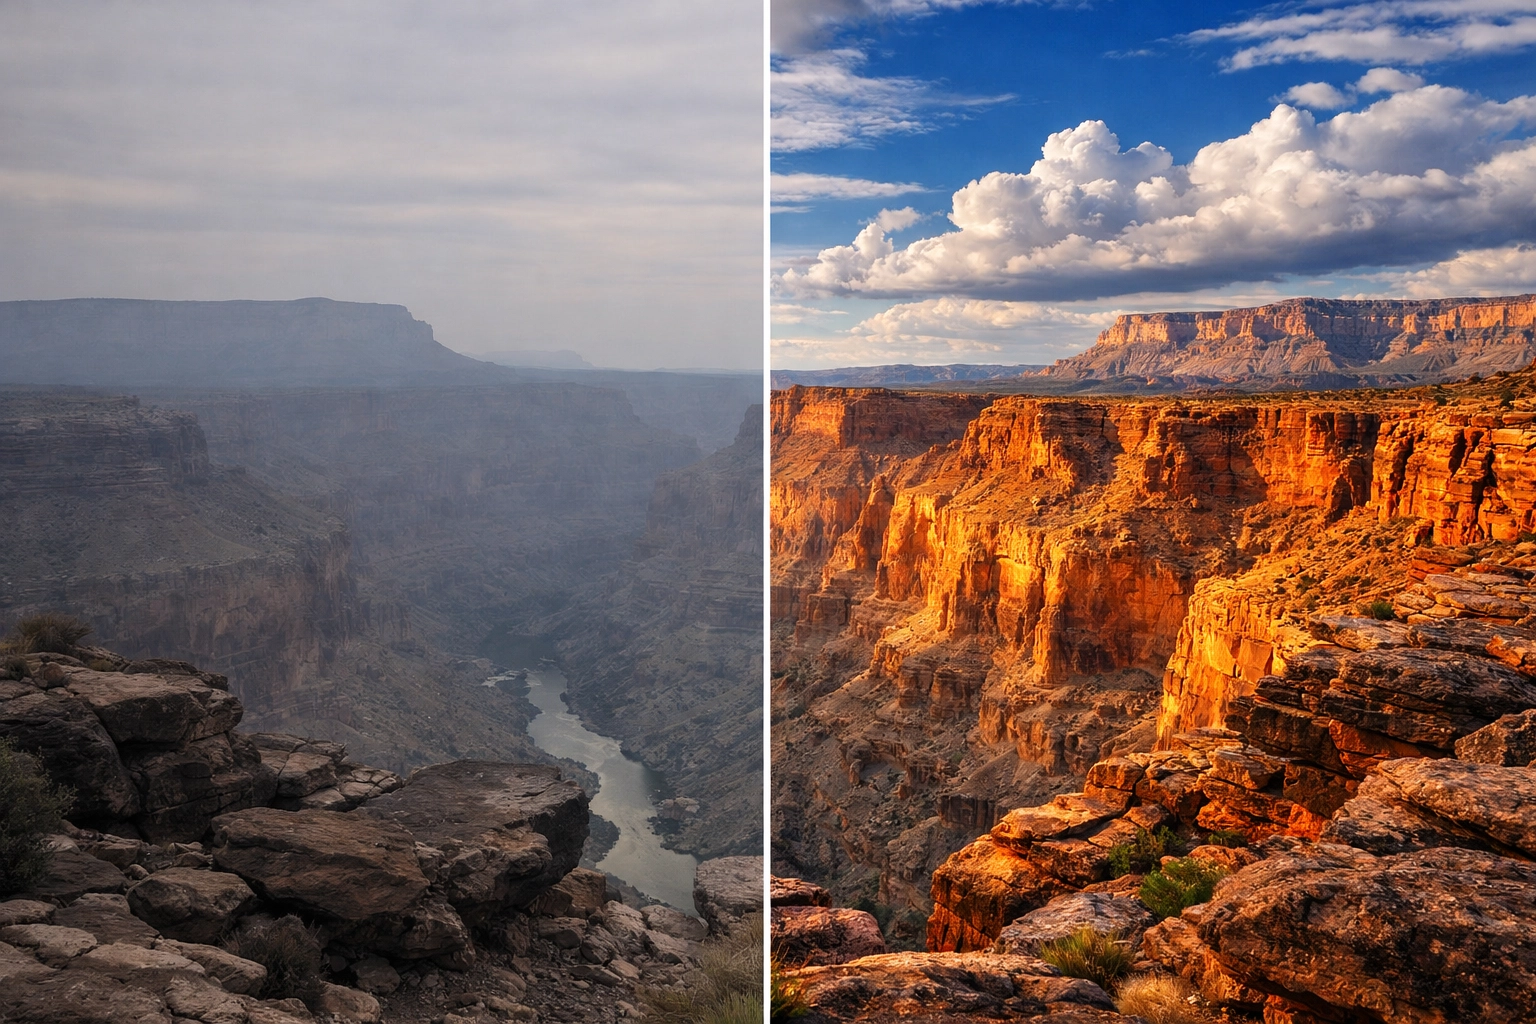 A split-screen comparison showing a raw landscape photo and the same photo after post-processing]
Learning from the Masters
One of the best ways to improve is to study those who have done it before. Whether it's the classic black-and-white work of Ansel Adams or the vibrant, large-scale prints of modern photographers, there is a lot to learn.
We’ve written extensively about lessons in landscape photography from Peter Lik and the techniques behind his work. Studying how the pros use light and scale can help you develop your own eye.
Putting It All Together: Your First Adventure
Ready to head out? Here is a quick checklist for your first landscape "mission":
- Location: Pick a spot you know well or a local park.
- Time: Aim for an hour before sunset.
- Settings: Manual mode, ISO 100, f/11.
- Gear: Camera, wide lens, and a tripod.
- Mindset: Don't just take one photo. Move around. Get low to the ground. Try a different angle.
Landscape photography is a journey, not a destination. You’ll come home with a lot of "okay" photos before you get that one "wow" shot. But that’s the fun of it. Every time you go out, you’re learning more about the light, your gear, and how to see the world.
For more tips on equipment and industry trends, don't forget to keep up with today's photography news, as new tech is constantly making it easier to capture the great outdoors.
If you’re looking for more technical guides, check out PhotoGuides.org or visit blog.edinchavez.com for more personal insights from the field.
Now, quit reading and go outside! The light is waiting.
 A serene mountain lake reflecting the orange glow of a sunrise]