
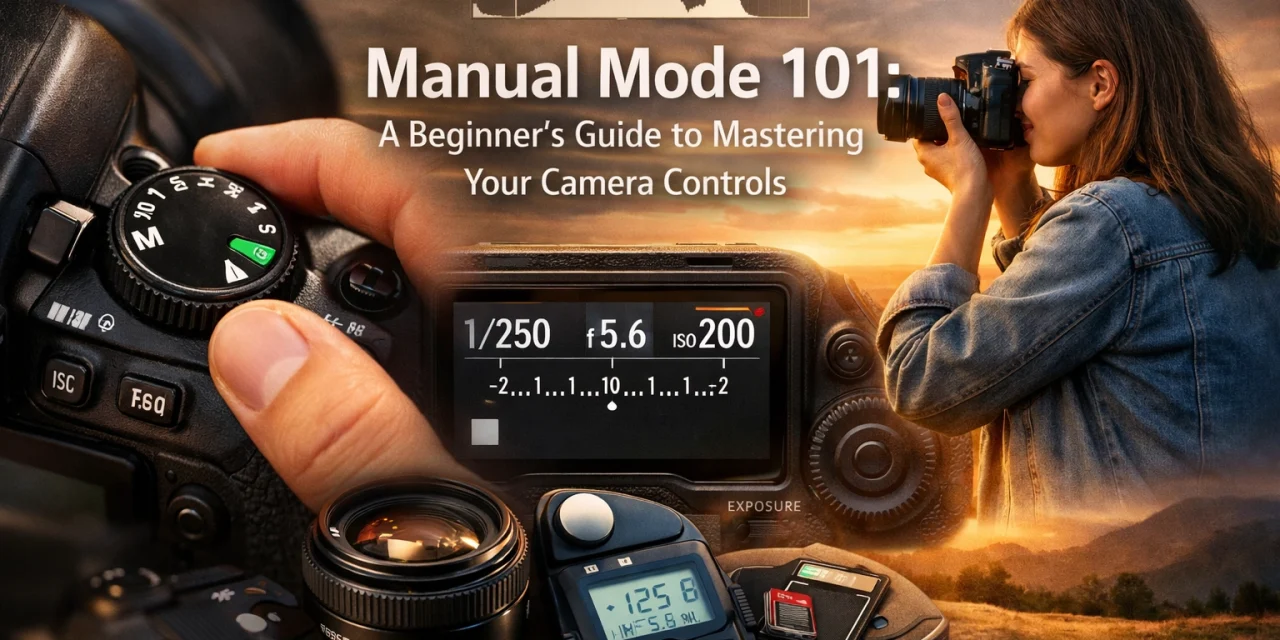
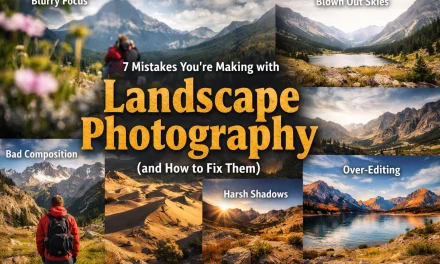
So, you’ve finally done it. You ditched the smartphone camera and picked up a "real" camera: a DSLR or a mirrorless beauty. You’re excited to take those crisp, blurry-background photos you see on Instagram. But then you look at the top of your camera and see that little dial. It’s covered in letters like P, S, A, and the most intimidating one of all: M.
For most beginners, the "M" stands for "Mistake" or "Maybe later." You try it once, the screen goes black or completely white, and you quickly switch back to "Auto" where the camera does the thinking for you. But here is the truth: Auto mode is like buying a Ferrari and only driving it in a school zone. It’s safe, but you’re missing out on all the power.
Manual mode gives you total creative control. It’s the difference between taking a "snapshot" and creating a "photograph." If you want to dive deep into the art of capturing light, you need to master your controls. Don't worry: I’m going to break it down into simple, bite-sized pieces that won't make your brain explode.
Why Manual Mode Actually Matters
When you’re in Auto, your camera is making a guess. It looks at the scene and tries to average everything out. Sometimes it gets it right, but often it fails: especially in tricky lighting. Have you ever tried to take a photo of a sunset only for the sky to look white and the ground to look like a black void? That’s Auto mode failing you.
By learning manual mode, you decide how bright the image is, what’s in focus, and how motion is captured. Whether you’re interested in mastering photography with essential tips or trying to figure out if photography is essential for real estate marketing, manual mode is the foundation.
The Exposure Triangle: The Holy Trinity of Photography
To understand manual mode, you have to understand the Exposure Triangle. Think of it as a three-way tug-of-war. The triangle consists of three settings:
- Aperture
- Shutter Speed
- ISO
If you change one, you usually have to change at least one of the others to keep the exposure (the brightness of the photo) the same. It’s all about balance.
1. Aperture: The "Iris" of Your Lens
Aperture is the hole inside your lens that lets light in. Think of it like the pupil of your eye. In the dark, your pupil gets big to let in more light. In bright sun, it gets tiny.
In photography, we measure aperture in "f-stops" (like f/2.8, f/8, or f/16). This is where it gets a little confusing: The smaller the number, the bigger the hole.
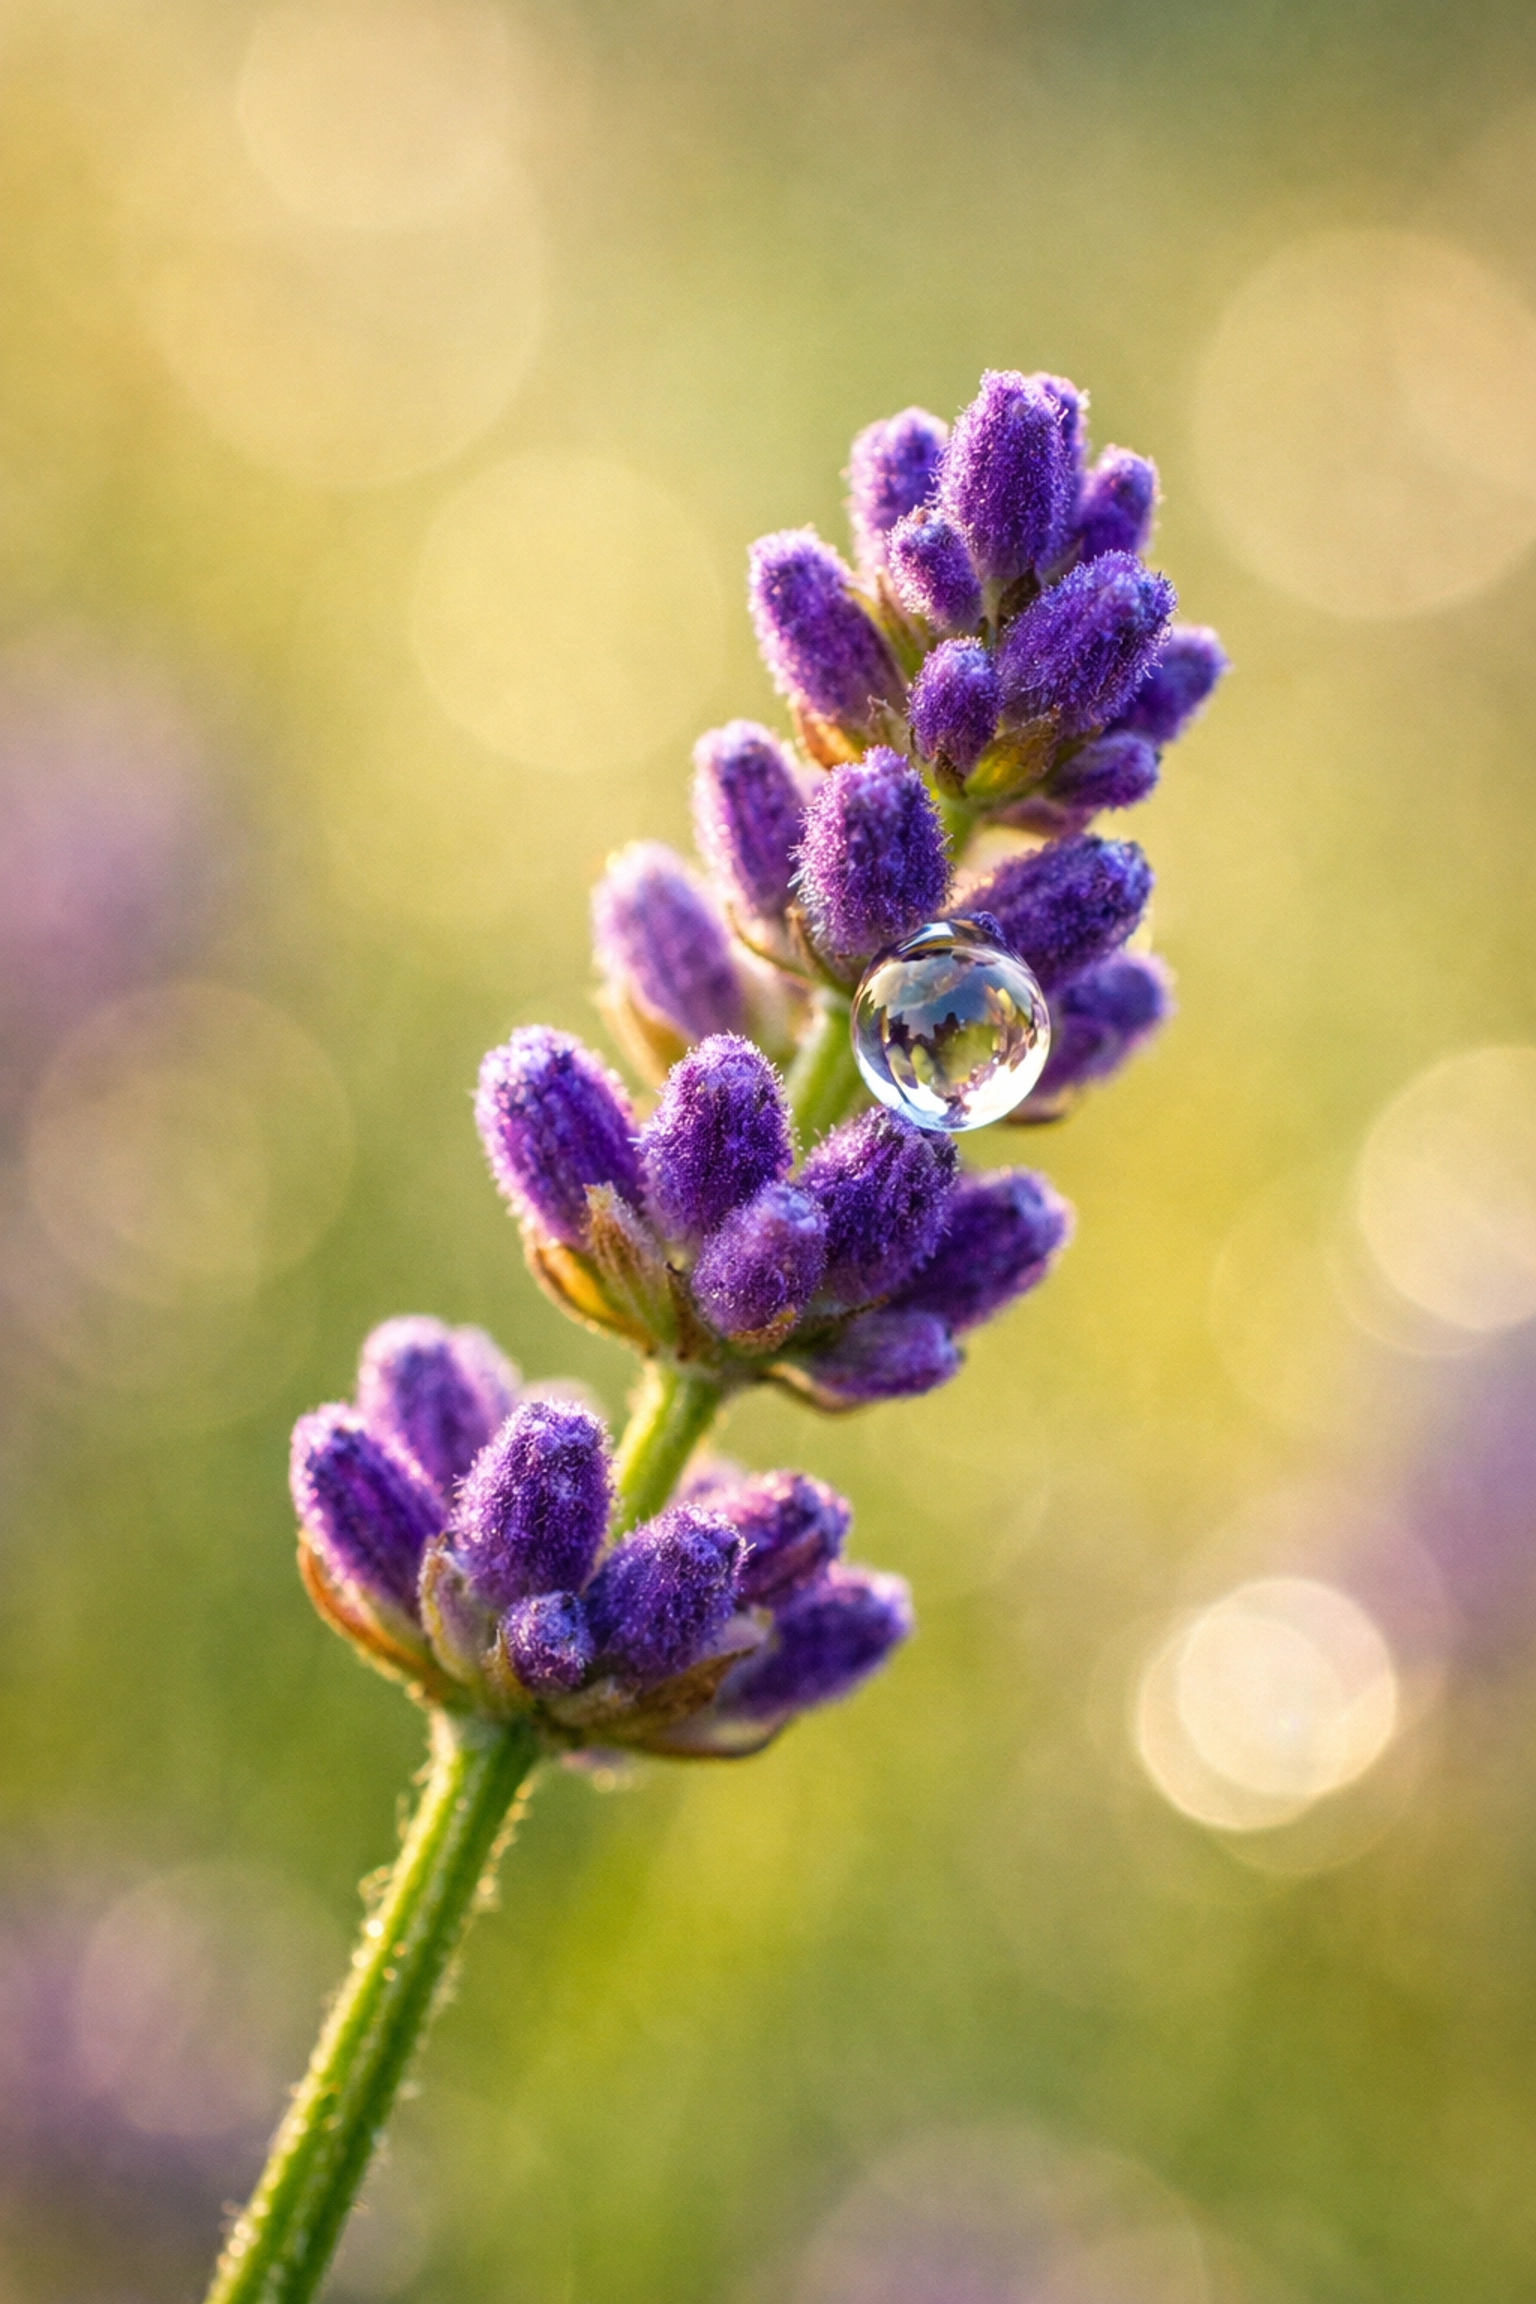
- Small f-number (e.g., f/1.8, f/2.8): Wide opening. Lets in tons of light. It creates a "shallow depth of field," which is that creamy, blurred-out background (bokeh) everyone loves for portraits.
- Large f-number (e.g., f/11, f/16): Tiny opening. Lets in very little light. It keeps everything in the frame: from the blade of grass in front of you to the mountain in the distance: in sharp focus. This is essential for landscape photography.
If you’re shooting real estate and want to show off the distinctive elements of a property, you’ll likely use a higher f-stop to make sure the whole room is sharp.
2. Shutter Speed: Capturing Time
Shutter speed is exactly what it sounds like: the speed at which the camera's shutter closes. It determines how long the sensor is exposed to light.
- Fast Shutter Speed (e.g., 1/1000th of a second): Freezes motion. If you’re shooting a hummingbird or a sports car, you need a fast shutter speed to stop the action.
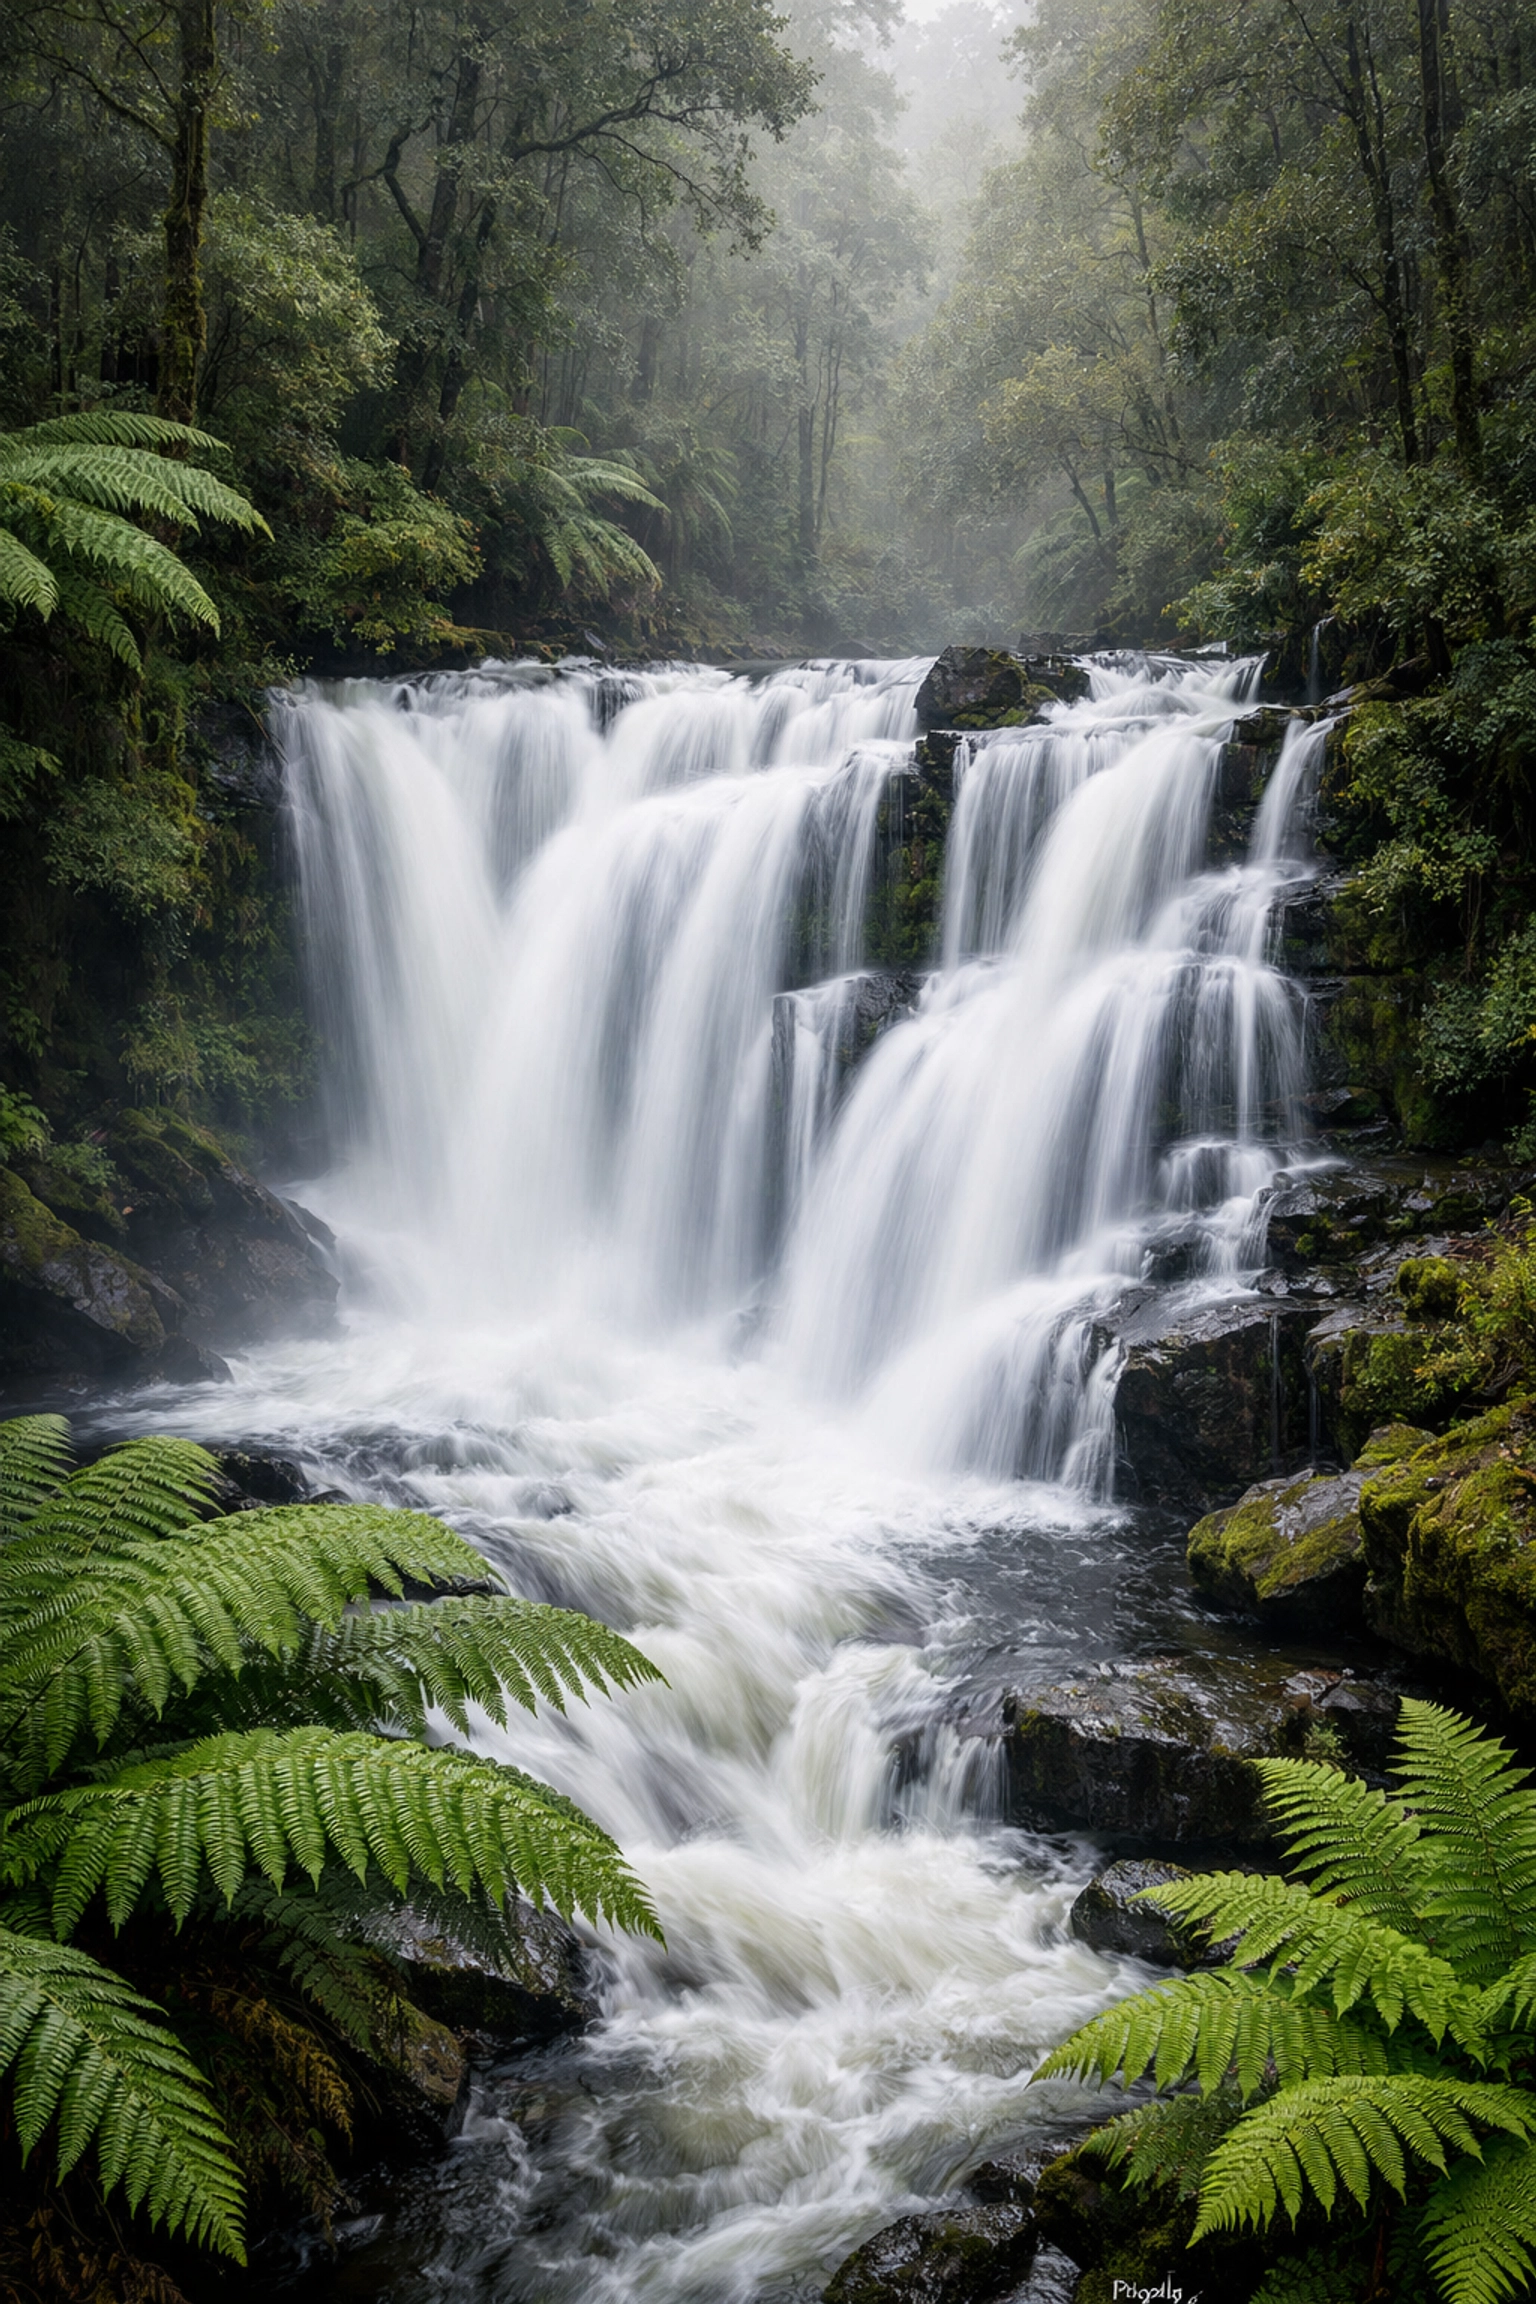
- Slow Shutter Speed (e.g., 1/10th of a second or 30 seconds): Blurs motion. This is how photographers get those silky-looking waterfalls or light trails from cars at night. You can see this used beautifully in Peter Lik's iconic works.
The catch? If your shutter is open for a long time, any movement from your hands will make the whole photo blurry. If you're shooting slower than 1/60th of a second, grab a tripod.
3. ISO: Digital Sensitivity
ISO is the third pillar. It measures how sensitive your camera's sensor is to light.
- Low ISO (100 or 200): Best for bright, sunny days. It produces the cleanest, highest-quality images.
- High ISO (3200, 6400, and up): Used for low-light situations, like a dark restaurant or a concert.
The downside of high ISO is "noise" or grain. If you push your ISO too high, your photo will look like it was taken on a grainy 1990s security camera. Modern cameras are getting better at handling this, but as a rule of thumb, always try to keep your ISO as low as possible for the best image quality. You can learn more about managing light over at PhotoGuides.org.
Using the Light Meter: Your Internal Guide
When you switch to manual mode, look through your viewfinder or at your screen. You’ll see a little scale with a "0" in the middle, "-1, -2" on the left, and "+1, +2" on the right. This is your light meter.
Your job is to adjust your Aperture, Shutter Speed, and ISO until the little marker sits right at the 0.
- If the marker is in the minus zone, your photo will be too dark (underexposed).
- If the marker is in the plus zone, your photo will be too bright (overexposed).
Of course, sometimes you want a darker, more moody look. This is where the role of luminosity comes into play. Manual mode lets you make that choice rather than the camera forcing a "neutral" look on you.
The Step-by-Step Manual Mode Workflow
Ready to try it? Follow this workflow next time you're out with your camera:
- Set your ISO first. If you’re outside during the day, set it to 100. If you’re indoors, try 800 or 1600.
- Choose your Aperture. Ask yourself: do I want a blurry background (low f-number) or everything in focus (high f-number)? Set it accordingly.
- Adjust your Shutter Speed. Look at your light meter. Dial the shutter speed dial until the marker hits the "0".
- Take the shot. Check your screen. Is it too dark? Slow down the shutter. Too bright? Speed it up.
It takes practice. At first, you’ll be slow. You’ll miss shots because you were fumbling with dials. But soon, it becomes muscle memory. You won’t even have to think about it. For more advanced inspiration, check out the techniques behind Peter Lik's photography.

When to Use Manual Mode vs. Other Modes
I’ll let you in on a secret: even pros don't use Manual 100% of the time.
If you are shooting a fast-moving event where the light is changing constantly (like a wedding or a parade), you might use Aperture Priority (A or Av). In this mode, you pick the aperture, and the camera automatically picks the shutter speed. It’s a great halfway point.
However, Manual mode is non-negotiable for:
- Night Photography: The camera will almost always mess up the exposure in the dark.
- Studio Lighting: When you're using flashes, you need total control.
- Real Estate: To maintain consistency across different rooms, manual is king.
- Macro Photography: When the tiniest change in focus or light matters.
Post-Processing: The Final Step
Even with perfect manual settings, most professional photos go through a bit of "digital darkroom" work. Shooting in Manual mode is best paired with shooting in RAW format. RAW files hold much more data than JPEGs, allowing you to recover shadows and highlights that might look lost.
To make your photos truly pop, I highly recommend using Luminar. It’s an AI-powered photo editor that makes complex edits: like sky replacements or enhancing colors: incredibly simple. If you find yourself struggling with the technical side of editing, Luminar can be a total game-changer for your workflow. It works perfectly for everything from ethereal imagery for real estate to gritty street photography.
Pro Tips for the Journey
- Don't Fear the ISO: While grain isn't great, a grainy photo is better than a blurry photo. If you need to bump the ISO to keep your shutter speed fast enough, do it.
- Learn Your Dials: Every camera is different. Spend an evening on your couch just clicking through the dials without even looking at them. You want to be able to change settings while keeping your eye on the viewfinder.
- Check the Histogram: The little graph on your screen is more accurate than your eyes. If the "mountain" on the graph is shoved all the way to the left, your photo is too dark. To the right? Too bright.
- Study the Greats: Look at photographers like Peter Lik. Look at how he uses light and perspective. You can find more about his impact on photography trends here.
Conclusion: Stop Being Afraid of Your Camera
Manual mode isn't a magic trick. It's just a tool. It’s the difference between being a passenger and being the driver. Once you master the exposure triangle, you’ll start to see light differently. You’ll look at a sunset and think, "I need f/11 for this," rather than just pointing and praying.
If you’re feeling overwhelmed, just change one setting today. Go out and shoot only in Aperture Priority. Tomorrow, try Shutter Priority. Next week, switch that dial to "M" and stay there.
For more tips on how to elevate your game: whether it's learning about aerial photography for real estate or finding luxury dining spots to practice your food photography: keep exploring the blog. You can also find great deep-dives on Edin Chavez's personal blog or check out professional gear insights at ProShoot.io.
Now, grab your camera, take it off Auto, and go shoot something awesome. The world looks better when you're the one in control of the lens.


