

Look, I’m going to level with you. There is a huge lie in the photography world that keeps beginners stuck in a cycle of frustration. You’ve heard it in forums, on YouTube, and maybe even from that one intense guy at your local camera club: "Real photographers only use Manual Mode."
I’m here to tell you that’s a load of garbage.
If you’ve been struggling to keep up with your camera’s settings while the "perfect moment" disappears right in front of your eyes, this post is for you. We’re going to pull back the curtain on how pros actually work. We’ll talk about when manual is your best friend, when it’s your worst enemy, and the "secrets" that most pros use to get incredible shots without breaking a sweat.
The Manual Mode Myth
The biggest secret in the industry is that professional photographers don’t actually use manual mode nearly as much as you think they do.
The goal of a professional isn't to be a "pure" manual operator; the goal is to get the shot. Sometimes, the fastest way to get the shot is to let the $3,000 computer in your hand do some of the heavy lifting. While mastering photography requires understanding the mechanics, it doesn't mean you have to be a slave to them.
Pros use manual mode strategically. They use it when it makes sense, and they ditch it the second it gets in the way. If you want to take your work to the next level, you need to stop worrying about the dial and start worrying about the decision-making.
Understanding the "Big Three": The Exposure Triangle
Before we get into the secrets, we have to cover the basics. Even if you don’t use manual mode 100% of the time, you need to know how it works so you can override the camera when it gets confused. The exposure triangle is made up of three things: Aperture, Shutter Speed, and ISO.
1. Aperture (The F-Stop)
This is how wide the hole in your lens opens. Think of it like the pupil of your eye.
- Wide open (Low F-number like f/1.8): Lets in tons of light and gives you that blurry background (bokeh) everyone loves.
- Narrow (High F-number like f/16): Lets in less light but keeps everything from the foreground to the background in sharp focus.
2. Shutter Speed
This is how long the "curtain" stays open.
- Fast Shutter (1/1000s): Freezes motion. Great for sports or a bird in flight.
- Slow Shutter (1/10s or longer): Blurs motion. This is how you get those silky waterfalls or light trails at night.
3. ISO
This is your sensor’s sensitivity to light.
- Low ISO (100): Clean, crisp images. Use this when you have plenty of sun.
- High ISO (3200+): Allows you to shoot in the dark, but it adds "noise" or grain to your photo.
The "secret" isn't knowing what these do, it’s knowing which one to prioritize for the specific vibe you’re going for. For more technical deep dives, you can always check out resources like PhotoGuides.org.
When Pros Actually Use Manual Mode
There are times when manual mode is absolutely non-negotiable. These are situations where the environment is stable, or the camera’s internal light meter is prone to getting "tricked."
1. The Controlled Studio
If you are in a studio with artificial lights, you are in manual mode. Period. Your lights aren't changing, the ceiling isn't moving, and your subject is usually staying put. You set your exposure once, and every single shot will match perfectly. This is huge for post-processing because you can apply the same edit to 100 photos in seconds.
2. Real Estate and Architecture
In real estate, consistency is king. If you’re shooting a living room, you don’t want the camera to change the exposure just because you tilted the lens slightly toward a bright window. By locking in manual settings, you ensure the walls look the same color in every frame. We’ve talked before about the role of luminosity in real estate photography, and manual mode is the only way to master that.
3. Landscape Photography (The Peter Lik Method)
When you’re out in nature trying to capture a massive vista, the light can be tricky. If there’s a lot of bright sky and dark foreground, the camera will try to "average" it out, and you’ll end up with a muddy mess.
Pros like Peter Lik often use manual mode to ensure they are capturing the full dynamic range of a scene. Whether it’s stunning landscape photography tips or studying Peter Lik’s creative process, you’ll find that manual control is what allows for those hyper-detailed, ethereal looks.
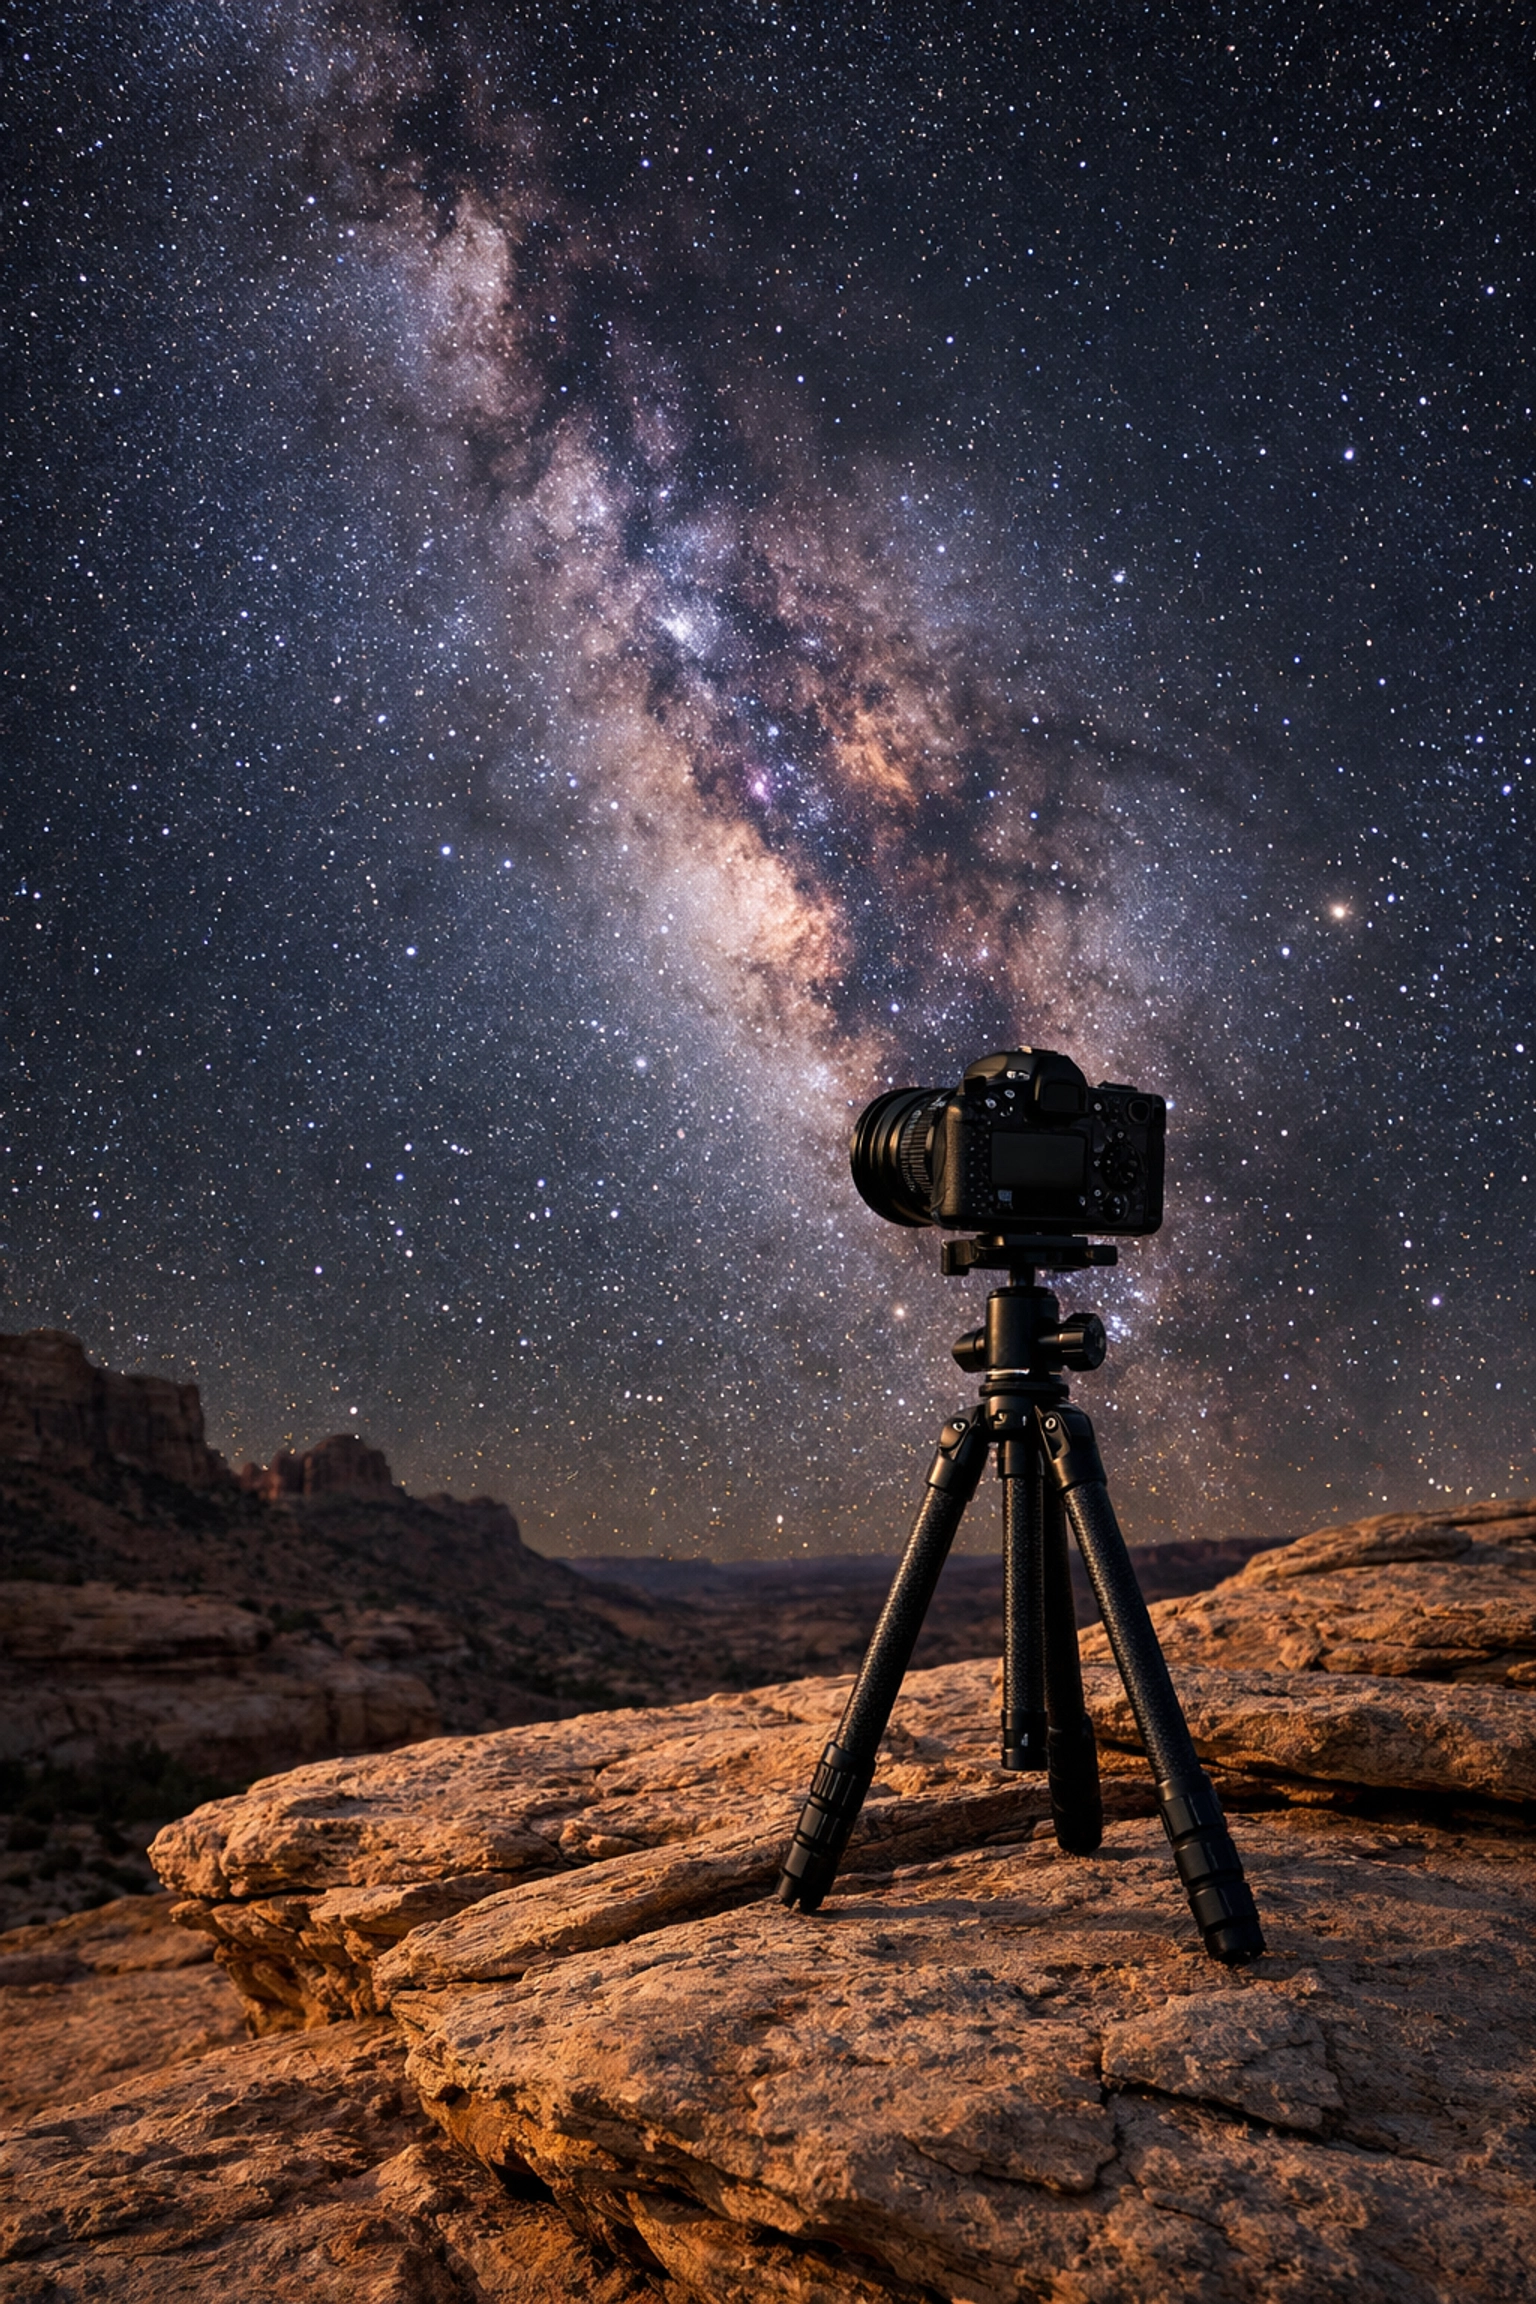
4. Long Exposures and Astrophotography
If you’re trying to shoot the Milky Way, your camera has no idea what’s going on. It’s looking at a black sky and trying to turn it grey. In the dark, manual mode is your only option. You need to tell the camera to keep that shutter open for 20 seconds, or you’re just going to get a black frame.
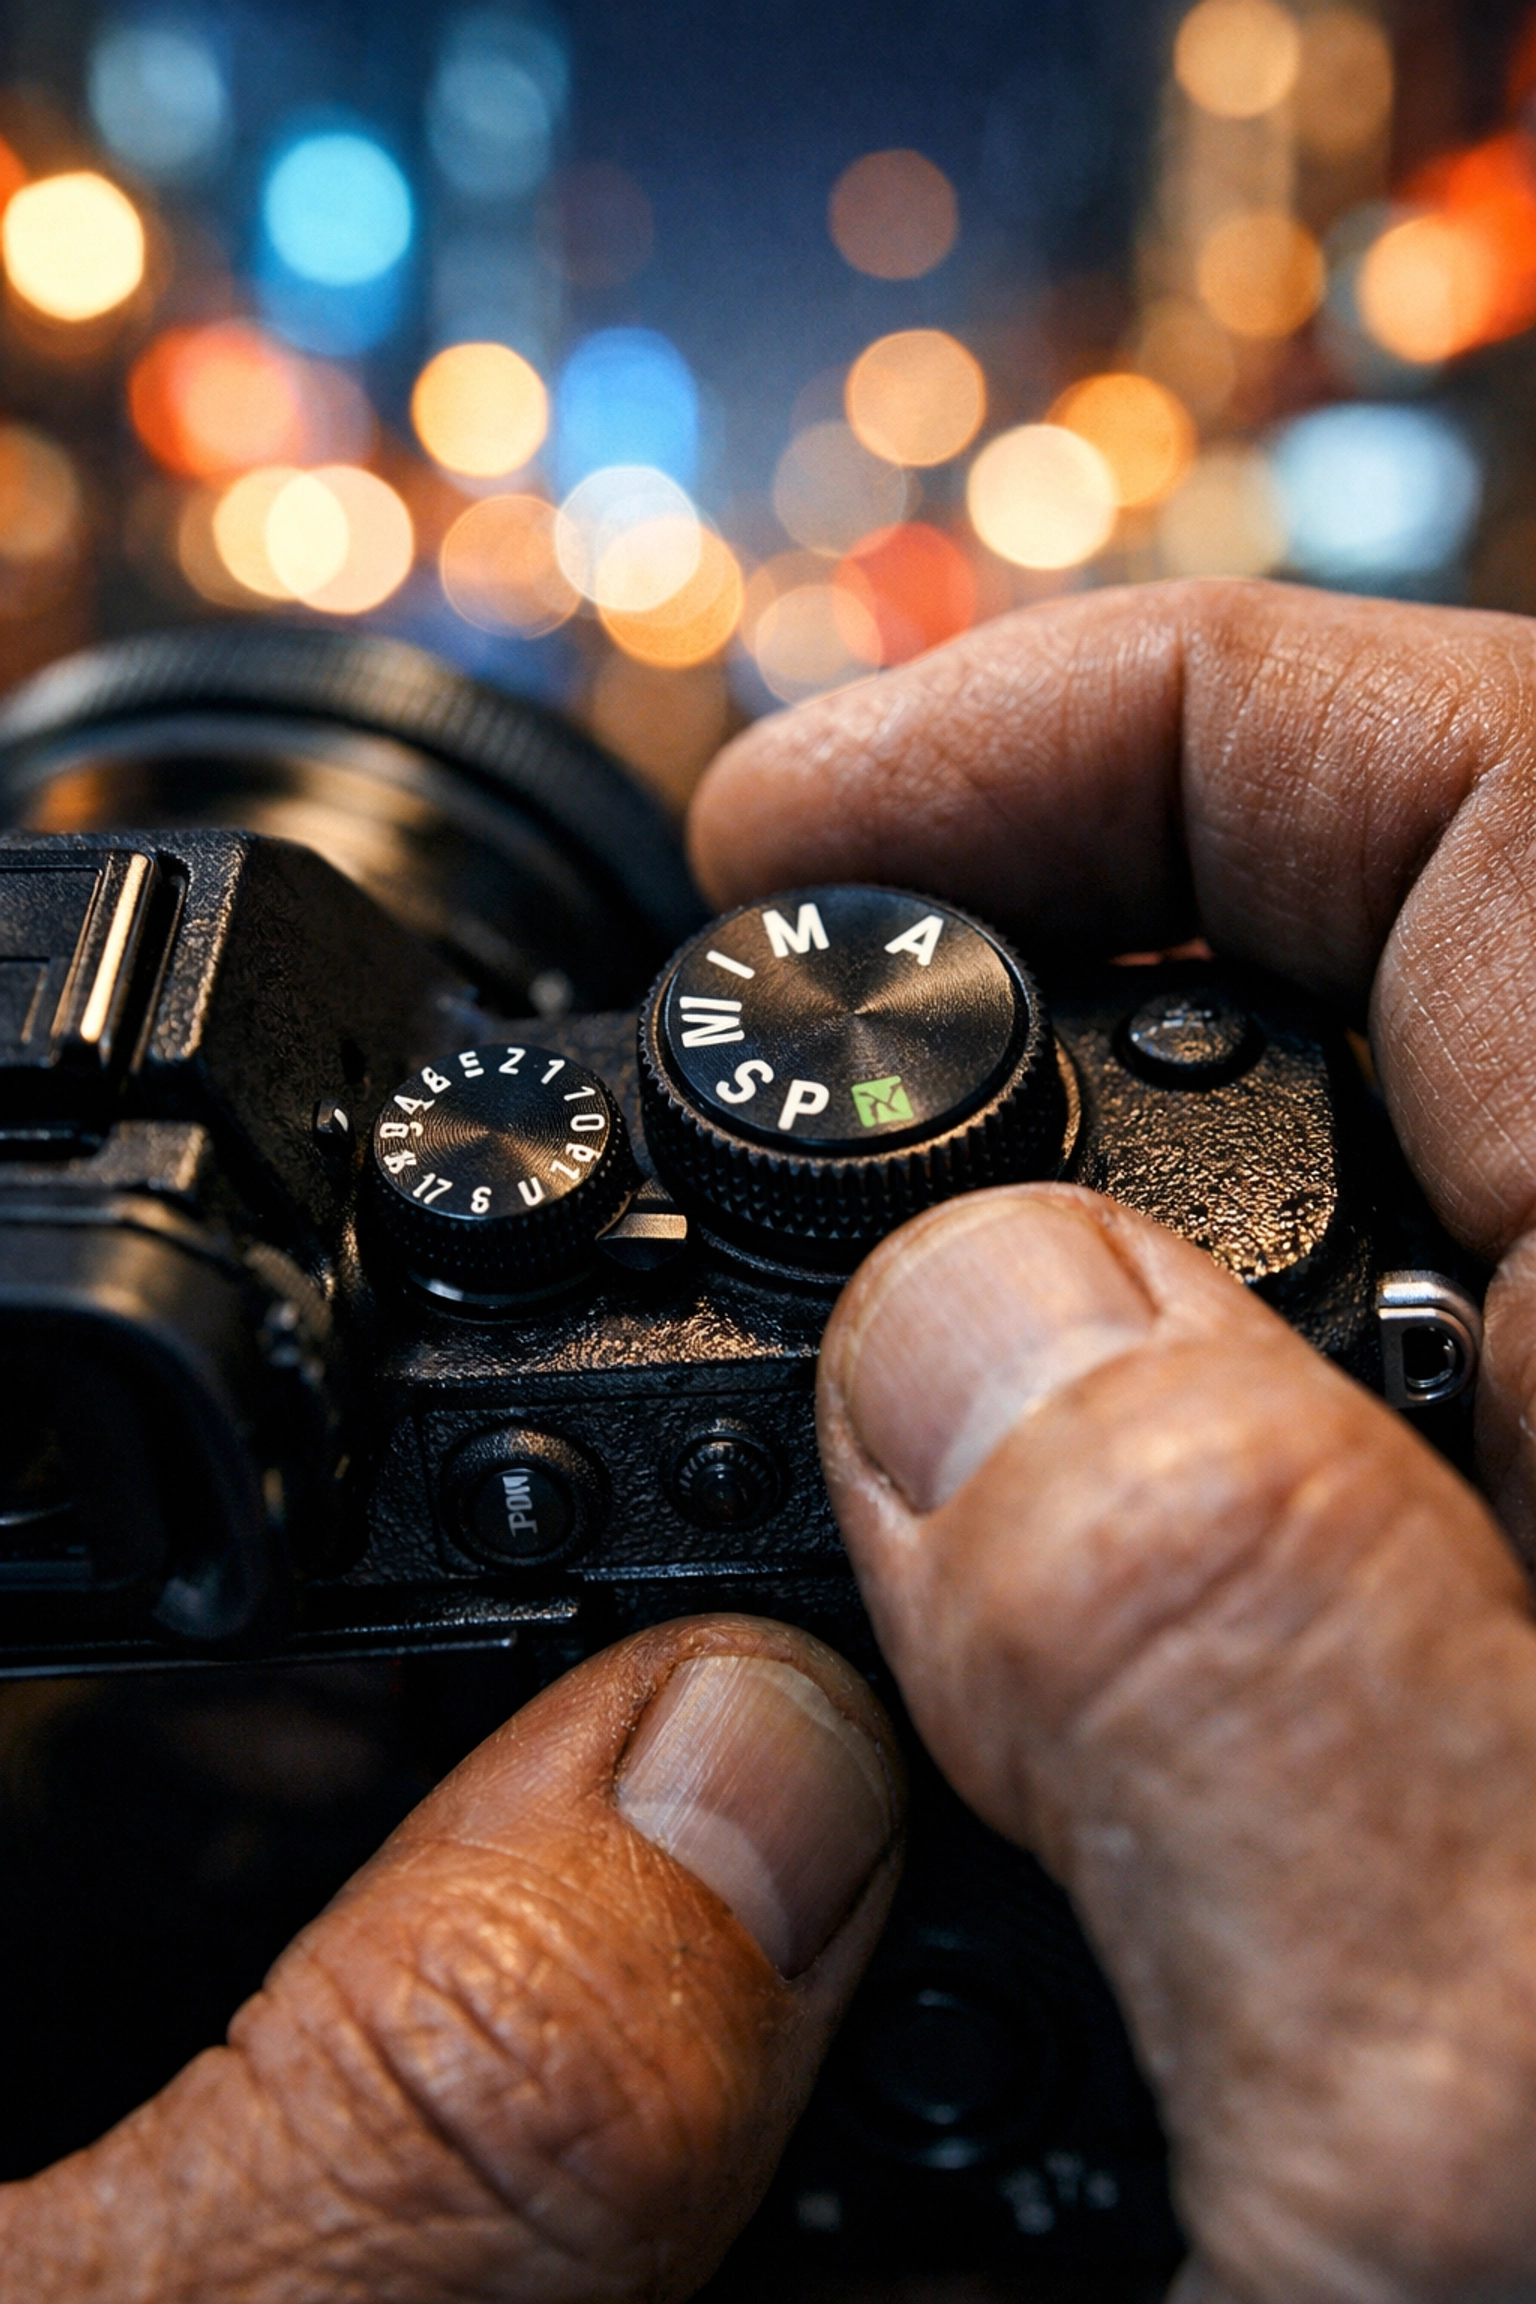
The "Pro Secret" Weapons: Semi-Auto Modes
Here is where the "secrets" come in. Most pros spend a huge chunk of their time in Aperture Priority (A or Av) or Shutter Priority (S or Tv).
Aperture Priority + Exposure Compensation
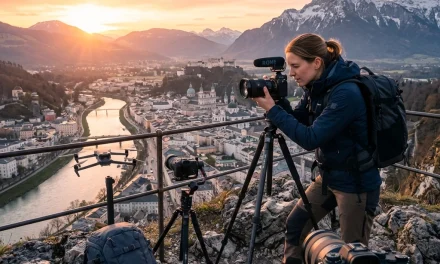
This is the gold standard for travel, street, and portrait photographers. You choose the aperture (say, f/2.8 because you want that blurry background), and the camera handles the shutter speed.
But wait, isn't that just "Auto"? Not quite. The pro secret is the Exposure Compensation dial (the little +/- button). If the photo looks too dark, you flick the dial to +1. If it’s too bright, -1. You are still in control of the look of the photo, but the camera is doing the math for you. It’s faster, more efficient, and results in fewer missed moments.
Shutter Priority
This is the go-to for sports and wildlife. If you’re shooting a football game, you know you need a shutter speed of at least 1/1000s to freeze the action. You set that, and let the camera figure out the aperture. This is essential for corporate event photography where people are moving around in changing light.
Auto ISO: The Real MVP
For years, Auto ISO was considered a "beginner" move. Not anymore. Modern cameras are so good at handling noise that pros often lock their Aperture and Shutter speed in manual mode, but set their ISO to "Auto."
This is "Manual with a Safety Net." If you move from a sunny patch of grass into the shade, the camera bumps the ISO instantly. You don't have to fumble with dials, and your exposure stays perfect. This is how you capture split-second action without looking like an amateur.
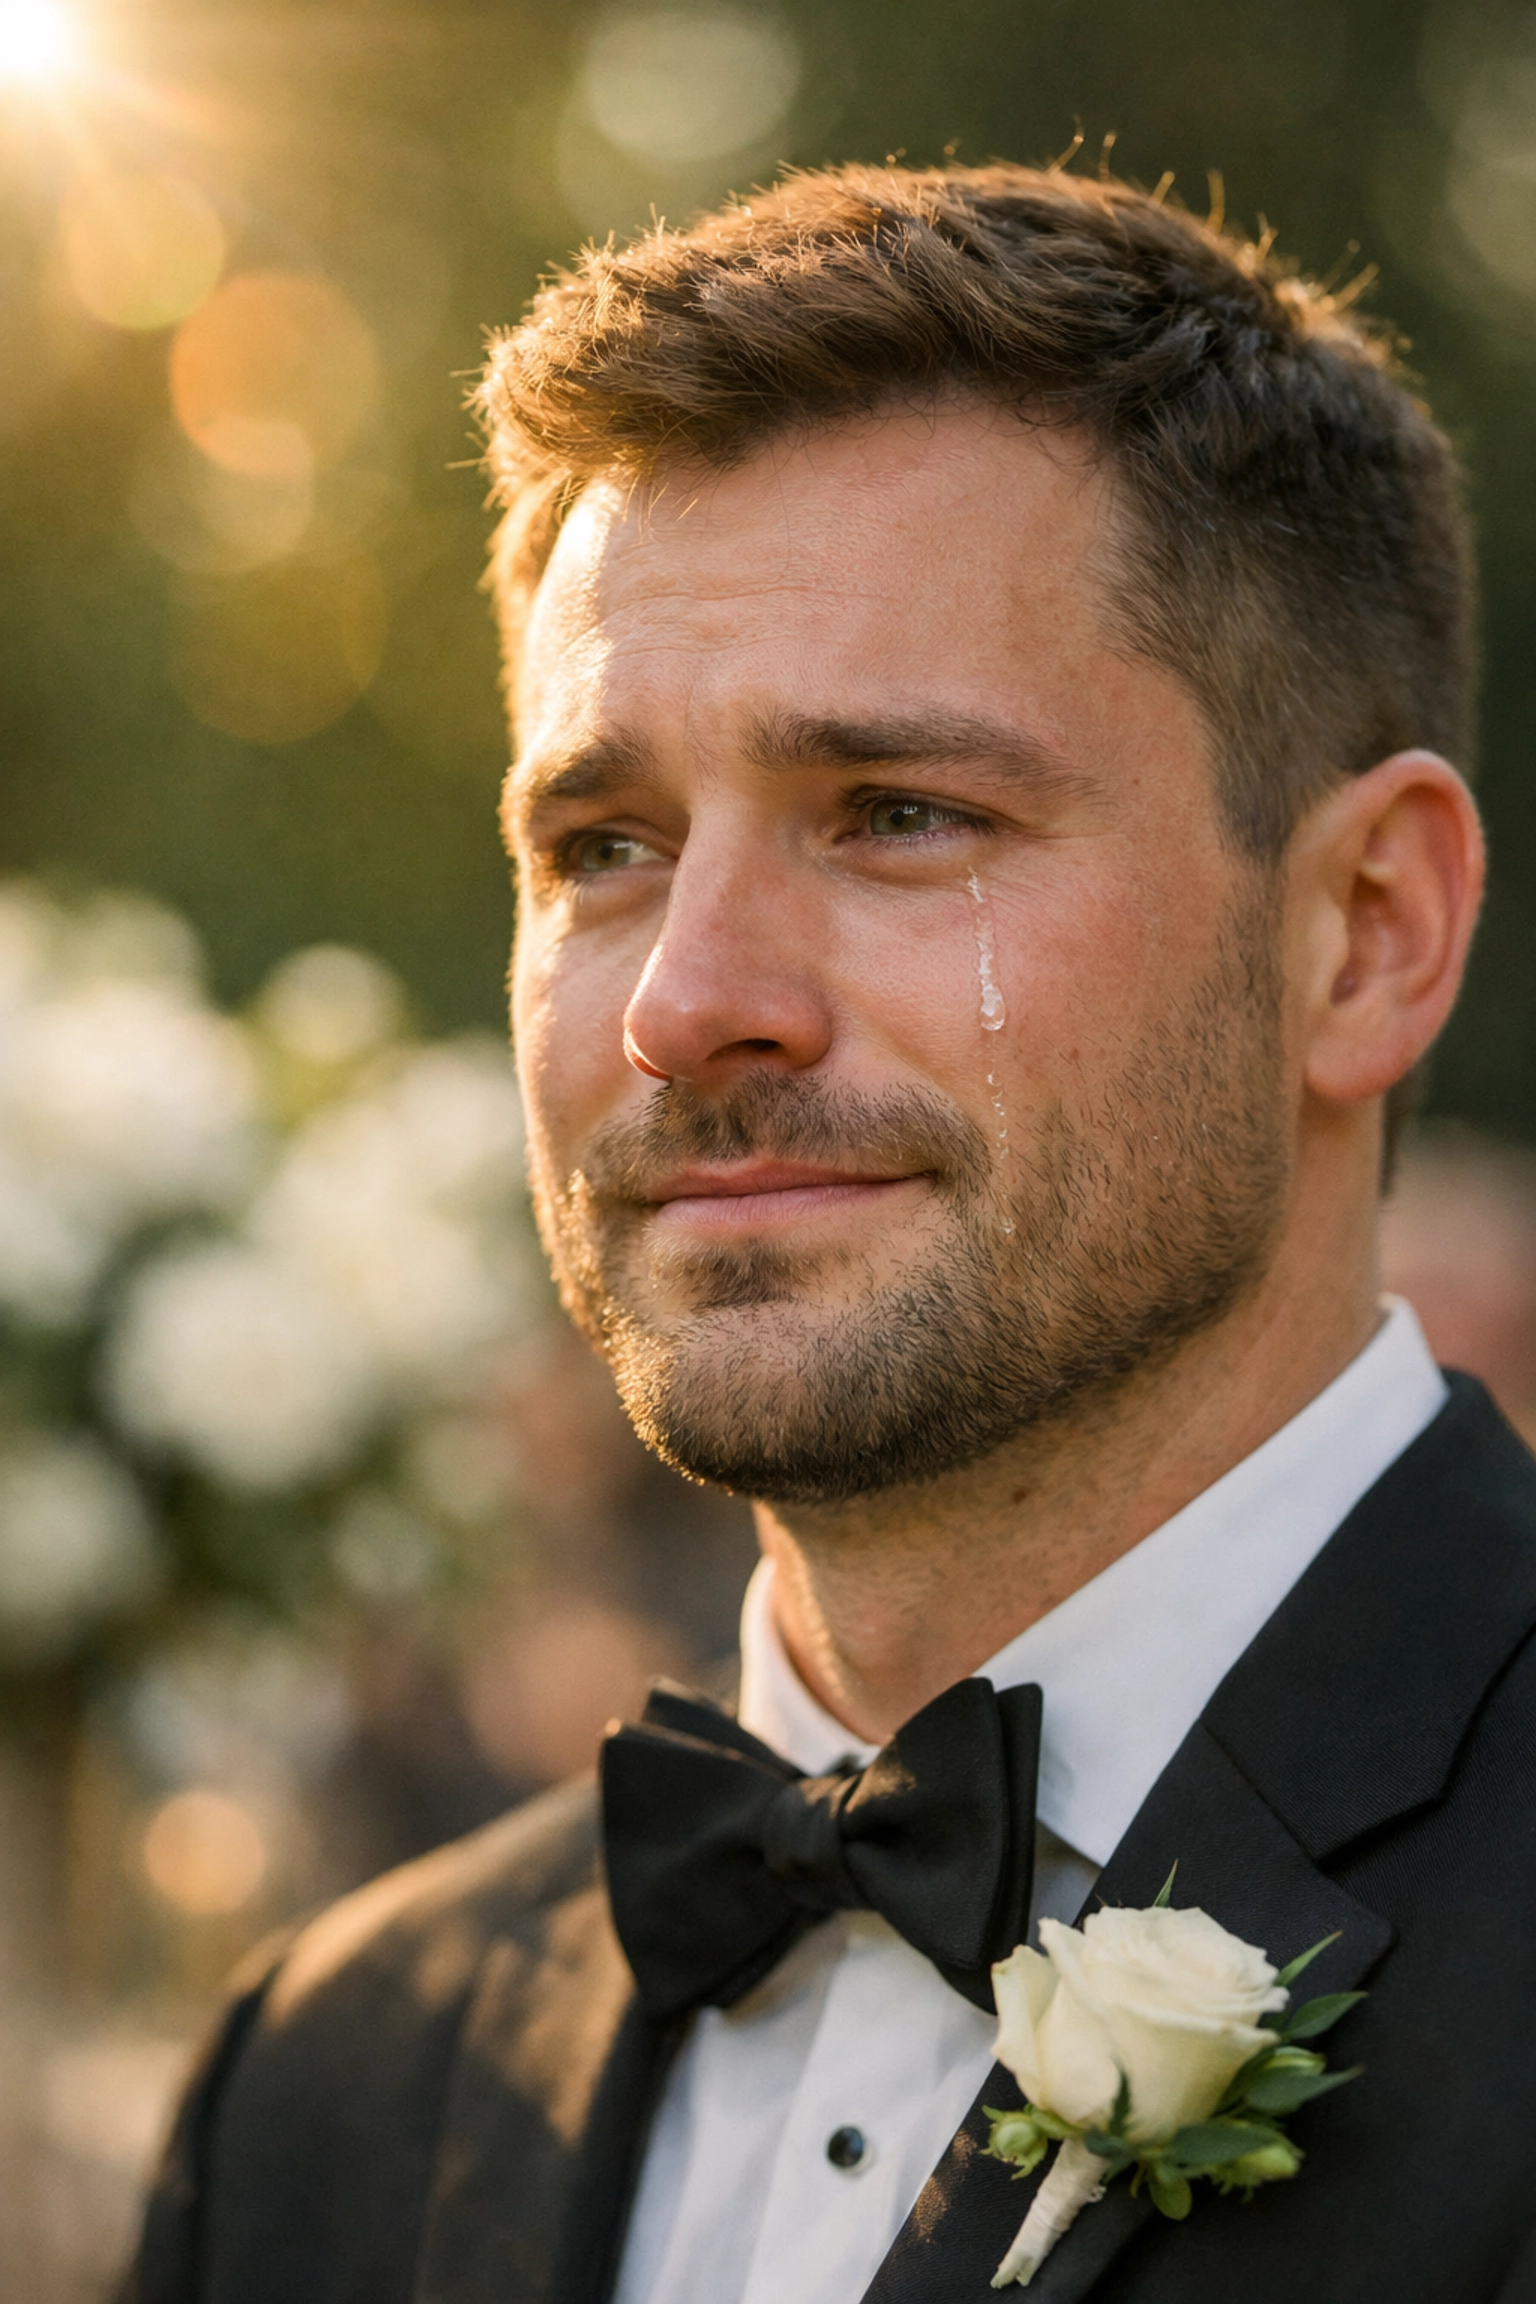
Why Speed Beats "Perfection"
In the professional world, a "perfectly exposed" shot that you missed because you were messing with your settings is worth zero dollars. A slightly "imperfect" shot that you caught: and can fix in post-processing: is worth everything.
If you’re shooting a wedding, the bride walking down the aisle happens once. If you’re trying to dial in your manual settings and you miss the tear falling down the groom's cheek, you failed. Pros prioritize the moment. They use automation to ensure they are ready for anything.
If you do miss the exposure slightly, tools like Luminar are life-savers. With AI-driven shadows and highlights recovery, you can fix a shot that’s off by a stop or two in a single click. For more on the technical side of high-end gear and techniques, check out ProShoot.io.
Tricky Lighting: When the Camera Fails
Even with all the smart tech, cameras are still essentially "dumb." They want to turn everything into 18% grey. This is why "Manual Mode" secrets often revolve around knowing when your camera is lying to you.
- Snow and Beaches: Your camera sees all that white and thinks, "Whoa, way too bright!" It then underexposes the shot, making the snow look grey and muddy. In these cases, you have to manually overexpose.
- Sunsets: The camera tries to make the dark ground look bright, which "blows out" the beautiful colors in the sky. You have to manually underexpose to keep those oranges and reds vibrant.
Understanding these distinctive elements of photography is what separates the pros from the hobbyists. It's not about being in manual; it's about knowing when the "Auto" brain is wrong.
Post-Processing: The Other Half of the Secret
If you think the pro look comes straight out of the camera, you’re only seeing half the picture. Almost every professional photo you see has been touched by software.
Pros shoot in RAW format. RAW files are ugly: they’re flat and desaturated: but they contain all the data the sensor captured. This gives you the power to change the exposure, white balance, and colors after the fact.
Using a program like Luminar allows you to take a manual exposure that was "close enough" and turn it into a masterpiece. You can find more tips on editing and vision at blog.edinchavez.com.
How to Practice Like a Pro
If you want to get good, you need to stop shooting in Full Auto, but don't feel like you have to live in Manual. Here is a roadmap to help you master your camera without the stress:
- Week 1: Aperture Priority. Set your ISO to 100 (or Auto) and just play with the f-stop. See how it changes your background blur. Use the Exposure Compensation dial to see how it affects the mood.
- Week 2: Shutter Priority. Go to a busy street or a park. Try to freeze cars or blur a fountain. See how the camera reacts to your choices.
- Week 3: Full Manual in a Stable Environment. Set up a still life or shoot a room in your house. Take your time. Get the exposure perfect. Look at the "meter" inside your viewfinder.
- Week 4: The Hybrid Method. Go out and shoot a moving subject using Manual mode for Shutter/Aperture, but set your ISO to Auto. This is the "sweet spot" for many working pros.
By the end of the month, you’ll realize that the "secret" isn't the mode you’re in: it’s the control you have over the final image. Whether you're interested in techniques behind Peter Lik's photography or you're trying to elevate your real estate listings, the principles remain the same.
Final Thoughts: The Gear is Just a Tool
At the end of the day, your camera is a tool, not a test of your worth. Don't let anyone "manual-shame" you. If you get a gallery-worthy shot on Aperture Priority, it’s still a gallery-worthy shot.
The real secret pro photographers don't want you to know? We're all just trying to make it easier on ourselves. We use the tools available to us so we can focus on what actually matters: composition, light, and the soul of the image.
Focus on shot composition's impact and finding your own voice. The dials and buttons will become second nature over time. For more inspiration on world-class imagery, take a look at Edin Fine Art or see the commercial side at Edin Studios.
Now get out there and stop worrying about the settings. Just go shoot.


