Night photography punishes vague settings. f/2.8, 25 seconds, ISO 3200, and manual focus at infinity — these are not approximations, they are the starting point for Milky Way photography. Getting them right requires understanding why each number exists and how to adjust from there. Here is the complete night photography settings guide, from blue hour to deep night.
Milky Way and Star Photography Settings
Aperture: f/2.8 (or as wide as your lens allows)
For star photography, aperture is the single most critical variable. You need maximum light-gathering capability because the exposure is already constrained by the rotation of the Earth (stars trail after a certain point). f/2.8 lets in 4x more light than f/5.6. If your lens opens to f/1.8 or f/1.4, use it — even knowing you will lose some corner sharpness and have coma distortion at the very edge, the additional light matters more for deep sky work.
 Save
SaveThe best lenses for star photography: Sigma 14mm f/1.8 Art, Rokinon 14mm f/2.8, Sony FE 14mm f/1.8 GM, Nikon Z 14-30mm f/4 (acceptable at f/4). The 14mm focal length is preferred because it captures more sky in a single frame and the wider field of view means you can use a longer exposure before stars trail.
Shutter Speed: The 500 Rule
Stars trail in long exposures because the Earth rotates. The 500 Rule calculates the maximum exposure time before star trails appear:
Maximum exposure time (seconds) = 500 ÷ focal length (full frame equivalent)
- 14mm lens: 500 ÷ 14 = 35 seconds
- 24mm lens: 500 ÷ 24 = 20 seconds
- 35mm lens: 500 ÷ 35 = 14 seconds
For APS-C cameras, multiply the focal length by the crop factor (1.5x for Sony/Nikon APS-C, 1.6x for Canon) before dividing. A 14mm lens on an APS-C camera behaves like a 21mm on full frame: 500 ÷ 21 = 24 seconds.
The 500 rule gives you points rather than streaks. If you want truly round stars with zero trailing at the pixel level (for large prints), use the stricter NPF rule and shoot 15–18 seconds at 14mm.
ISO: 1600 to 3200
ISO 3200 is the standard starting point for Milky Way photography on full-frame cameras. ISO 1600 is sufficient on the best full-frame sensors (Sony A7S III, Nikon Z9, Canon R5 — all handle ISO 3200 exceptionally cleanly). ISO 6400 is usable for a single-frame capture with heavy noise reduction but degrades fine star detail.
For stacked images (shooting 20–30 identical frames and combining them to reduce noise), you can use ISO 1600 and stack in Sequator (free) or Starry Landscape Stacker (Mac). Stacking 16 frames reduces noise by a factor of 4 — equivalent to 4 stops of noise reduction without any of the softening of in-camera noise reduction.
Manual Focus at Infinity
Autofocus does not work in the dark. Switch to manual focus and focus at the hyperfocal distance, which for wide-angle lenses at f/2.8 is effectively at the infinity mark on the lens. Here is how to do it accurately:
- Find a distant bright light (a town on the horizon, a bright star)
- Use Live View at maximum magnification (10x on most cameras)
- Adjust the focus ring until the light source is a single sharp point
- Use the focus peaking display if your camera supports it (highlights the in-focus areas in red/blue)
- Do not touch the focus ring for the rest of the shoot — tape it with gaffer tape if needed
Note: The infinity mark (∞) on a lens barrel is often not where infinity focus actually lands, especially at wide apertures. Always verify with live view magnification.
Light Trail Photography Settings
Car light trails on roads and highways require a different approach than star photography. The exposure needs to be long enough to capture the full arc of the trail while the ambient light remains balanced.
Settings for Light Trails
- Aperture: f/8 to f/11 — you want the sharpness, not maximum light. The streaking lights provide the brightness.
- Shutter speed: 10–30 seconds — depends on how far the car needs to travel in the frame. For a car approaching on a straight road, 20 seconds gives a long, converging trail.
- ISO: 100–400 — low ISO for clean skies and road surfaces. The moving lights provide their own exposure.
- Tripod: Essential. Cable release or 2-second timer.
Shoot during blue hour (15–30 minutes after sunset) for light trails. The sky is deep blue rather than black, giving context and color contrast to the orange/white car trails. This is the most appealing time for light trail photography.
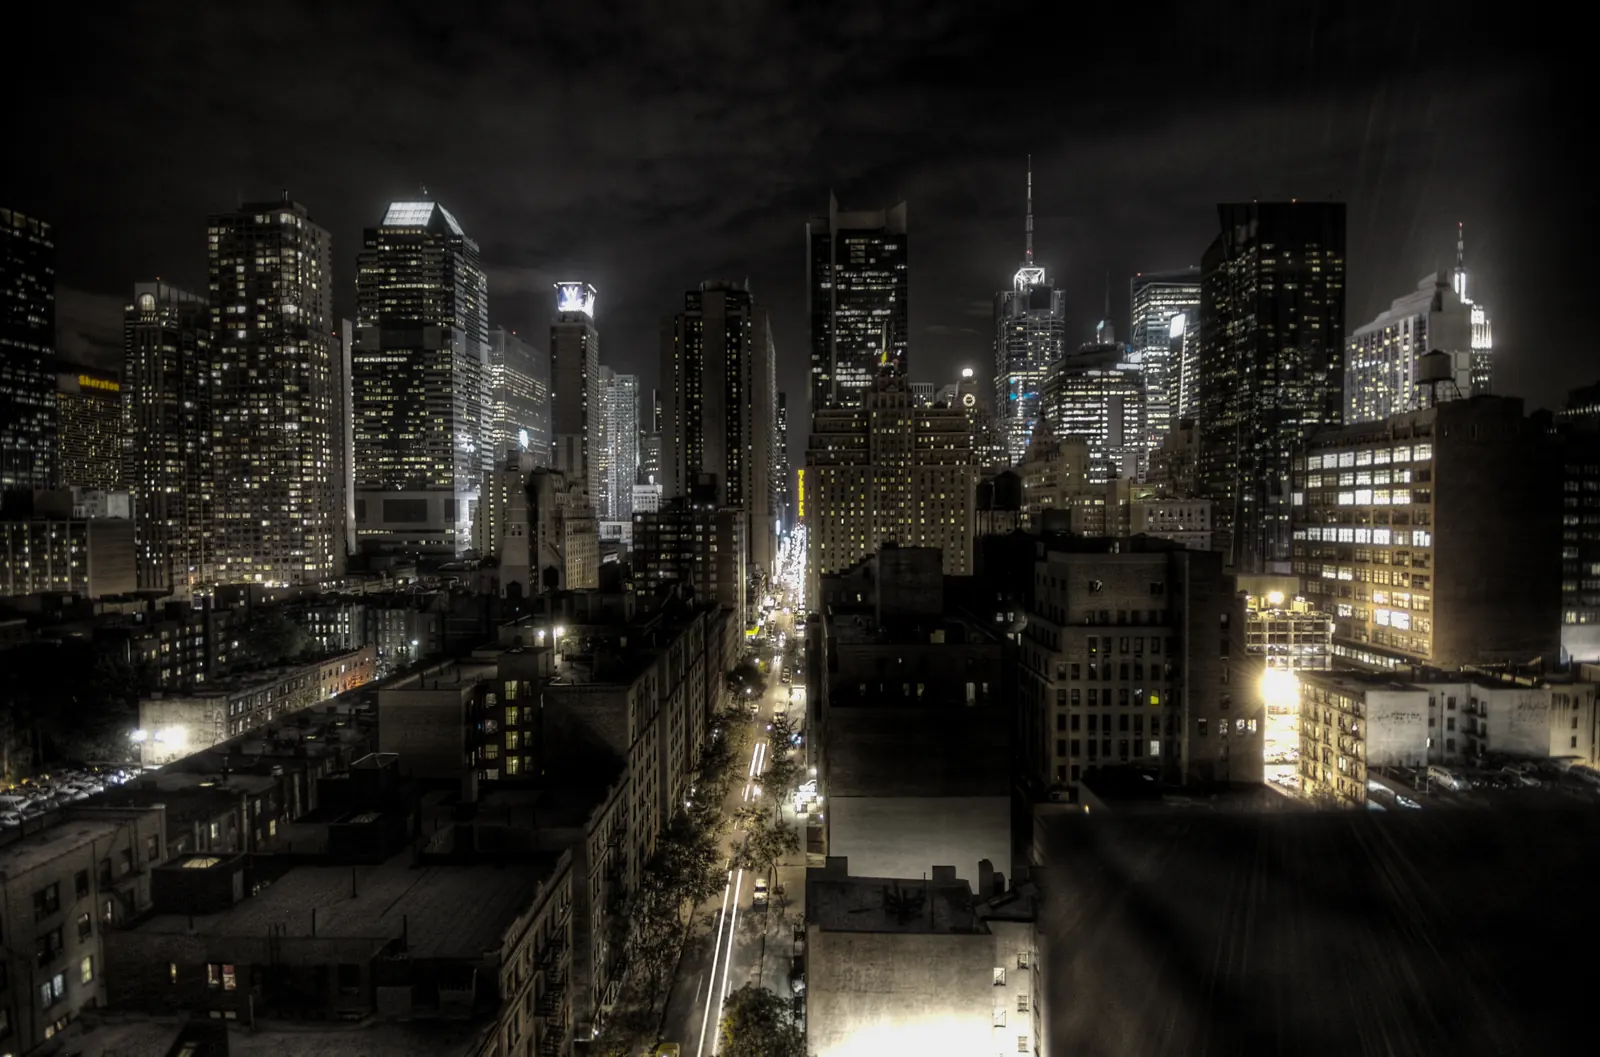
Blue Hour and Twilight Photography
Blue hour is the transitional period 20–40 minutes after sunset (or before sunrise) when the sky is deeply saturated blue and ambient light is still present. This is the most rewarding time for cityscape and landscape night photography.
- Aperture: f/8 — maximum sharpness for architectural subjects
- Shutter speed: 15–60 seconds — long enough to smooth water and blur clouds slightly
- ISO: 100
- White balance: 3200K to 4000K — this renders the sky deep blue while keeping warm artificial lights warm. Auto white balance will try to neutralize the blue cast and produce a grey, muddy sky.
ND Filters for Night Photography
If you want very long exposures after blue hour (for traffic light trails, cloud motion, or moving water under artificial light), neutral density filters extend your exposure time. For night and low-light use:
- 3-stop ND (ND8): Turns a 30-second exposure into 4 minutes. Useful for dramatic cloud movement.
- 6-stop ND (ND64): The most versatile for night work. Recommended: Kase Wolverine 6-stop, NiSi 6-stop.
- 10-stop ND (ND1000): Extreme long exposures in low light. At night, almost anything becomes a multi-minute exposure — you will need an app (Lumu Power, Long Exposure Calculator) to calculate the extended time.
For the full ND filter selection guide and long exposure calculation, see our long exposure photography tutorial.
Frequently Asked Questions
What are the best camera settings for Milky Way photography?
f/2.8, 20–25 seconds (using the 500 Rule for your focal length), ISO 3200, manual focus at infinity. These are the starting points on full-frame with a wide-angle lens.
What is the 500 Rule in night photography?
500 divided by focal length (full-frame equivalent) equals your maximum exposure time in seconds before stars trail. 14mm allows 35 seconds; 24mm allows 20 seconds.
What ISO should I use for star photography?
ISO 1600–3200 on modern full-frame cameras. For cleaner results, shoot 16–30 frames at ISO 1600 and stack them in Sequator or Starry Landscape Stacker.
How do I focus manually for night photography?
Use Live View at maximum magnification (10x) on a bright star or distant light. Adjust the focus ring until the light is a single sharp point. Tape the focus ring with gaffer tape to prevent accidental movement.
What white balance should I use for night photography?
3200K–4000K for cityscapes and blue hour. 3800K–4200K for Milky Way work. Never use Auto White Balance for night photography — it neutralizes the color that makes night images compelling.