
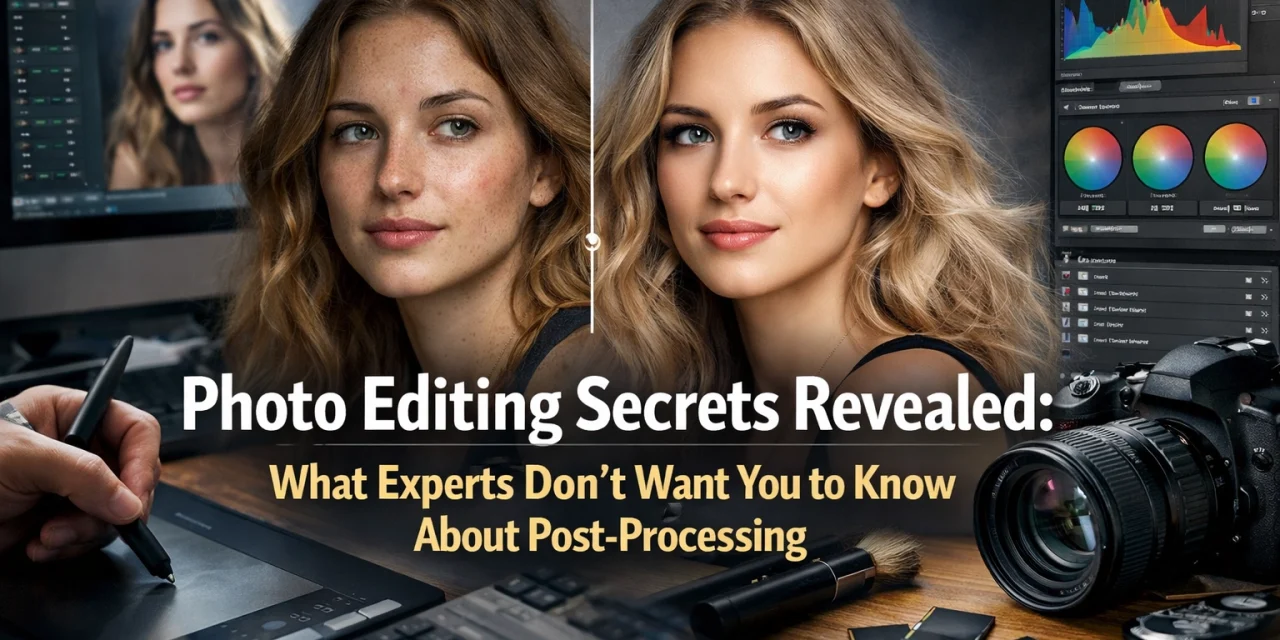
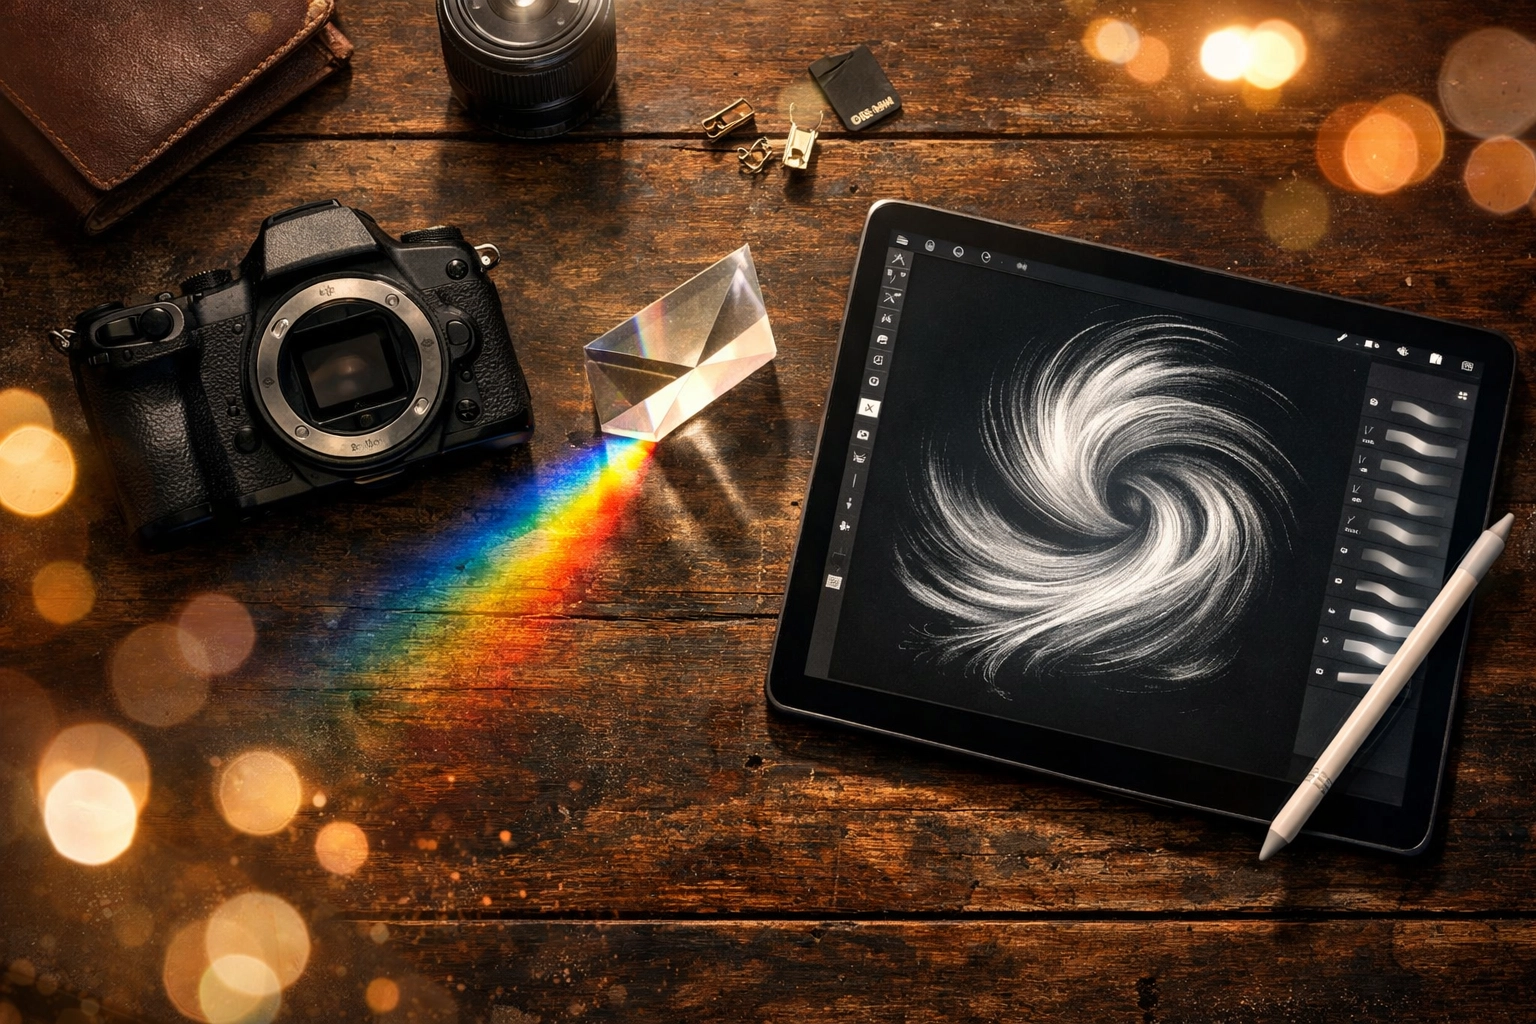
Let’s be real for a second. You’ve probably spent hours watching YouTube tutorials, buying presets that promised to "transform your photos in one click," and staring at your screen until your eyes crossed, wondering why your shots don't look like the ones on the front page of 500px or Instagram.
You think there’s some secret sauce. You think the pros are using a "hidden" button in Photoshop that unlocks the "Masterpiece" filter.
Well, I hate to break it to you, but there is no secret button. However, there are techniques that professional editors use every single day that they don't exactly shout from the rooftops. It’s not that they’re trying to keep you in the dark; it’s just that these techniques require a bit more intentionality than just sliding the "Saturation" bar to +100 and calling it a day.
If you want to move past the amateur look and start producing world-class imagery, you need to understand the "why" behind the "how." Today, we’re peeling back the curtain on the post-processing secrets that actually matter.
The Biggest Secret: It’s Not About the Software
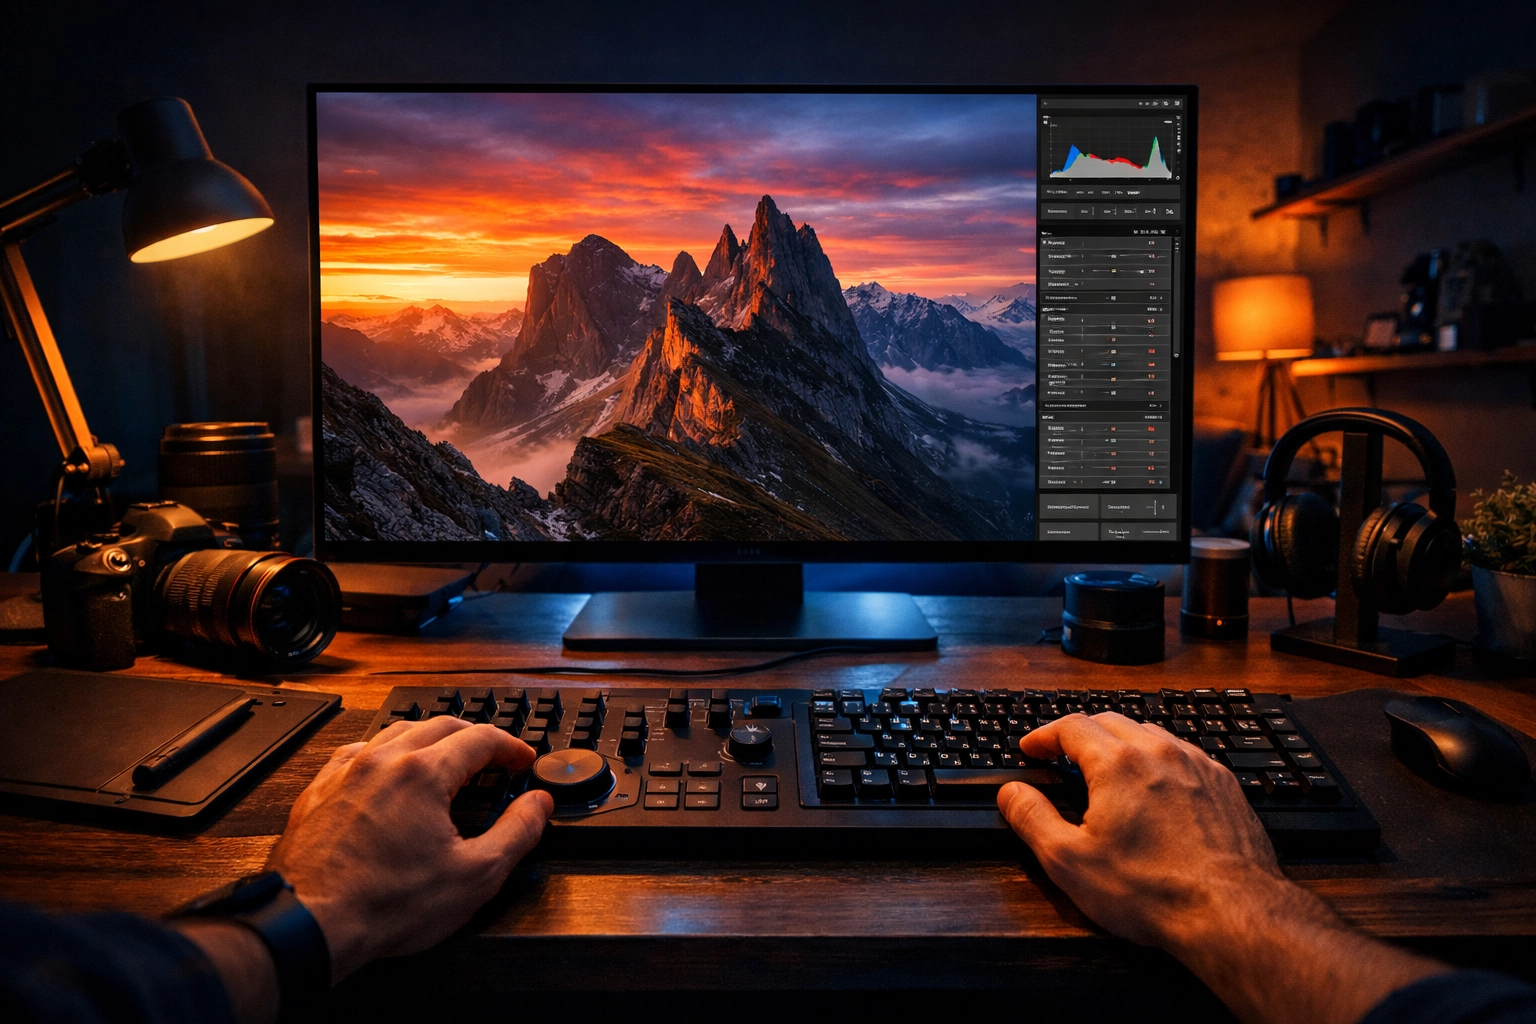
Before we dive into the technical weeds, let’s clear the air. Whether you use Photoshop, Luminar, or Lightroom, the software doesn't make the artist. The real secret is intentionality.
A pro doesn’t just start moving sliders. They look at an image and ask: What is the story here? Where do I want the viewer to look? What mood am I trying to evoke? If you haven't mastered your camera yet, you should probably check out our Manual Mode 101 guide first, because a bad RAW file is hard to save, even with the best secrets.
1. Luminosity Masks: The Holy Grail of Control
If you’re still using the "Highlights" and "Shadows" sliders to fix your exposure, you’re playing in the sandbox while the pros are at the beach.
Luminosity masks are the single most powerful tool in an editor's arsenal. Unlike a global adjustment that affects the whole image, a luminosity mask allows you to select specific tonal ranges: like only the brightest highlights or only the deepest mid-tones: and edit them independently.
Imagine you have a stunning landscape, but the sky is a bit too bright and the foreground is too dark. Instead of a messy brush tool, a luminosity mask creates a perfect, feathered selection based on the brightness of the pixels. This allows you to:
- Cool down the highlights without affecting the warmth of the shadows.
- Increase contrast only in the mid-tones to add "pop" without losing detail in the blacks.
- Brighten skin tones without blowing out the background.
While Photoshop is the traditional home for this, modern AI-powered tools like Luminar have made this process incredibly intuitive. For more on advanced techniques, check out our guide on mastering night sky filters.
2. The "Soft Light" Contrast Trick
One of the most common mistakes beginners make is using the "Contrast" slider. When you crank up contrast globally, you often lose control over your saturation. The colors get garish and the shadows get "crunchy."
Here is what the pros do instead:
Create a Black and White adjustment layer and set the Blending Mode to Soft Light.
Suddenly, your image has a deep, cinematic contrast, but because it's a Black and White layer, you aren't messing with the color data in the same way. You can then drop the opacity to somewhere between 20% and 50% for a subtle, professional look. This technique is used in almost every high-end fashion and commercial edit you see. For more tips on current looks, keep an eye on photography trends for 2026.
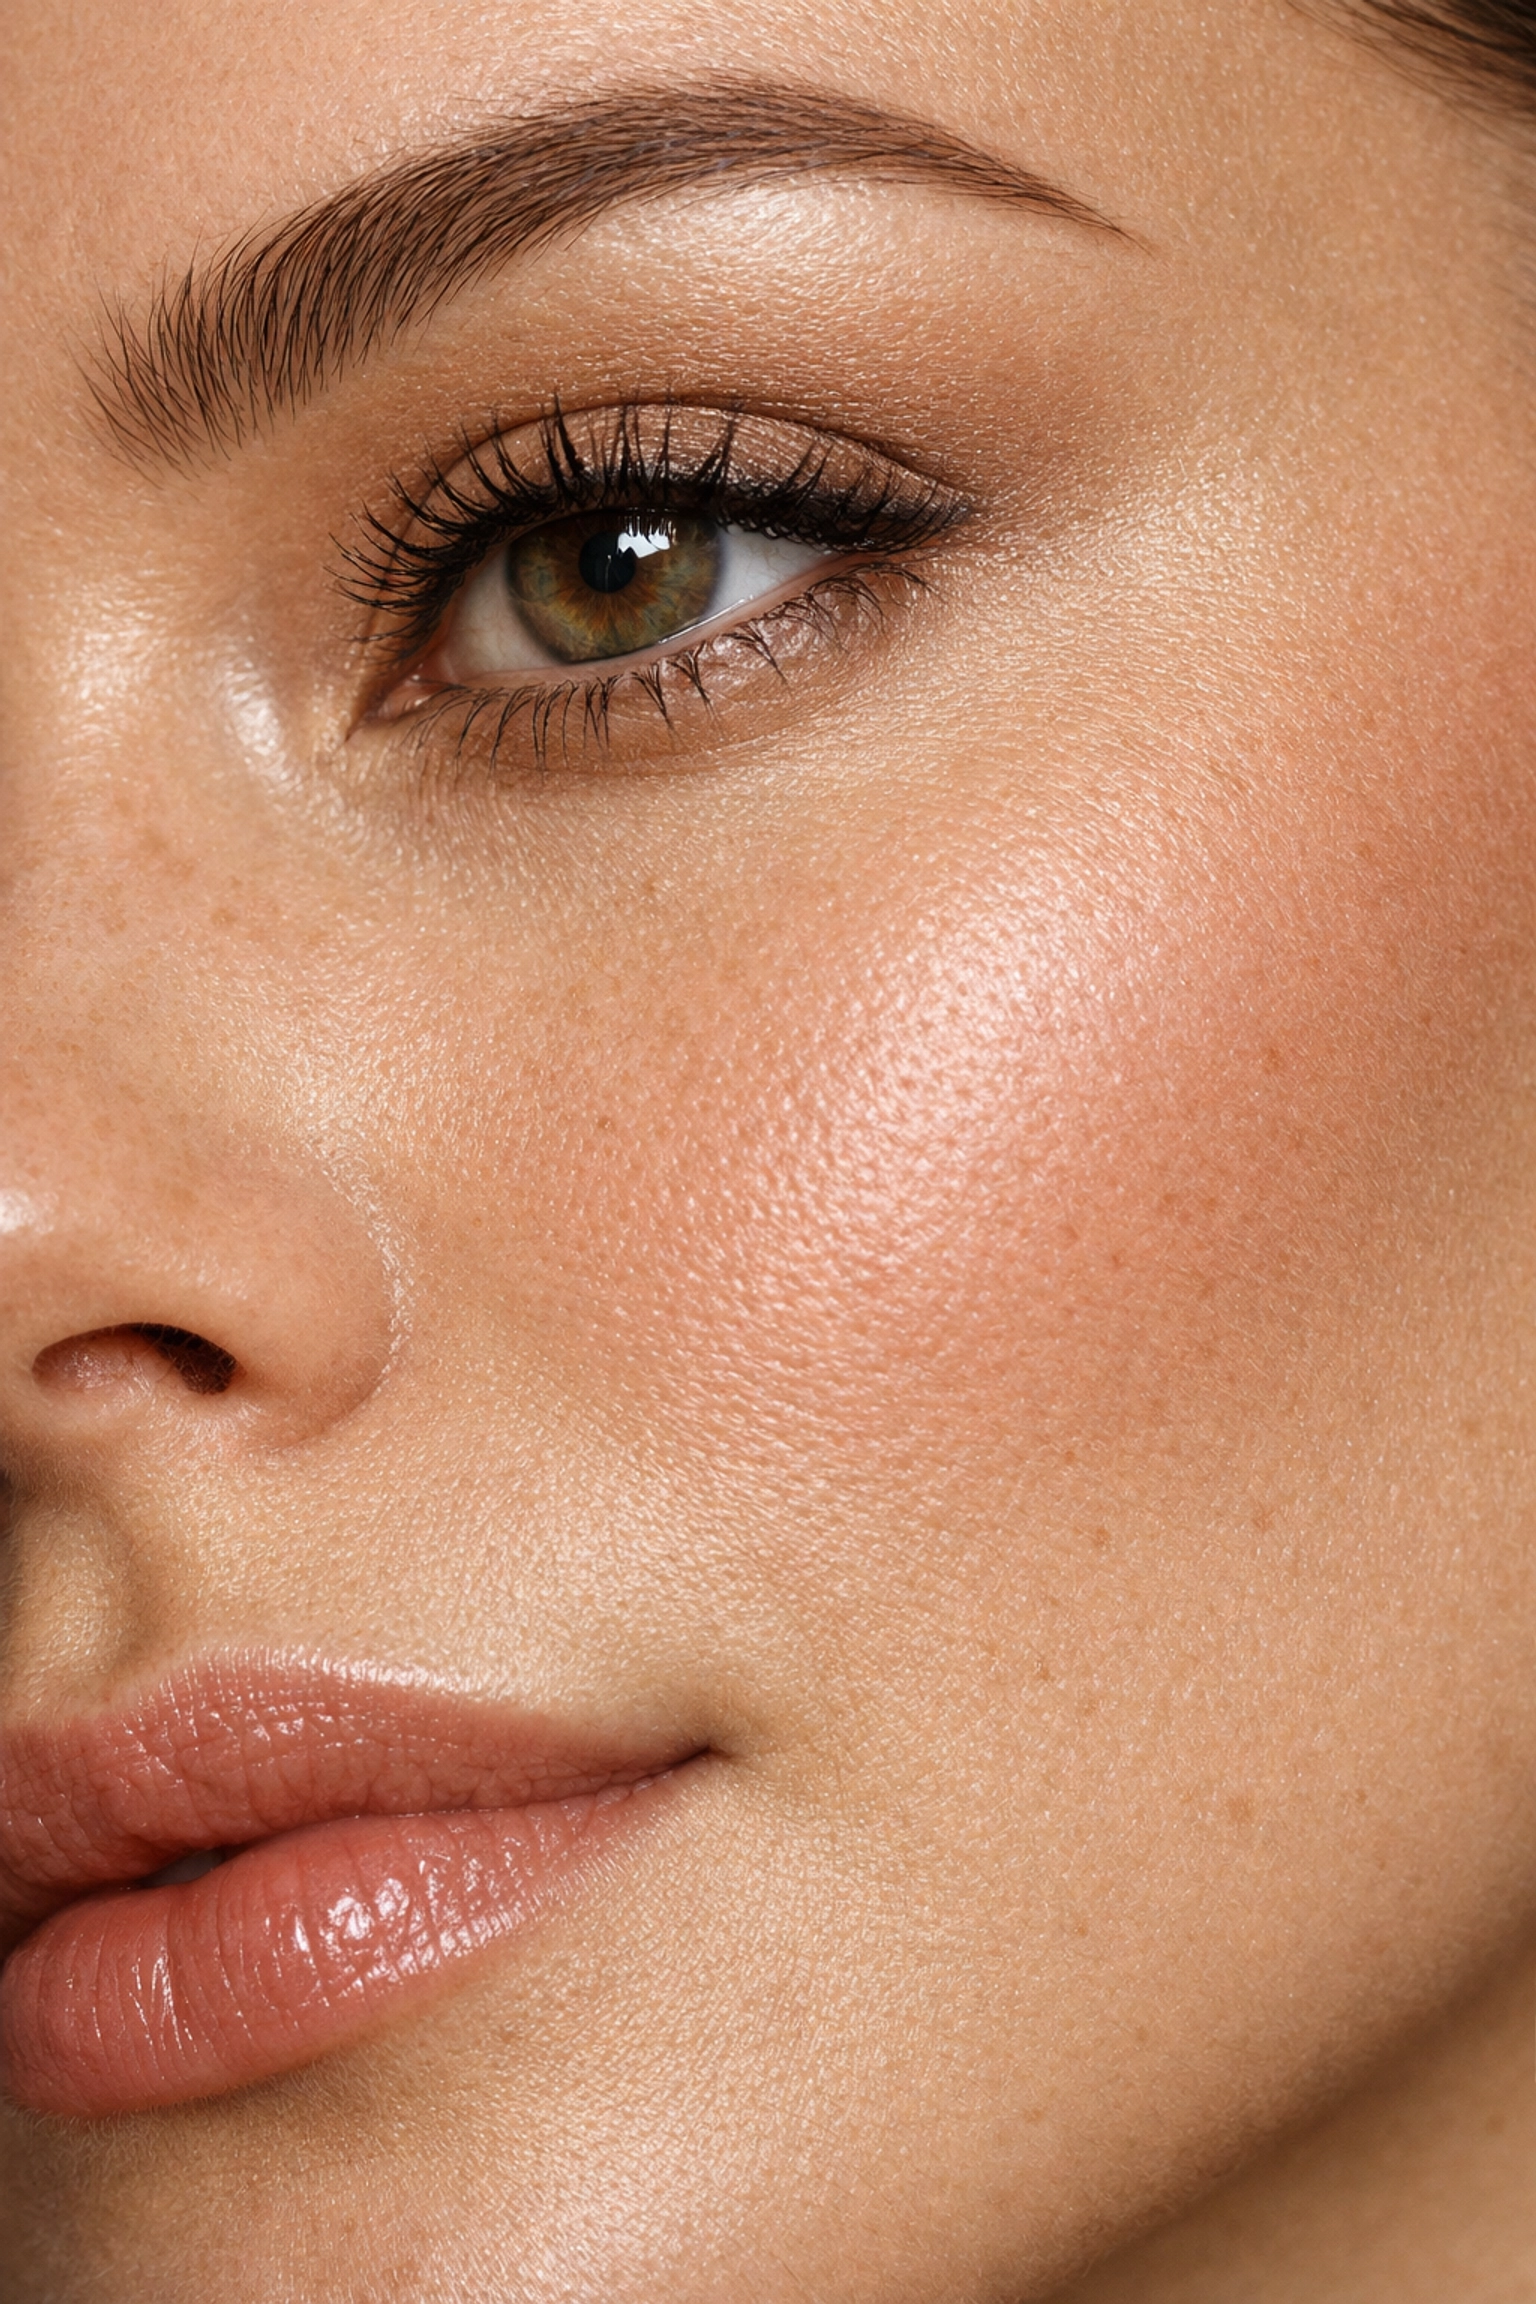
3. Frequency Separation: Beyond the "Blur"
We’ve all seen it: the "Barbie Doll" skin. It happens when someone uses a blur tool to try and smooth out skin, and they end up destroying all the texture. It looks fake, cheap, and amateur.
Professionals use a technique called Frequency Separation. This process splits your image into two layers:
- Low Frequency: This contains the color and tone information.
- High Frequency: This contains the texture (pores, fine lines, hair).
By separating them, you can smooth out blotchy skin tones on the Low Frequency layer without touching the natural skin texture on the High Frequency layer. It’s the difference between a photo that looks "edited" and a photo that looks "perfect." This isn't just for skin, either. You can use it to smooth out wrinkled clothing or even a messy sky.
4. Dodging and Burning: Sculpting with Light
This technique is as old as photography itself. Back in the darkroom days, photographers would physically block light (dodge) or add more light (burn) to parts of the paper during printing.
In the digital world, Dodging and Burning is how you create depth. Most digital photos come out of the camera looking "flat." By strategically brightening the highlights on your subject’s face and darkening the shadows under their jawline or around the edges of the frame, you are essentially "painting" with light.
A pro doesn’t just brighten a face; they might dodge the catchlights in the eyes or burn the edges of a mountain range to lead the viewer’s eye toward the center. It’s subtle, but it’s what gives an image that 3D feel. If you want to dive deeper into how to apply this to specific styles, PhotoGuides.org has some great deep dives on the history of these techniques.
5. Using Blending Modes for Color Grading
Most people head straight for "Color Balance" or "Hue/Saturation." While those are fine, the real magic happens when you use Luminosity Blending.
If you apply a Curves adjustment to add some blue to your shadows, the saturation often shifts in a weird way. If you change the Blending Mode of that Curves layer to Luminosity, the adjustment will only affect the brightness values, not the colors. Conversely, if you want to change colors without affecting your contrast, set the layer to Color.
This level of separation is what allows for those clean, "airy" edits or those moody, "filmic" grades without the image looking like it’s falling apart.
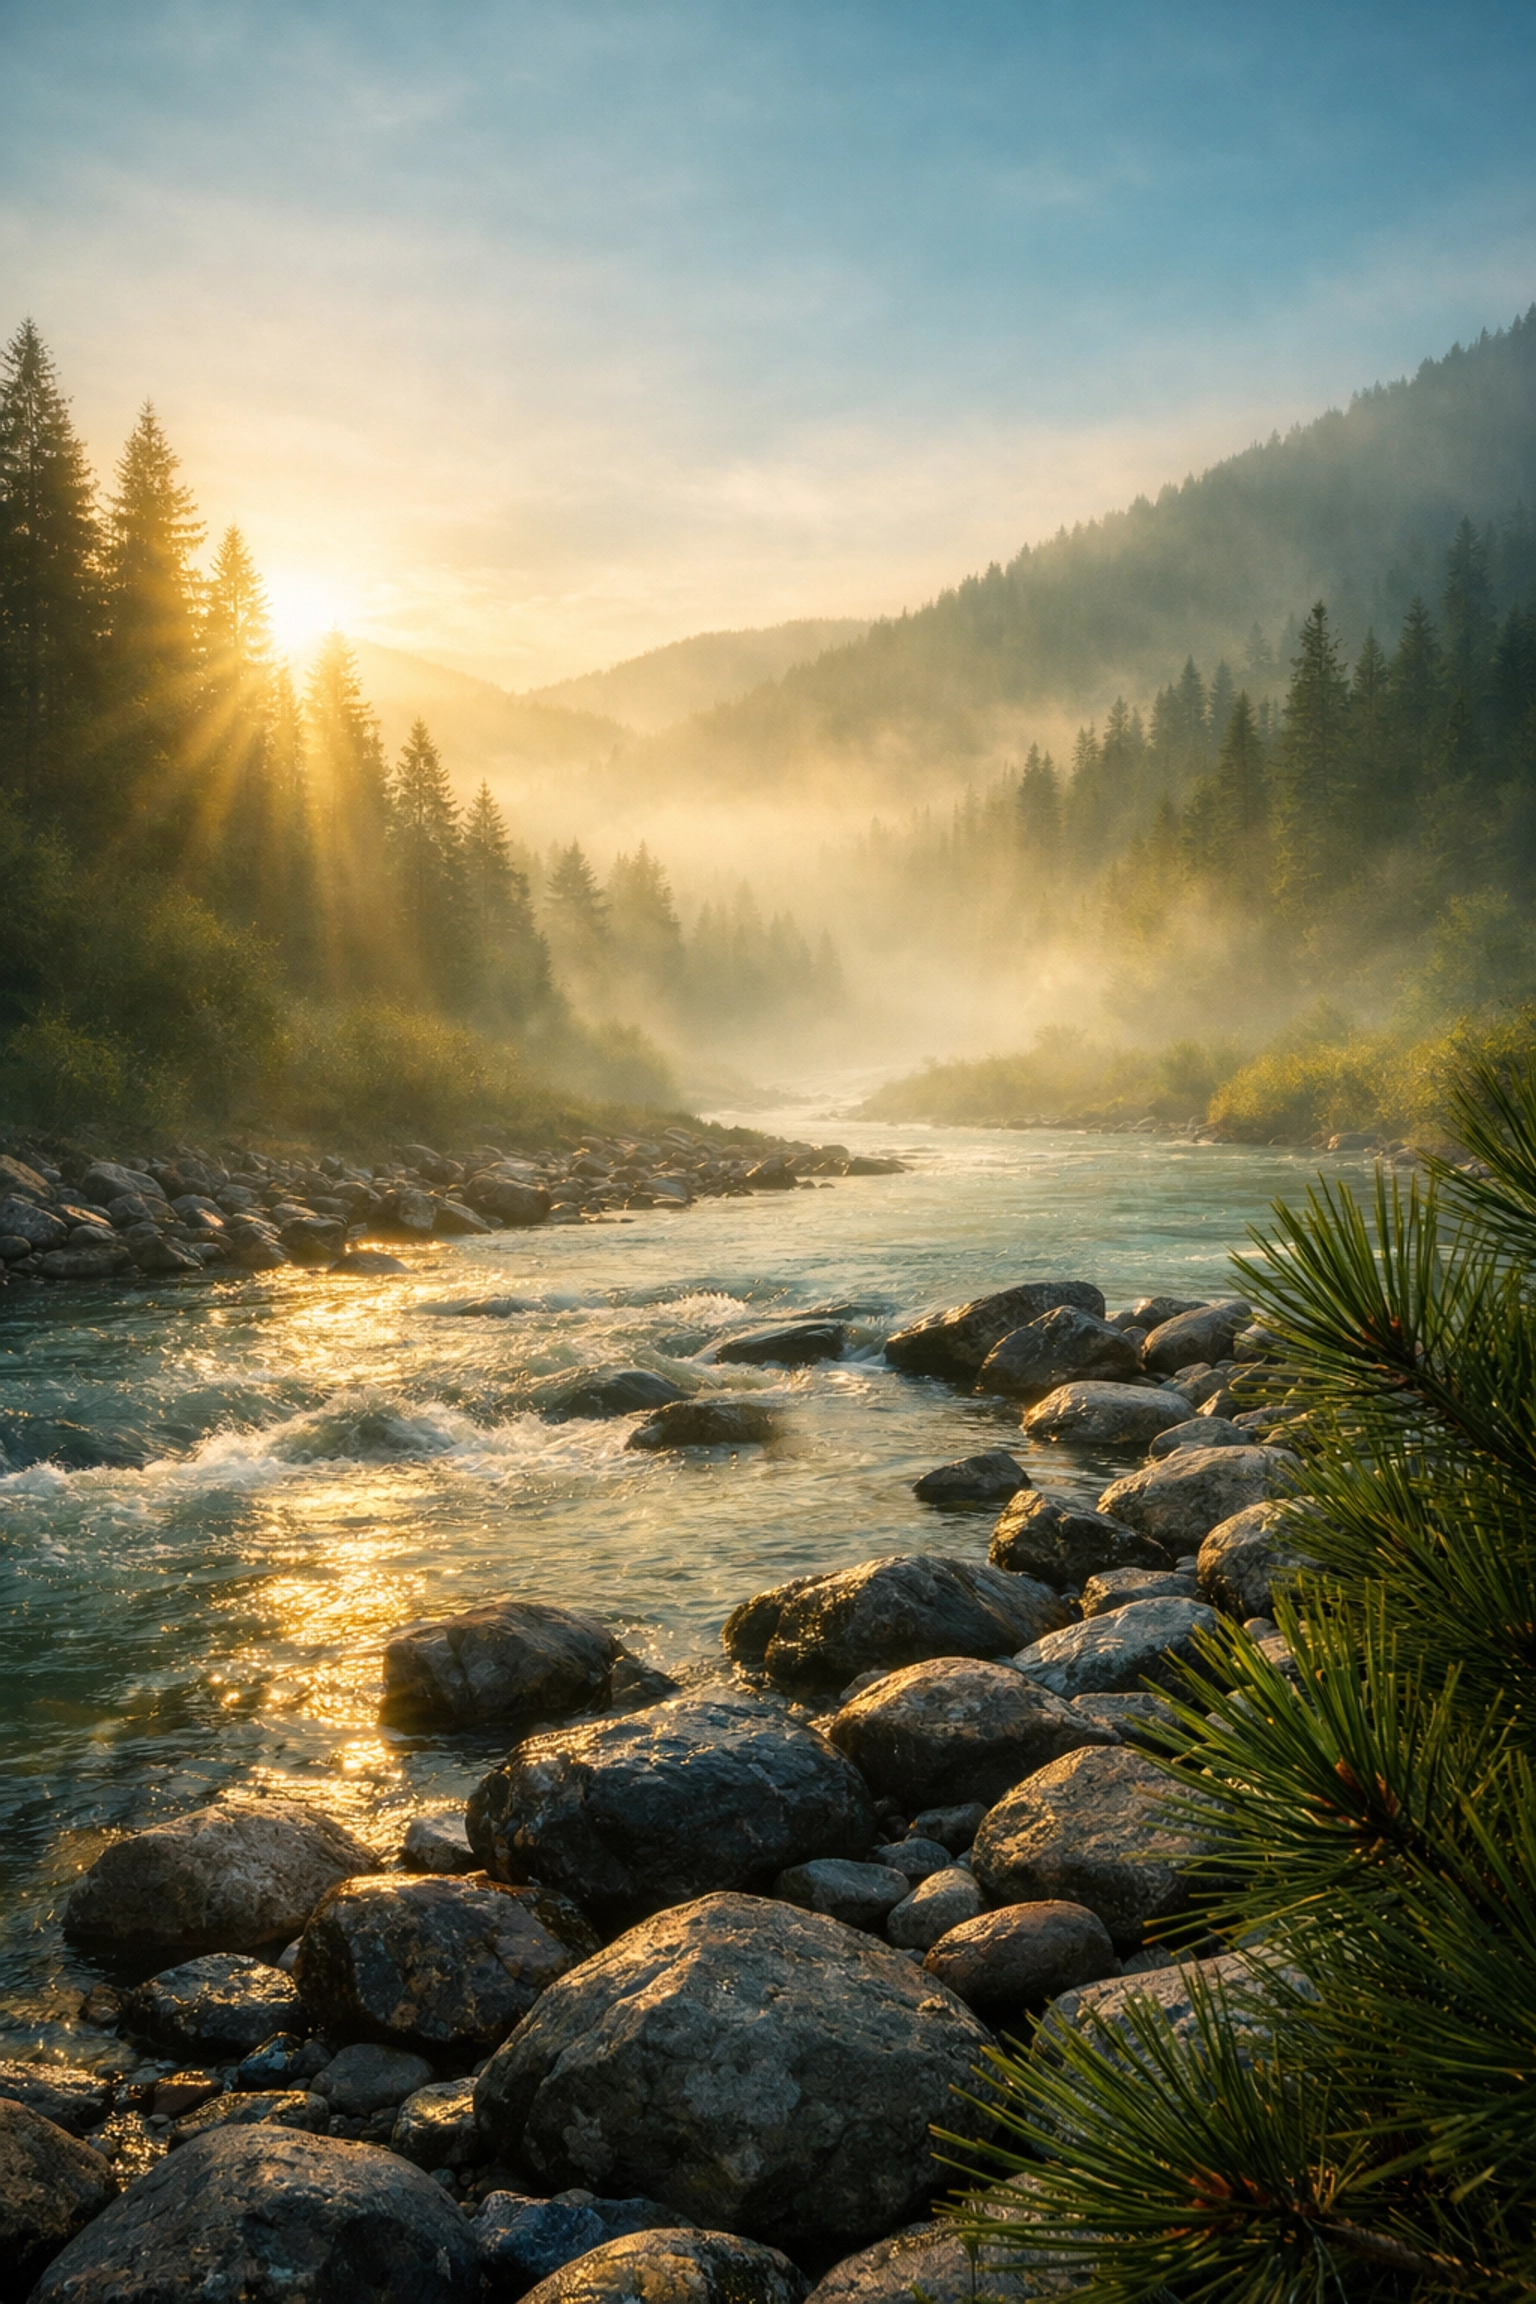
6. The Cinematic "Glow" (Orton Effect)
Have you ever noticed how some professional landscape photos seem to have a dreamlike, ethereal glow? That’s often the Orton Effect.
The "secret" is to create a duplicate layer, apply a slight Gaussian Blur, and then crank up the contrast and brightness on that blurred layer. When you blend it back into the original at a low opacity (usually 10-15%), it creates a soft glow in the highlights while keeping the core details sharp.
It’s easy to overdo, but when done right, it makes a digital photo feel much more organic and less "sterile." You can find more creative ways to enhance your shots in our ultimate guide to photography tutorials.
7. Controlling the Viewer's Eye with Vignettes
A vignette is usually seen as a bad thing: a lens defect. But in post-processing, a controlled vignette is a powerful weapon.
The human eye is naturally drawn to the brightest and sharpest part of an image. If the edges of your photo are just as bright and sharp as your subject, the viewer’s eye will wander. Experts use subtle vignettes and even slight blurs on the edges of the frame to "trap" the viewer’s eye on the subject.
Don’t just use the "Post-Crop Vignette" slider and call it a day. Create a custom mask that follows the natural flow of your image. If you're working on a landscape, maybe you only want the vignette on the bottom corners to ground the image.
8. Workflow Efficiency: Why "Presets" Aren't Evil
There’s a weird stigma around presets. Some people think using them is "cheating." Pros know better. Presets are a starting point, not the finish line.
A professional workflow usually involves:
- Applying a base preset to get the color science and basic tones in the right ballpark.
- Adjusting exposure and white balance.
- Using local adjustments (the secrets mentioned above) to refine the shot.
Tools like Luminar are built entirely around this philosophy: using AI to handle the "grunt work" (like sky replacement or skin masking) so you can focus on the creative decisions. If you want to see how this looks in practice, check out blog.edinchavez.com for some behind-the-scenes editing breakdowns.
9. Creating Your Own Assets
The pros don't just use what's in the box. They build their own library of assets. This includes custom bokeh overlays, light leaks, and brushes.
For example, if you find yourself editing a lot of flat skies, don't just use a generic sky replacement. Learn to create custom cloud brushes in Photoshop so your edits remain unique to your style. This is how you develop a "look" that people can recognize as yours.
10. Knowing When to Stop (The Most Important Secret)
If there is one thing that separates an expert from an amateur, it’s restraint.
It’s very easy to get "edit blind." You’ve been staring at the screen for two hours, you keep adding "just a little more" saturation and "just a bit more" sharpening, and suddenly the photo looks like a neon nightmare.
The secret technique? Walk away.
Experts will often finish an edit, then go have a coffee or sleep on it. When they come back with fresh eyes, they almost always find that they overdid it. A good rule of thumb: once you think the edit is perfect, back off the opacity of your adjustment folders by 10-20%. Usually, that’s where the "real" photo lives.
Summary: Mastering the Art of the Edit
Post-processing isn't about "fixing" a bad photo; it's about fulfilling the potential of a good one. By mastering tools like luminosity masks, frequency separation, and intentional color grading, you move from being someone who "filters" photos to someone who crafts them.
Remember, the goal of editing is to enhance the story you captured in-camera. If you’re looking for high-quality gear or professional prints of what these techniques look like when fully realized, take a look at www.edinfineart.com or www.proshoot.io.
Editing is a journey, and there’s always more to learn. Keep experimenting, keep pushing your boundaries, and most importantly: don't be afraid to break the rules once you've learned them.
Now, go open up Luminar or Photoshop and start playing with those luminosity masks. Your portfolio will thank you.


