
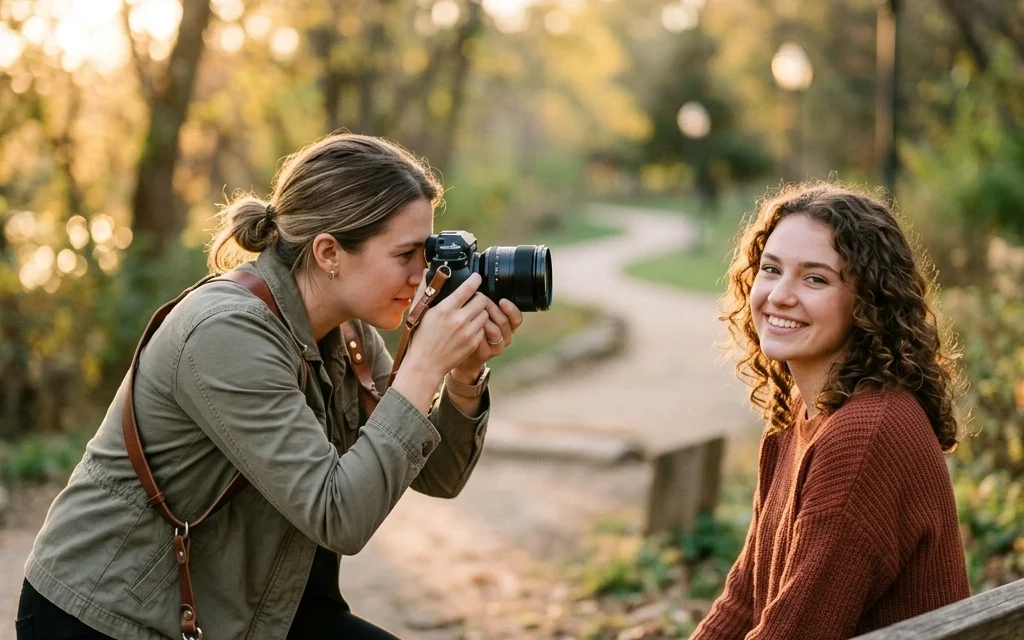
So, you’ve got a camera, and you want to take better pictures of people. Maybe it’s your kids, your partner, or that one friend who’s always asking for a new profile picture. Taking a portrait seems easy enough: point, click, done: but if you’ve ever tried it, you know there’s a big difference between a "snap" and a "portrait."
At Shut Your Aperture, we believe anyone can master this. You don’t need a $10,000 studio setup or a degree in fine arts. You just need to understand a few core principles and, more importantly, how to connect with the person in front of your lens. Let’s break down the essentials of portrait photography so you can stop taking "okay" photos and start creating images that actually say something.
It’s All About the Light
If you take away nothing else from this guide, remember this: lighting is everything. You can have the best camera in the world, but if the light is bad, the photo is bad.
For beginners, natural light is your best friend. But not all natural light is created equal. If you stand your subject in the middle of a parking lot at noon on a sunny day, they’re going to have harsh shadows under their eyes (we call these "raccoon eyes") and they’ll be squinting. That’s a recipe for a bad time.
The Magic of the Golden Hour
There’s a reason photographers obsess over the "Golden Hour." This is the hour just after sunrise or just before sunset. The sun is low in the sky, creating a soft, warm, and glowing light that makes everyone look like a movie star. If you’re just starting out, plan your shoots for this time. It’s like playing a video game on "Easy" mode.
Finding the Shade
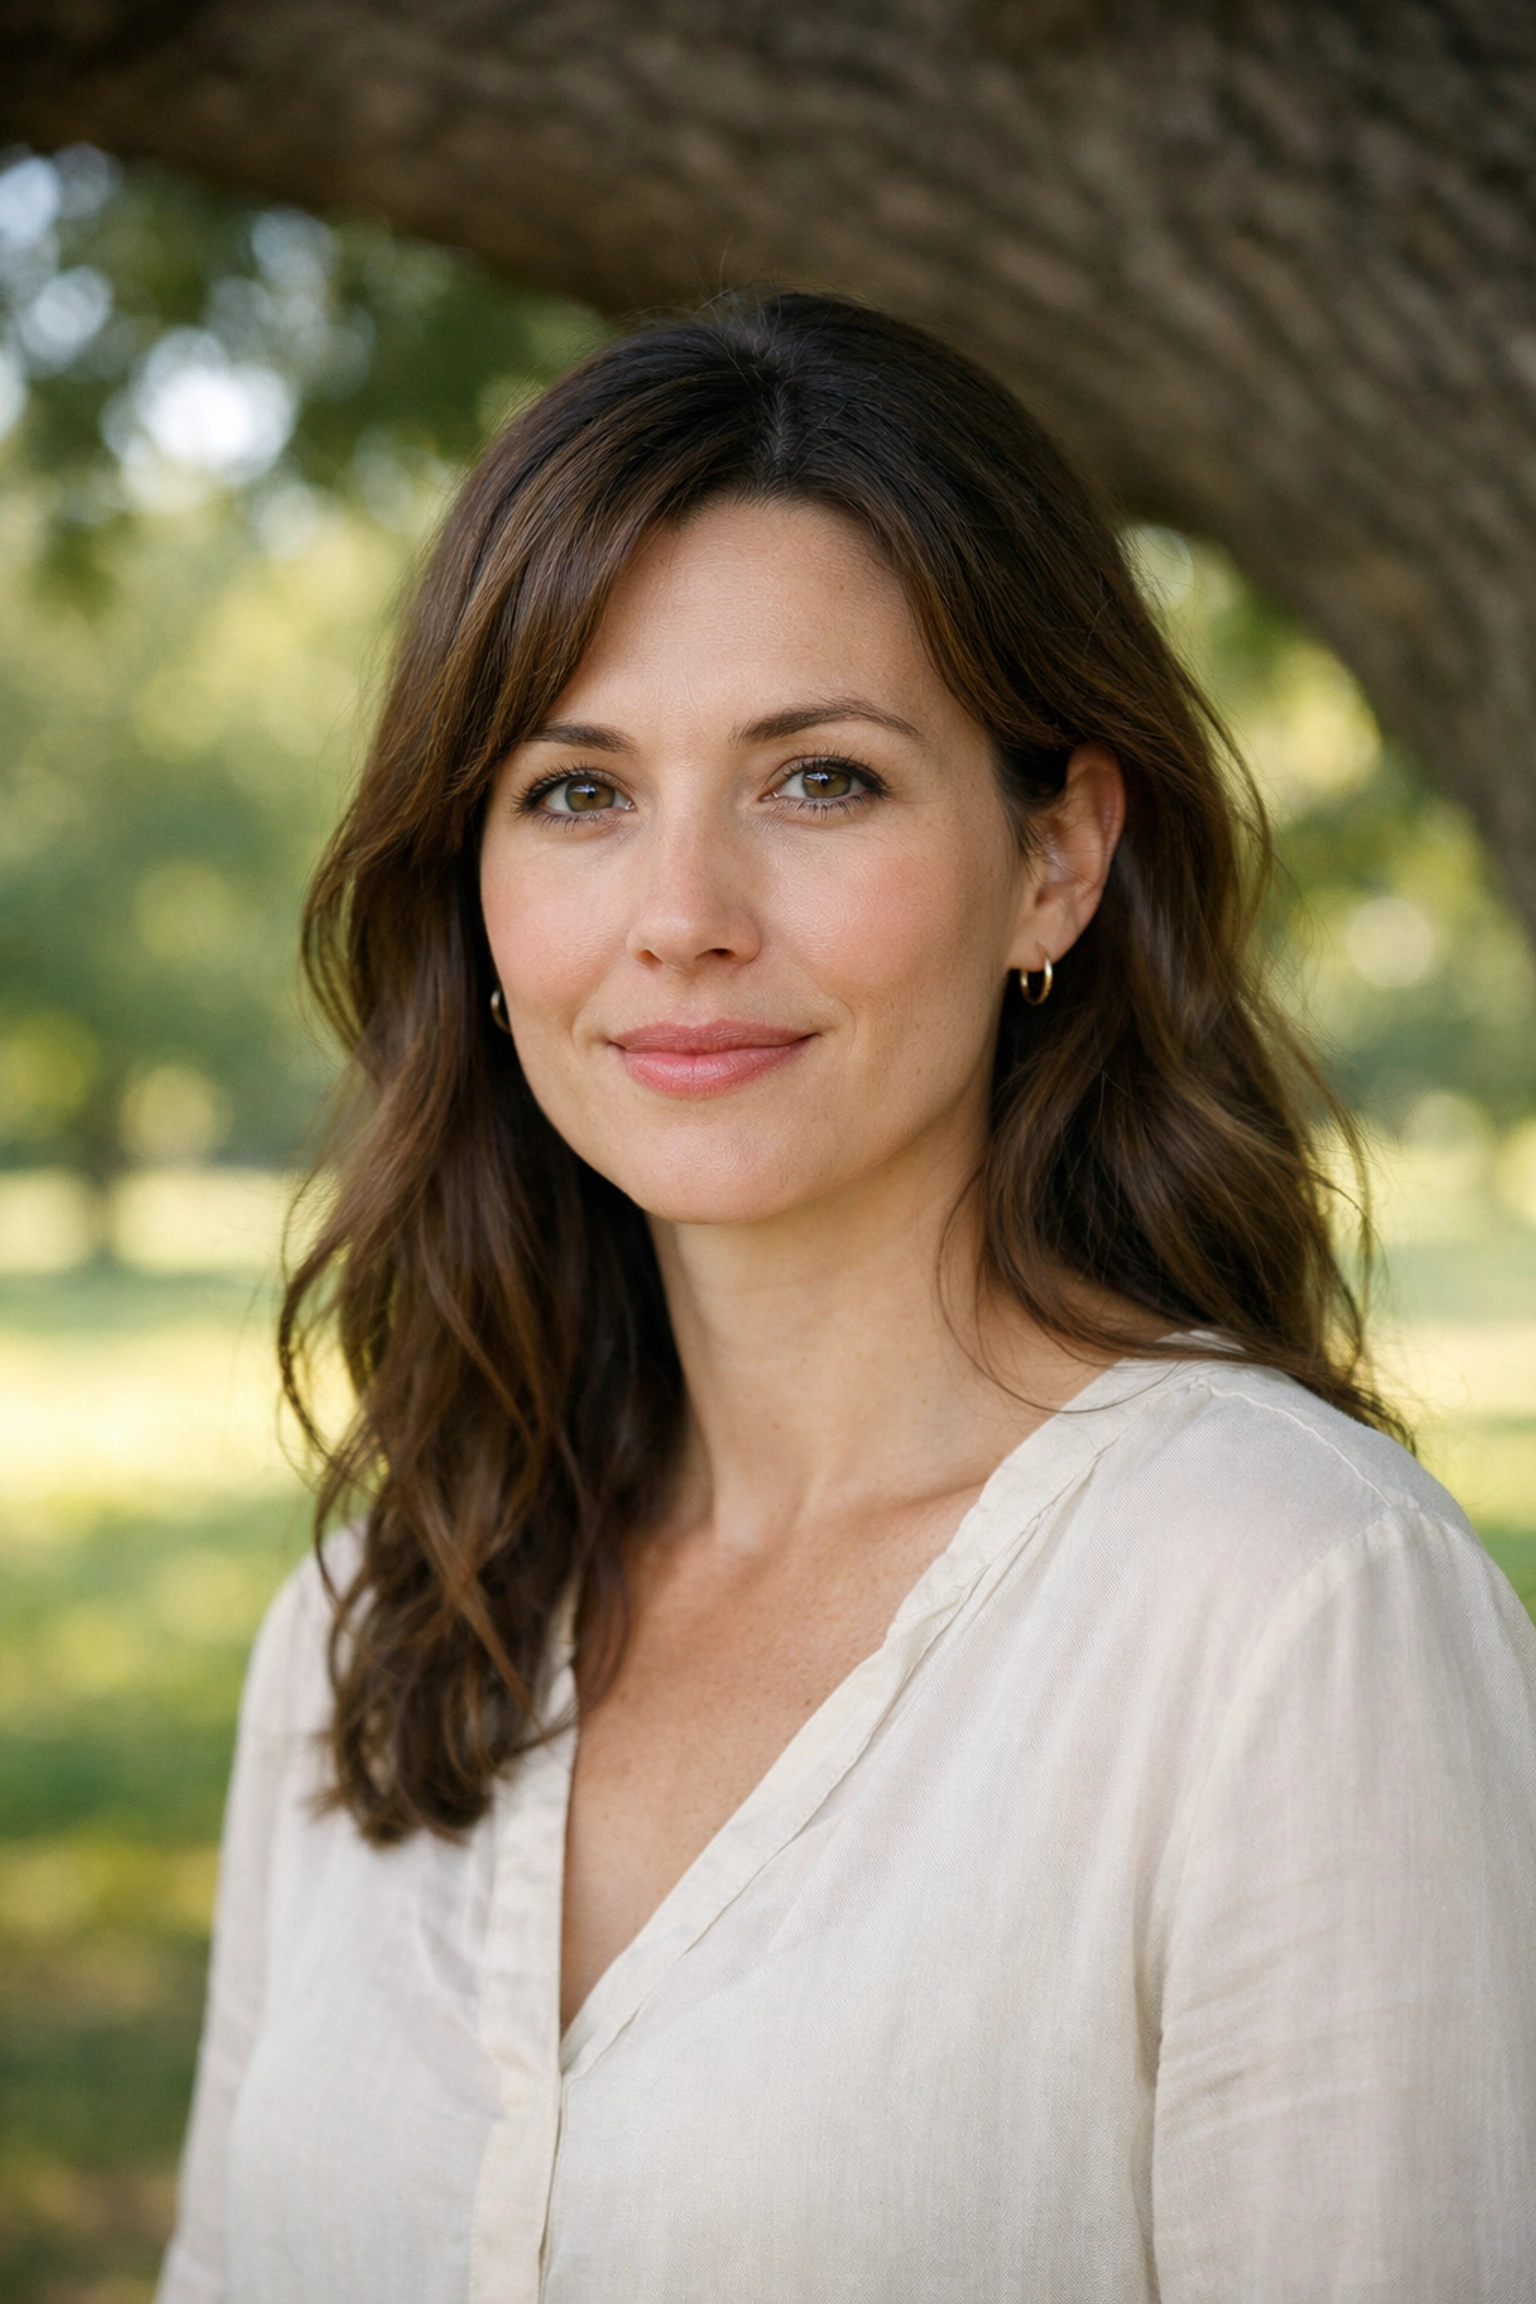
If you have to shoot in the middle of the day, find some "open shade." This could be under a tree, in the shadow of a building, or under a porch. Open shade provides even, soft light that fills in those harsh shadows. It’s much more flattering for skin tones. If you want to understand more about how light behaves, you can check out some lessons in landscape photography from Peter Lik, as the principles of light often cross over between genres.
Window Light: The Poor Man’s Studio
You don’t need expensive softboxes to get that professional "studio" look. Find a large window in your house, turn off all the overhead lights (indoor bulbs often have a weird yellow or green tint), and have your subject stand near it. The light coming through the window is naturally diffused. It’s soft, it’s directional, and it creates a beautiful transition between light and shadow on the face.
Getting the Settings Right
Don’t let the buttons on your camera scare you. For portraits, you want to focus on one thing: depth of field.
Aperture is King
The quickest way to make a photo look "professional" is to have a blurry background (known as bokeh). This makes your subject "pop" and removes any distractions behind them. To get this look, you need to use a wide aperture.
If you’re just starting, switch your camera to Aperture Priority Mode (usually "A" or "Av" on the dial). Set your f-stop to the lowest number your lens allows: something like f/1.8, f/2.8, or even f/4. This opens the "iris" of your lens wide, letting in more light and creating that shallow depth of field.
Shutter Speed and ISO
While your camera will handle most of this in Aperture Priority, keep an eye on your shutter speed. If it drops too low (below 1/125th of a second), your subject might look blurry because of their movement or your shaky hands. If it’s too dark, bump up your ISO. Just don’t go too high, or you’ll start seeing "noise" or grain in your photo.
For more technical breakdowns, I often point people toward PhotoGuides.org for deep dives into specific camera brands.
The Lens Matters
You might have a "kit lens" that came with your camera (usually an 18-55mm). It’s okay to start with, but it’s not the best for portraits. Wide-angle lenses (anything under 35mm) tend to distort faces. If you get too close with a wide lens, your subject’s nose might look bigger than it actually is.
Most portrait photographers swear by "prime" lenses: lenses that don’t zoom. A 50mm or an 85mm lens is the gold standard. They are sharper, better in low light, and they don't distort features. If you're on a budget, look for a "nifty fifty" (a 50mm f/1.8). It’s usually the cheapest lens you can buy and will immediately transform your photography.

Focus on the Eyes
They say the eyes are the windows to the soul, and in portraiture, they are the most important part of the image. If the eyes aren't sharp, the whole photo feels "off."
When you’re shooting with a wide aperture (like f/1.8), your depth of field is very thin. This means if you focus on the tip of someone's nose, their eyes might be out of focus. Always manually select your focus point and place it directly on the eye closest to the camera.
Catchlights
While we’re talking about eyes, look for "catchlights." These are the little reflections of light in a person’s pupils. They make the eyes look "alive." If there’s no light hitting the eyes, they can look flat and dull. A simple trick is to have your subject look slightly toward your light source (like the window or the sky) until you see those little sparkles.
Composition and Perspective
Don't just stand there and shoot from your eye level. That’s how everyone sees the world. To make a portrait interesting, you need to play with perspectives.
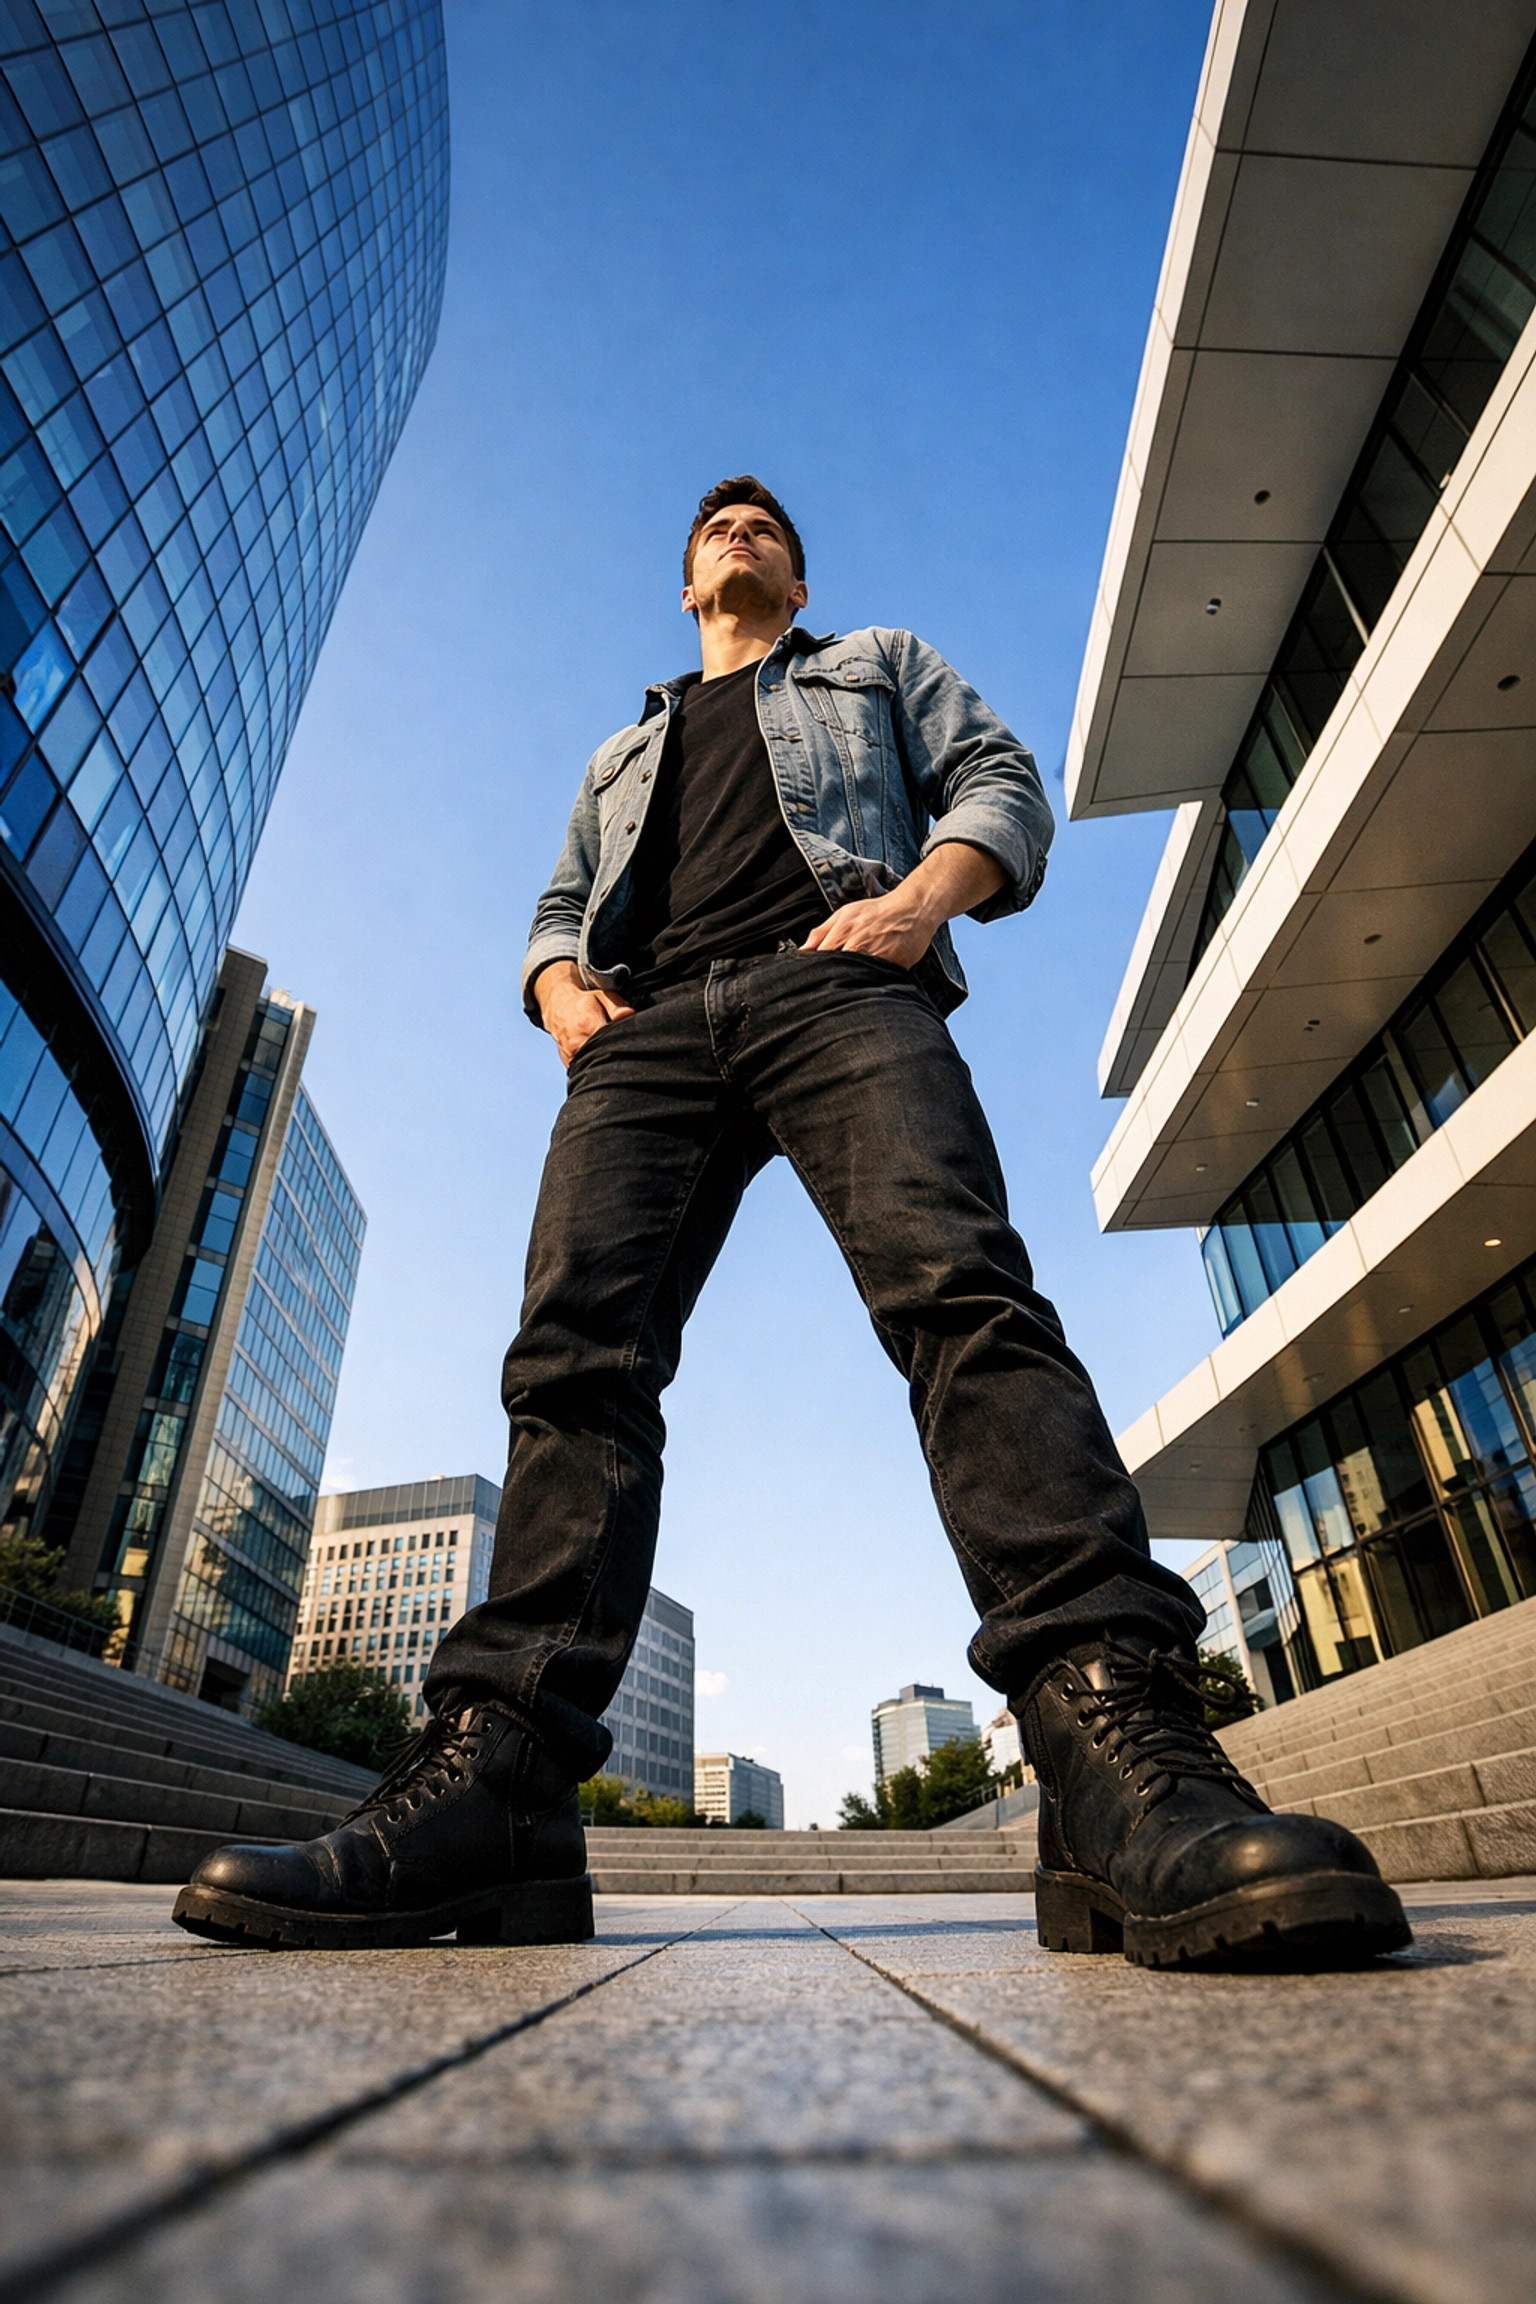
Change Your Height
Try getting lower. When you shoot from a lower angle, your subject looks more powerful and heroic. If you’re photographing children, get down on their level. Don’t look down at them from a "giant’s" perspective; see the world from theirs. Conversely, shooting from slightly above can make the eyes look larger and the face look slimmer.
This concept of manipulating how a viewer perceives a subject through angles is something we talk about a lot in other fields too, like how vistas and perspectives manipulate real estate perception.
The Rule of Thirds
Imagine a tic-tac-toe grid over your viewfinder. Instead of putting your subject’s face right in the center, try placing their eyes on one of the top horizontal lines or at one of the intersections. This creates a more balanced and visually interesting photo. It also gives the subject "room to breathe": if they are looking to the left, place them on the right side of the frame so they are looking into the open space.
The Secret Sauce: Connection
Here is a secret: a technically perfect photo of someone who looks uncomfortable is a bad photo. Your job as a photographer is 50% technical and 50% psychological.
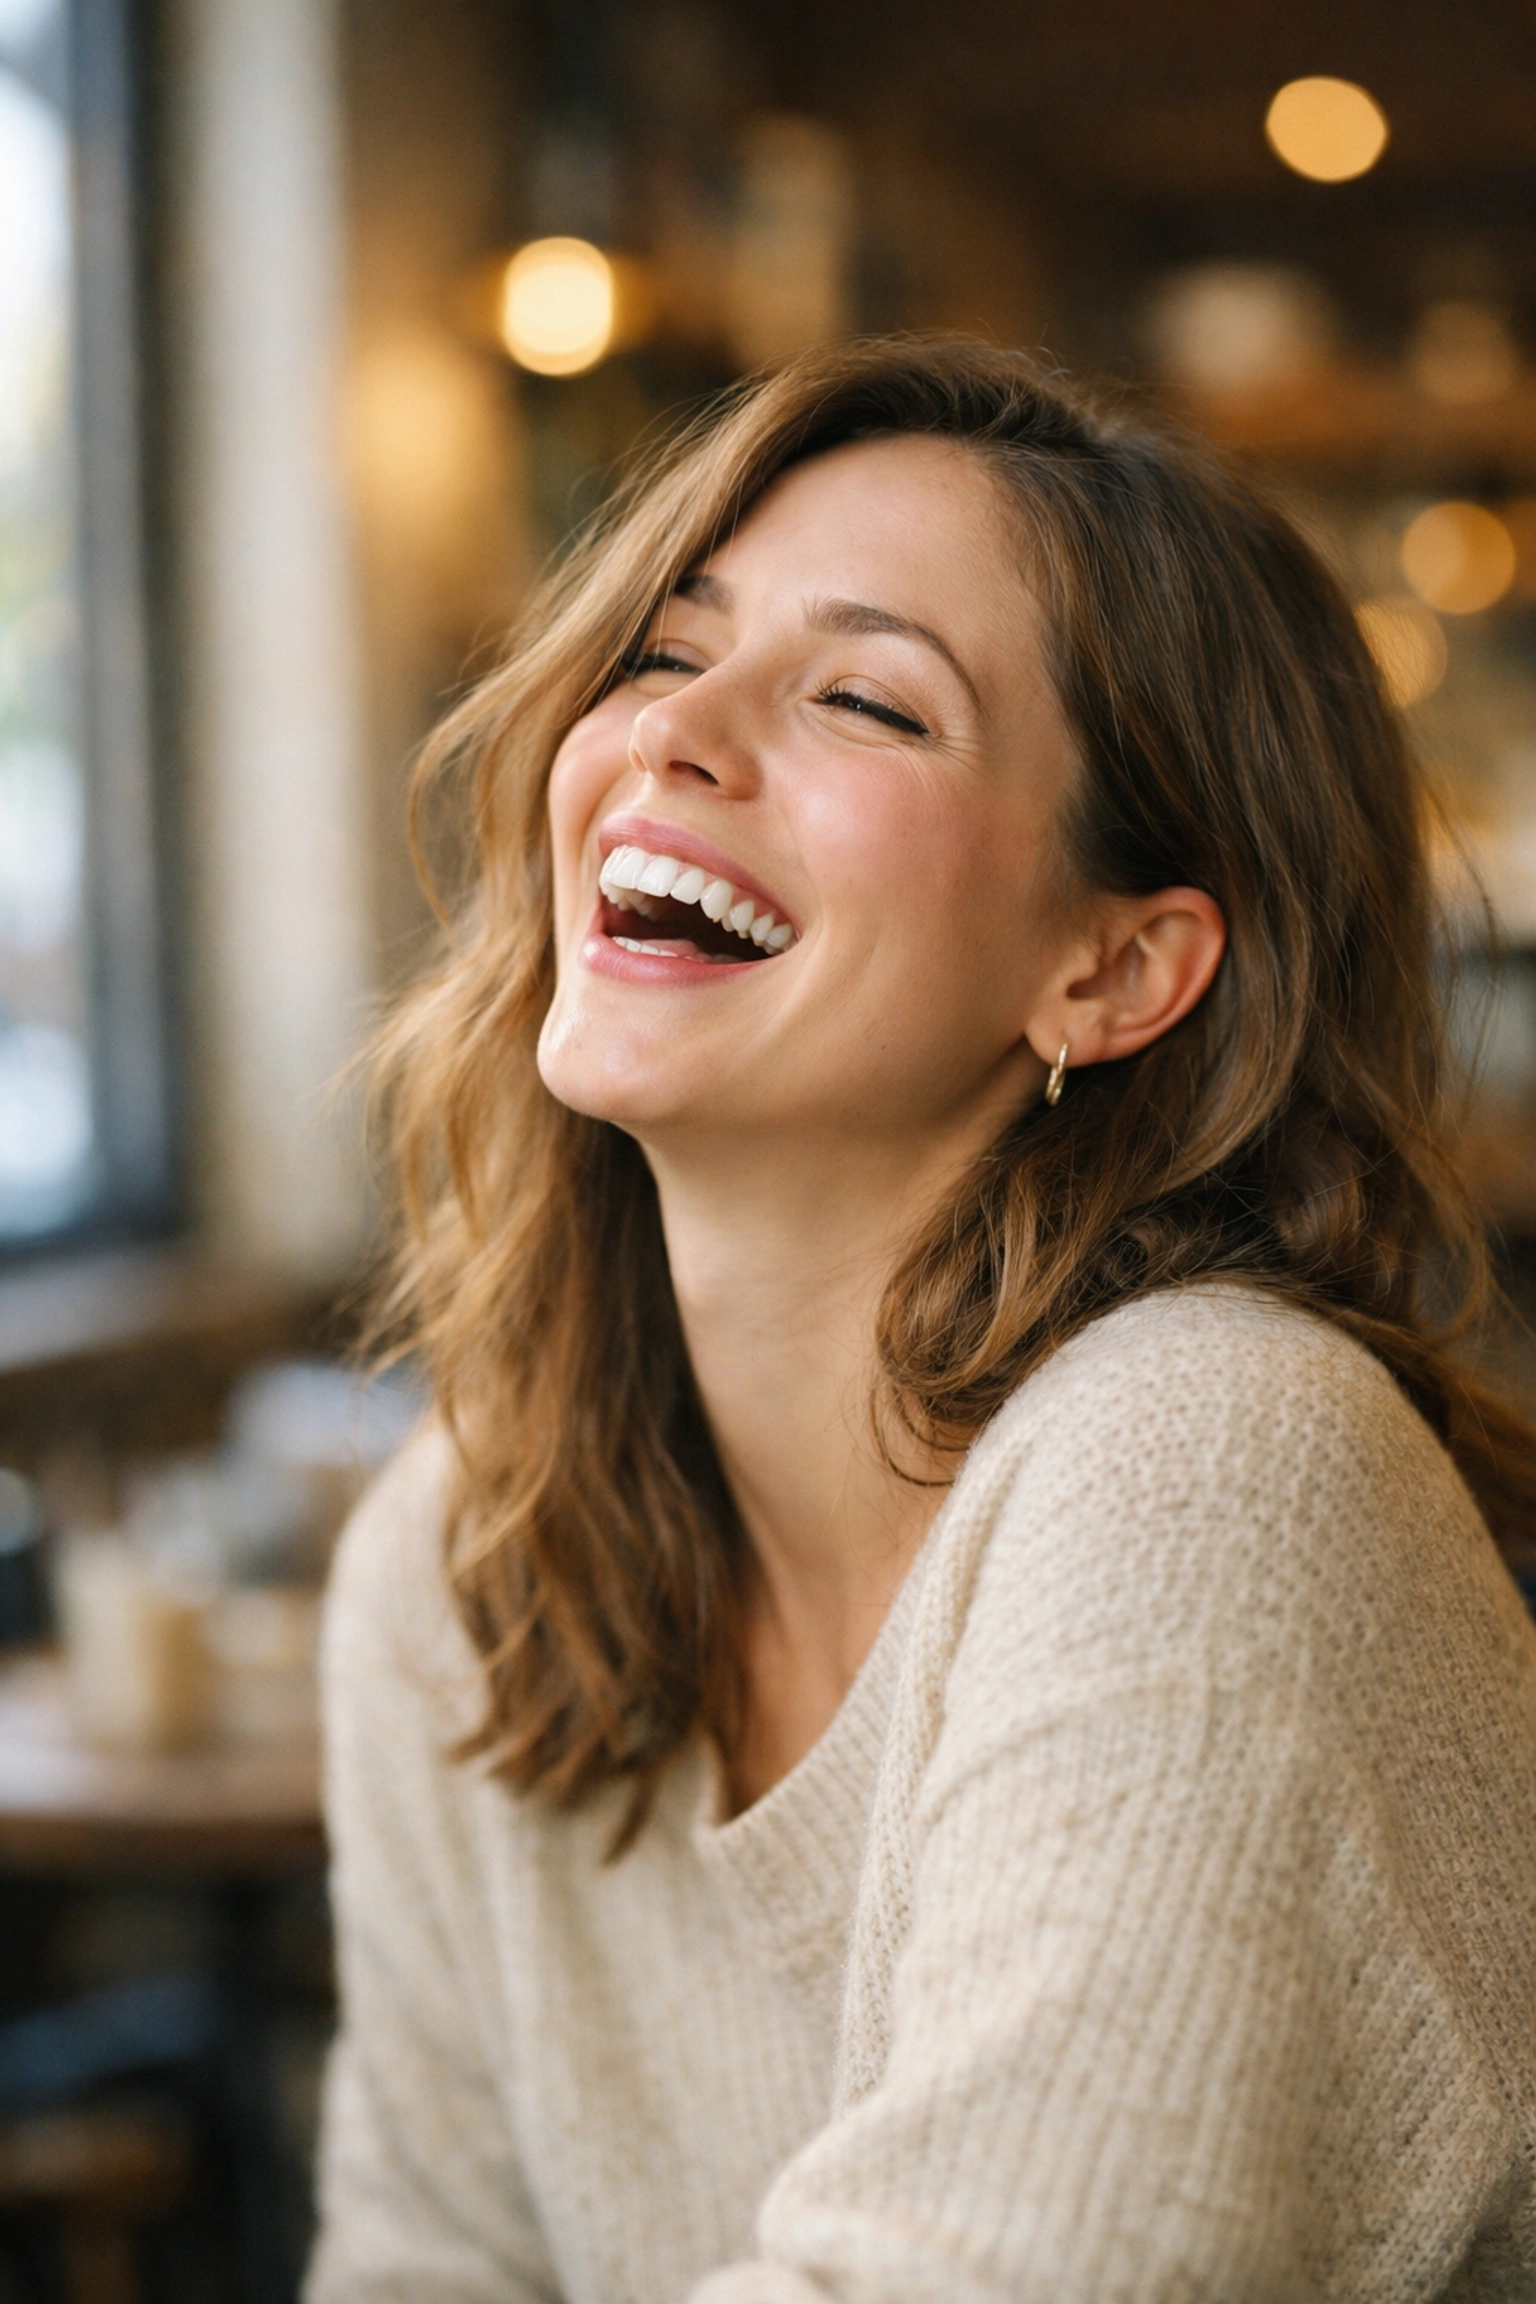
Most people hate being in front of a camera. They feel awkward, they don't know what to do with their hands, and they start making "the face": that forced, stiff smile we all do.
Talk to Them
Don’t just hide behind your camera. Talk to your subject. Tell a joke, ask about their day, or talk about that weird thing you saw on the way over. When they start talking and laughing, they forget about the camera. That’s when you get the real expressions.
Capture the In-Between Moments
Some of the best portraits happen when you aren't "ready." Keep shooting while they are adjusting their hair, laughing at a mistake, or looking away. These candid moments often feel more authentic than any pose you could come up with. If you want to see some examples of how I personally handle my gear and my subjects, I share a lot of my BTS (behind the scenes) work over on blog.edinchavez.com.
Post-Processing: The Final Touch
Once you’ve taken the photo, the work isn't quite done. Post-processing is where you give your image its final "look."
You don't need to spend hours in Photoshop. In fact, over-editing is a common beginner mistake. Avoid making the skin look like plastic or making the eyes glow like a vampire.
For a simple and powerful workflow, I highly recommend using Luminar. It uses AI to help with things like skin retouching and lighting adjustments without making things look fake. You can use Luminar to subtly enhance the eyes or balance the exposure if your background was a little too bright.
Focus on these key adjustments:
- Exposure: Is the photo too dark or too light?
- White Balance: Does the skin look too blue (cold) or too orange (warm)?
- Contrast: Give the image a little "punch" so it doesn't look flat.
- Cropping: Remove any distracting elements at the edges of the frame.
Remember, the goal of editing is to enhance what’s already there, not to fix a bad photo. If you want to learn more about how light and color play together, check out the role of luminosity in real estate photography: the theory of light is universal, whether you're shooting a kitchen or a CEO.
Putting It All Together
Mastering portraits doesn't happen overnight. It’s a game of inches. One day you’ll figure out how to get the eyes sharp. The next day, you’ll figure out how to find the best light. Eventually, it all starts to click.
Start small. Grab a friend, find a window, and practice your focus. Experiment with Luminar to see how a few sliders can change the mood of your shot. And most importantly, keep shooting. Every "bad" photo you take is just a step toward a great one.
If you're looking for more inspiration, you can always browse the Shut Your Aperture sitemaps to find articles on everything from gear reviews to advanced techniques. Whether you're interested in luxury dining photography or high-end art, the basics of a great portrait: lighting, composition, and connection: remain the same.
Photography is a journey, not a destination. So get out there, stop worrying about the technicalities too much, and start capturing some souls. Your subjects (and your portfolio) will thank you.


