
Let’s be real: portrait photography is hard. You’ve got a person standing in front of you, expectant and perhaps a little awkward, and you’re juggling aperture, shutter speed, lighting, and composition. It’s a lot. You snap the shutter, look at the LCD screen, and… it’s just okay. Not great. Just okay.
The difference between a snapshot and a professional portrait often boils down to a few common mistakes that almost everyone makes when they’re starting out. Even seasoned pros slip up occasionally. At Shut Your Aperture, we believe that great photography should be accessible to everyone, which is why we’re stripping away the jargon to help you fix these errors instantly.
If you’ve been feeling like your portraits lack that "wow" factor, you’re probably falling into one of these seven traps. Let’s break them down and get your work looking like it belongs in a gallery.
1. The "Tree Growing Out of the Head" Syndrome
We’ve all seen it. A beautiful subject, great lighting, but there’s a telephone pole or a tree branch sticking out of the top of their head. This is the classic merged background mistake. When you’re focused on the person, it’s easy to ignore what’s happening behind them.
The Fix:
Before you click the shutter, take a split second to scan the edges of your frame and the area directly behind your subject. If the background is cluttered, move your subject or move yourself. Sometimes, all it takes is a single step to the left to clear the frame.
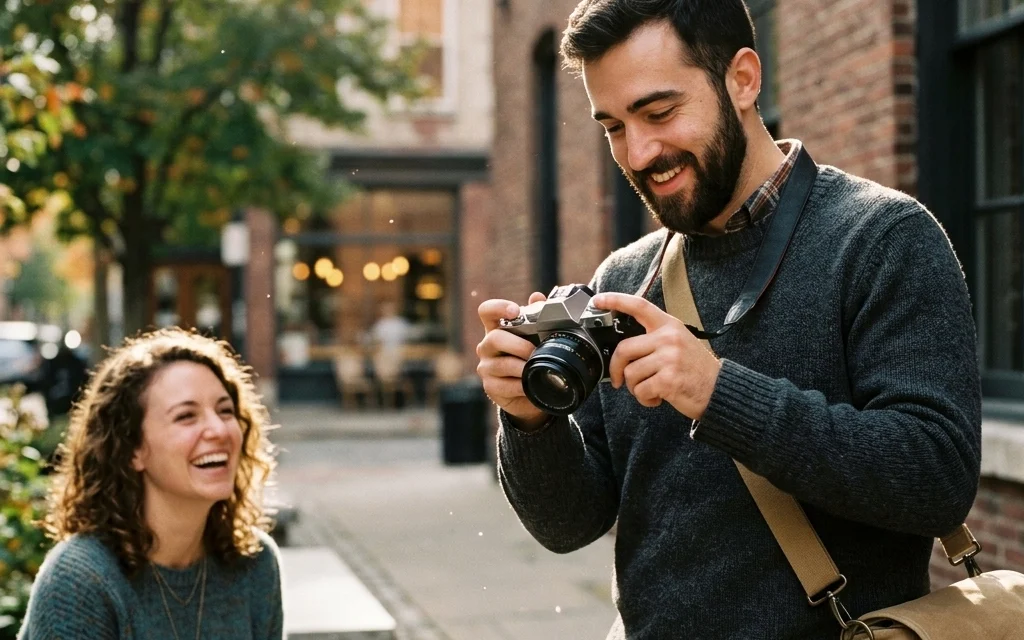
Another way to handle a busy background is to use a shallow depth of field. By opening up your aperture (think f/1.8 or f/2.8), you can blur the background into a creamy "bokeh" that makes your subject pop. If you want to dive deeper into general improvements, our top photography tips cover more on how to manage your environment.

2. The "Grand Canyon" of Wasted Headspace
Leaving too much empty space above your subject's head is a hallmark of a beginner. While "negative space" is a legitimate artistic choice, "wasted space" is just an accident. When there’s a giant gap between the top of the head and the top of the frame, the subject looks small, lost, and unimportant.
The Fix:
Follow the Rule of Thirds. Position your subject’s eyes on the top horizontal grid line of your viewfinder. If you find you’ve already taken the shot with too much headspace, don’t panic, you can usually fix this with a tight crop in post-processing. However, getting it right in-camera preserves more detail and resolution.
If you are looking for inspiration on how to fill a frame effectively, check out some of the work over at Edin Fine Art to see how professional compositions are handled in high-end prints.
3. Missing the "Windows to the Soul" (Focus Issues)
In portraiture, if the eyes aren’t sharp, the photo is a bin-job. Period. You can have the most beautiful lighting in the world, but if the camera focused on the tip of the nose or the ear instead of the iris, the viewer will feel a sense of disconnect.
The Fix:
Stop using "Auto Area" focus. Your camera is smart, but it doesn’t know that the left eye is more important than the tip of the nose. Switch to "Single Point AF" and manually move that focus point over the eye closest to the camera.
If you’re using one of the best mirrorless cameras currently on the market, you likely have "Eye-AF" technology. Use it. It’s a game-changer that tracks the eye in real-time, letting you focus on the artistic side of things while the tech handles the precision.
4. Using the Wrong Tool for the Job (Lens Choice)
A common mistake is trying to shoot close-up portraits with a wide-angle lens (like a 24mm or 35mm). Wide-angle lenses are great for landscapes, but they cause "barrel distortion." Up close, this makes noses look bigger and faces look stretched. It’s rarely a look your subject will thank you for.
The Fix:
Stick to "portrait lengths." The classic choices are 50mm, 85mm, or 105mm. These focal lengths provide a more flattering compression of facial features.
If you’re just starting and need to know what gear to invest in next, our guide on choosing the best camera in 2024 can help you decide which system to commit to. For more technical deep dives on lenses, PhotoGuides.org is a fantastic external resource.

5. The "Up-the-Nose" Perspective
Shooting from a low angle can be powerful in some contexts, but in standard portraiture, it’s often a disaster. It emphasizes the chin, hides the neck, and gives the viewer an unwanted look up the subject's nostrils. Conversely, shooting from too high can make a subject look diminished.
The Fix:
For most portraits, you want to be at eye level or just slightly above. Shooting slightly from above (we're talking an inch or two, not a ladder) tends to be the most flattering because it forces the subject to look up slightly, which tightens the jawline and makes the eyes look larger.
If you’re interested in how to handle more rugged environments where angles are tricky, check out our guide on mastering canyon and gorge travel photography.
6. Fighting the Sun (Harsh Lighting)
High noon is the enemy of the portrait photographer. Direct sunlight creates "raccoon eyes", deep, dark shadows in the eye sockets, and harsh highlights on the forehead and nose. It also makes your subject squint, which never looks good.
The Fix:
Look for "Open Shade." This is an area where there is plenty of light, but no direct sun hitting the subject (like under a porch or the shadow of a building). If you must shoot in direct sun, put the sun behind your subject. This creates a beautiful rim light on their hair and keeps their face in even, soft shadow.
When you do end up with some harsh shadows, you can soften them in post-production. Software like Luminar has incredible AI-driven tools specifically designed for skin and face enhancement that can save a shot taken in less-than-ideal light.

7. The "Deer in Headlights" (Poor Posing)
Most people aren’t professional models. When you put a camera in front of them, they stiffen up. If you just stand there silently clicking the shutter, they’re going to look bored, scared, or awkward. A "square-on" pose (shoulders flat to the camera) also makes people look wider than they actually are.
The Fix:
Communication is your best tool. Talk to your subject. Give them something to do with their hands. A great tip for a more slimming look is to have them turn their shoulders at a 45-degree angle away from the camera.
Also, watch the "lean." Have your subject lean their chest slightly toward the camera. It feels weird to them, but it looks great in the frame. If you're looking to turn your posing and portrait skills into a professional gig, ProShoot.io offers great insights into the business side of photography.
Bonus: Don't Forget Camera Care
It sounds simple, but a smudge on your lens can ruin the contrast and sharpness of your portraits, making them look "foggy." Before every shoot, give your glass a quick wipe. For a full breakdown on keeping your gear in top shape, see our camera maintenance guide.
Elevating Your Work in Post-Processing
Even if you nail all seven of these techniques, most professional portraits need a little "polish" to truly shine. This isn't about making people look like plastic; it's about color correction, subtle skin softening, and bringing out the light in the eyes.
Using Luminar can drastically speed up this workflow. Their Portrait Segment includes tools like "Face AI" and "Skin AI" that recognize facial features automatically. Instead of spending hours masking in Photoshop, you can adjust the "Face Light" or remove a temporary blemish in seconds.
If you're curious about Edin's personal process and the stories behind his shots, take a look at blog.edinchavez.com. You'll find a more personal take on how these techniques are applied in the real world, from street portraits to high-end commercial work.
Final Thoughts
Portrait photography is a journey of constant learning. You’re going to make mistakes, that’s how you get better. The key is to start noticing these errors before you get home to your computer.
Next time you're out with your camera, remember:
- Check the background.
- Tighten your framing.
- Nail the eye focus.
- Use a flattering lens.
- Watch your angles.
- Seek soft light.
- Direct your subject.
Whether you're using one of the best cameras for beginners or a high-end professional photography camera, these fundamental principles remain the same.
Stop worrying about having the most expensive gear and start focusing on the person in front of your lens. When you connect with your subject and master these basics, the "okay" photos will naturally start turning into "wow" photos. Now, go out there, shut your aperture (or open it wide for that bokeh!), and start shooting.


