
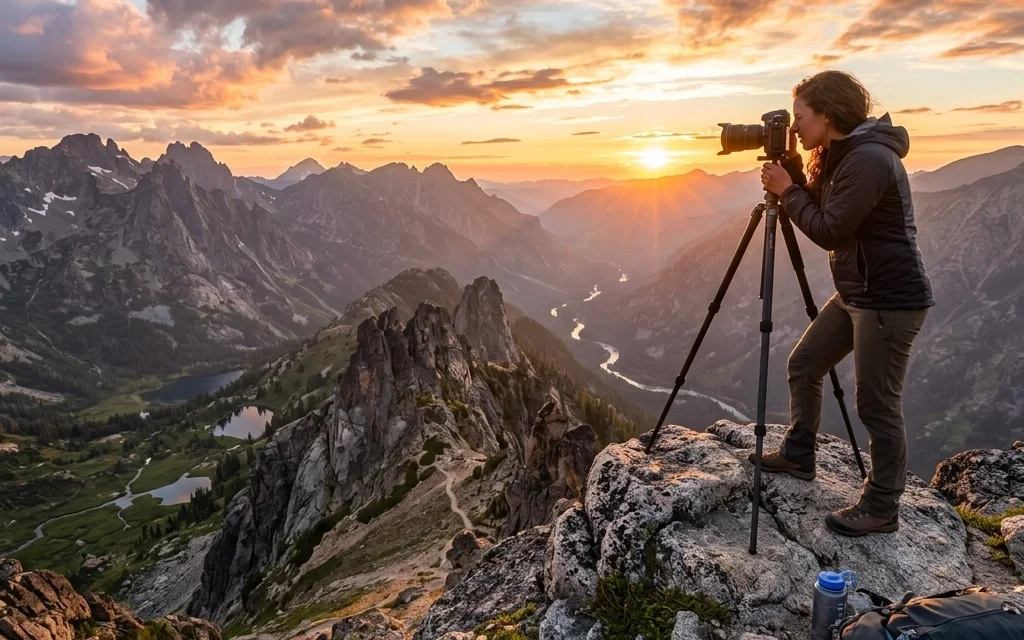
Landscape photography looks simple until you’re standing in front of an insane scene… and your photo comes back flat, messy, or “meh.” The good news: you don’t need magical gear or a passport full of stamps. You need a repeatable process, light, composition, and camera settings that work together, plus a few field habits that keep you sharp (and keep your images sharp).
This guide is built for real-world shooting: sunrise alarms, windy ridgelines, crowded overlooks, and those “wait… why is my foreground blurry?” moments.
The three pillars: light, location, composition (in that order)
If you only remember one thing: great landscape photos happen when these three line up.
1) Light: the difference between “pretty” and “portfolio”
Most landscapes look best when light has direction, softness, or drama.
Best times to shoot
- Golden hour (shortly after sunrise / before sunset): warm, flattering, shadow depth.
- Blue hour (before sunrise / after sunset): cooler tones, balanced sky/land exposure, city glow if nearby.
- Overcast days: perfect for forests, waterfalls, and close landscapes, less harsh contrast.
Quick field tip: If the scene feels boring, don’t panic, change your angle and wait for light. Even a small cloud break can flip a shot from average to “wow.”
Helpful external reference: NOAA sunrise/sunset times are solid for planning: https://gml.noaa.gov/grad/solcalc/
2) Location: “epic” is usually 20 steps away from the parking lot
Yes, bucket-list locations are great. But composition beats postcards every day of the week.
When scouting, look for:
- Foreground interest (rocks, flowers, patterns in sand, driftwood)
- A clean horizon
- A primary subject (peak, tree, waterfall, sea stack)
- Depth layers (foreground / midground / background)
If you want inspiration from a photographer who’s basically made a career out of chasing scenes, our internal read on Lik is a fun one: Lessons in Landscape Photography from Peter Lik
3) Composition: the “why” behind the shot
A strong landscape photo usually answers two questions:
- Where do I look first? (focal point)
- Where do I look next? (visual path)
If your viewer’s eye has nowhere to land, the image feels chaotic. If the eye lands and then travels, it feels intentional.
Gear that actually matters (and what’s optional)
You can shoot landscapes with anything, from a phone to a medium format setup. But a few pieces make the biggest difference.
Camera + lens (simple recommendations)
- Any interchangeable-lens camera is great.
- Wide-angle lens: aim for 24mm (full-frame) as a sweet spot. Wider can be awesome, but it’s easier to make a wide shot look empty.
- Phone camera: totally valid. Use the 1x/0.5x thoughtfully and avoid stretching the horizon near the edges.
Long-tail keyword note: If you’re searching for “best lens for landscape photography beginners,” start wide, then add a short telephoto later. Tele landscapes are criminally underrated.
Tripod (non-negotiable if you want consistency)
A tripod is the fastest way to level up because landscape settings often require:
- Low ISO (clean files)
- Smaller aperture (depth)
- Slower shutter speed (exposure)
Even a budget tripod helps. A solid one helps more.
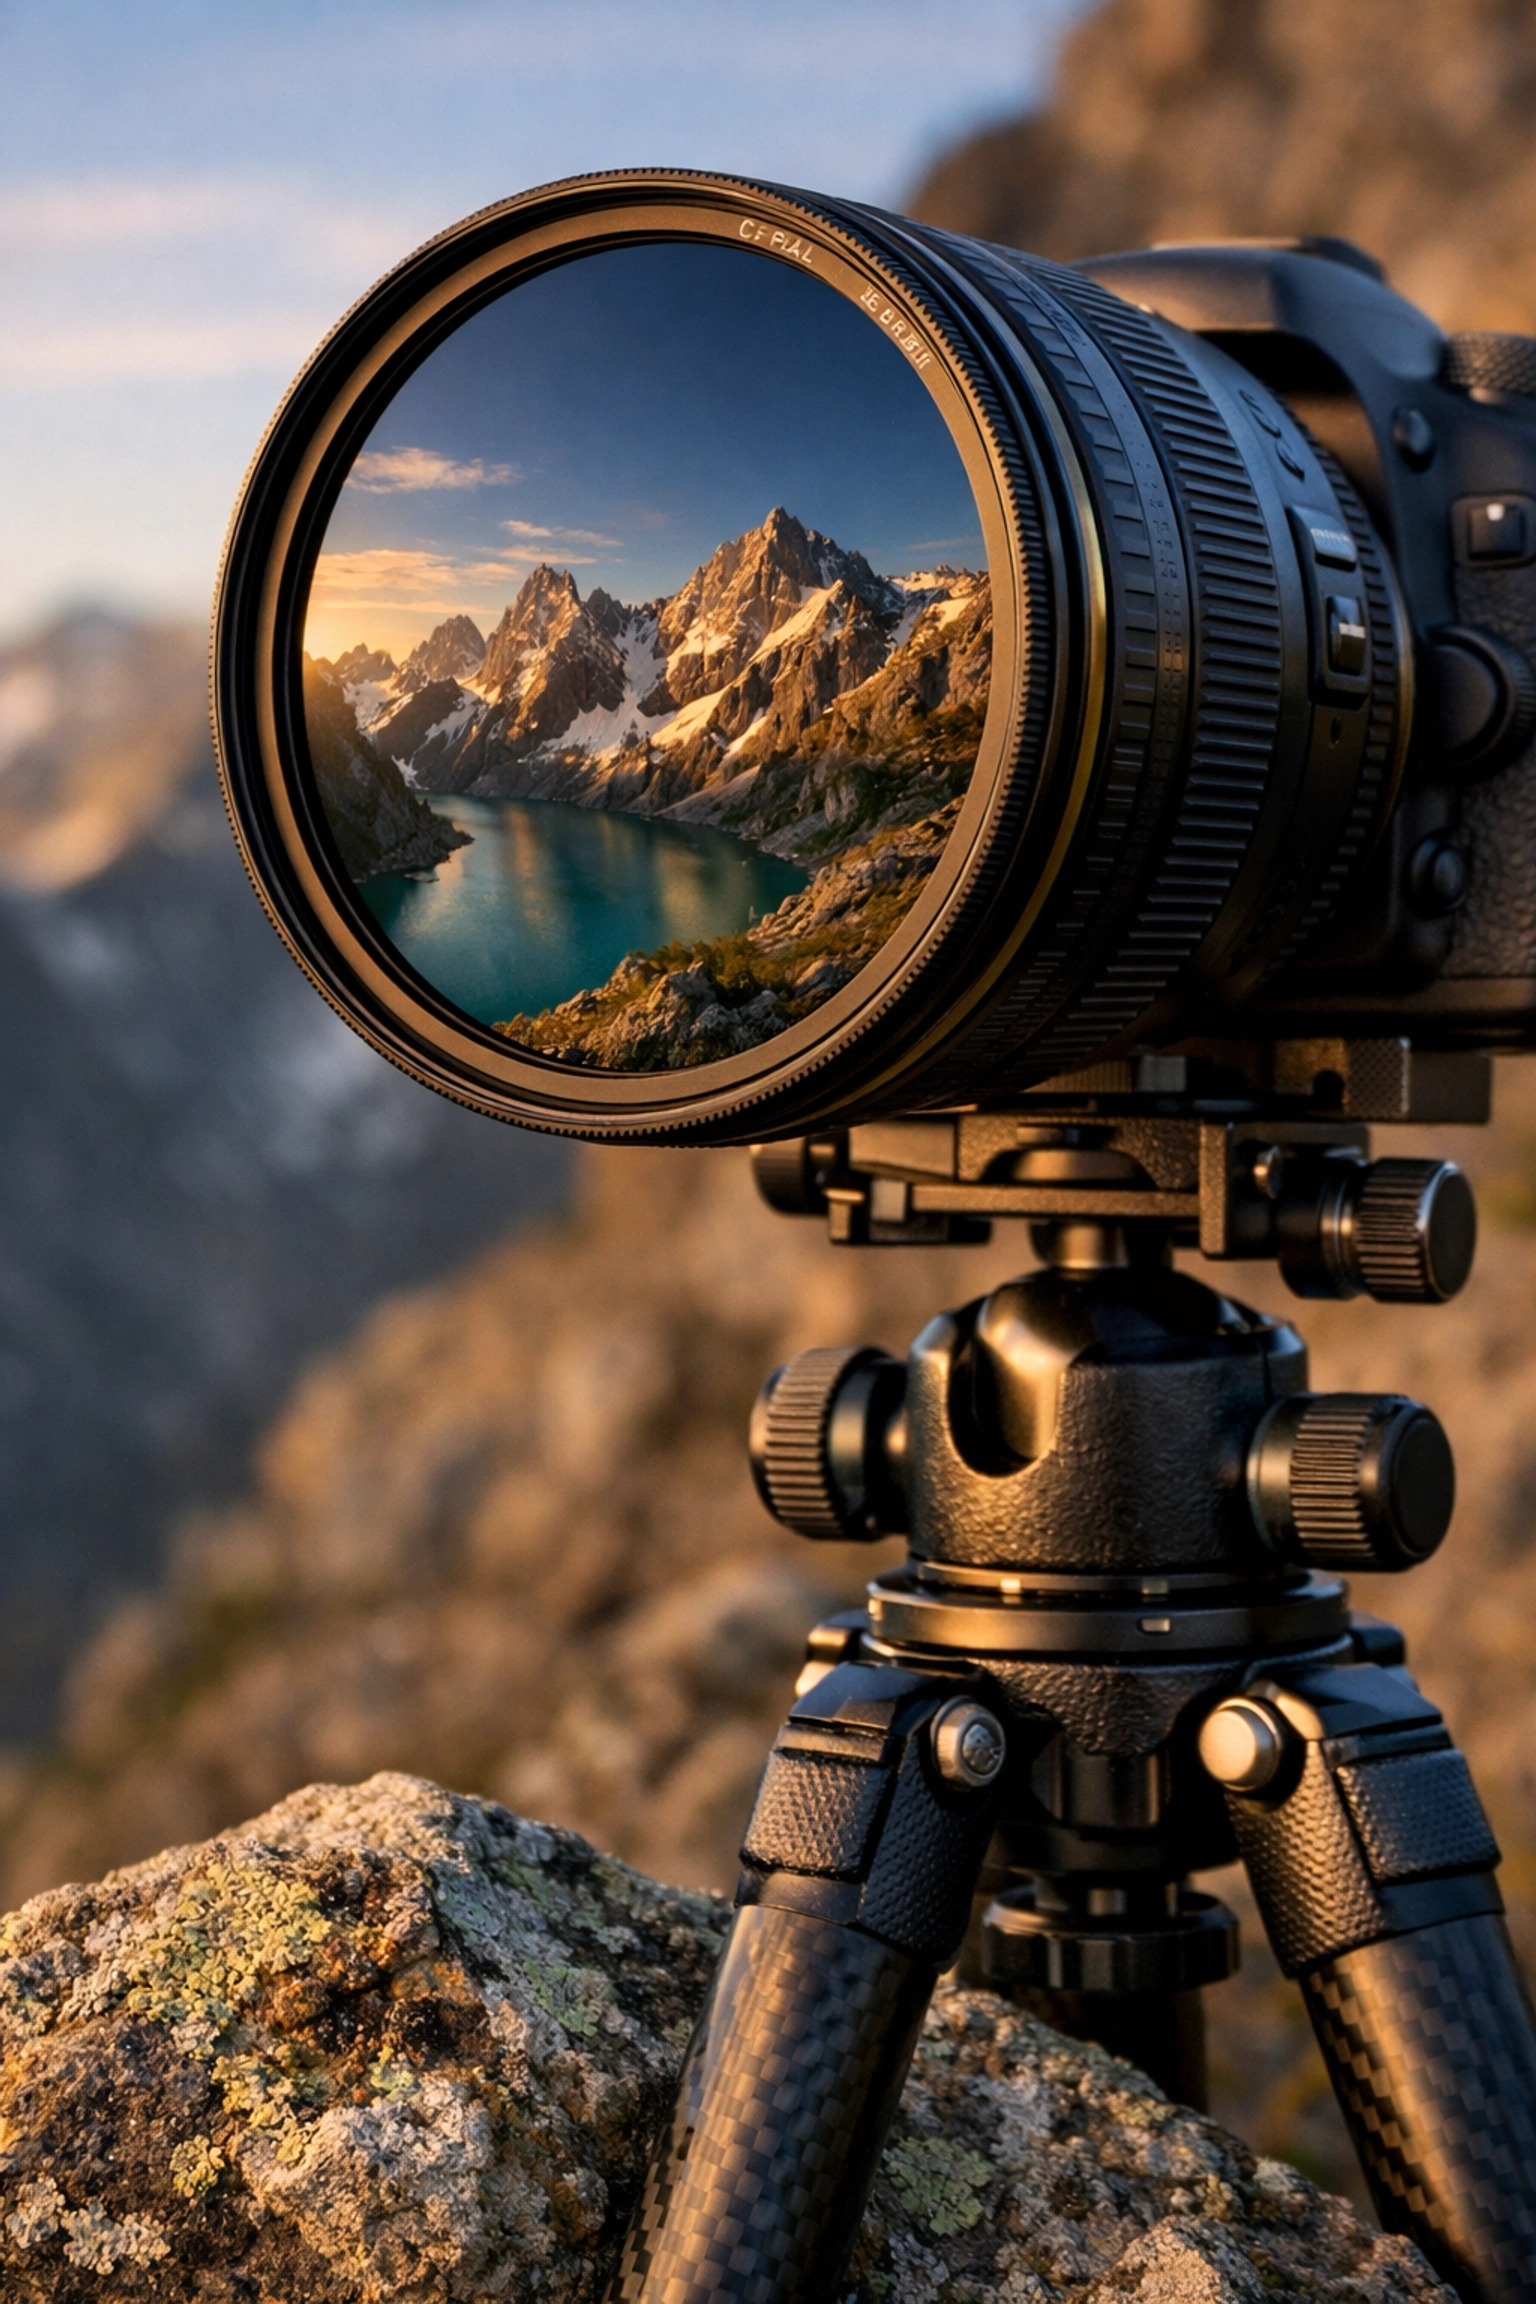
Filters (optional, but useful)
- Circular polarizer (CPL): cuts glare, boosts sky contrast, deepens greens. Don’t overdo it on ultra-wide lenses.
- ND filter: enables long exposures (silky water, streaky clouds).
- Graduated ND: less necessary today (you can blend exposures), but still handy.
Camera settings for sharp, clean landscape photos
If you’ve ever asked “why isn’t this sharp?” or “why does my sky look blown out?” this section is for you.
A simple baseline (works in a lot of situations)
- Mode: Aperture Priority (A/Av) for most static scenes
- Aperture: f/8 to f/11 (often the sharp zone)
- ISO: 100 (or your camera’s base ISO)
- Focus: Single point AF or manual focus with magnification
- Stabilization: turn off IBIS/IS if your camera/lens recommends it for tripod use (varies)
Depth of field: sharp foreground + sharp background
Landscapes often fail when:
- The foreground is close, but you focused on the horizon.
- You used too wide an aperture (like f/2.8) and lost depth.
Fix it with one of these approaches:
- Hyperfocal-ish focus: focus about 1/3 into the scene (rough guideline)
- Foreground priority: focus on the main foreground element and stop down (f/11–f/16 if needed)
- Focus stacking (advanced): multiple frames focused at different distances, blended later
Shutter speed: don’t fear slow (just support it)
Once you go f/8–f/11 at ISO 100 near sunrise/sunset, shutter speeds can drop to:
- 1/30
- 1/4
- 2 seconds
…and that’s normal. The tripod carries the load.
Pro tip: Use a 2-second timer or a remote to avoid micro-shake.
Exposure: protect highlights (especially skies)
Skies blow out fast. If you’re unsure:
- Dial -0.3 to -1.0 EV exposure compensation
- Or bracket exposures (more below)
Composition that works: the quick toolkit
Rule of thirds (use it, then break it)
- Put the horizon on the top third if the foreground is the hero.
- Put the horizon on the bottom third if the sky is doing the heavy lifting.
- Place your subject near an intersection point for a natural balance.
Foreground interest: the secret sauce for “depth”
Wide lenses love foreground. Without it, your photo can look like:
“nice place… from far away.”
Look for:
- textured rocks
- leading lines in sand
- flowers (even a small patch)
- a log pointing into the frame
Field move: Get lower. Then get even lower. Foreground becomes dramatic fast.
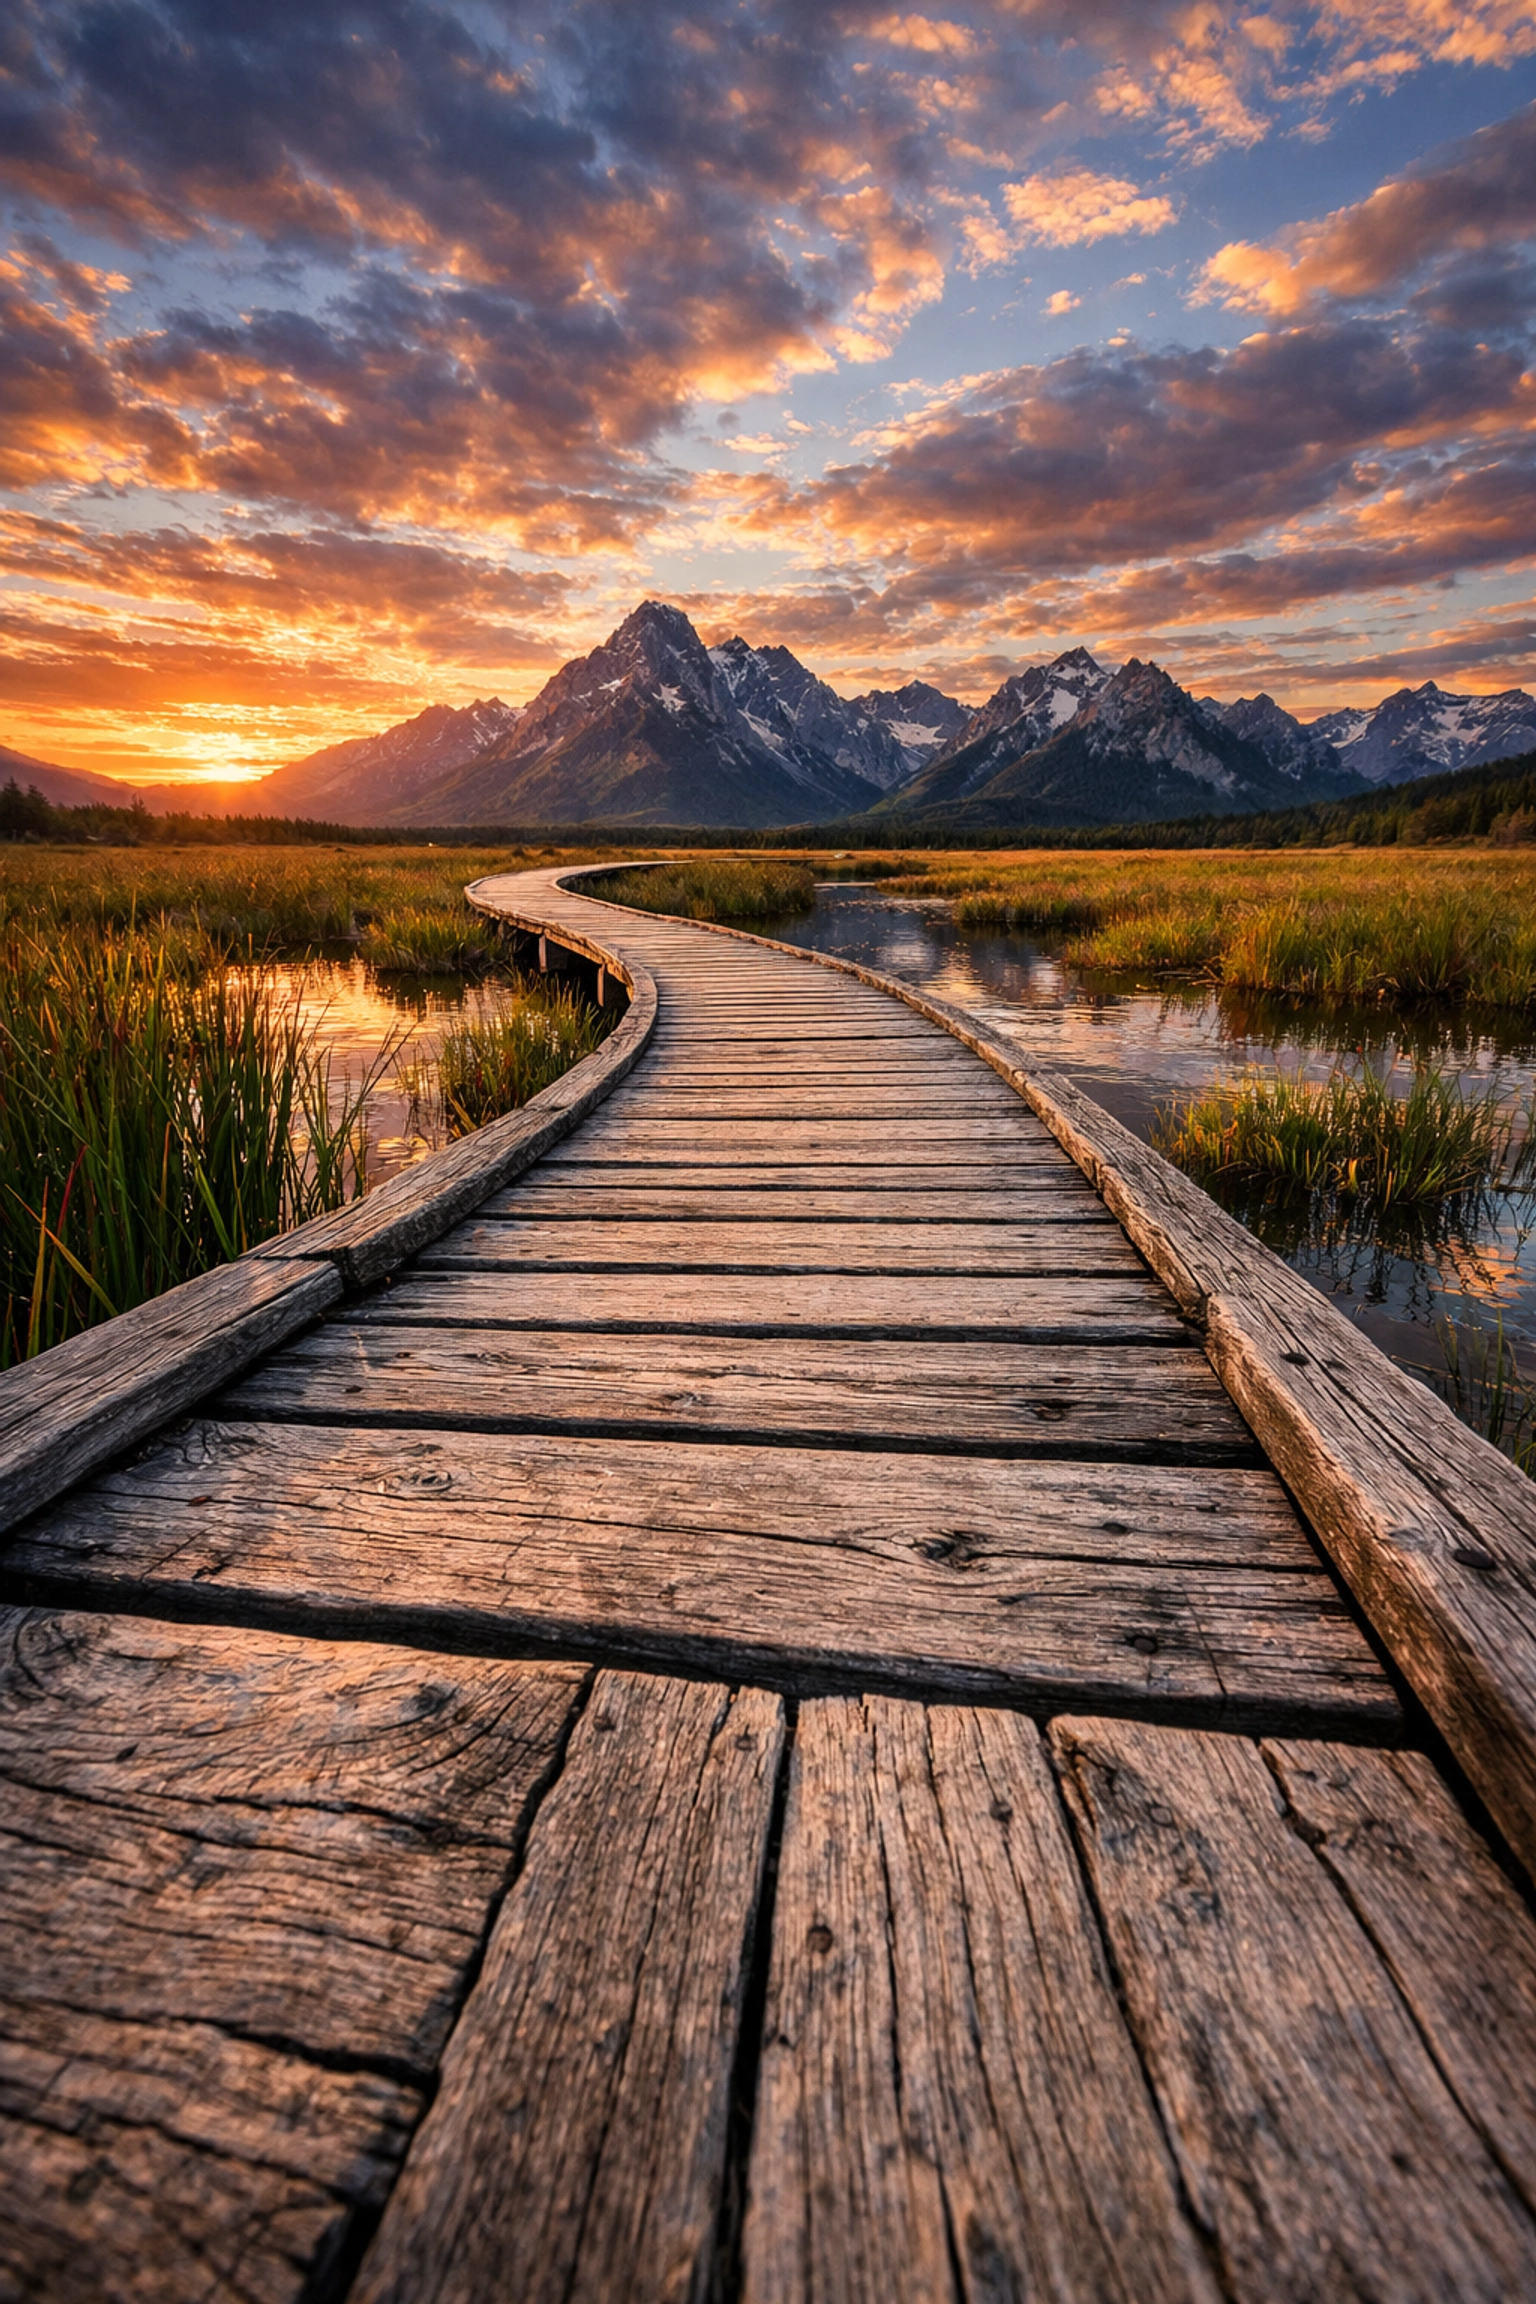
Leading lines: give the eye a path
Natural leading lines include:
- shoreline curves
- rivers
- trails
- fence lines
- ridges
- rows in farmland
If you can line a path from foreground → subject → background, you’re cooking.
Framing + clean edges (tiny detail, huge impact)
The fastest way to make a photo feel “off” is messy edges:
- half a tree cut off in the corner
- a random branch intruding
- a bright rock pulling attention
Rule: include it fully or remove it completely.
Symmetry and reflections (easy wins)
If you have calm water, symmetry becomes a cheat code:
- center the subject
- level your horizon carefully
- keep the reflection clean
This works especially well at blue hour.
Planning like a pro (without turning it into homework)
Weather is your creative director
Flat sunlight at noon? Tough. But:
- Storm breaks create dramatic beams
- Fog simplifies busy scenes
- Clouds add texture to skies
Use weather tools:
- Windy: https://www.windy.com/
- NWS forecasts: https://www.weather.gov/
Scout once, shoot twice
If you can, visit a location:
- once to learn it (scout)
- once to shoot it in good light
Even “mini scouting” helps: arrive 20–30 minutes early and walk the area.
Timing: don’t leave when the sun disappears
A lot of people pack up at sunset. That’s when things get interesting:
- color can peak after the sun drops
- city lights / cabin lights / reflections show up
- contrast calms down
Field workflow: a simple checklist you can repeat
When you arrive:
- Clean your lens (seriously, half of “soft images” are just smudges)
- Level your tripod
- Find the focal point (what’s the subject?)
- Build the frame (foreground → lines → background)
- Check edges (corners, horizon, random distractions)
- Set base exposure (ISO 100, f/8–f/11)
- Focus carefully (don’t trust wide-area AF blindly)
- Take 3–5 variations (slightly different framing or focal length)
That last one matters. Micro-changes can take a shot from decent to done.
Advanced techniques (that don’t have to be complicated)
Exposure bracketing (HDR, but make it natural)
Bracketing is perfect when the sky is bright and the land is dark.
Try:
- -2 / 0 / +2 EV (three frames)
- Use a tripod
- Blend later
The goal isn’t “HDR look.” The goal is detail where your eyes saw it.
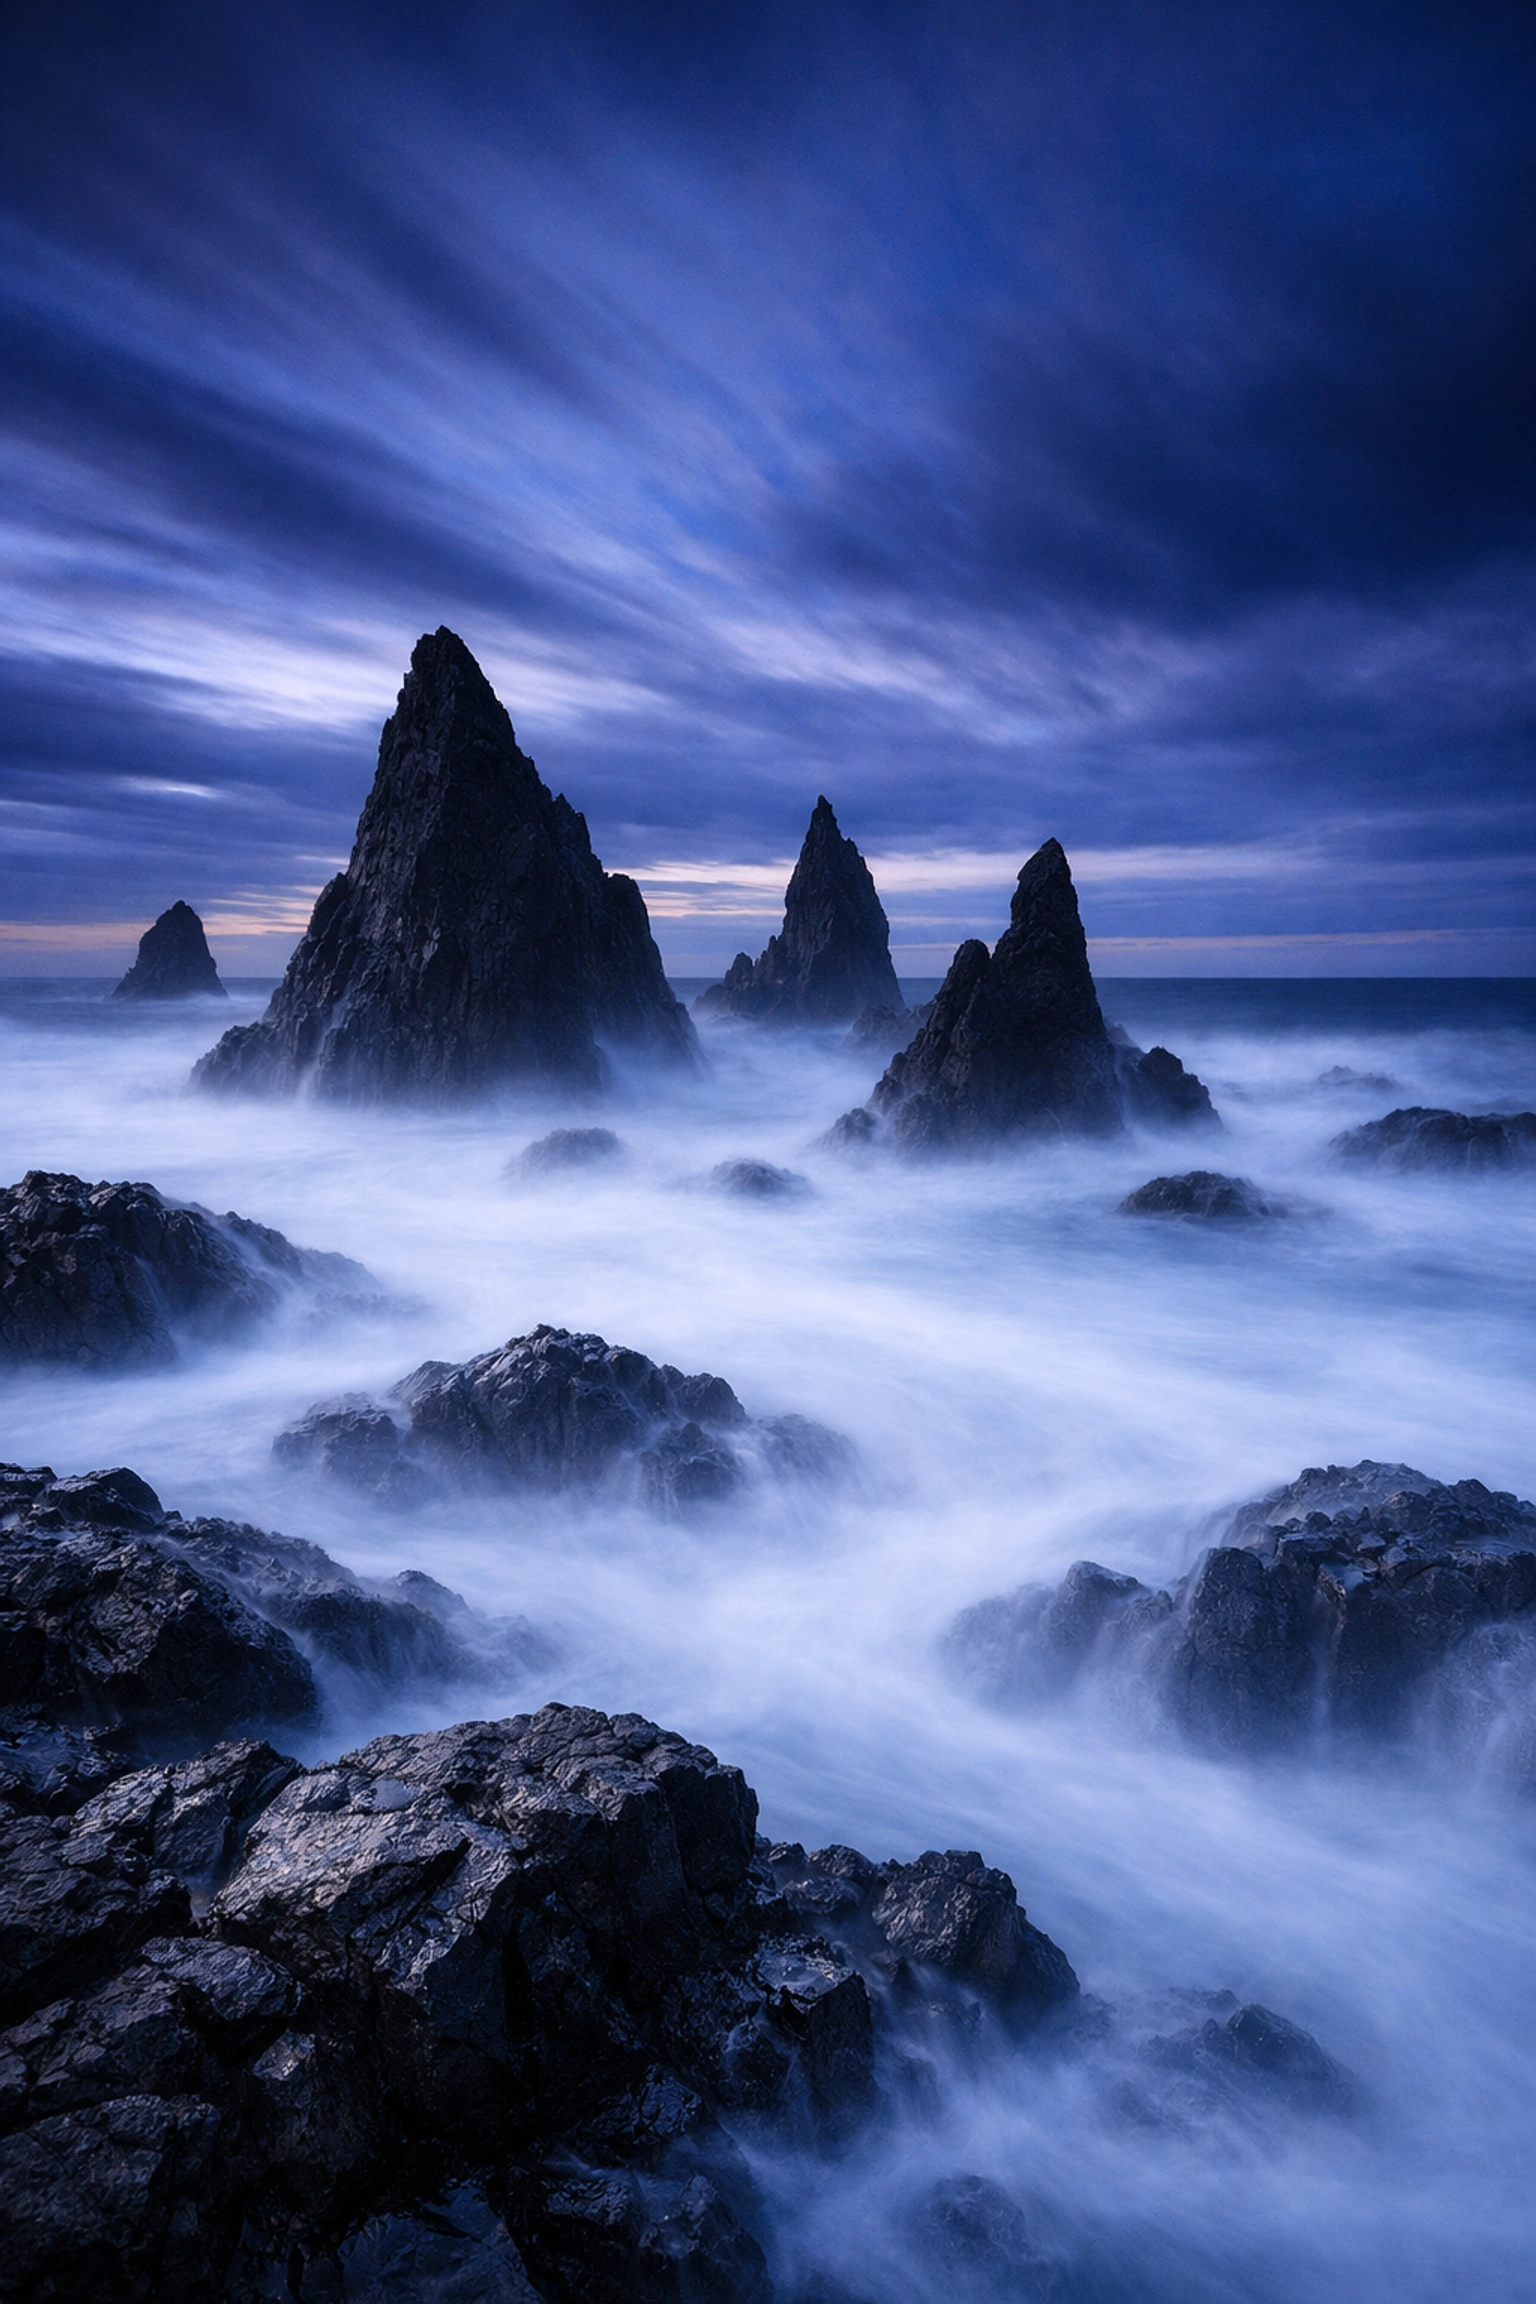
Long exposures: turn chaos into calm
Use an ND filter (or shoot in low light) to slow shutter speed:
- 1–2 seconds: smooth water slightly
- 5–15 seconds: creamy water, moving clouds start to streak
- 30+ seconds: dramatic cloud motion, minimal wave texture
Tip: In wind, stabilize your tripod and hang weight if needed.
Panorama (when wide isn’t wide enough)
Panoramas are amazing for mountain ranges, city + nature blends, and big coastline scenes.
Quick pano rules:
- Shoot in manual exposure (lock it)
- Use manual focus (lock it)
- Overlap frames 25–35%
- Keep the horizon level
- Shoot vertical frames for more resolution
Editing landscapes: keep it clean, not crunchy
Editing is where good shots become great, or where they go off the rails.
A simple, natural editing order
- Lens corrections (distortion + vignetting)
- White balance (don’t let it go neon orange)
- Exposure (overall)
- Highlights down, shadows up (lightly)
- Contrast + clarity (small moves)
- Color (vibrance > saturation, most of the time)
- Dodge/burn (guide the eye)
- Sharpening + noise reduction (zoom to 100%)
If you want a fast, beginner-friendly editor that can still do serious work, Luminar is a solid option, especially if you like AI tools that speed up masking and sky tweaks without a huge learning curve.
The “too much” warning signs
If you see:
- halos around mountains/trees
- crunchy micro-contrast everywhere
- radioactive greens
- a sky darker than the ocean at midnight
…it’s time to back off.
Natural can still be dramatic. You just want drama with taste.
Common landscape photography mistakes (and quick fixes)
Mistake: Horizon is slightly crooked
Fix: Turn on grid lines in camera. Level in post. Your viewers notice.
Mistake: No subject
Fix: Add a focal point: a person (tiny), a tree, a rock, a peak, something to anchor the frame.
Mistake: Everything is in the middle
Fix: Move the horizon to a third. Shift the subject off-center. Or commit to symmetry.
Mistake: Foreground is blurry
Fix: Focus closer (or focus stack). Stop down to f/11. Use a tripod.
Mistake: The scene looked epic, but the photo looks small
Fix: Get closer to foreground, go lower, and use leading lines. Also try a longer lens to compress layers.
Landscape photography on a phone (yes, you can get legit results)
Phones are great for landscapes if you treat them like cameras, not magic.
Tips that matter:
- Tap to set focus/exposure, then adjust exposure slightly down for sky detail
- Avoid digital zoom; step forward instead
- Use the ultra-wide sparingly (it can make mountains look tiny)
- Shoot in RAW/Pro mode if available
- Stabilize the phone (mini tripod or lean on something solid)
If you want to level up faster, practice composition with your phone. It forces you to “see” without hiding behind gear.
Practice drills: fast ways to improve in a weekend
1) The “one location, ten frames” drill
Pick one viewpoint. Don’t move your feet. Take ten different compositions:
- change horizon placement
- add/remove foreground
- rotate to portrait
- try symmetry
- zoom in/out (or switch lenses)
2) The “foreground first” drill
Start every scene by finding the foreground element first, then build the frame behind it.
3) The “bad light challenge”
Shoot at midday on purpose and hunt for:
- shade scenes
- tight compositions
- patterns and textures
- black-and-white possibilities
Bad light teaches you control.
A quick workflow note for Sonny (social tie-in)
Sonny: this post pairs well with a short reel/carousel series like:
- “3 landscape composition mistakes”
- “Tripod settings checklist”
- “Golden hour vs blue hour examples”
- “Wide vs tele landscape comparison”
If you want, we can clip 5–7 bullet shots from the sections above and point people back here for the full guide.
Related reads (if you want to keep going)
- Lessons in Landscape Photography from Peter Lik
- For a lighting mindset that crosses genres (and helps you “see” scenes better), this is worth a skim: The Role of Luminosity in Real Estate Photography
And if you’re into the craft side of photography beyond landscapes, you’ll find more on https://www.shutyouraperture.com (use the search( there’s a lot tucked in there).)


