

Landscape photography is one of the most rewarding ways to spend your time. It’s just you, your camera, and the great outdoors. But let’s be real: we’ve all been there, you see a sunset that looks like a masterpiece, you click the shutter, and the result looks like a blurry, dark mess.
If you want to move past the "snapshot" phase and start creating art that people actually want to hang on their walls (like the pieces over at Edin Fine Art), you need more than just a nice view. You need a plan, the right gear, and a solid understanding of how light works.
In this guide, we’re going to break down everything from the essential gear to the secret settings the pros use. We’ve even coordinated with Sonny, our Social Media Manager, to ensure the tips here match the upcoming reels and stories he’s dropping, so you can see these concepts in action.
What is Landscape Photography, Anyway?
At its core, landscape photography is about capturing the vastness of the world. It’s not just about mountains and trees; it can include man-made structures, animals, or even people, as long as the focus remains on the environment. It’s about how you see the world.
While professional corporate headshots require a controlled environment and specific lighting, landscapes require you to adapt to whatever Mother Nature throws at you. It’s unpredictable, and that’s why it’s fun.
The Gear: You Don’t Need a Fortune
One of the biggest myths in photography is that you need a $10,000 setup to take a good photo. You don't. You can get incredible shots with an entry-level DSLR, a mirrorless camera, or even a modern smartphone. However, there are a few pieces of gear that make the job a whole lot easier.
1. The Camera
Ideally, you want a camera that allows you to control the settings manually. Full-frame cameras are the gold standard because they perform better in low light, but crop-sensor cameras (APS-C) are lighter and much more budget-friendly.
2. The Lens
For landscapes, wide-angle lenses are the MVP. We’re talking 24mm or wider. These lenses allow you to cram more of the scene into the frame, creating that sense of "scale" we all love. If you’re looking for gear recommendations, check out ProShoot.io for some solid reviews.
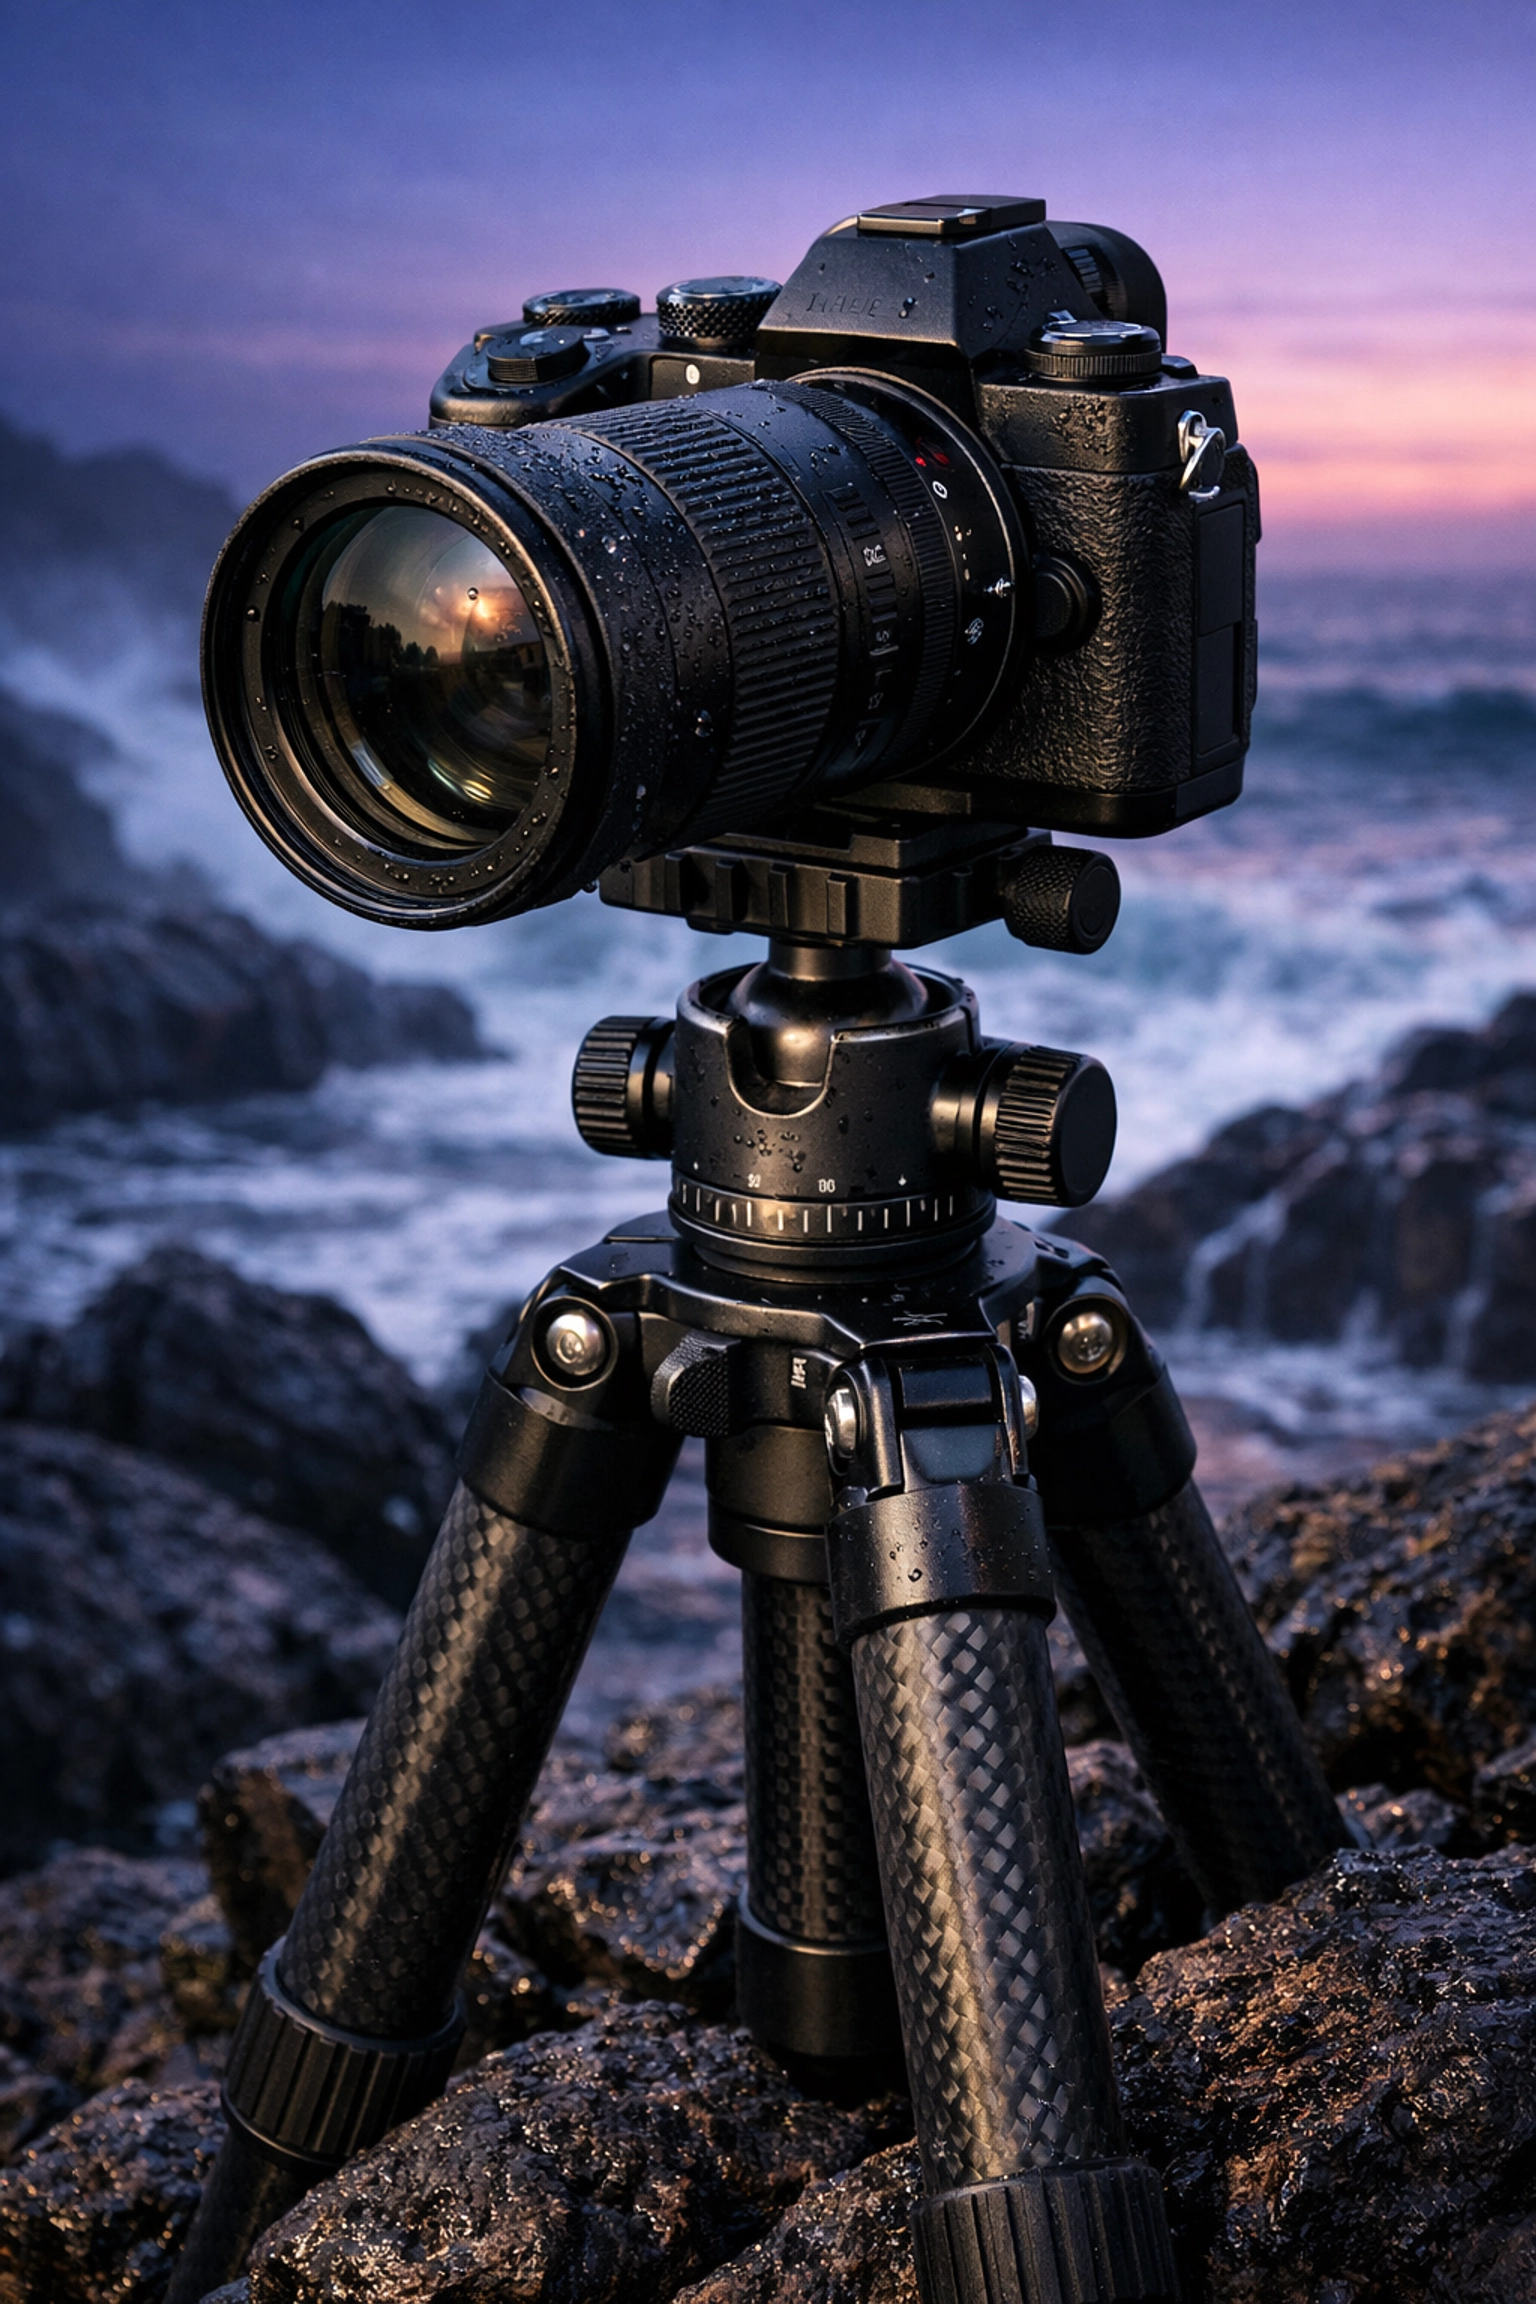
3. The Tripod (Non-Negotiable)
If you take one thing away from this guide, let it be this: buy a tripod. When the sun starts to go down, your shutter speed slows down. If you’re holding the camera with your hands, your heartbeats and shaky muscles will create a blurry photo. A tripod keeps things rock-steady.
Mastering the Camera Settings
The "Auto" mode on your camera is great for birthday parties, but it’s the enemy of great landscape photography. To get those crisp, professional shots, you need to take the wheel.
Aperture (The f-stop)
For landscapes, you generally want everything from the grass at your feet to the mountains in the distance to be sharp. To do this, you need a narrow aperture (a higher f-number). Stick between f/8 and f/16. Going higher than f/16 can actually make your photo less sharp due to something called diffraction, so don't overdo it.
ISO
Keep your ISO as low as possible: usually ISO 100. This ensures your image is clean and free of "noise" (that grainy look that ruins detail). Since you're using a tripod, you don't need to worry about the ISO helping you with shutter speed.
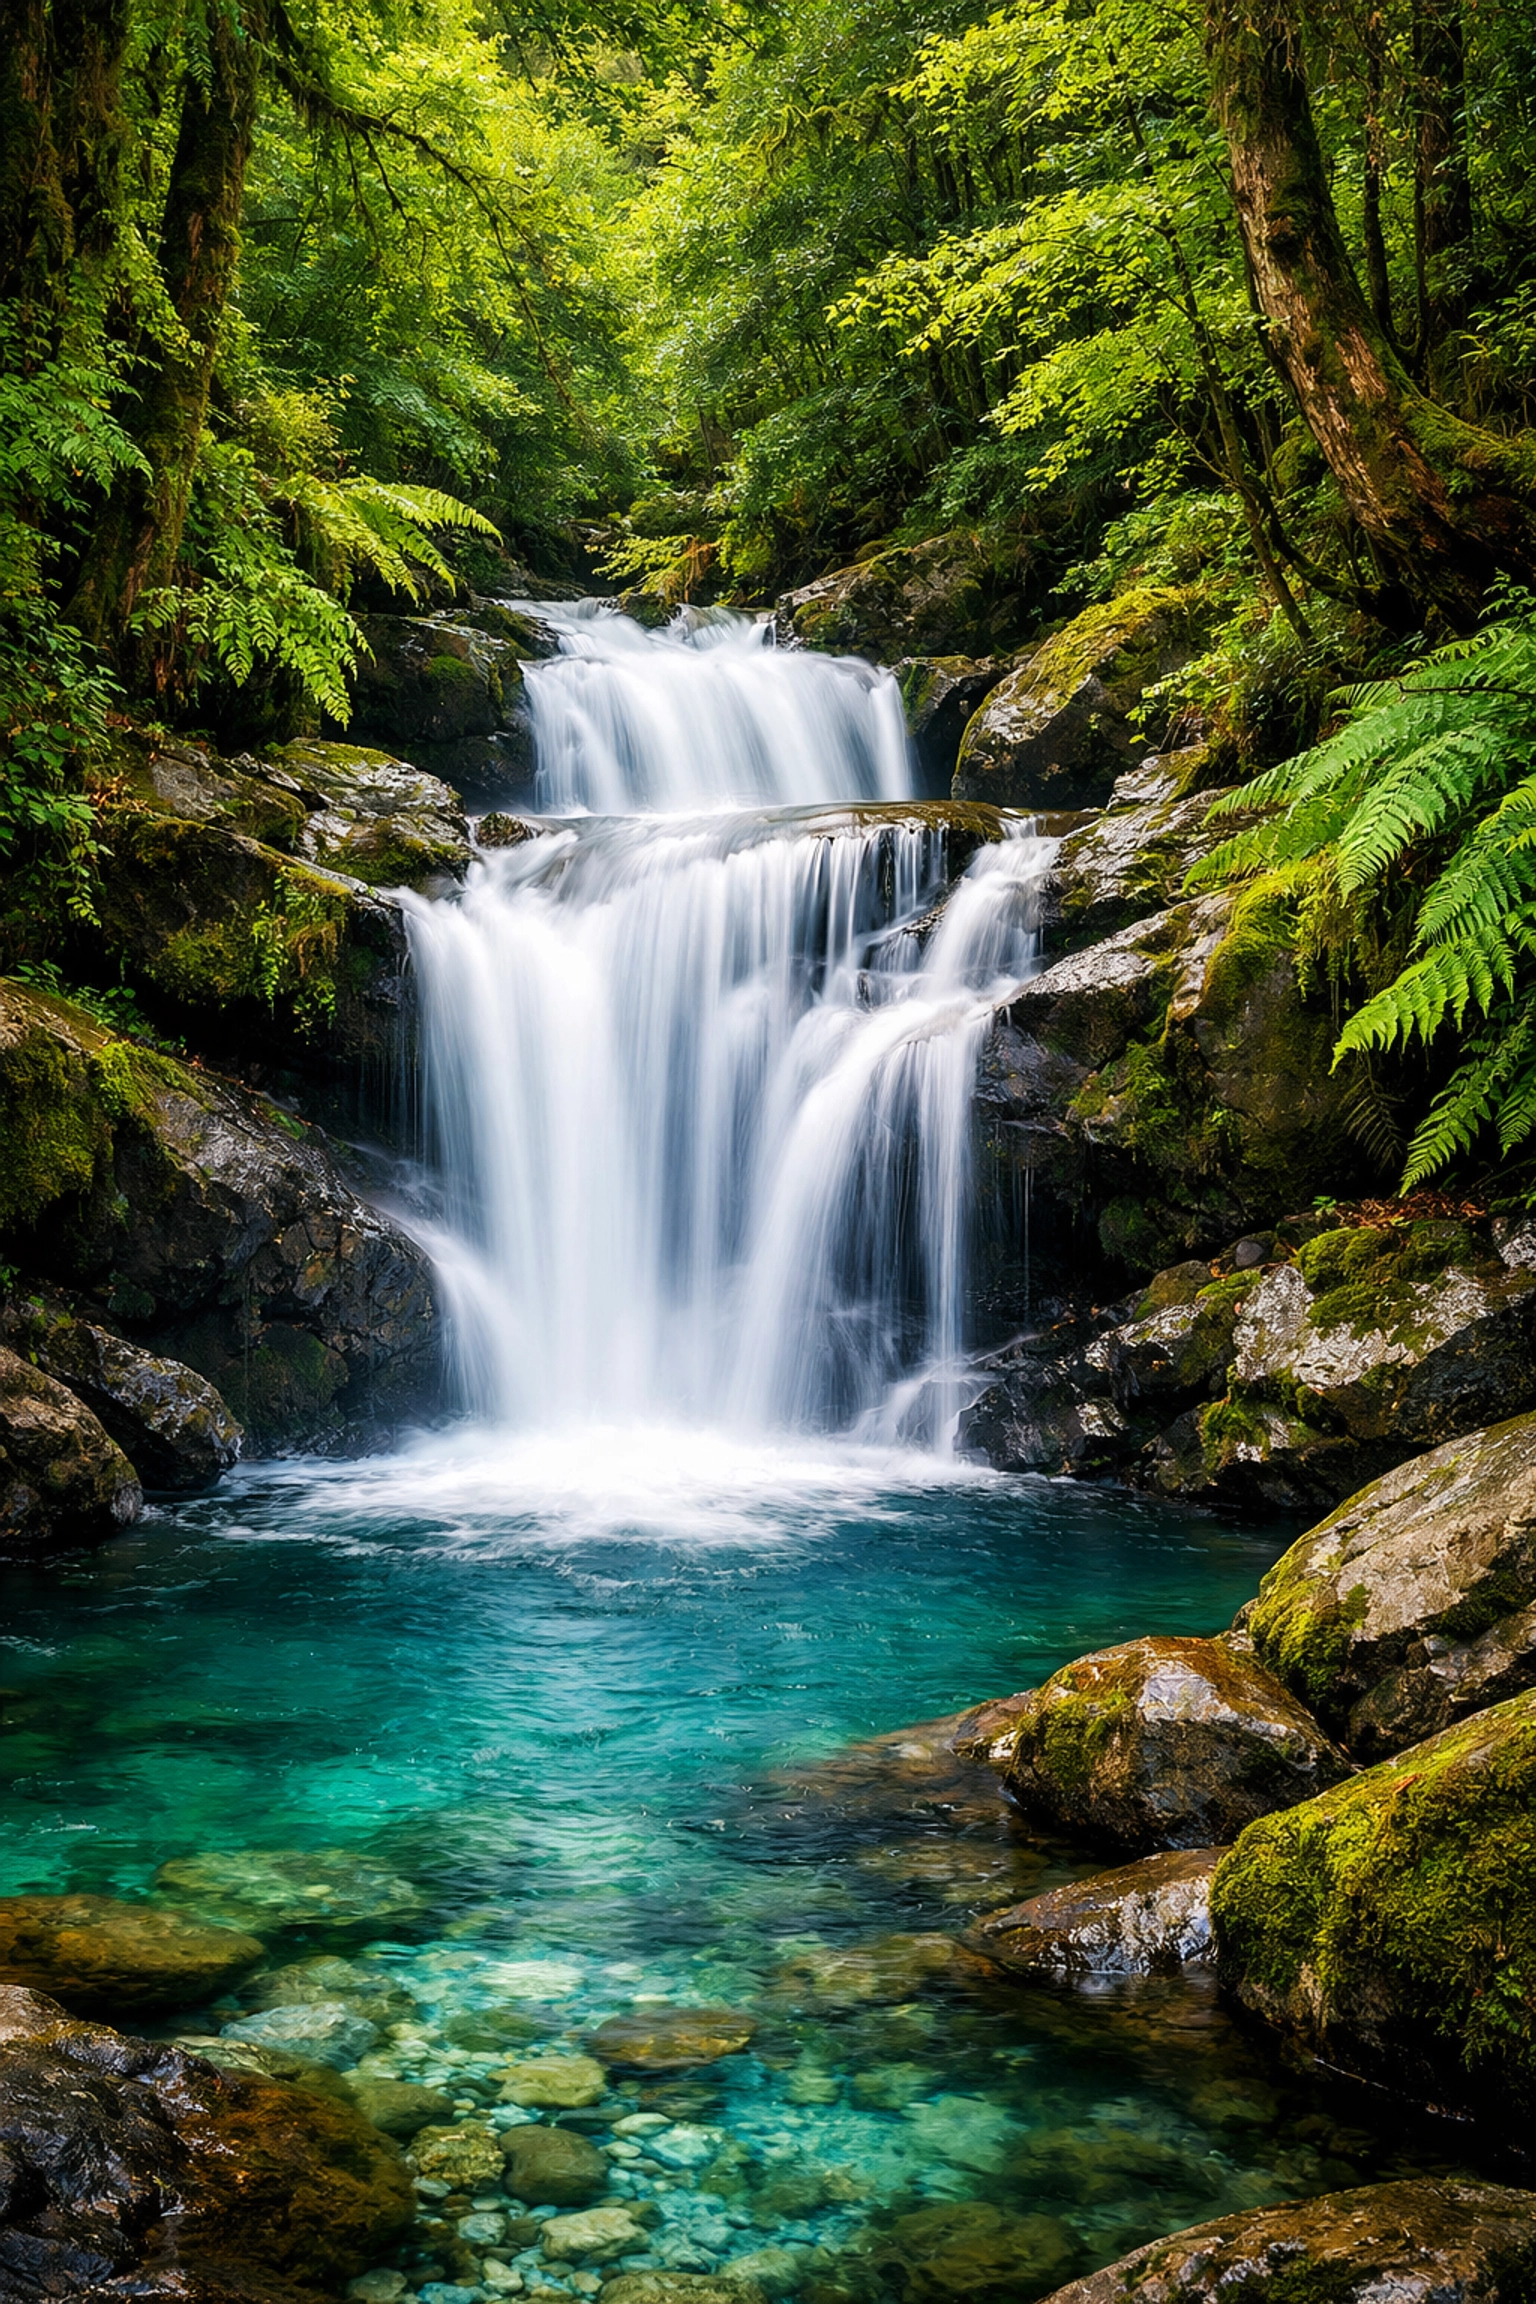
Shutter Speed
This is where the magic happens. Since your ISO is low and your aperture is narrow, your shutter speed will likely be slow: anywhere from 1/30th of a second to several seconds. This is how photographers get that silky-smooth water in waterfalls or streaky clouds in the sky.
Composition: How to Tell a Story
Composition is the difference between a picture of a tree and a photograph of a forest. It’s about how you arrange the elements in your frame to lead the viewer's eye.
The Rule of Thirds
Imagine your screen is divided into a 3×3 grid. Instead of putting the horizon right in the middle, place it on the top or bottom third line. If there’s a cool rock or a lone tree, place it on one of the points where the lines intersect. It feels more natural to the human eye.
Leading Lines
Use roads, rivers, or even fallen logs to "lead" the viewer into the photo. A path winding through a field isn't just a path; it's a visual "Welcome" sign for the viewer's eyes.
Foreground Interest
Don't just look at the horizon. Find something interesting right in front of you: a patch of flowers, a textured rock, or some ice. Having a strong foreground adds depth and makes the viewer feel like they could step right into the image. For more deep dives on composition, PhotoGuides.org has some great resources.
Chasing the Light (The "Golden" Secret)
You can have the best gear and the best composition, but if the light is bad, the photo will be boring. High noon is usually the worst time for landscapes because the sun is harsh and creates ugly, black shadows.
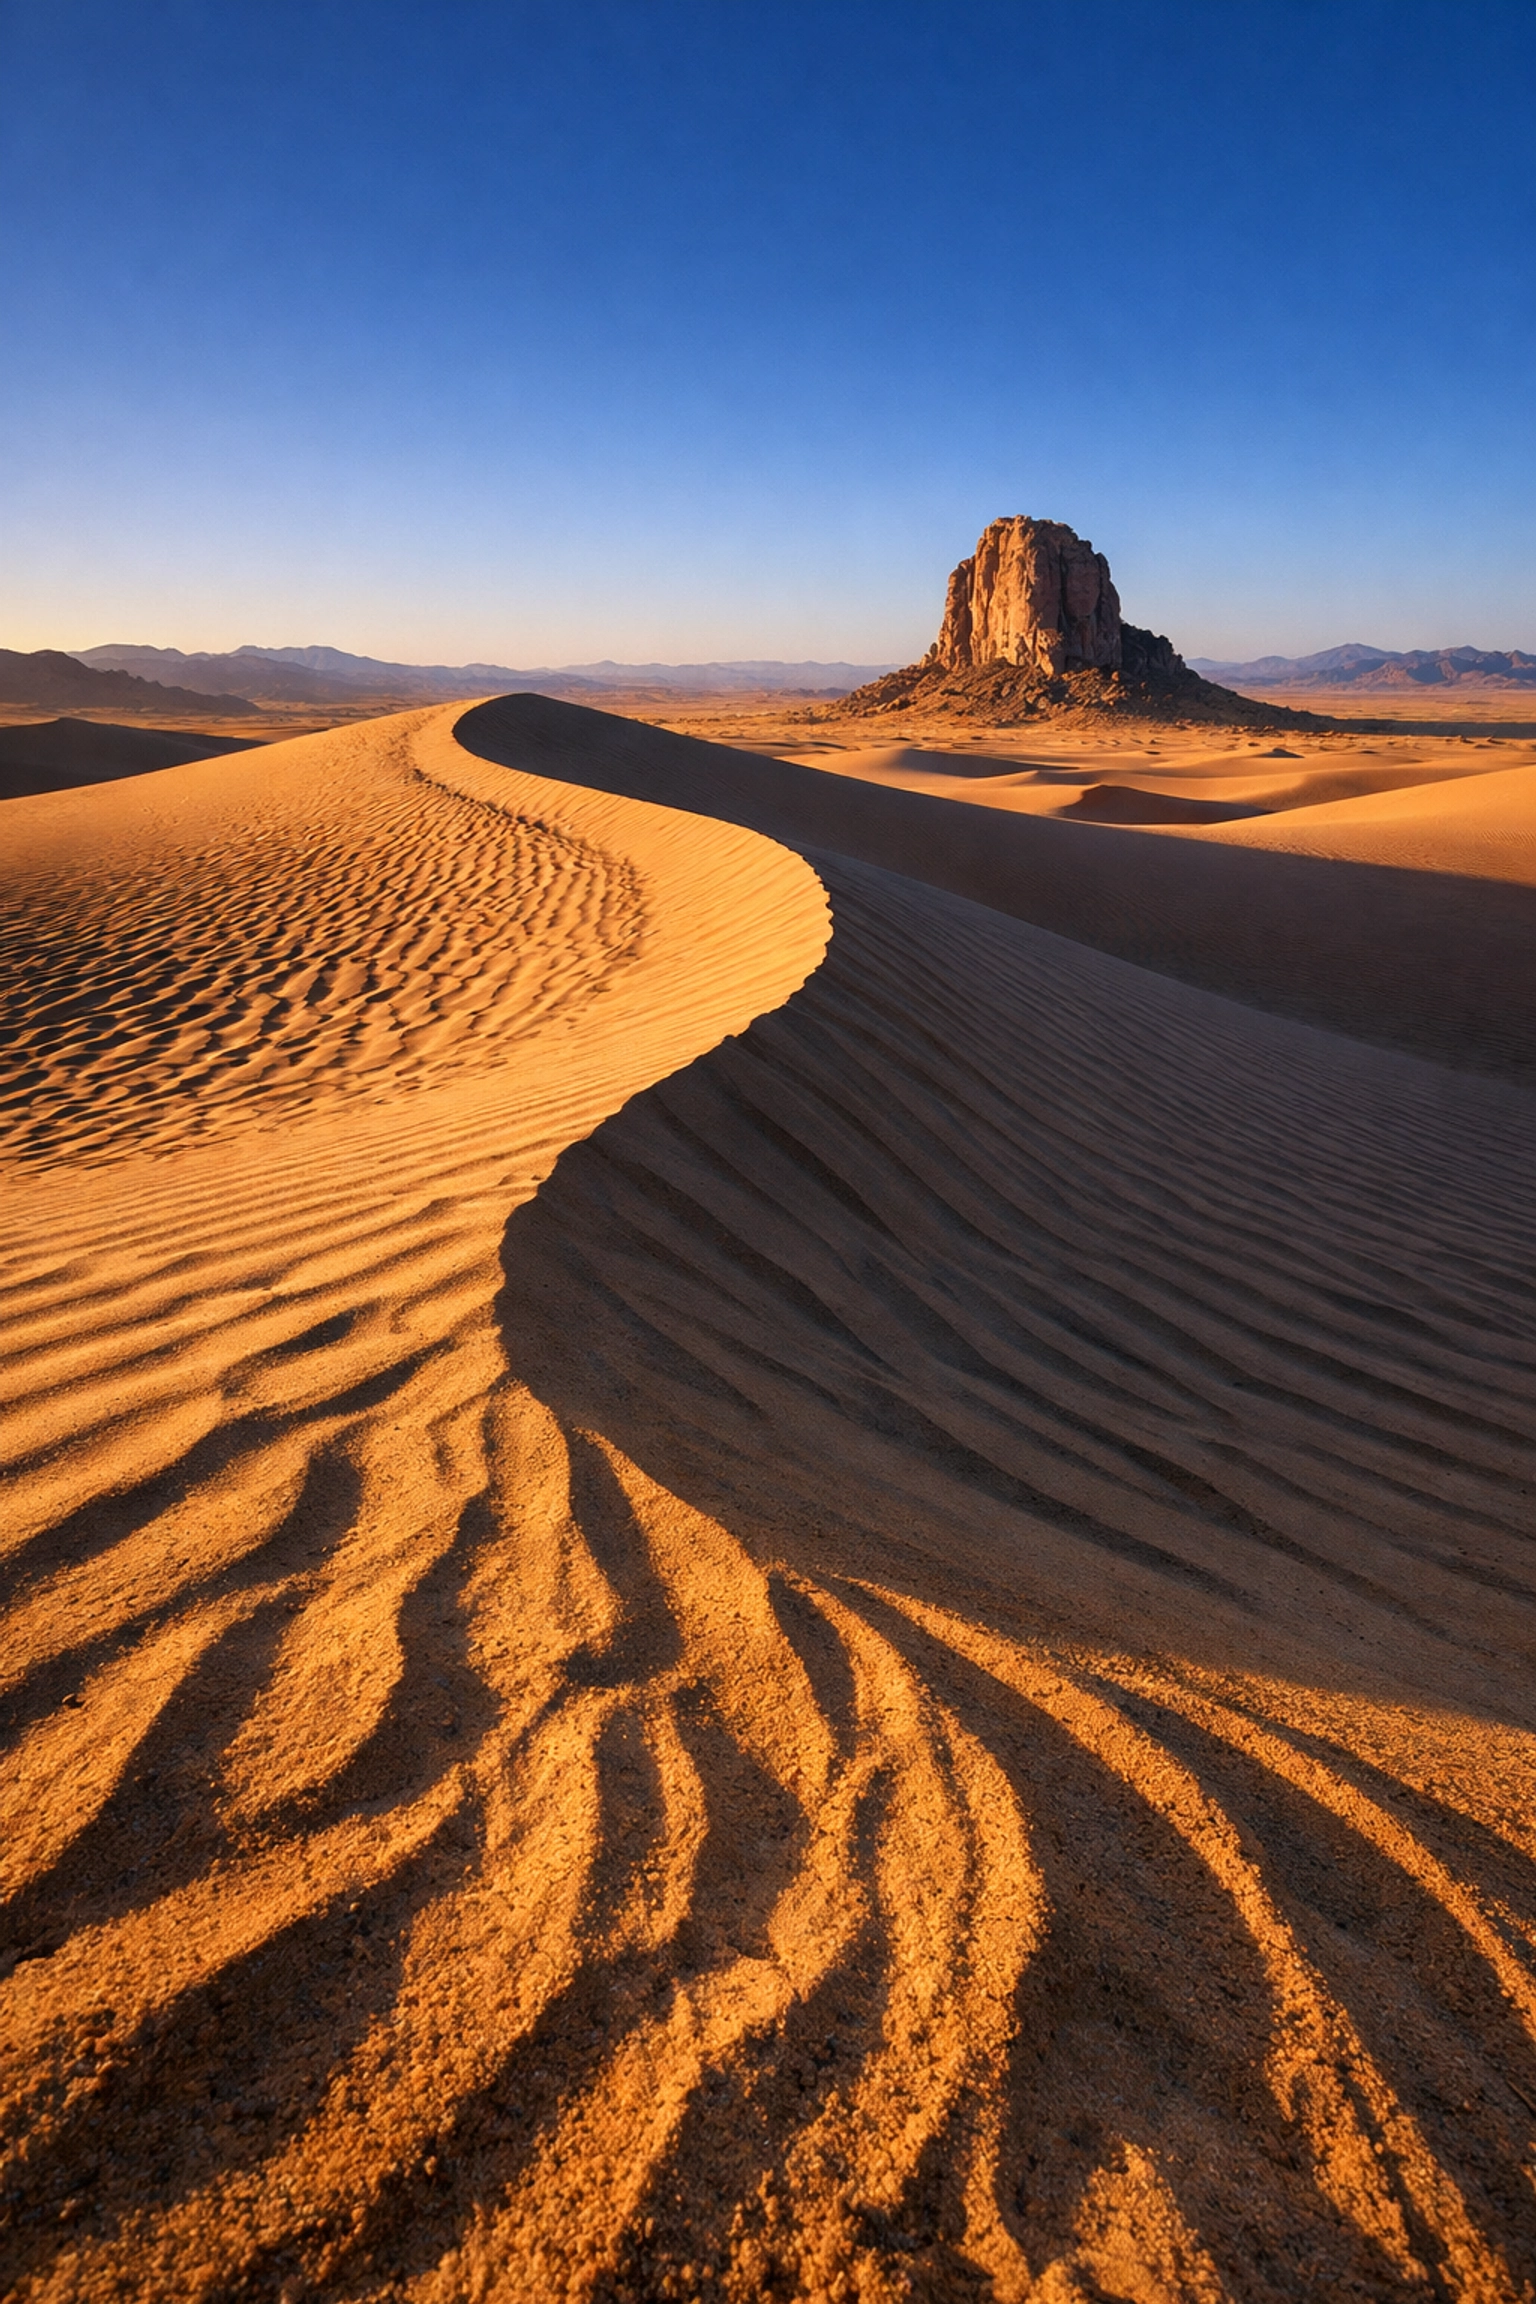
The Golden Hour
The hour after sunrise and the hour before sunset is called the Golden Hour. The light is soft, warm, and hits the landscape at an angle, highlighting textures and shapes.
The Blue Hour
Don’t pack up as soon as the sun goes down! The 20-30 minutes after sunset (the Blue Hour) offers a cool, moody light that is perfect for cityscapes or coastal shots.
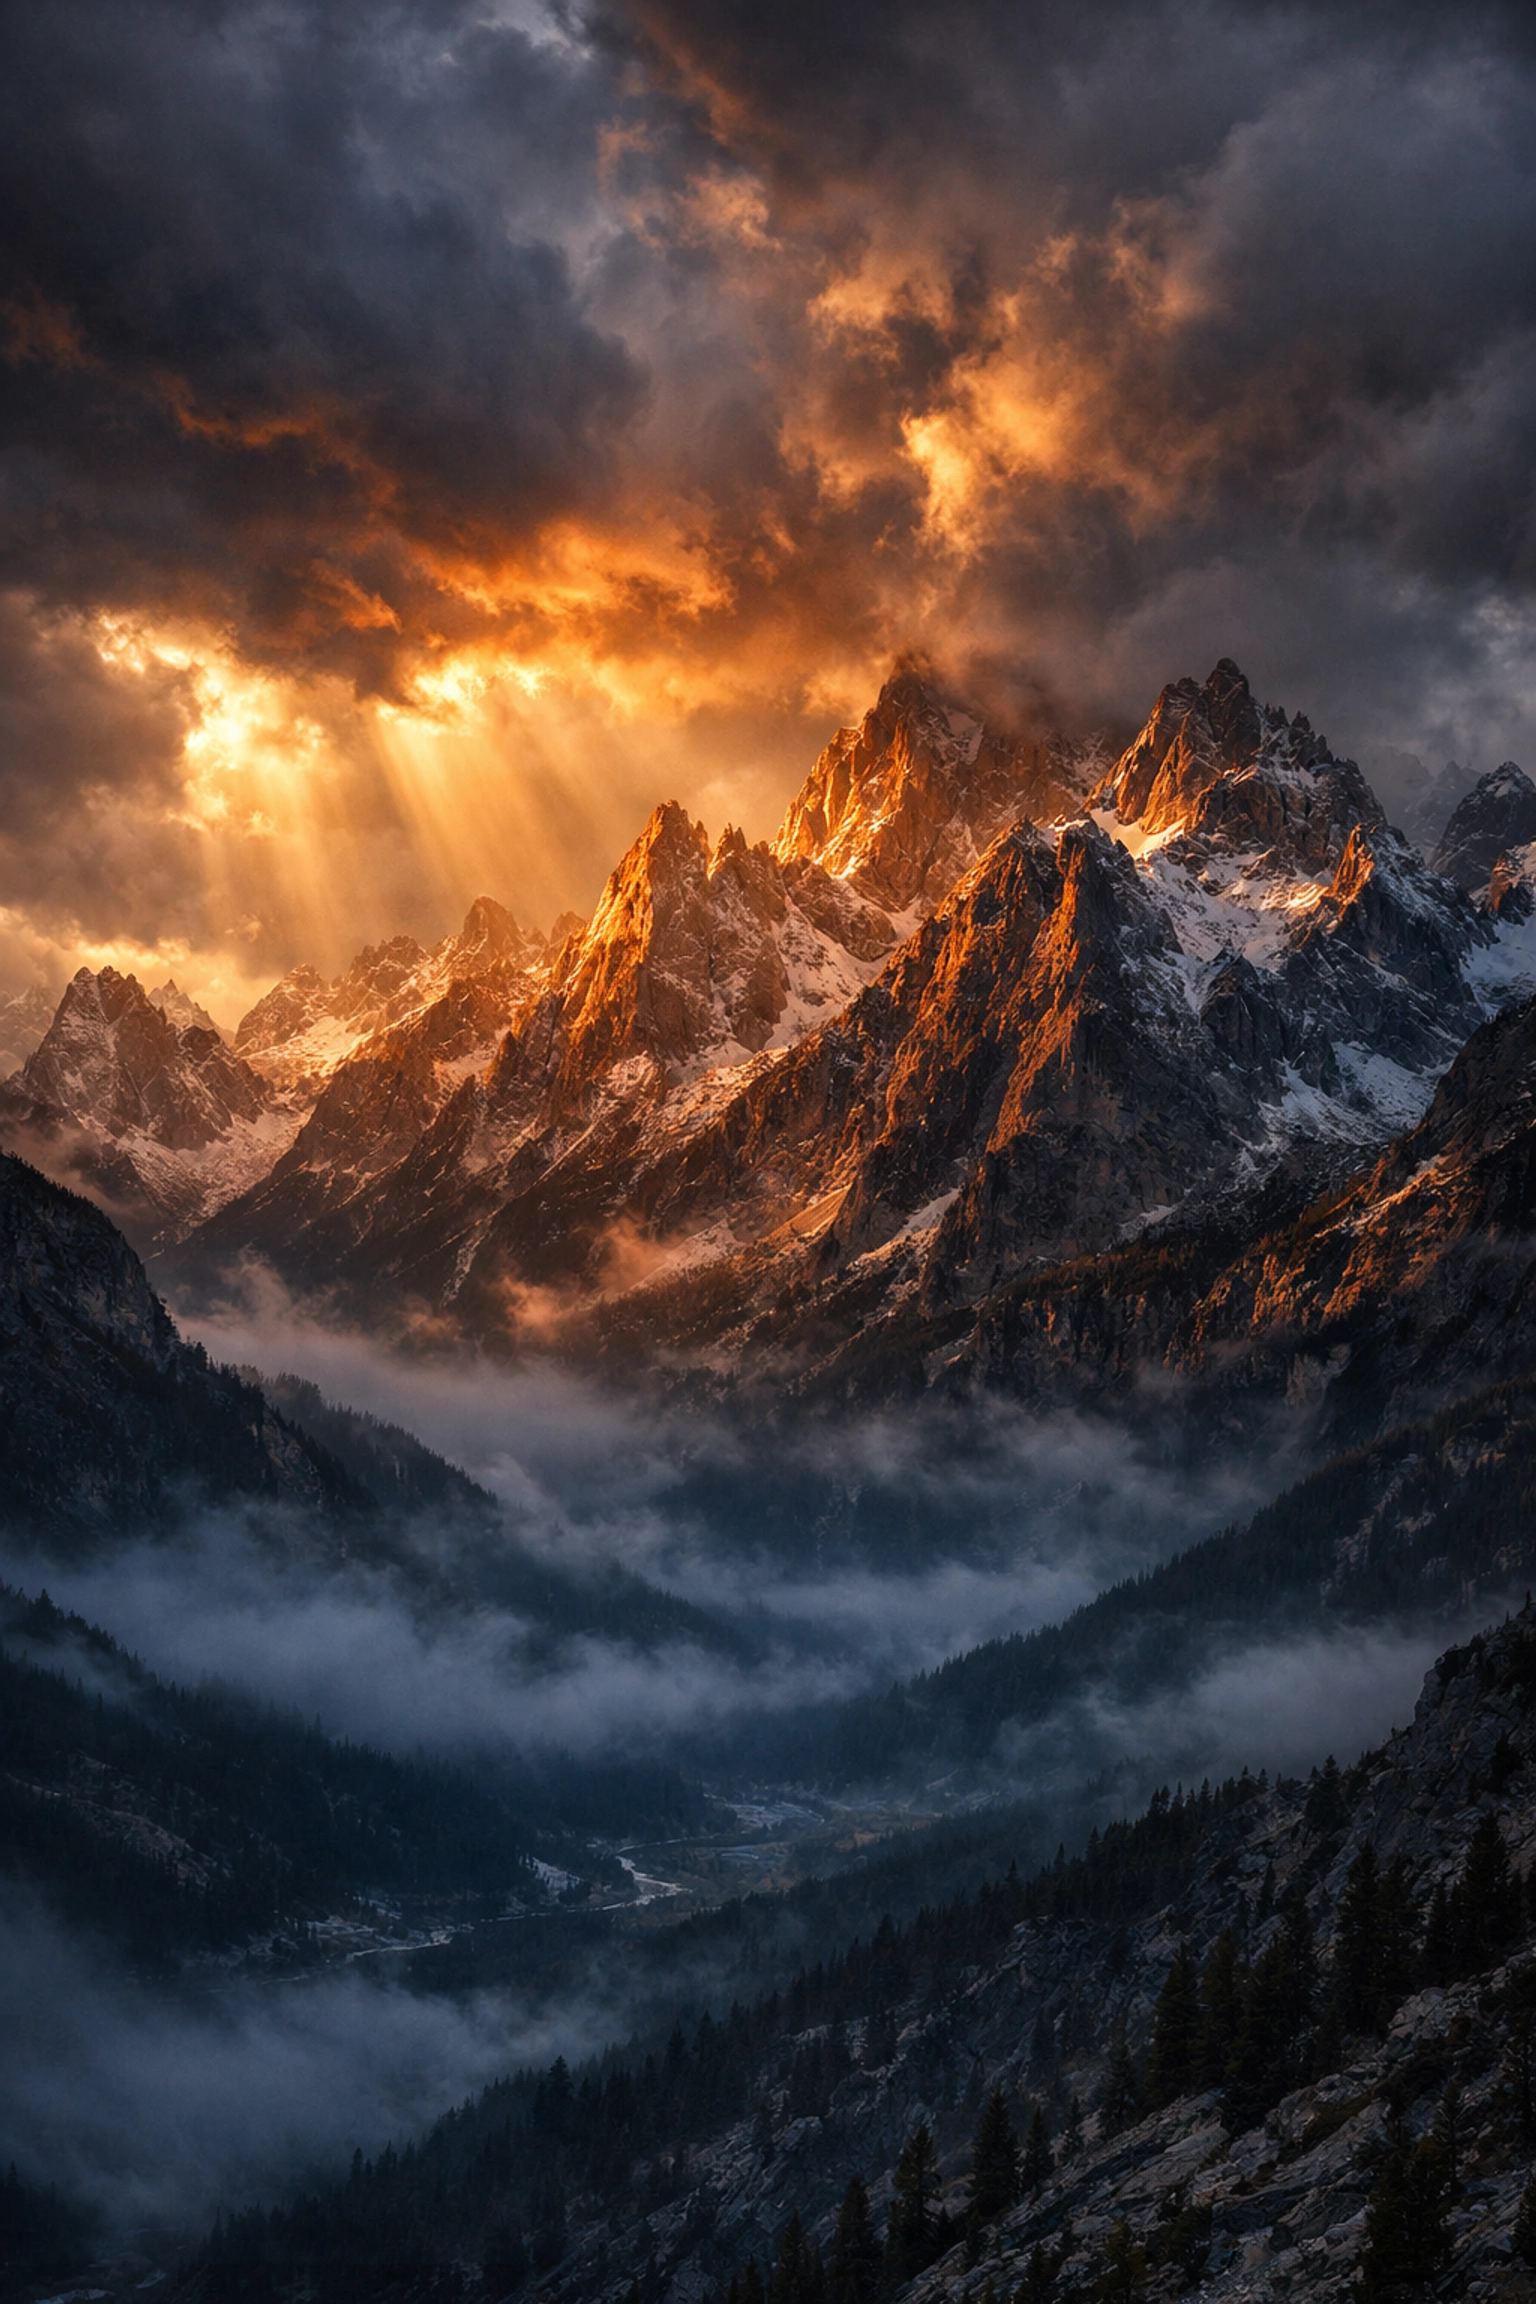
Weather is Your Friend
Blue skies are actually kind of boring for landscape photographers. Stormy clouds, fog, and mist add drama and character. Some of the best shots happen right before or right after a big storm. If you want to see how this translates into high-end production, check out Edin Studios.
Planning and Scouting
Most great landscape photos aren't accidents. They are the result of planning. Use apps like PhotoPills or The Photographer's Ephemeris to see exactly where the sun will rise and set. Check the weather reports and look at Google Earth to find interesting vantage points before you even leave your house.
Slow down. When you get to a location, don't just start clicking. Walk around. Look for different angles. Sometimes moving ten feet to the left completely changes the shot.
Advanced Techniques: Taking it Further
Once you've mastered the basics, you can start playing with advanced techniques to really stand out.
Focus Stacking
Sometimes, even at f/11, you can't get the flower two inches from your lens and the mountain five miles away both in focus. Focus stacking involves taking 3-4 photos with different focus points and merging them later in editing.
Long Exposure
Using Neutral Density (ND) filters (essentially sunglasses for your lens), you can leave your shutter open for minutes at a time during the day. This turns crashing waves into a mist and makes clouds look like they are painting the sky.
Post-Processing: The Digital Darkroom
Editing is not "cheating." Every pro photographer edits their photos. Back in the day, they did it in a physical darkroom with chemicals; now, we do it with software.
The goal isn't to change reality, but to bring out the details that the camera's sensor couldn't quite capture. You want to balance the shadows, pull back the highlights in the sky, and maybe add a little "pop" to the colors.
For an easy and powerful way to edit your landscapes, we highly recommend using Luminar. It uses AI to help with things like sky replacement or enhancing foliage without making the photo look "fake." It's a lifesaver when you have a memory card full of raw files to get through.
Putting It All Together
Landscape photography is a journey. You’re going to get cold, you’re going to get wet, and you’re probably going to wake up much earlier than you’d like. But when you’re standing on a ridge and the sun starts to break through the clouds, and you know you’ve got the shot? It’s all worth it.
If you’re looking for more inspiration or want to see the behind-the-scenes of how these shots are made, head over to blog.edinchavez.com. We’re always dropping new tips, gear reviews, and travel stories to keep your creative juices flowing.
Remember, the best camera is the one you have with you, and the best way to get better is to just keep shooting. Get outside, explore your local parks, and don't be afraid to experiment. Photography is about the way you see the world, so go out and show us.
See you out there!


