
Landscape photography is more than just pointing your camera at a mountain and clicking a button. If it were that easy, everyone would be a pro. It’s about patience, gear, timing, and a little bit of magic (or just really good light). Whether you’re just starting out with photography for beginners or you’ve been hiking trails for years, there’s always something new to learn about capturing the great outdoors.
In this guide, we’re going to dive deep into everything you need to know. From the gear that won't break your back to the camera settings that actually work, let’s get into it.
The Gear You Actually Need
Let’s be real: gear doesn't make the photographer, but it sure does make the job easier. When you're looking for the best mirrorless cameras for landscapes, you want something with a high dynamic range and great resolution. Brands like Sony, Nikon, and Canon are killing it right now in the mirrorless space.
The Camera Body
While you can take great shots on a phone, a dedicated camera gives you the control you need. If you are reading camera gear reviews, look for weather sealing. Landscapes often involve rain, dust, and sea spray. You don’t want your expensive tech dying because of a little drizzle.
The Lenses
For landscapes, wide-angle is king. Something in the 16-35mm range is a staple. It allows you to capture that vast, expansive feeling. However, don't sleep on telephoto lenses (like a 70-200mm). Sometimes the best shot is a compressed view of a distant mountain peak. If you're also interested in street photography ideas or portrait photography techniques, you'll likely want a versatile kit, but for landscapes, wide is the way to go.
The Almighty Tripod
If there is one piece of gear you shouldn't skimp on, it’s a tripod. Landscape photography often happens in low light: think sunrise and sunset. To keep your ISO low and your image sharp, you’ll need long shutter speeds. You can't hand-hold a 2-second exposure. Check out ProShoot.io for some solid recommendations on professional setups.
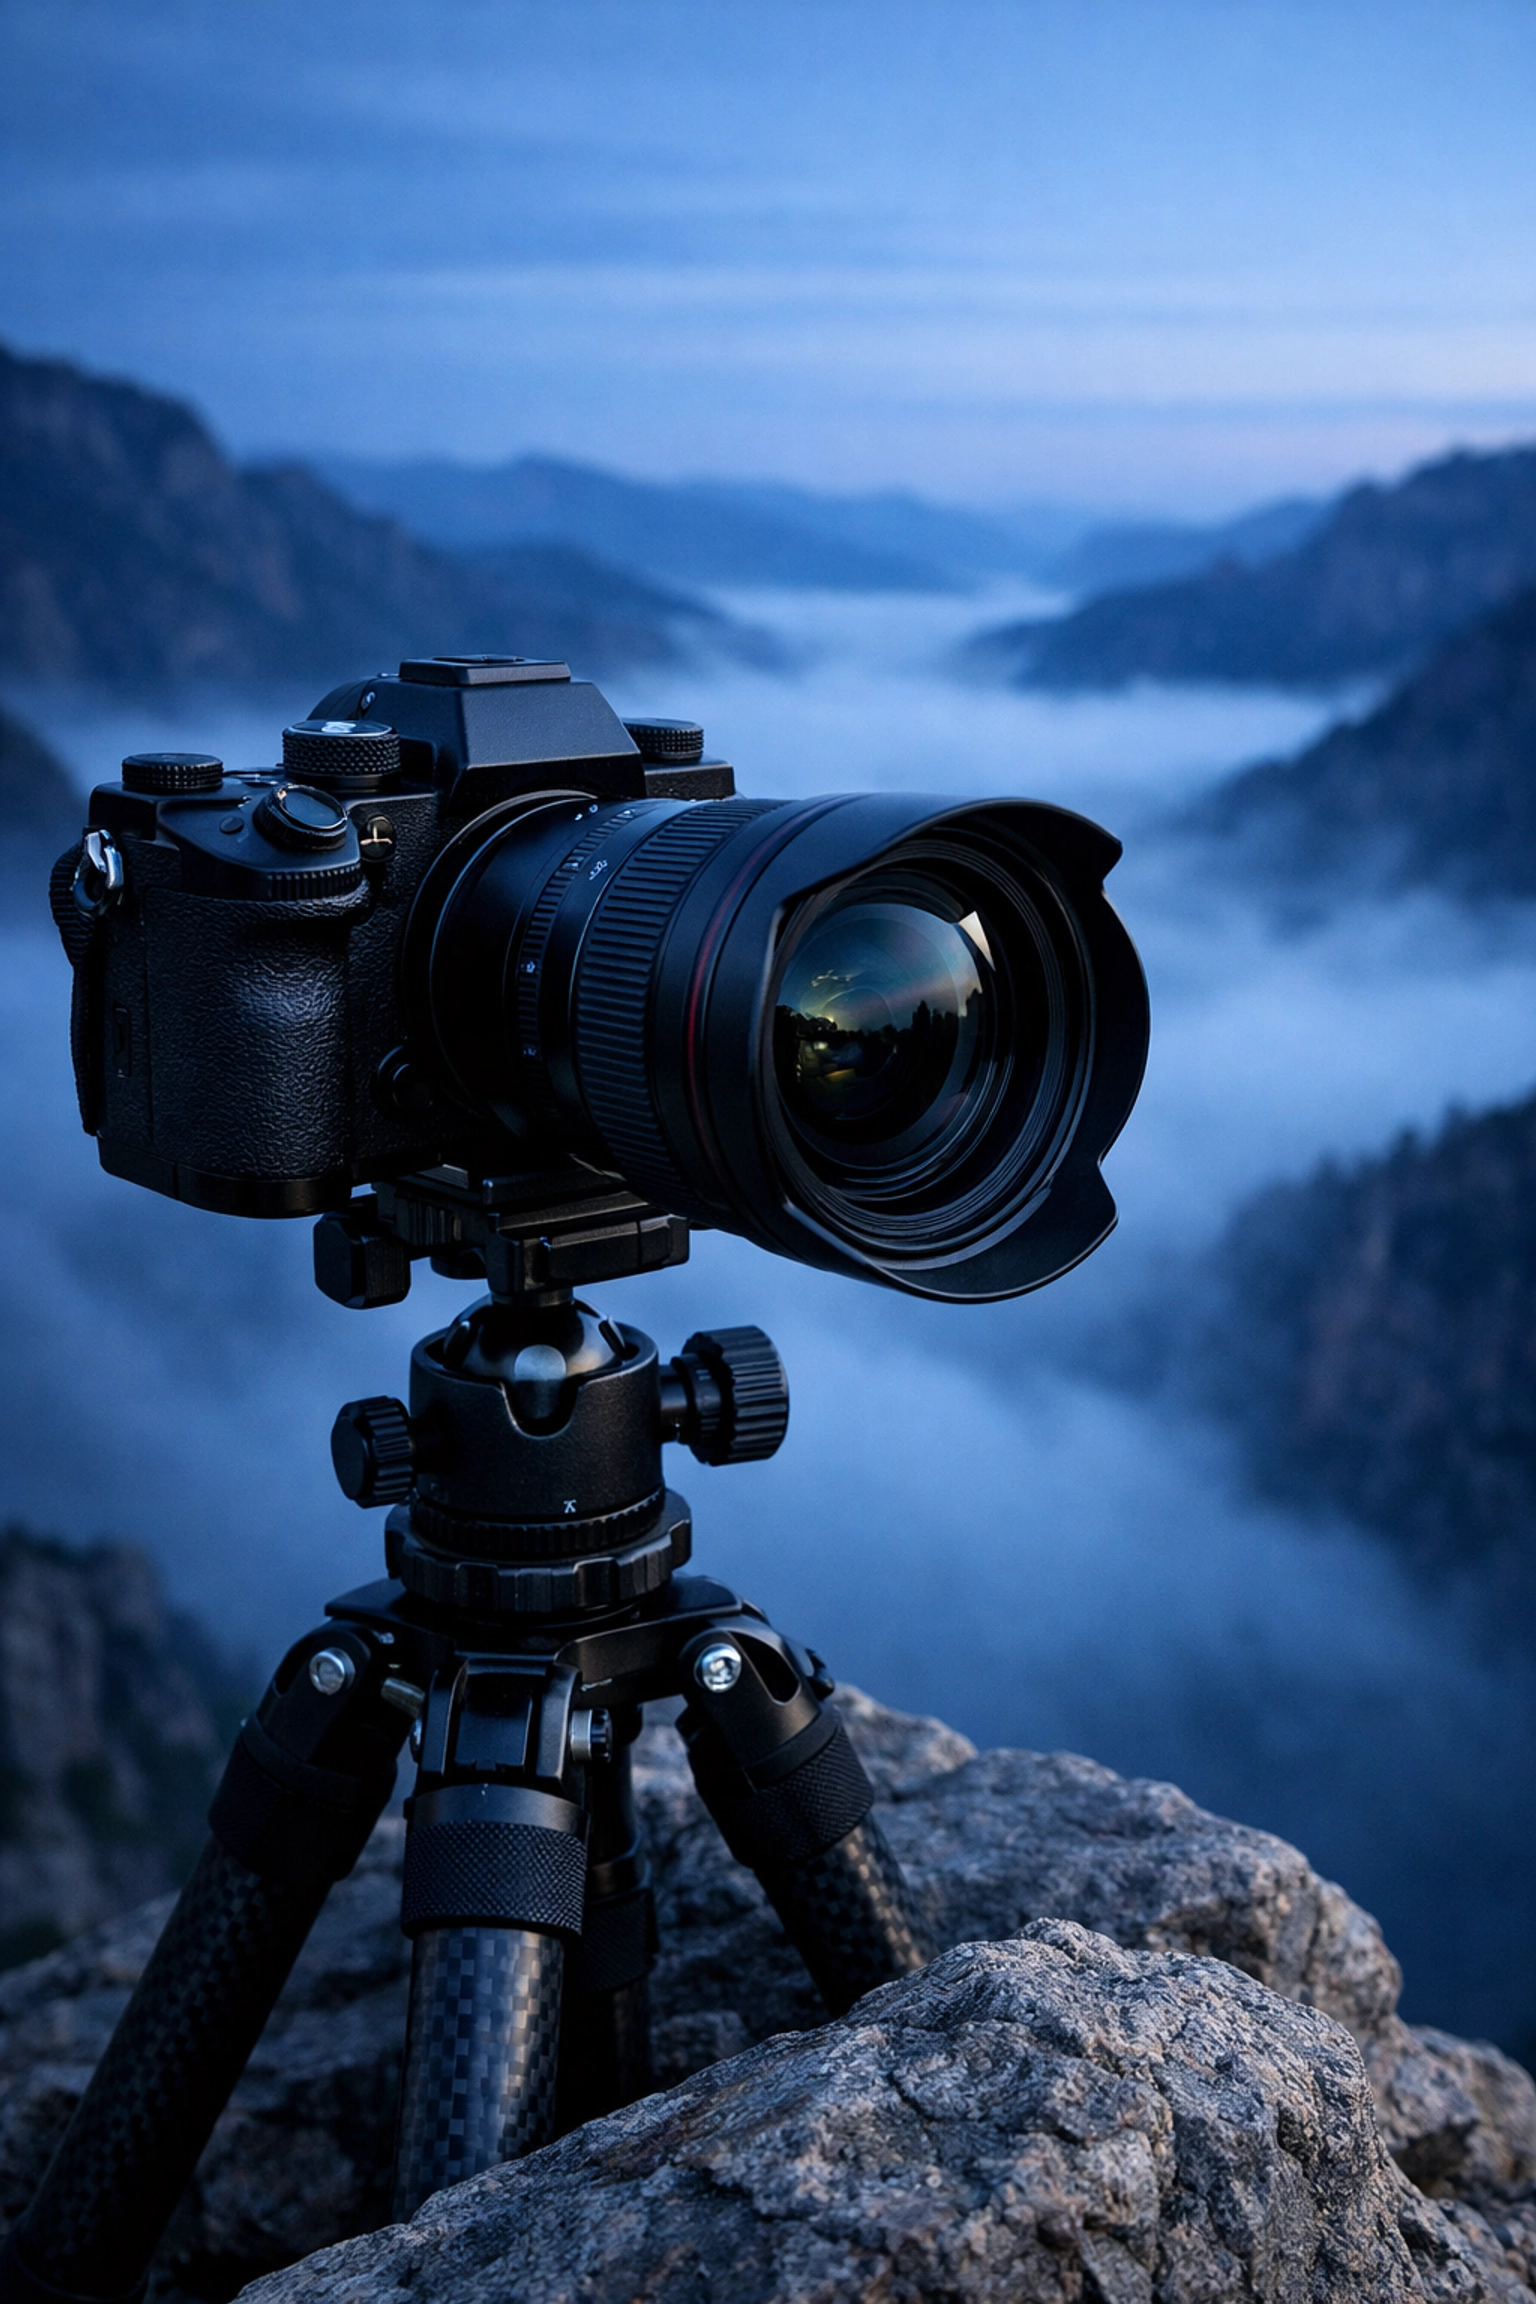
SEO Alt Text: A high-quality mirrorless camera mounted on a sturdy tripod overlooking a misty mountain range at dawn.
Mastering Your Settings
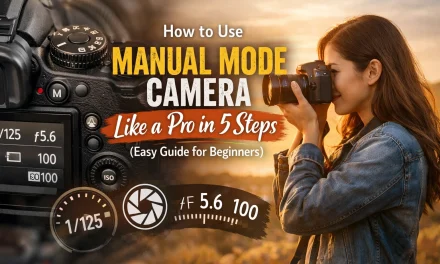
One of the biggest hurdles for new photographers is learning how to use manual mode camera. Auto mode is fine for a backyard BBQ, but for a majestic waterfall? It’s going to fail you.
The Exposure Triangle
- Aperture: For landscapes, you usually want everything from the foreground to the background in focus. This means using a higher f-stop, like f/8 to f/11. Going all the way to f/22 can actually cause "diffraction," which makes your image less sharp.
- ISO: Keep this as low as possible (usually ISO 100). Higher ISO means more noise, and in landscape photography, we want clean, crisp files.
- Shutter Speed: This is where the magic happens. A fast shutter speed freezes motion, but a slow one can turn crashing waves into silky clouds. For more on this, check out our guide on water photography beauty in motion.
If you’re struggling with the basics, I highly recommend checking out some photography tutorials to get your head around the technical side.
Composition: How to Tell a Story
A pretty sunset is nice, but a well-composed photo of a sunset is art. Composition is how you lead the viewer’s eye through the frame.
The Rule of Thirds
Imagine your frame is divided into a 3×3 grid. Instead of putting the horizon right in the middle, try placing it on the top or bottom third line. Place your main subject (like a lonely tree or a rock) on one of the intersecting points. It’s a simple trick, but it works every time.
Leading Lines
Use roads, rivers, or even shadows to point toward your subject. Leading lines create a path for the eye to follow, making the image feel more three-dimensional.
Foreground Interest
Don't just look at the mountain in the distance. What’s at your feet? Adding a rock, some flowers, or an interesting texture in the foreground gives the photo depth. If you want to get creative with this, look into using rare textures for tangible aesthetic photography.
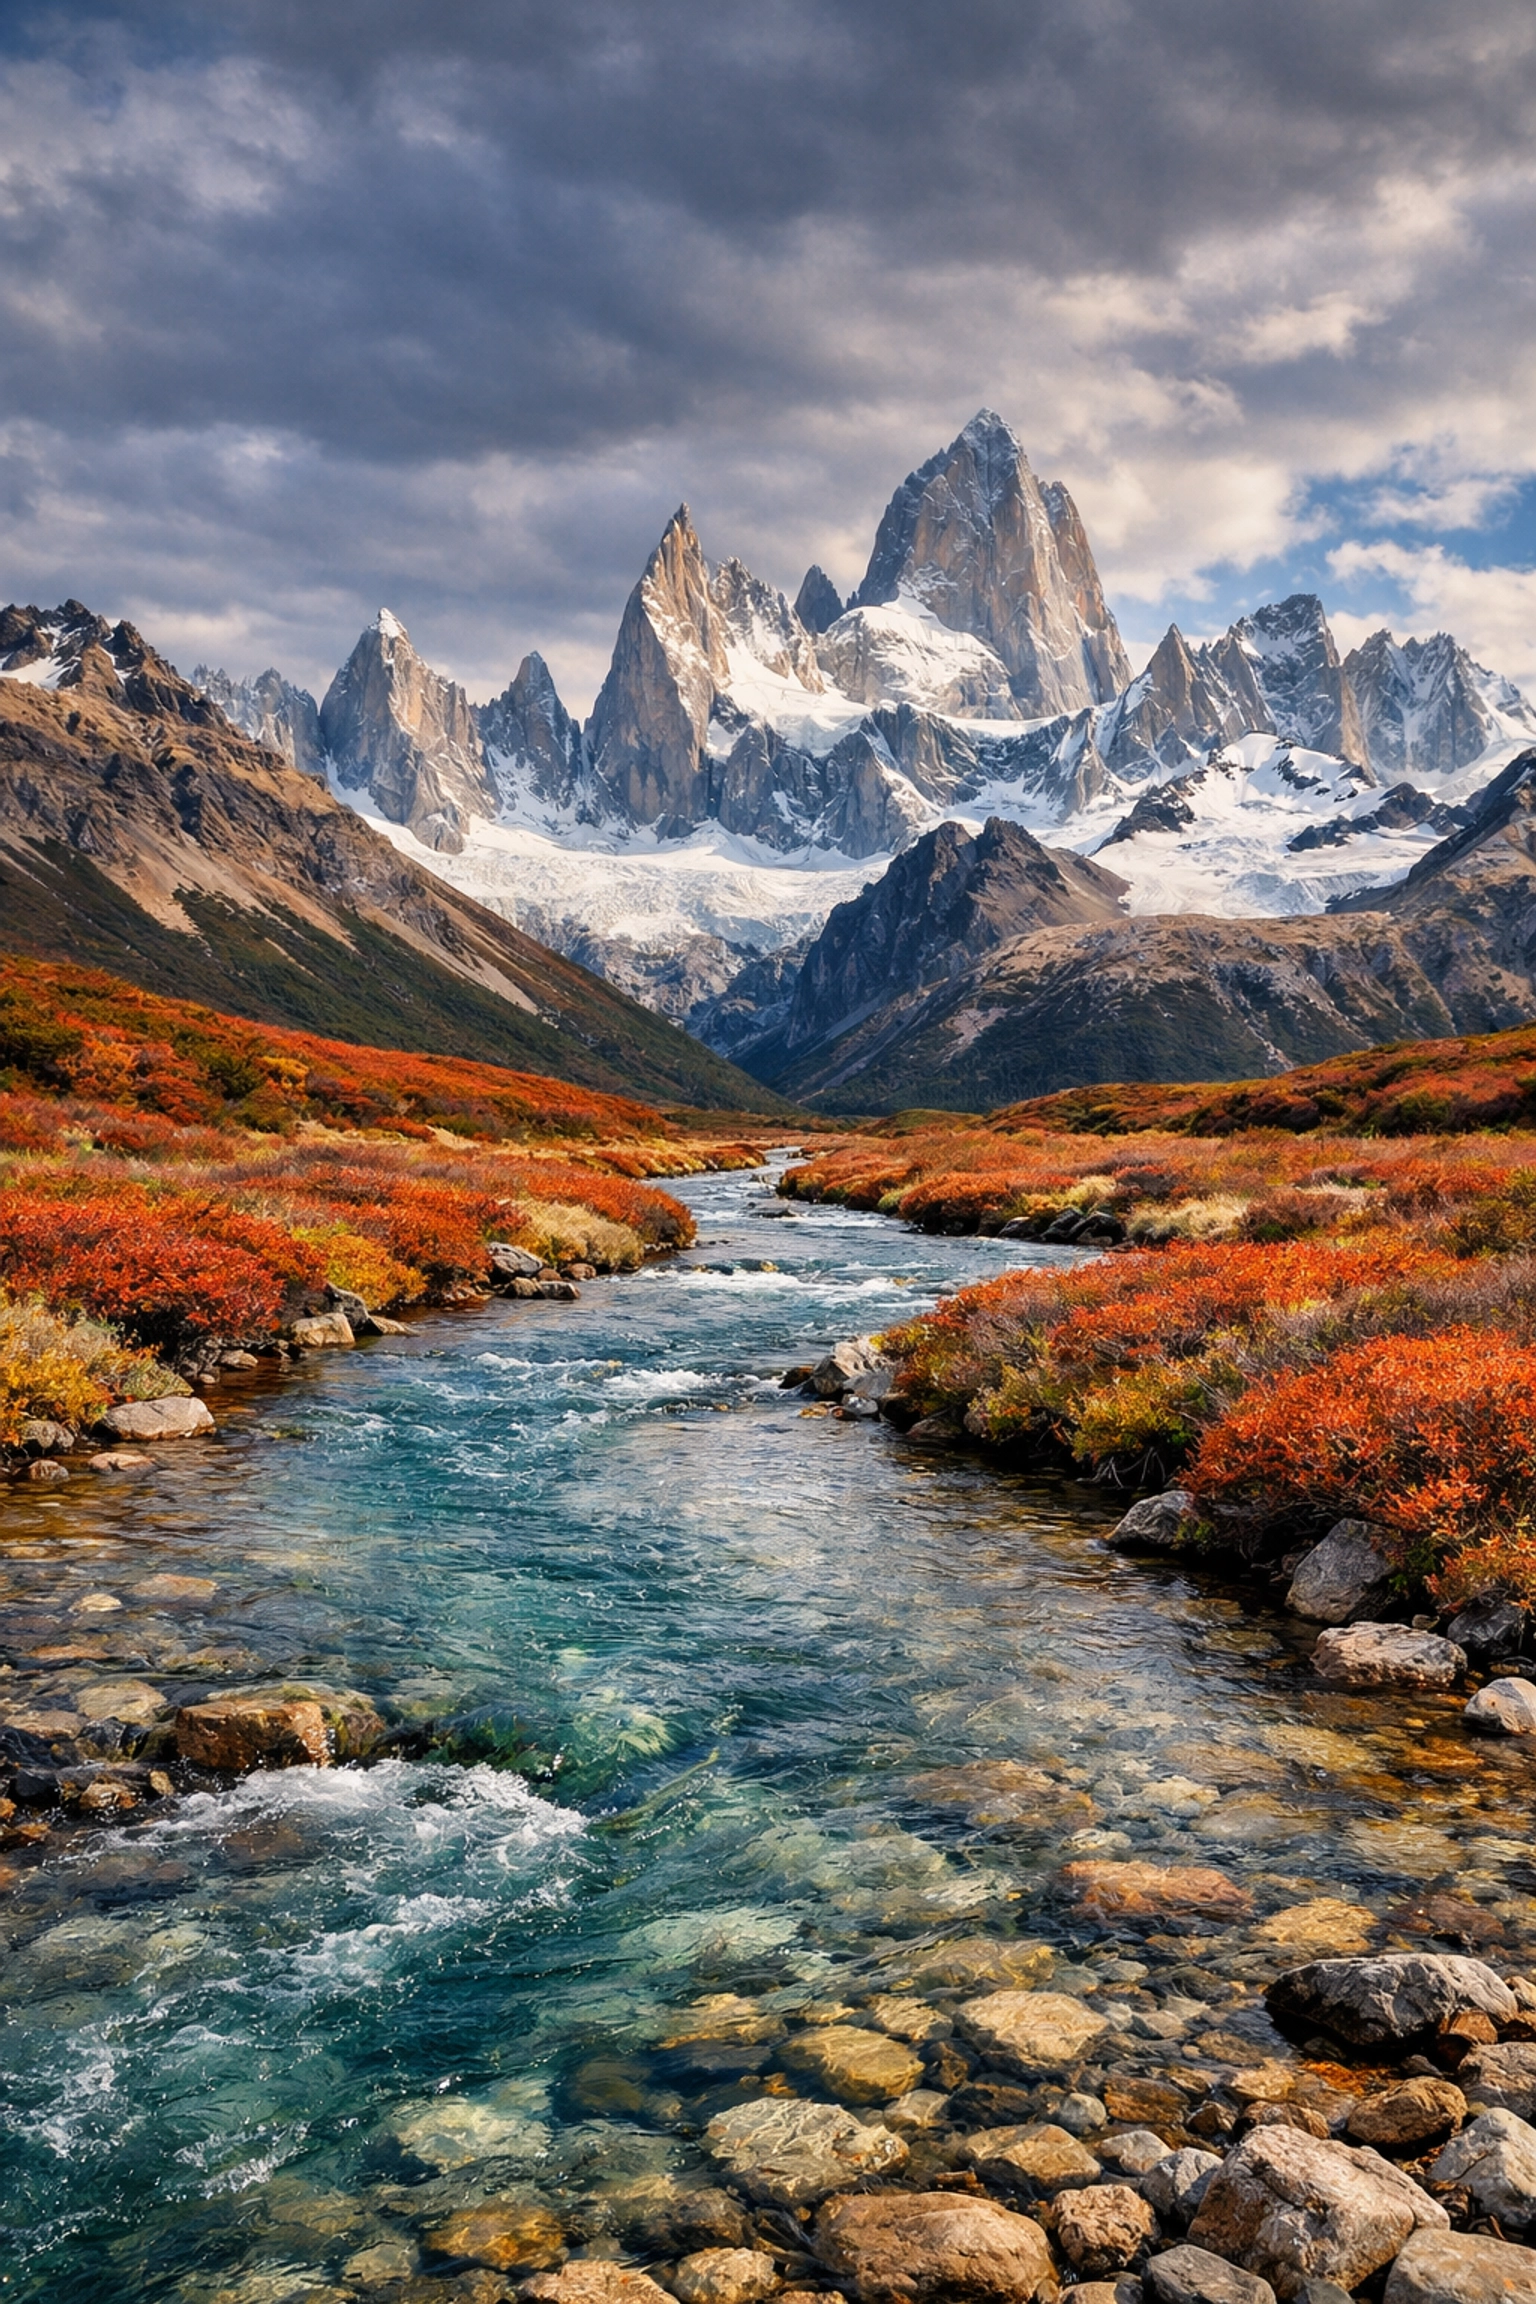
SEO Alt Text: A landscape photograph of a winding river leading toward a snow-capped mountain, demonstrating the use of leading lines and the rule of thirds.
Chasing the Light
You can have the best gear and the perfect composition, but if the light is flat and boring, the photo will be too.
The Golden Hour
This is the hour after sunrise and the hour before sunset. The light is soft, warm, and creates long shadows that add texture to the landscape. This is peak time for any landscape pro. If you’re looking for locations, we’ve rounded up some top spots for majestic sunset photography.
The Blue Hour
Don't pack up as soon as the sun goes down. The 20-30 minutes after sunset provide a cool, blue, ethereal light that is perfect for moody landscapes or cityscapes. It’s also a great time to experiment with urban photography.
Planning is Key
Weather apps and light-tracking apps (like PhotoPills) are your best friends. You need to know exactly where the sun will rise and set. Sometimes, the best shots come from "bad" weather. Storm clouds, fog, and mist add drama that a clear blue sky just can't match.
Finding Your Location
Everyone knows the famous spots: the ones you see a thousand times on Instagram. But there is something special about finding a place that hasn't been over-photographed.
Scouting is a huge part of the job. Use Google Earth to look for interesting terrain features, or check out our list of hidden gem locations for travel photography. Sometimes, the best views are just a few miles off the beaten path. If you’re feeling adventurous, look for secluded paradises to really make your portfolio stand out.
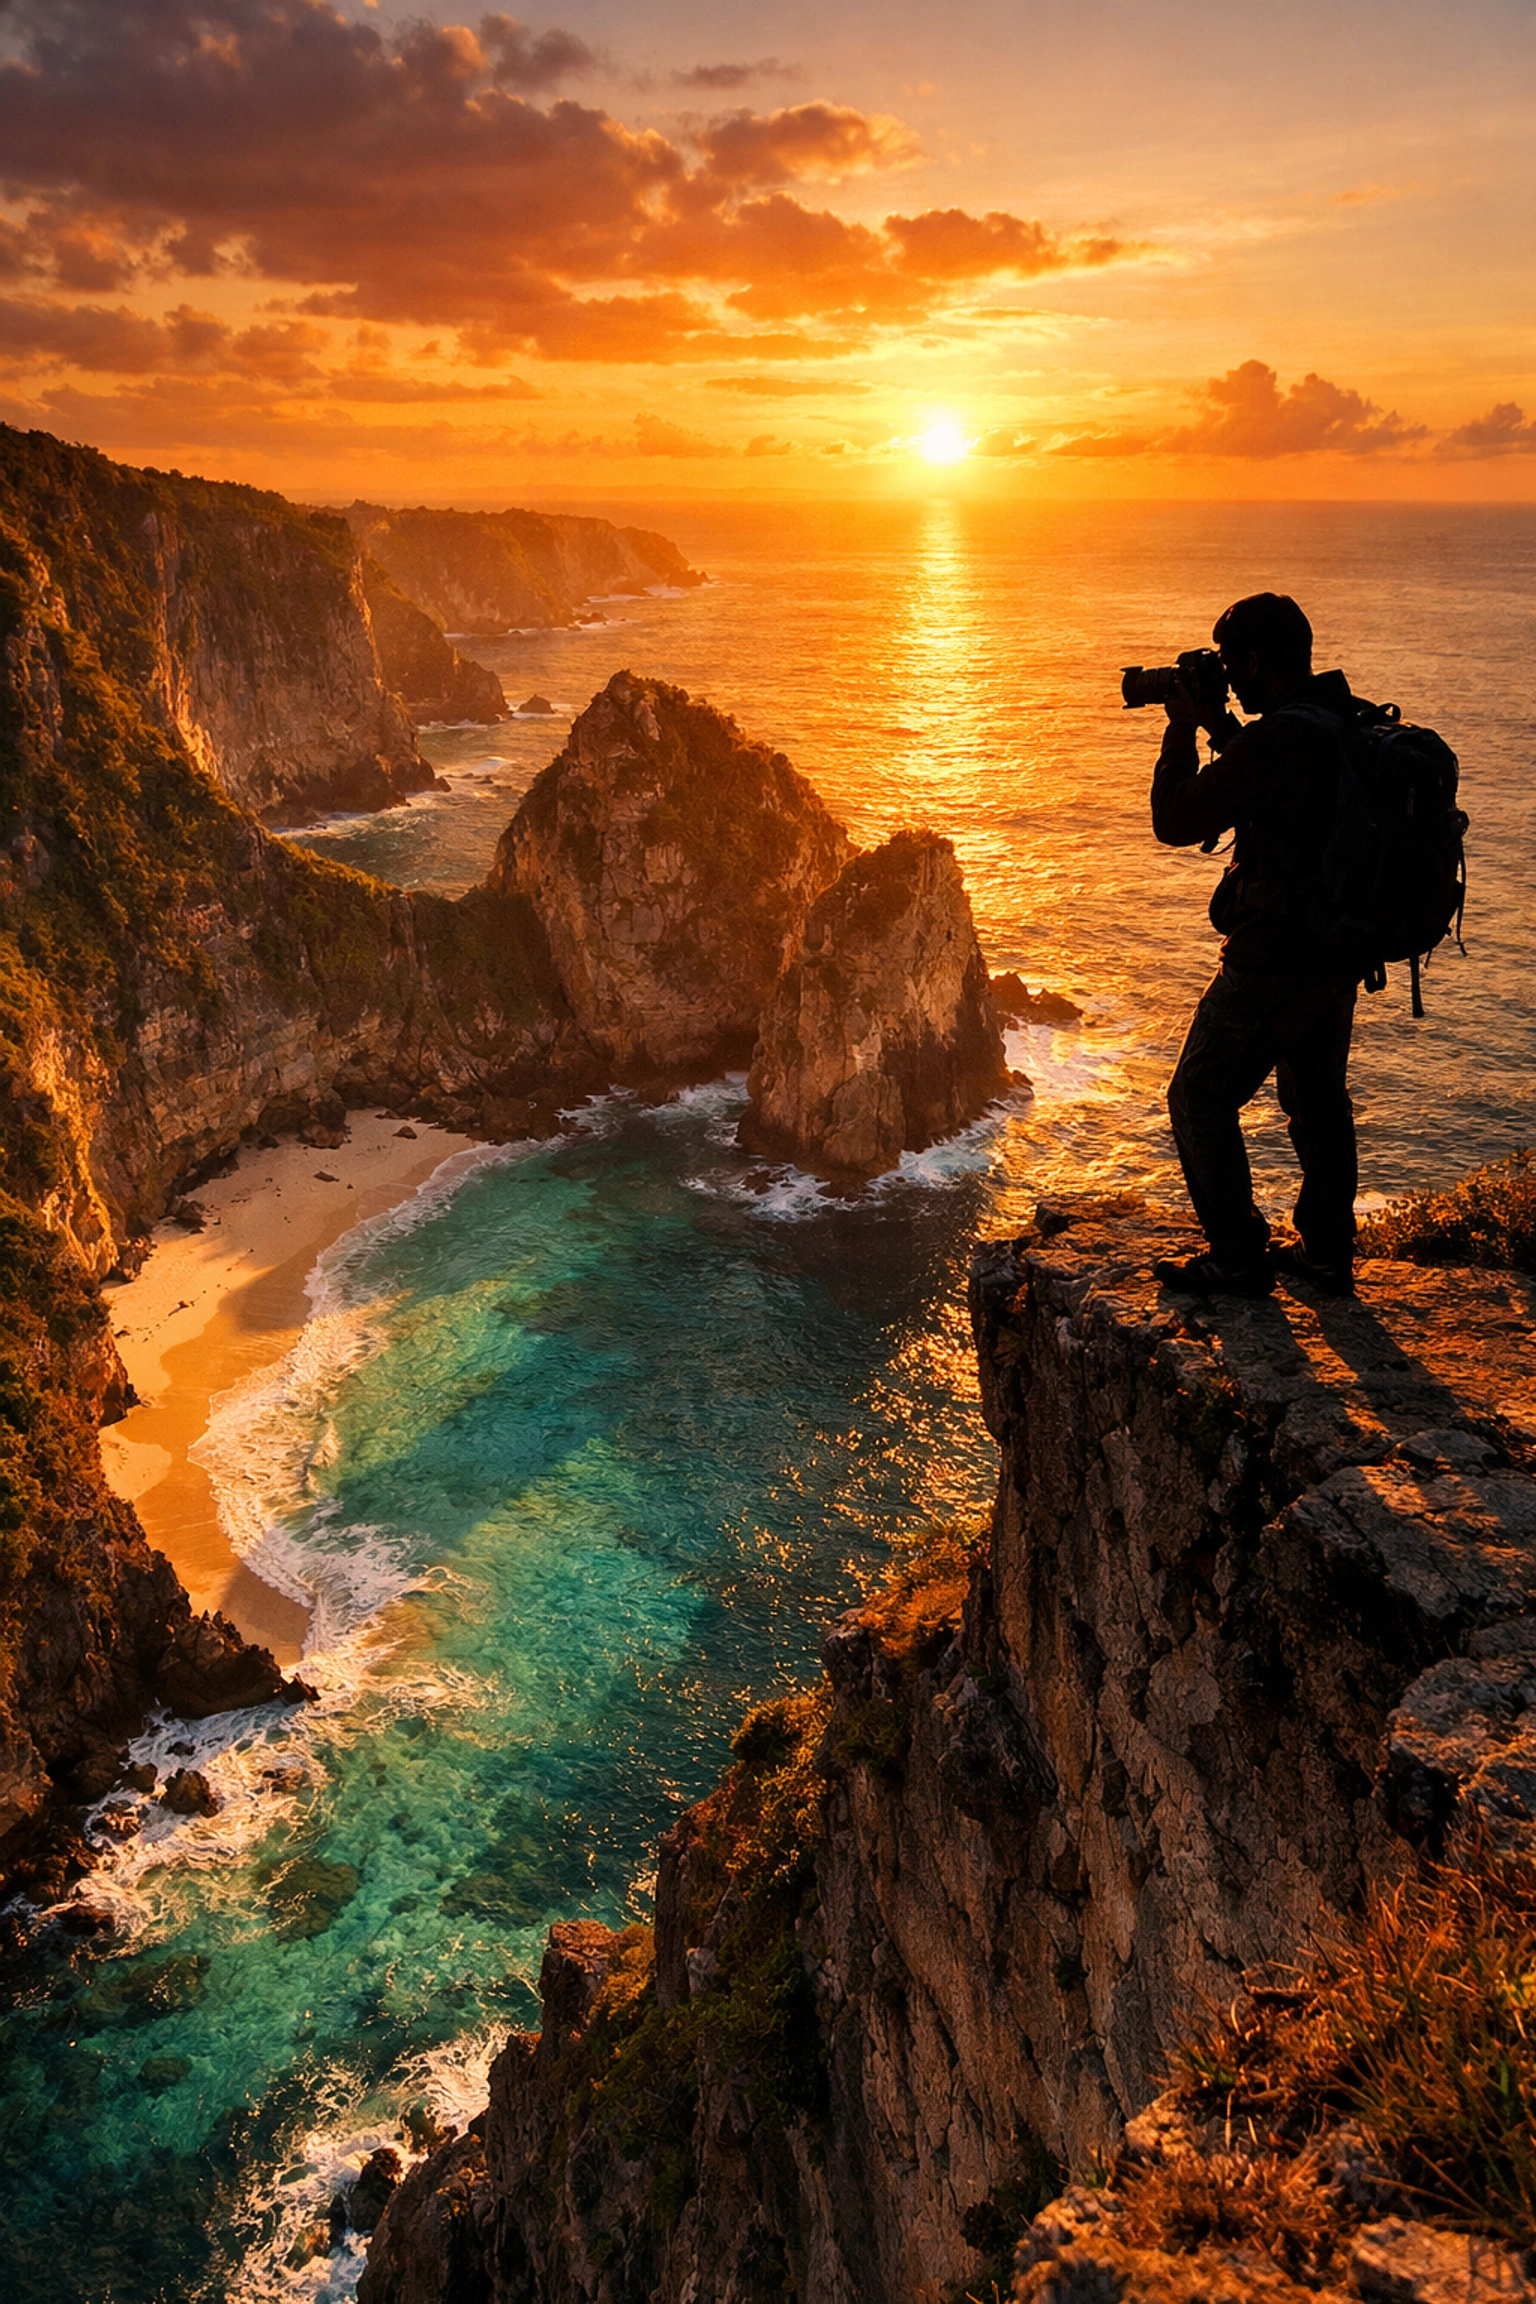
SEO Alt Text: A photographer standing on a cliff edge overlooking a hidden coastal cove during a dramatic golden hour sunset.
Post-Processing: Making it Pop
Taking the photo is only half the battle. The other half happens in front of a computer. Most pros shoot in RAW format, which captures all the data possible but looks a bit flat straight out of the camera.
Editing Tutorials
You don’t need to go crazy, but some basic adjustments to contrast, highlights, and shadows can make a world of difference. If you're looking for high-quality photo editing tutorials, there are plenty of resources to help you master the craft.
One tool that has been a game-changer for many is Luminar. It uses AI to help with things like sky replacement and accenting details without spending hours masking by hand. It’s perfect for when you have a great composition but the sky decided to be a boring grey slab.
Keeping it Natural
The goal of editing landscapes is usually to enhance what was already there, not to make it look like a neon alien planet. Watch out for over-saturating your greens and blues. If you want to see how high-end landscapes should look, take a look at the gallery at Edin Fine Art.
Common Mistakes to Avoid
We’ve all been there. You get home, upload your photos, and realize they aren't quite what you hoped. Usually, it's one of a few common errors.
- Crooked Horizons: Nothing ruins a photo faster than the ocean leaking out the side of the frame. Use the level in your camera or fix it in post.
- Too Much Clutter: If there are too many things competing for attention, the viewer won't know where to look. Simplify your scene.
- Ignoring the Midground: We often focus on the foreground and the background but forget the space in between.
- Not Checking Your Corners: Watch out for stray branches or trash entering the edges of your frame.
For a deeper dive into what might be going wrong, check out our post on 7 mistakes you’re making with landscape photography.
Specialized Landscape Techniques
Once you have the basics down, you can start playing with more advanced techniques.
Long Exposures and Water
Capturing movement in water is a landscape photography staple. Whether it's a waterfall, a lake, or the ocean, using a slow shutter speed creates a sense of peace and motion. You might need an ND (Neutral Density) filter to do this during the day. For a complete walkthrough, see our techniques for stunning water photography guide.
Focus Stacking
Sometimes, f/11 isn't enough to get that flower six inches from your lens and the mountain five miles away both tack-sharp. Focus stacking involves taking multiple shots at different focus distances and merging them in software later. It’s a bit more work, but the results are incredible.
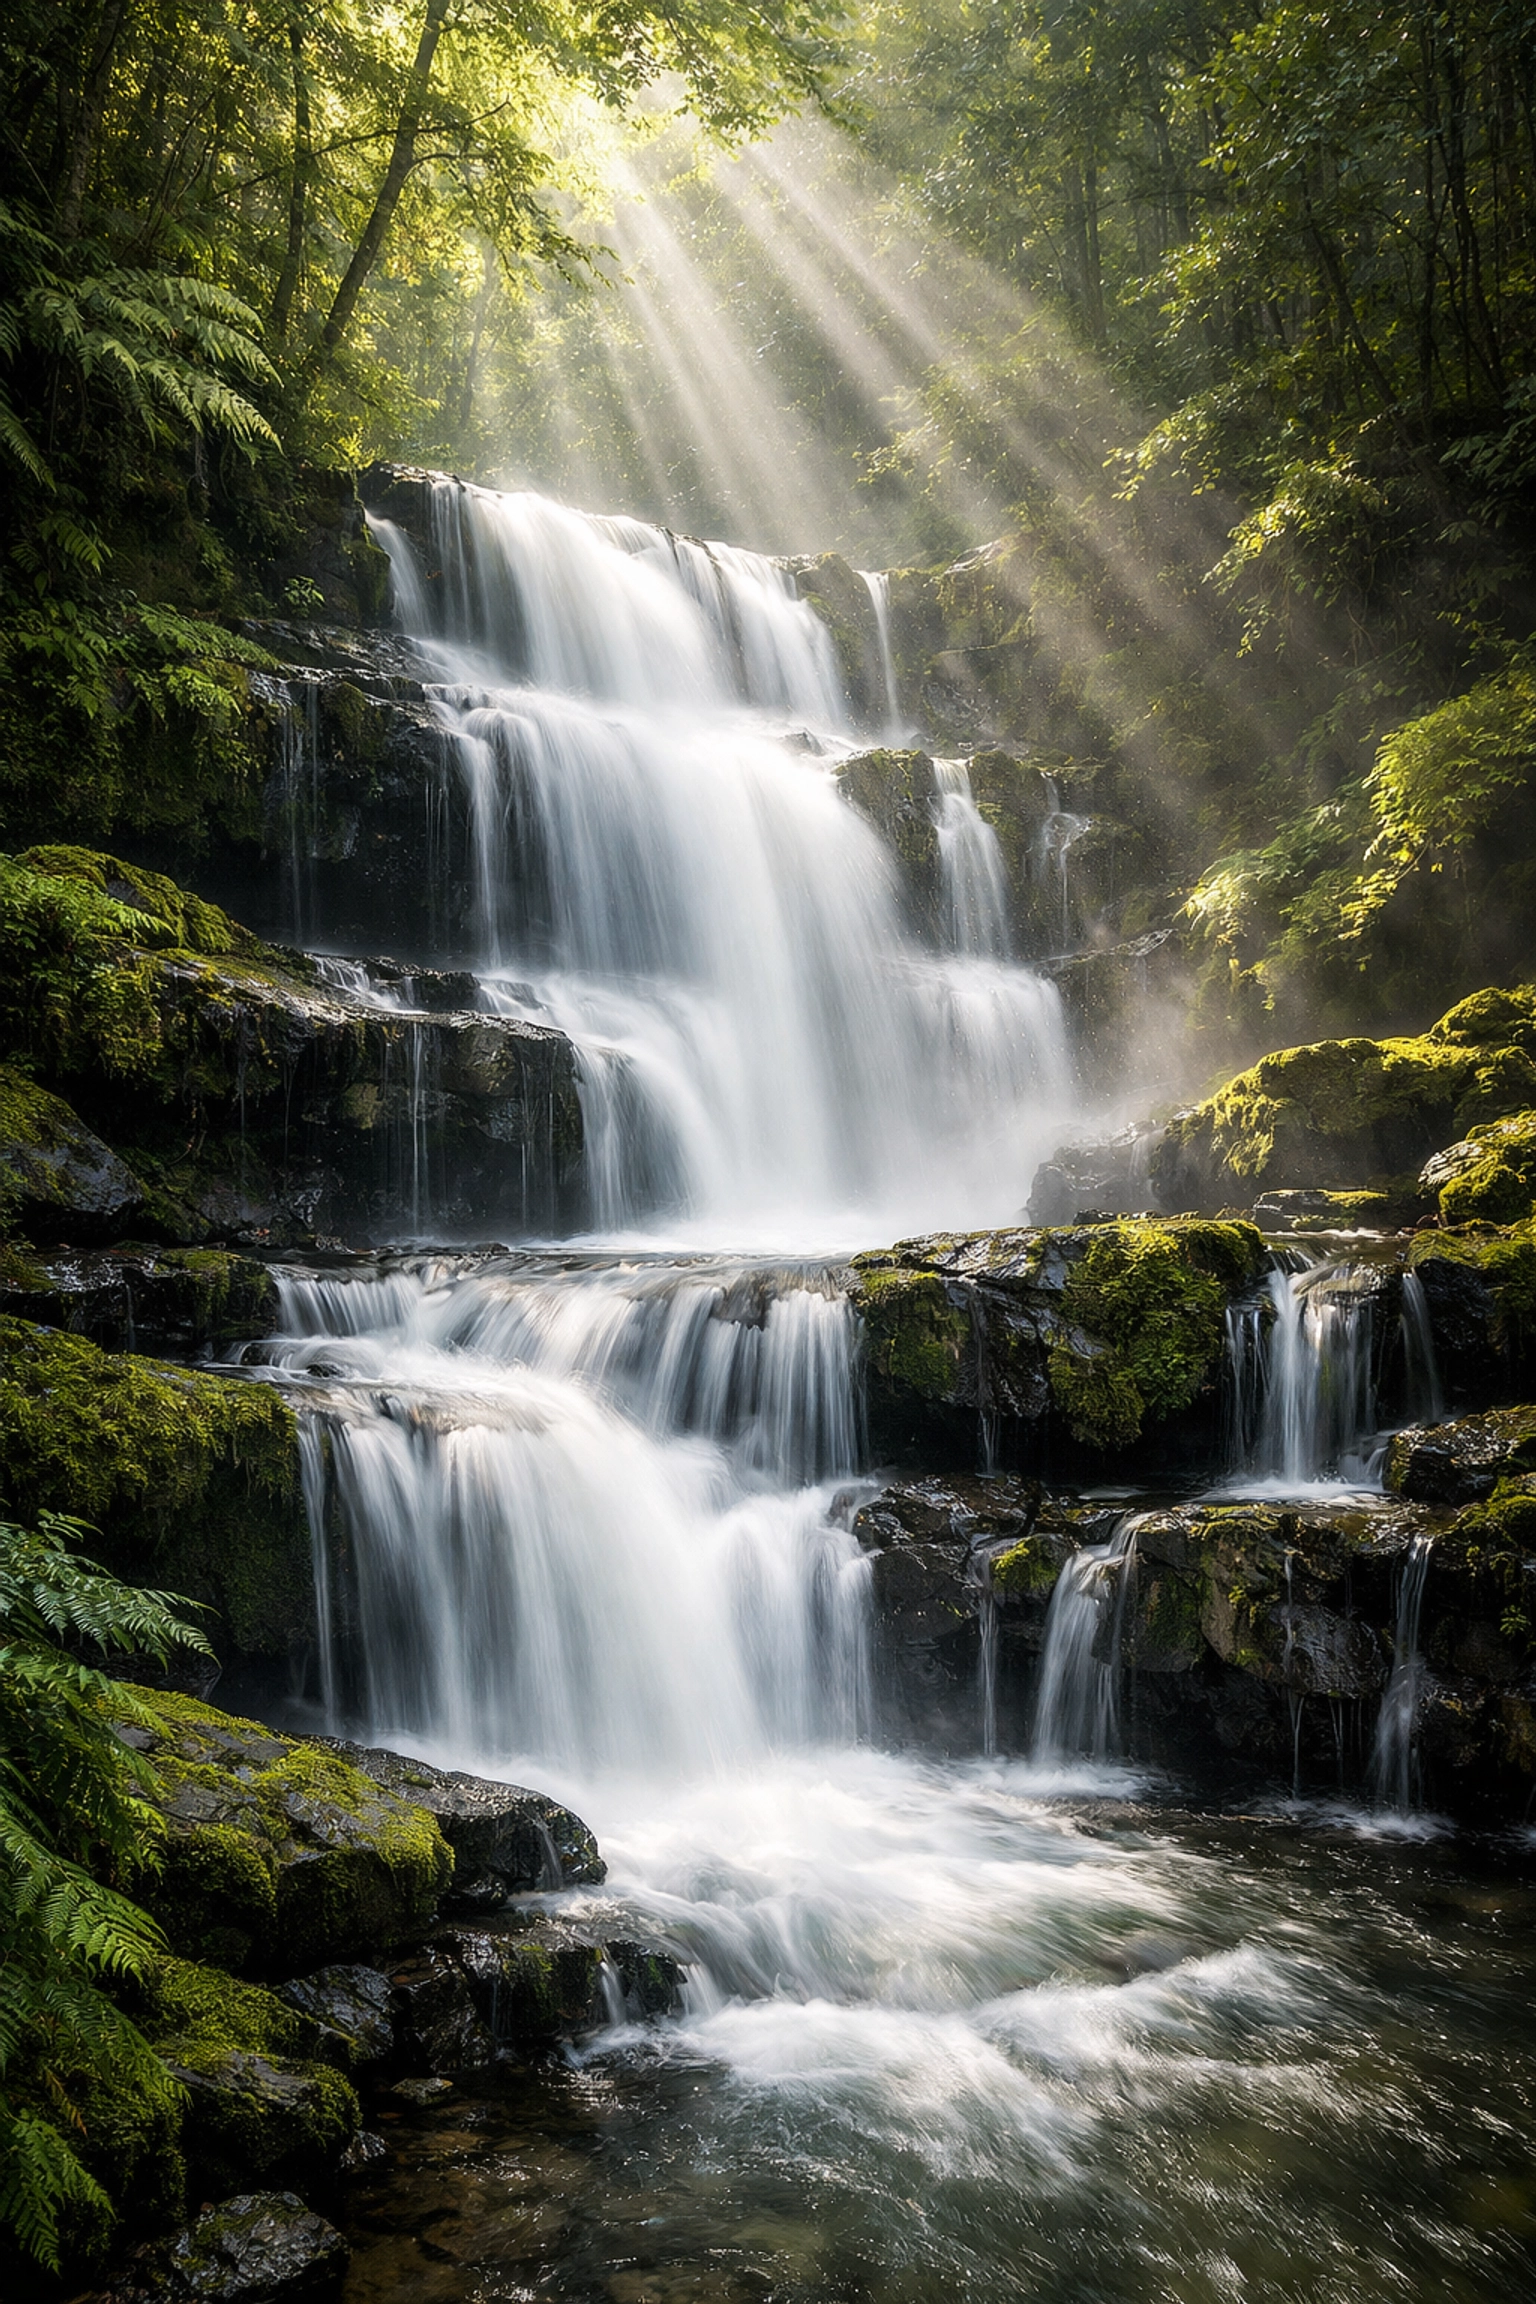
SEO Alt Text: A long exposure photograph of a waterfall, showing the water as a smooth, silky white veil against dark mossy rocks.
Staying Inspired and Informed
The world of photography moves fast. From photography news about the latest sensor technology to new creative trends, staying in the loop is vital.
Don't be afraid to step outside your comfort zone. Sometimes, taking a break from landscapes to try portrait photography techniques or looking for street photography ideas can actually help your landscape work by teaching you new ways to see light and shadow.
Landscape photography is a journey, literally and figuratively. It takes you to beautiful places and challenges you to see the world differently. It’s about more than just the "hero shot"; it’s about the experience of being out in nature and capturing a moment that will never happen exactly the same way again.
If you’re ready to take your work to the next level, keep practicing, keep hiking, and most importantly, keep shooting. Check out more landscape photography tips on our site to keep the momentum going. Whether you are exploring ethereal landscapes or picturesque coastal escapes, there is always another story to tell through your lens.


