
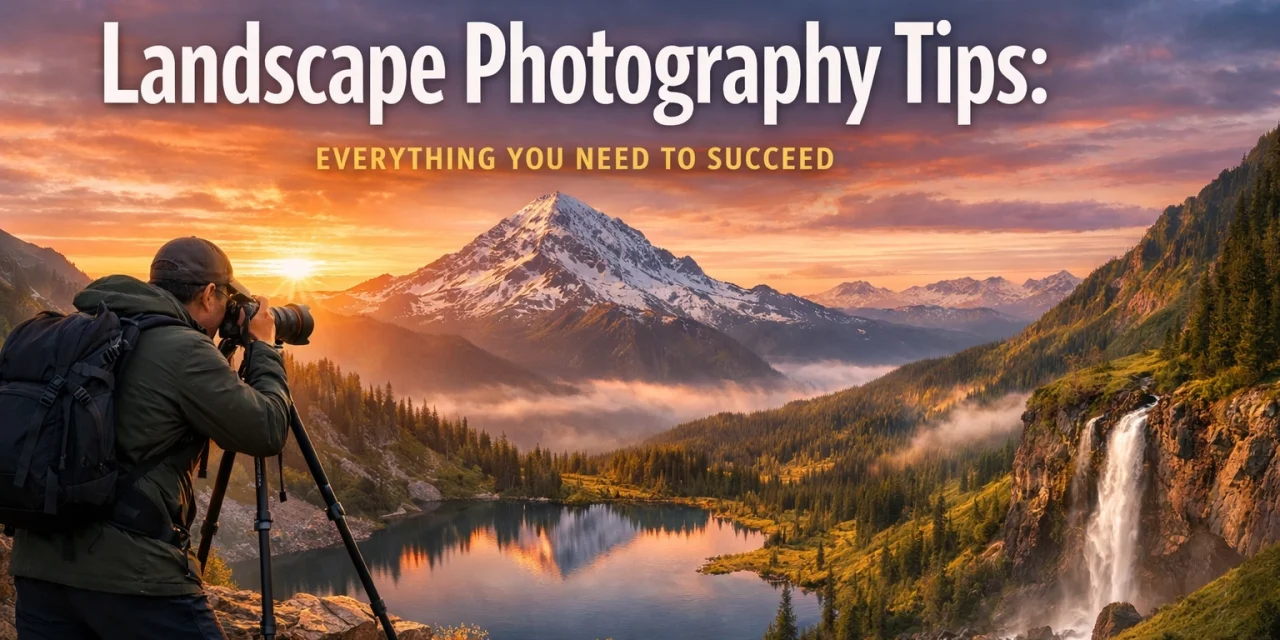
Let’s be real: we’ve all been there. You’re standing in front of a mountain range that looks like it belongs on a postcard. The air is crisp, the light is hitting the peaks just right, and you feel like a National Geographic explorer. You pull out your camera, click the shutter, and… the photo looks like a flat, muddy mess.
Landscape photography is one of those things that looks easy but is actually a giant puzzle. It’s not just about pointing your lens at something pretty. It’s about composition, light, timing, and a whole lot of patience. If you’ve been struggling to capture the "wow" factor, don’t sweat it. Whether you are a total newbie or looking to sharpen your skills, this guide is going to walk you through everything you need to know.
At Shut Your Aperture, we believe photography should be simple, fun, and accessible. So, let’s dive into the dirt and figure out how to take better landscape photos today.
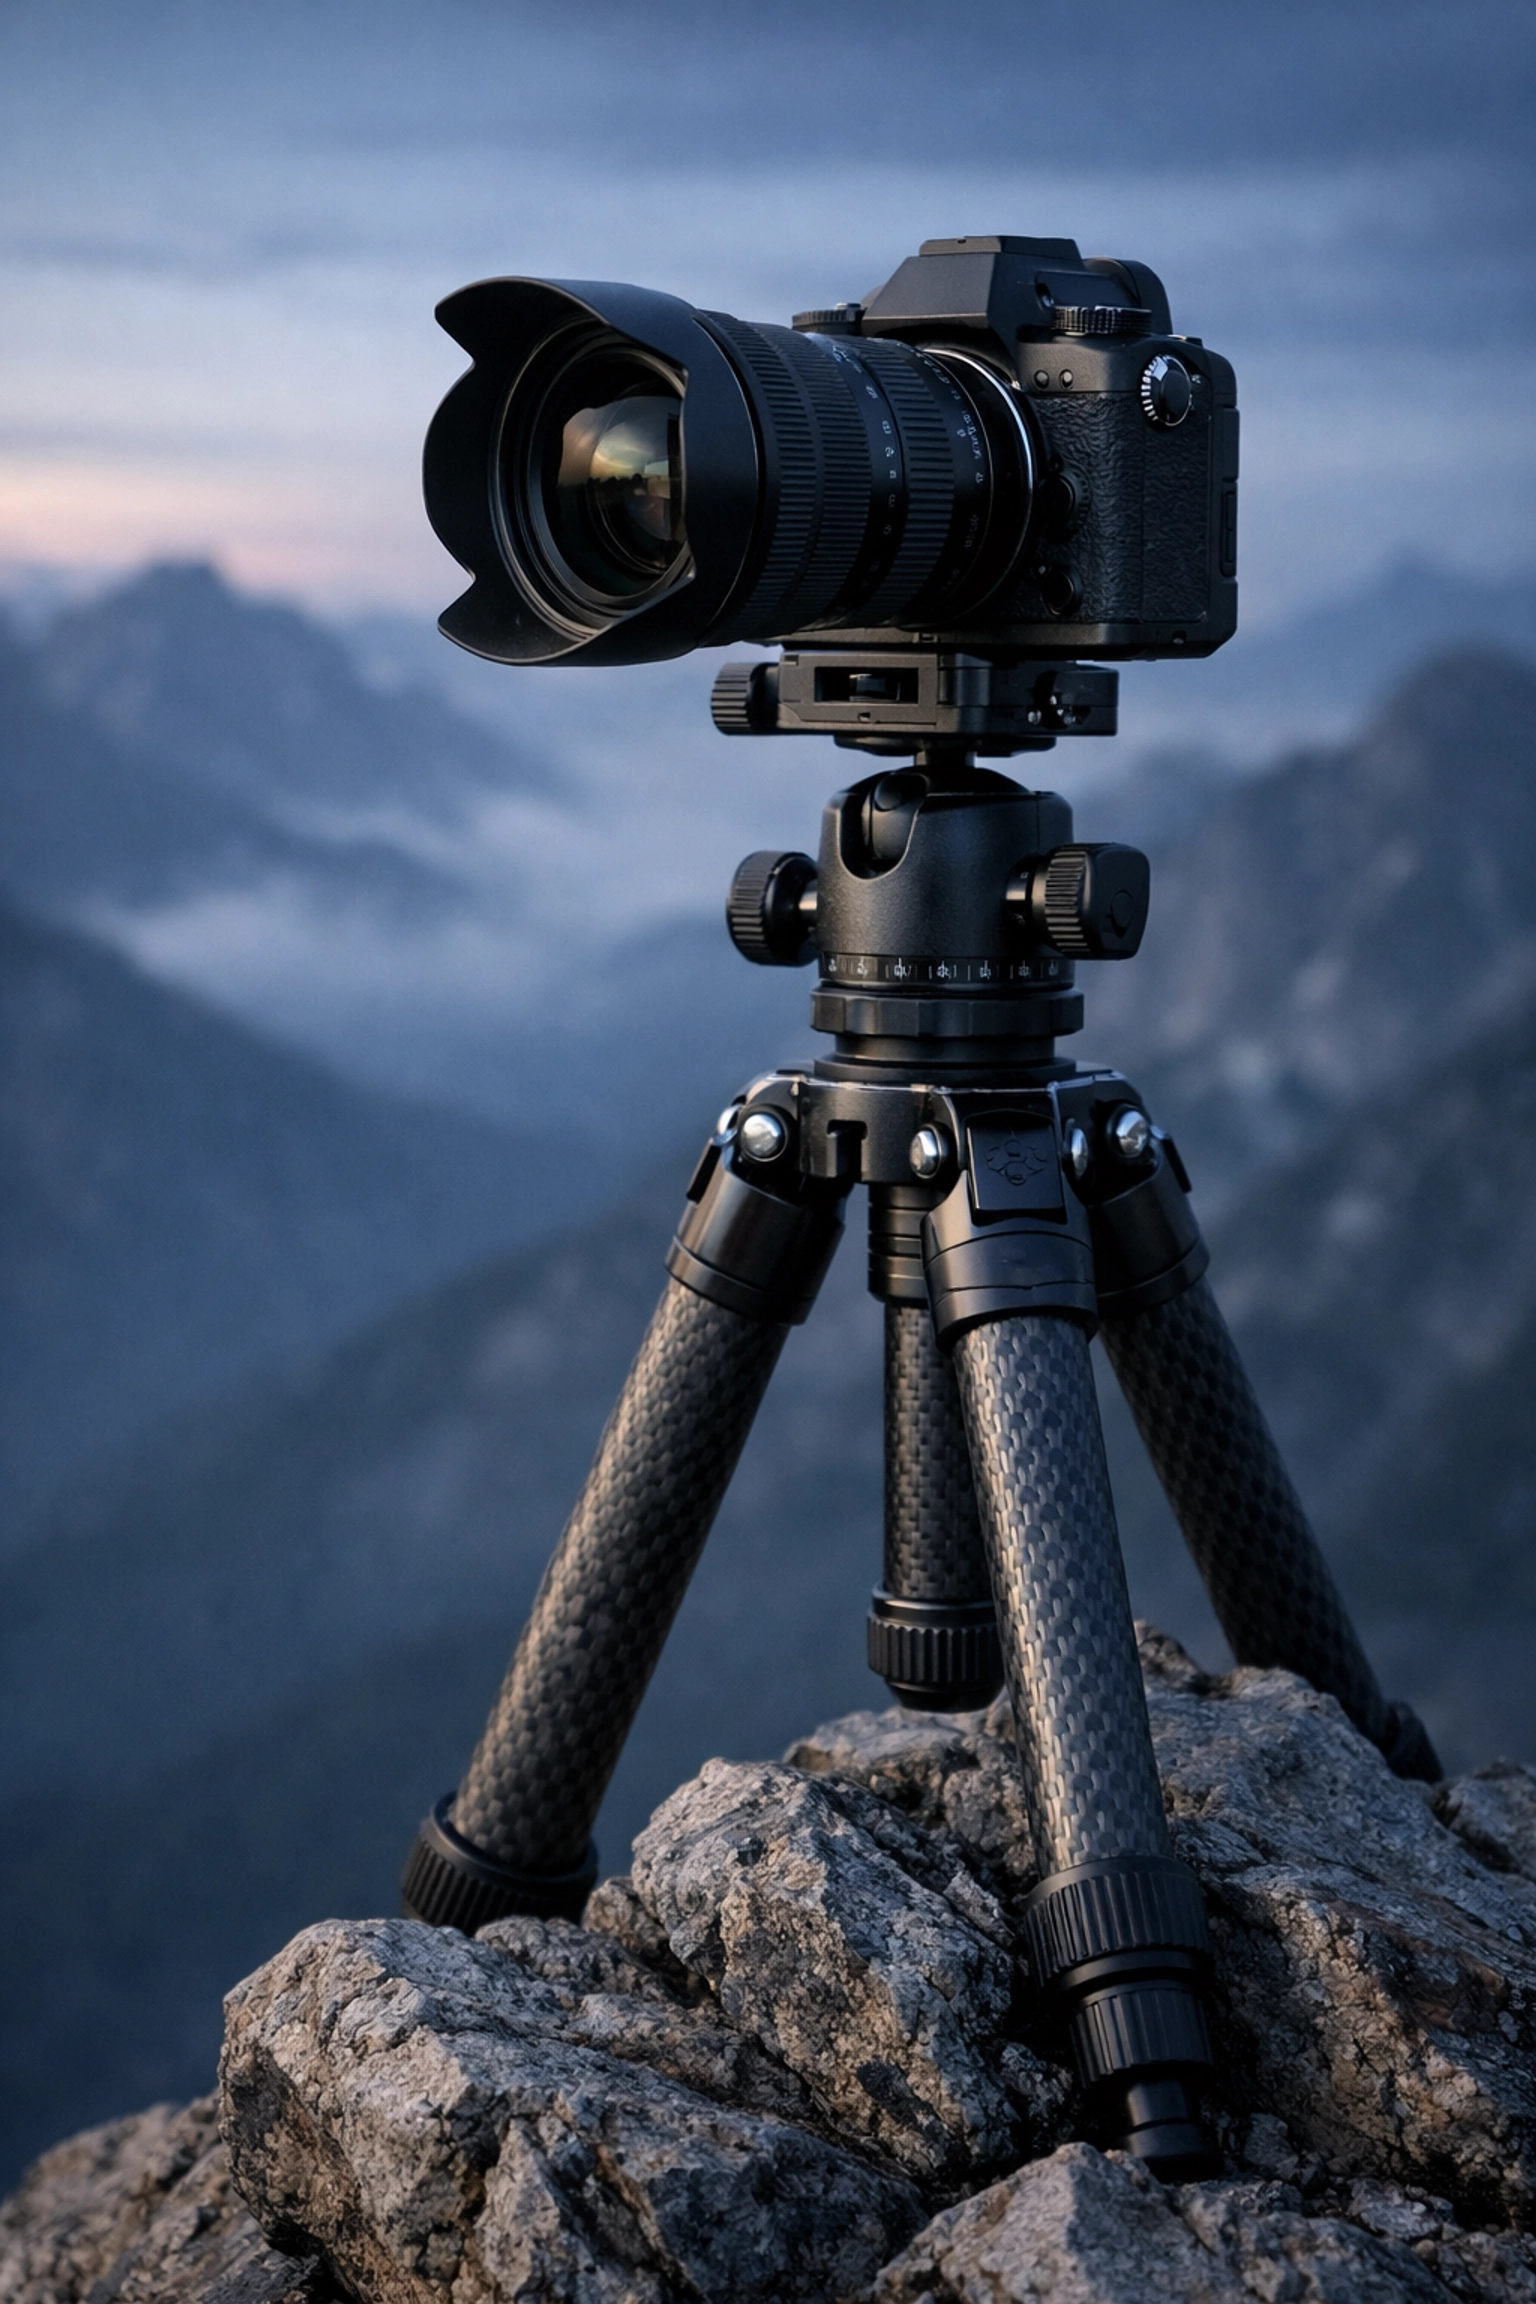
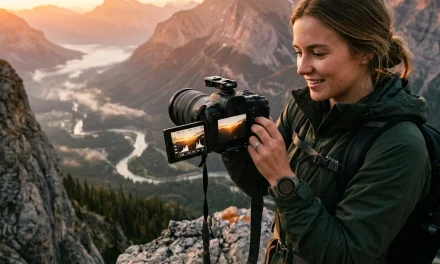
1. Stop Buying Gear and Start Using a Tripod
The biggest myth in photography is that you need a $10,000 setup to take a good photo. You don’t. You can take incredible landscapes on an entry-level DSLR or even a high-end smartphone. However, if there is one piece of gear you absolutely must have, it’s a tripod.
Why? Because landscape photography is a game of "smallness." You want a small aperture (high f-stop) to keep everything from the front rock to the back mountain sharp. You want a low ISO to keep the image clean. When you combine these two, your shutter speed slows down. If you try to hand-hold a camera at 1/4th of a second, your photo will be a blurry disaster.
A tripod allows you to slow down, compose your shot properly, and keep things tack-sharp. If you’re looking for gear recommendations that won't break the bank, check out some of the resources over at www.proshoot.io or browse PhotoGuides.org.
2. Master the "Golden Trio" of Camera Settings
If you’re still shooting on "Auto," it’s time to stop. We’ve covered mastering photography tips before, but for landscapes, the rules are pretty specific. You need to understand the relationship between Aperture, ISO, and Shutter Speed.
- Aperture (f-stop): Aim for f/8 to f/16. This creates a large depth of field, meaning most of your scene will be in focus. Avoid going all the way to f/22, as "diffraction" can actually make your image softer.
- ISO: Keep this as low as possible (usually ISO 100). Low ISO means less "noise" or grain, which is vital when you want to show off the fine details of a forest or a desert.
- Shutter Speed: Once your Aperture and ISO are set, let the shutter speed do what it needs to do. This is where that tripod comes in handy. If it’s 2 seconds, fine. If it’s 30 seconds, also fine.
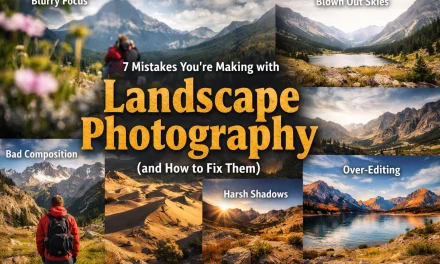
If you’re finding that your settings are still leading to "blah" images, you might be making some common mistakes. Check out our guide on 7 mistakes you’re making with landscape photography to see if you can spot your own habits.
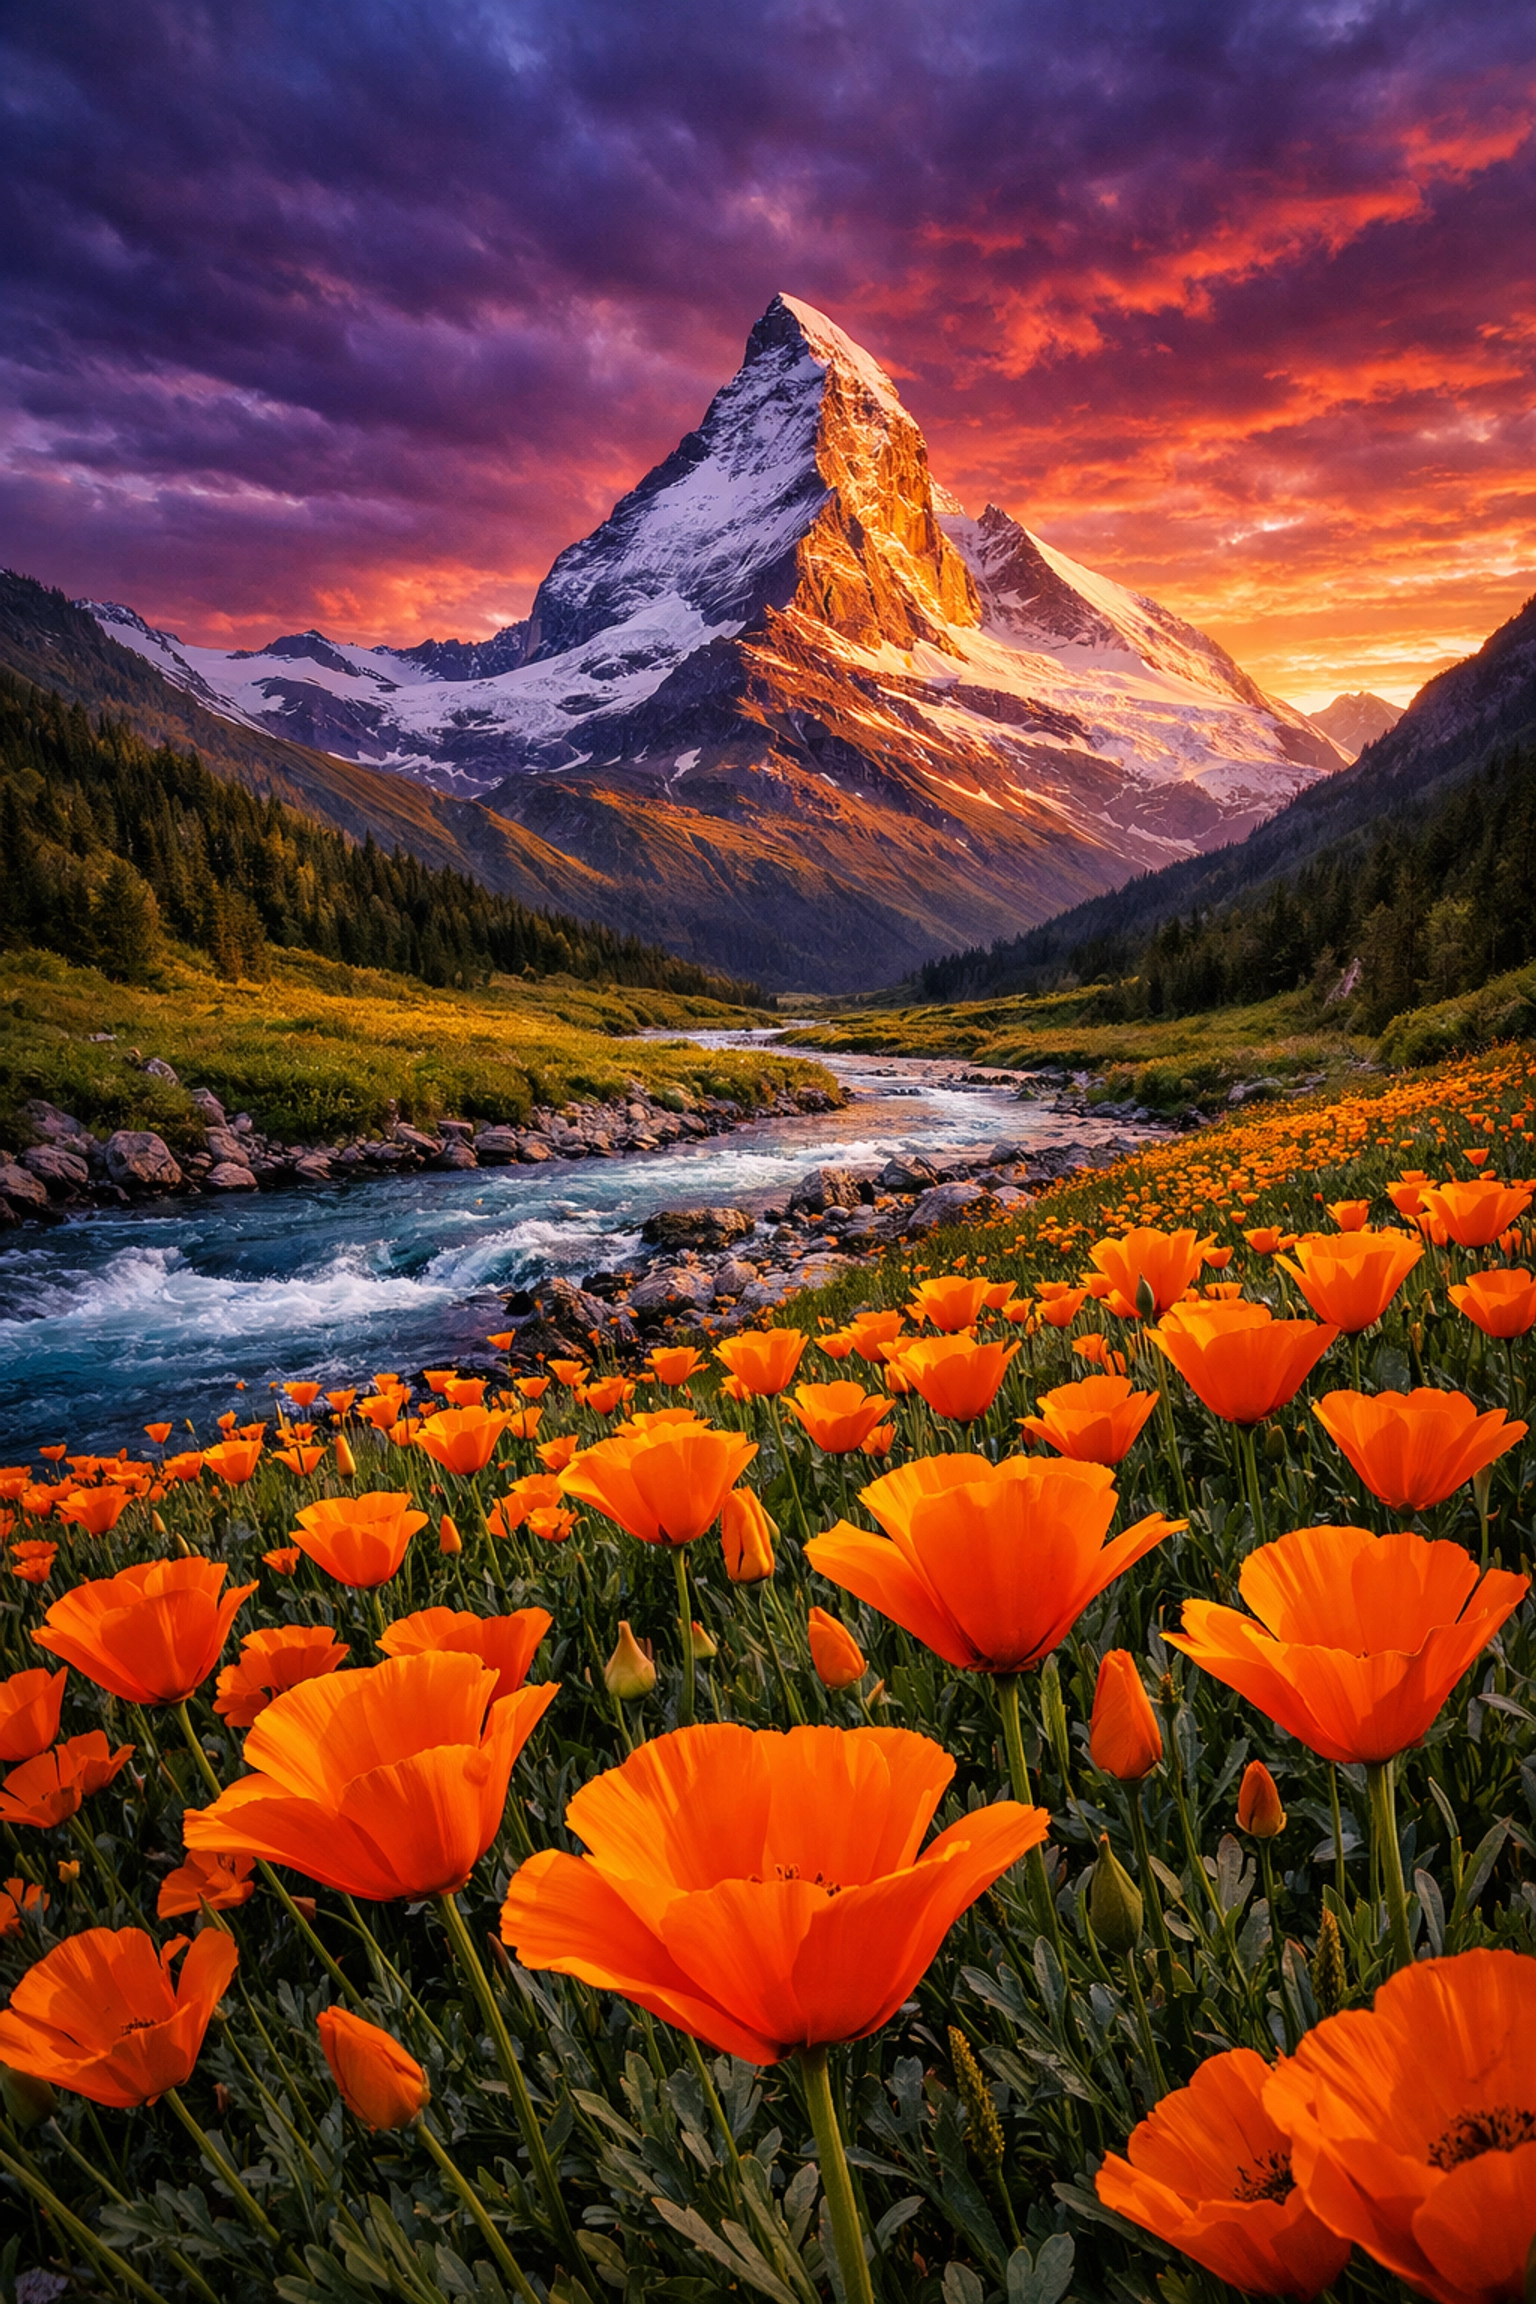
3. The Power of the Wide-Angle Lens
While you can shoot landscapes with any lens, a wide-angle lens (anything 24mm or wider) is the gold standard. It allows you to capture that sense of scale and vastness. It’s not just about "fitting more in"; it’s about exaggerating the distance between the foreground and the background.
When you use a wide lens, things close to the camera look huge, and things far away look tiny. This creates a sense of depth that draws the viewer into the frame. For more advanced takes on lens choice, Edin often shares his personal favorites on his personal blog.
4. Composition: The Secret Sauce
Composition is what separates a "snapshot" from "art." You can have the best light in the world, but if your composition is messy, the photo will fail.
The Rule of Thirds
Imagine your frame is divided into a 3×3 grid. Most people put the horizon right in the middle. Don't do that. Put the horizon on the bottom third line if the sky is amazing, or the top third line if the ground has more interesting details. Put your main subject (a tree, a person, a lone rock) on one of the intersections. It feels more natural to the human eye.
Leading Lines
Use the environment to point the viewer's eyes where you want them to go. A winding road, a river, or even the edge of a mountain range can serve as a "leading line." These lines create a journey for the viewer to follow.
Foreground Interest
This is the one tip that will immediately level up your photos. Find something interesting to put in the front of your shot: a patch of flowers, a textured rock, or some ice. It gives the photo a "base" and creates a 3D effect. You can see how this technique is used even in other niches, like shot composition in real estate, to make spaces look more inviting.
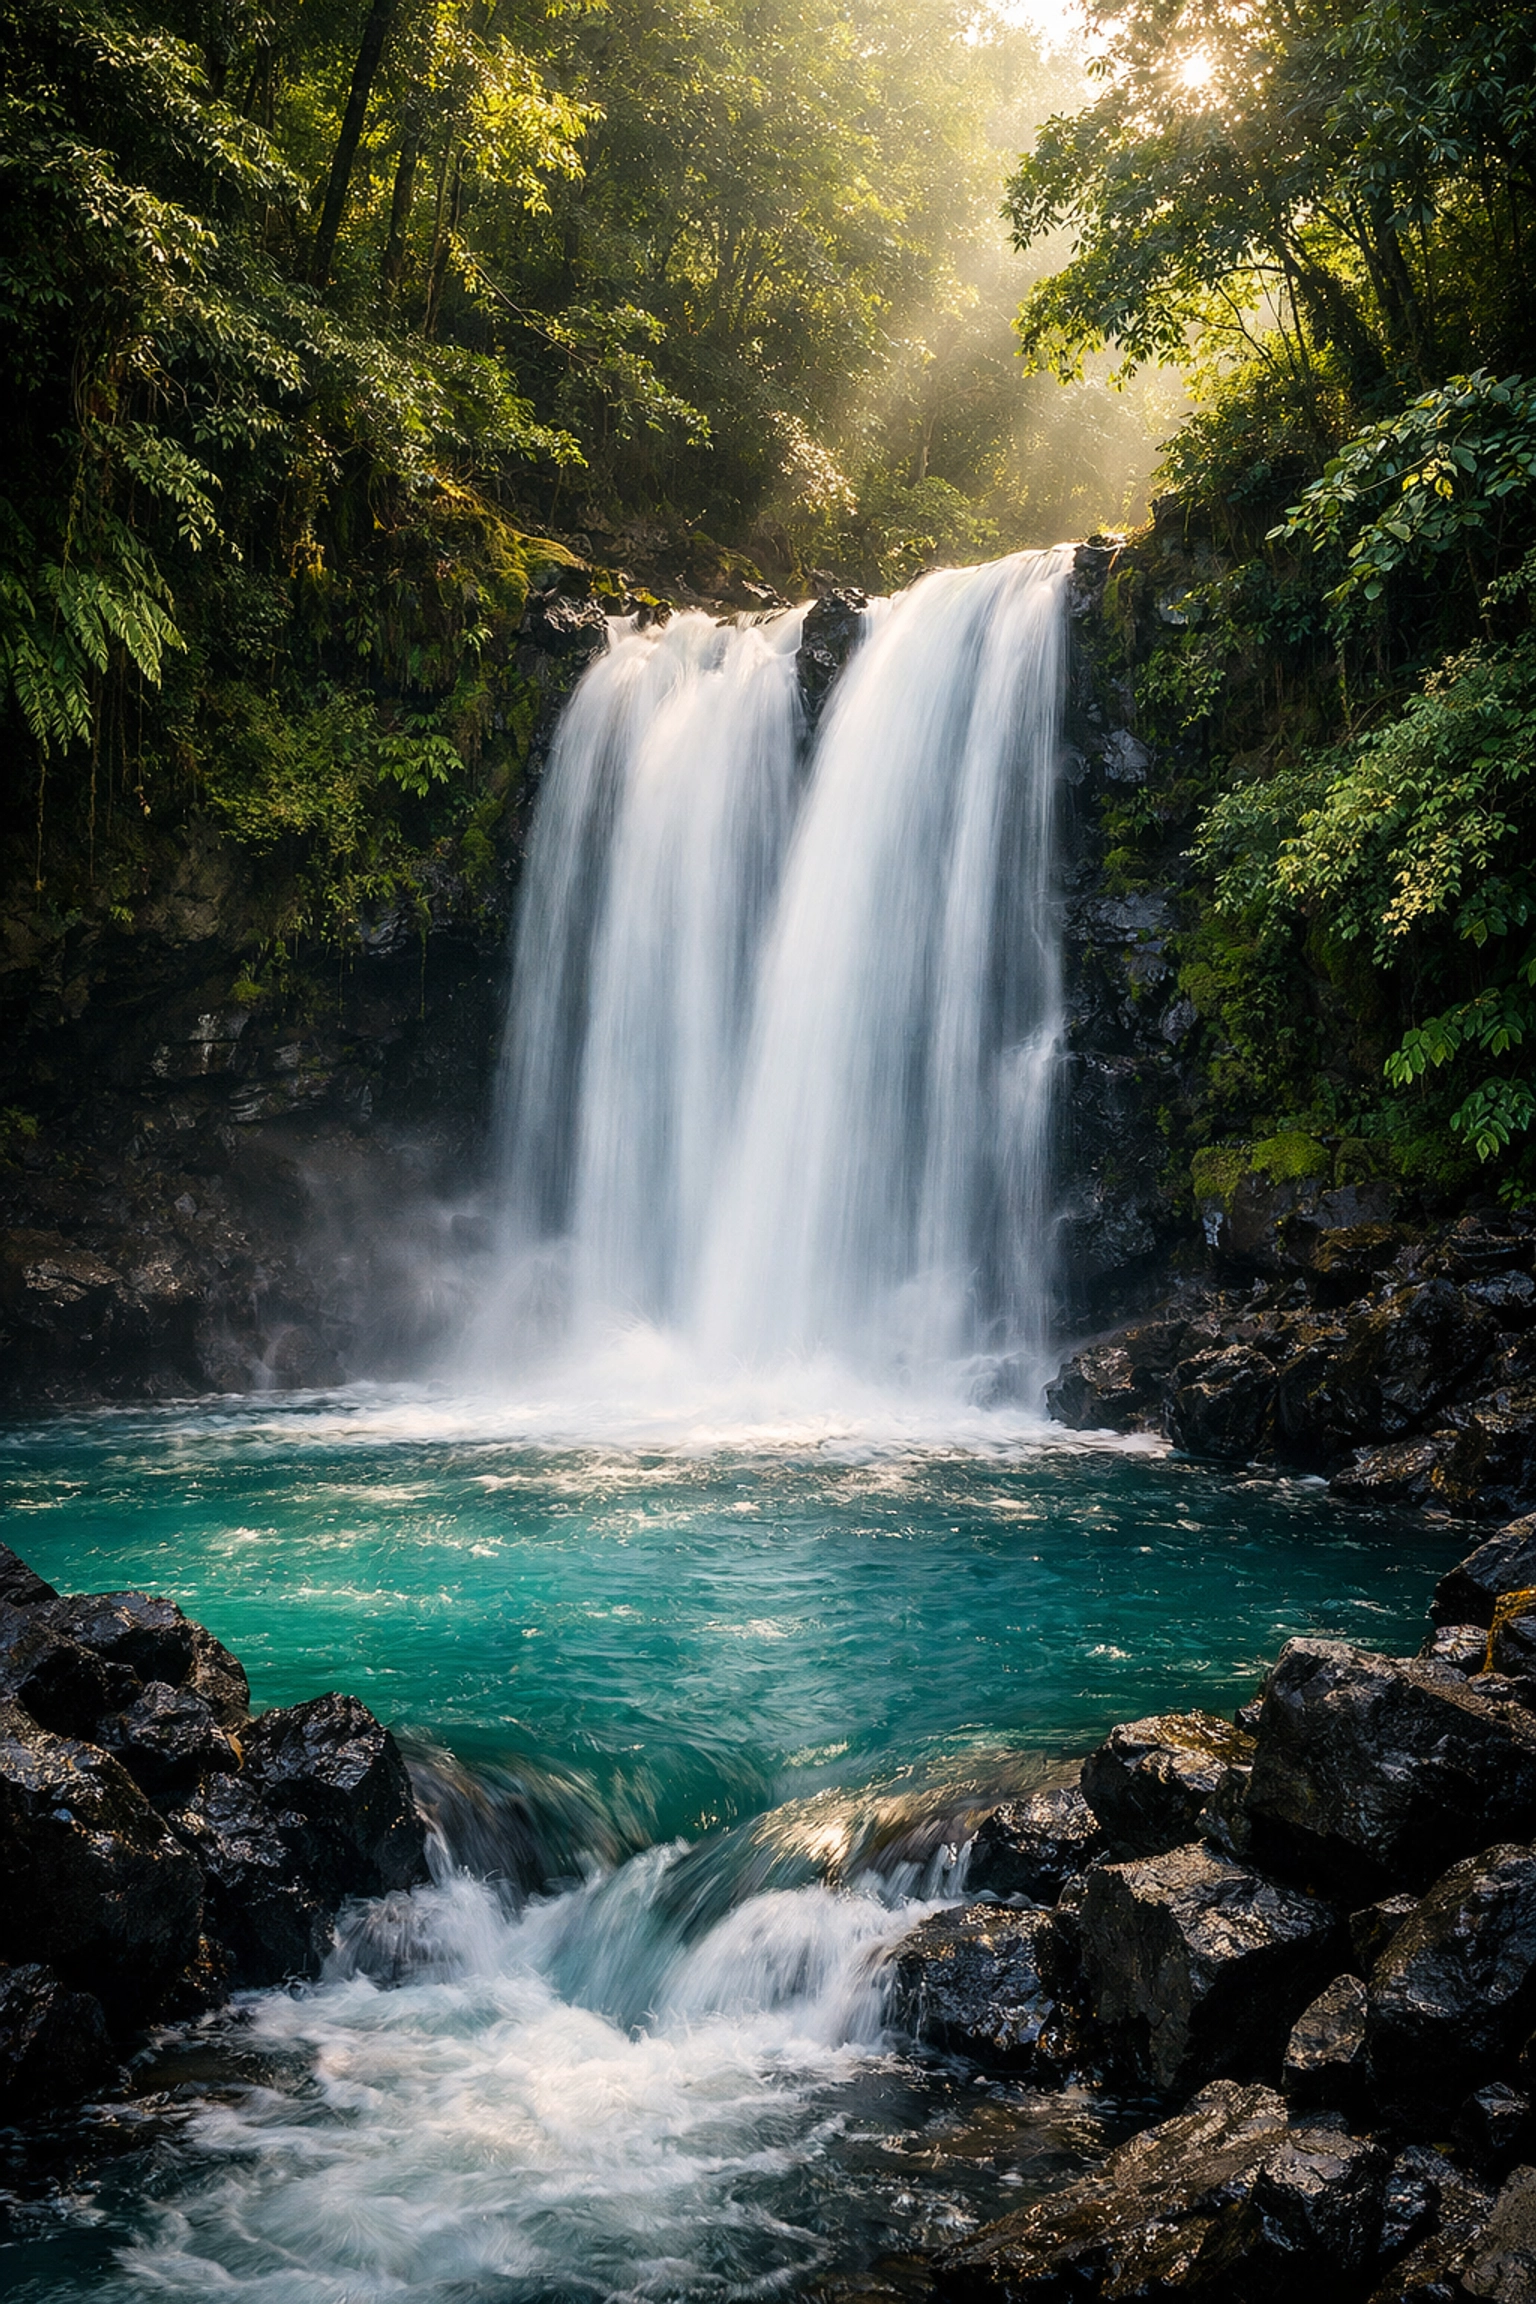
5. Chasing the Light (Sleep is for the Weak)
Midday sun is the enemy of landscape photography. It’s harsh, it creates ugly shadows, and it washes out colors. If you want the "Peter Lik" look: vibrant, moody, and ethereal: you have to shoot during the "Golden Hour."
The Golden Hour is the hour after sunrise and the hour before sunset. The light is soft, warm, and hits the landscape at an angle, highlighting textures and shapes. If you miss that, stick around for the "Blue Hour" (just after sunset), where the world turns a cool, moody blue.
If you’re curious about how light impacts the "feel" of a place, we’ve talked about the role of luminosity before. While that article focuses on buildings, the principles of how light creates mood are exactly the same in the wild.
6. Planning and Scouting
Most great landscape photos aren't accidents. They are planned. Professional photographers spend hours looking at maps, weather reports, and sun-tracking apps.
Before you go, use Google Earth to see the terrain. Use apps like PhotoPills to see exactly where the sun will rise and set. If you’re traveling to a new spot, look up Peter Lik’s favorite locations for adventure for some inspiration. The guy knows where the good views are hidden.

7. Learning from the Best: The Peter Lik Influence
You can’t talk about modern landscape photography without mentioning Peter Lik. Whether you love his style or think it’s a bit much, he changed the game. He focuses on high-impact, panoramic shots that feel almost larger than life.
We’ve spent a lot of time analyzing his work, from the techniques behind Peter Lik’s photography to his iconic works through the years. One thing you can learn from him is his commitment to the "creative process." He doesn't just take a photo; he captures a moment and then uses post-processing to bring out the emotion he felt while standing there. You can read more about that in our post on Peter Lik’s creative process revealed.
8. Post-Processing: Making it Pop
Taking the photo is only 50% of the job. The other 50% happens in the digital darkroom. Raw files out of the camera often look flat and boring. You need to add back the contrast, saturation, and sharpness that your eyes saw in person.
While Adobe Lightroom is the industry standard, many landscape photographers are moving toward Luminar. It’s incredibly intuitive and has AI-powered tools that can enhance skies and foliage in seconds.
Don't go overboard, though. You want your photo to look like a better version of reality, not a scene from a sci-fi movie. If you want to see how high-end editing can transform an image into something "fine art," check out Edin Fine Art.
9. Perspectives and Vistas
Sometimes, the best way to capture a landscape is to change your perspective. Most people shoot at eye level. Try getting low to the ground, or if you have the budget, get a drone.
Manipulating perspective isn't just for mountains; it’s a key part of how we handle vistas and perspectives in real estate. The goal is to make the viewer feel the scale of the environment. If you want to take it to the next level, aerial photography provides a "bird's eye view" that humans rarely get to see, which automatically makes an image more interesting.
10. The Importance of Patience
Landscape photography is a waiting game. You might hike four hours, set up your tripod, and then watch a giant cloud roll in and ruin the light. It happens.
The "pros" aren't just better at using cameras; they are better at waiting. They will sit in the cold for three hours just for a thirty-second window where the sun breaks through the clouds. If you want to succeed, you have to be okay with coming home with nothing sometimes. But when it all clicks: the light, the clouds, the composition: it’s the best feeling in the world.
Why Does This Matter?
In a world full of quick AI-generated images and filtered selfies, landscape photography reminds us of the actual beauty of the planet. It’s a way to disconnect from the noise and reconnect with nature.
Whether you’re hoping to sell prints like Peter Lik or you just want to have some cool photos for your wall, these tips will get you there.
Remember, photography is a journey. You’re going to take a lot of bad photos before you take a great one. Don't get discouraged. Keep shooting, keep experimenting with Luminar, and keep looking for that perfect light.
For more deep dives into the world of professional imagery, check out Edin Studios or explore how these lessons in landscape photography can be applied to almost any visual medium.
Now, grab your camera (and your tripod!) and get out there. The mountains are waiting.


