Let’s be real for a second: that little “M” on your camera dial is terrifying. It’s like the cockpit of a Boeing 747: lots of buttons, numbers that don’t seem to make sense, and a very real fear that if you touch the wrong thing, everything is going to crash and burn. Most people stay in "Auto" because it’s safe. It’s the "vanilla latte" of photography. It’s fine, but it’s not exactly a masterpiece.
If you want to move from being someone who "takes pictures" to someone who "creates images," you have to learn how to use manual mode camera settings. Mastering manual mode isn't just a technical hurdle; it’s the key to your creative freedom. At Shut Your Aperture, we believe everyone can master this, and honestly, once you get the hang of it, you’ll never want to go back to Auto again.
In this deep dive into photography tutorials, I’m going to break down the exposure triangle, show you how to read your camera’s mind, and give you a step-by-step workflow to nail every shot.
Why Even Bother with Manual Mode?
You might be thinking, "Edin, my camera cost $3,000. It’s smart. Why should I do the work?"
Here’s the deal: your camera is a math genius but an artistic idiot. It wants every photo to be a middle-grey exposure. It doesn’t know you’re trying to capture a moody, dark silhouette or a bright, airy wedding dress. When you leave the decisions to the camera, it guesses. Manual mode lets you tell the story.
If you want to take your skills to the next level, you should definitely check out the full curriculum at Shut Your Aperture School. We go way beyond the basics there.
The Holy Trinity: The Exposure Triangle
Every single photo you’ve ever seen is the result of three things: Aperture, Shutter Speed, and ISO. Think of these as a three-legged stool. If one leg is too short or too long, the whole thing falls over.
1. Aperture (The "Eye")
Aperture is the opening in your lens. It’s measured in f-stops (like f/1.8, f/8, or f/22).
- Low numbers (f/1.8): A wide opening. Lots of light comes in. This gives you that "blurry background" (bokeh) look. Great for portraits.
- High numbers (f/22): A tiny opening. Less light comes in. Everything from the flower in front of you to the mountain in the back is sharp. Great for landscapes.
If you’re shooting with a specific setup, like the Sony a7R V settings for landscape photography, you’ll see how crucial aperture is for getting those epic shots.
2. Shutter Speed (The "Timer")
This is how long the sensor is exposed to light.
- Fast Shutter (1/1000s): Freezes motion. Perfect for sports or a bird in flight.
- Slow Shutter (1/10s or longer): Blurs motion. This is how you get those silky-smooth waterfalls.

SEO Alt Text: A side-by-side comparison of a fast shutter speed freezing a splash of water and a slow shutter speed creating a silky motion blur effect.
3. ISO (The "Sensitivity")
ISO is your sensor’s sensitivity to light.
- Low ISO (100): Best image quality, no "noise" or grain. Use this when it’s bright outside.
- High ISO (3200+): Allows you to shoot in the dark, but it adds "noise" (that grainy look).
How to Use Manual Mode Camera: The Step-by-Step Workflow
When you first switch to "M," your brain might freeze. Take a breath. Here is the exact order I use when I’m out in the field.
Step 1: Set Your ISO
Start with the lowest ISO possible for your lighting conditions. If you’re outside in the sun, set it to 100. If you’re inside a dark church shooting a wedding (maybe check out our Canon EOS R6 Mark II settings for wedding photography for more on that), you might start at 800 or 1600.
Step 2: Choose Your Aperture
What do you want the photo to look like? Do you want a blurry background? Go for f/2.8. Do you want everything sharp? Go for f/11. Your aperture is your biggest creative tool, so set it first.
Step 3: Adjust Your Shutter Speed
Now, look through your viewfinder. You’ll see a little scale with a "0" in the middle. This is your light meter. Dial your shutter speed wheel until the marker is right in the middle (at zero).
Step 4: Take a Test Shot and Review
Digital cameras are amazing because you get instant feedback. Take the shot, look at the screen, and check your histogram. Is it too dark? Slow down your shutter speed. Too bright? Speed it up.

SEO Alt Text: A photographer looking at the back of a mirrorless camera screen, reviewing a histogram to ensure perfect exposure in manual mode.
Mastering the Light Meter
Your light meter is your best friend. It’s the little bar at the bottom of your viewfinder that looks like this:-2 . . . 1 . . . 0 . . . 1 . . . 2+
If the little ticker is on the minus side, your photo will be underexposed (too dark). If it’s on the plus side, it’ll be overexposed (too bright). Your goal is usually to get it to the "0," but remember, you’re the boss. If you want a dark, moody shot, aiming for -1 might be exactly what you need.
Specialized Settings for Different Genres
Manual mode isn't a "one size fits all" thing. Depending on what you’re shooting, your priorities change.
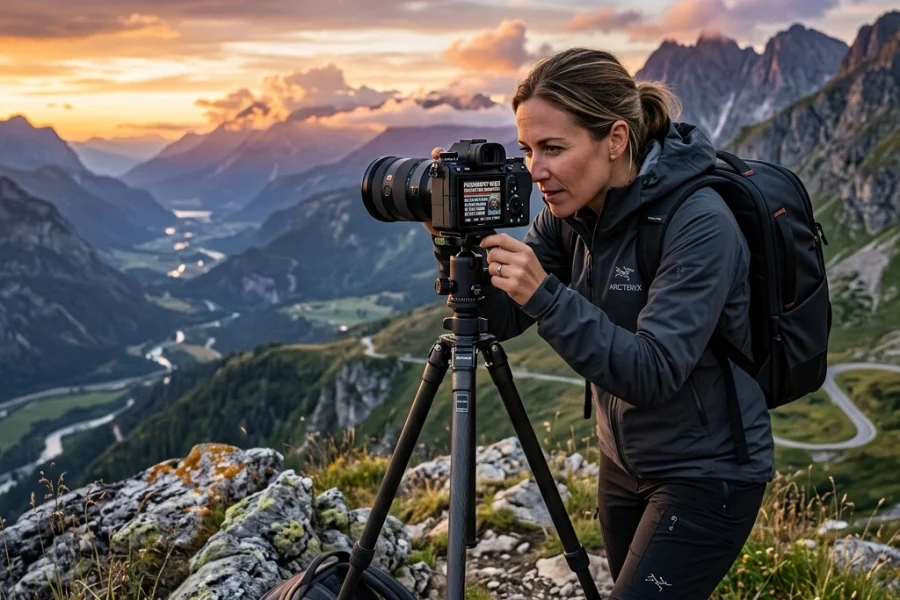
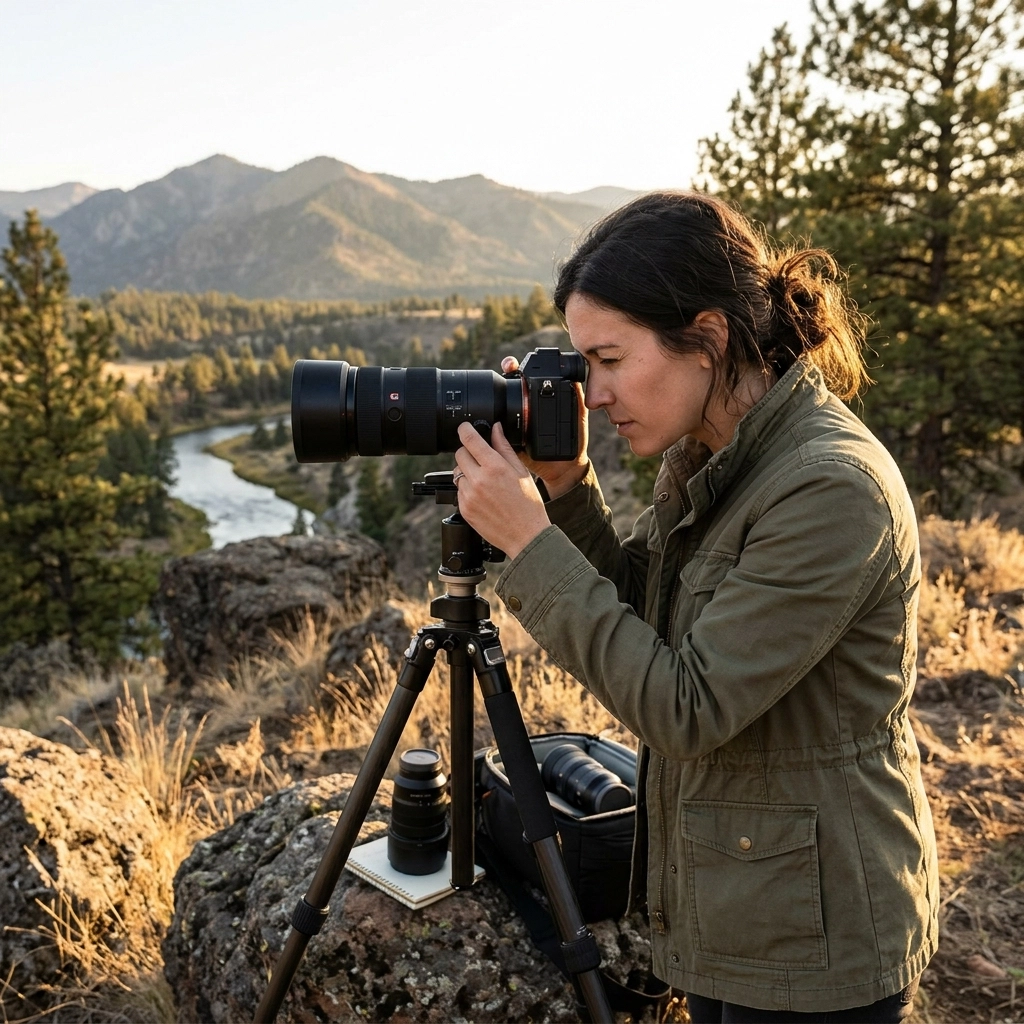
- For Landscapes: You usually want a high f-stop and a low ISO. Since things aren't moving fast, your shutter speed can be whatever it needs to be (use a tripod!). Check out these top 10 landscape photography tips for more.
- For Sports/Wildlife: Shutter speed is king. You need at least 1/1000s to freeze action. If you're using an OM System, our OM System OM-1 Mark II settings for wildlife photography will save you a lot of headache.
- For Real Estate: Consistency is key. You want everything sharp and bright. See our guide for real estate photography to master those interior shots.
The RAW Truth: Why You Need to Switch Formats
If you are shooting in Manual Mode but still saving your files as JPEGs, you’re doing yourself a massive disservice. JPEGs are "baked" files. The camera makes decisions about color and contrast and then throws away the rest of the data.
RAW files, on the other hand, keep everything. If you mess up your exposure in manual mode (which you will, trust me), a RAW file allows you to recover shadows and highlights that would be lost forever in a JPEG.
Once you have those RAW files, I highly recommend using Luminar to bring them to life. It’s an incredibly intuitive tool that uses AI to help with the heavy lifting without making your photos look fake. If you're curious about AI, we have a great piece on how to integrate AI into your photography workflow that won't make your work look like a robot did it.

SEO Alt Text: A screenshot of a photo editing interface showing the before and after of a RAW file exposure recovery using Luminar.
Common Mistakes to Avoid
Even the pros mess up. Here are a few things to watch out for when you're practicing your photography tutorials:
- Forgetting to check ISO: You were shooting in a dark room at ISO 3200, you walk outside into the bright sun, and your first ten shots are completely white. Always reset your "baseline" settings.
- Trusting the screen too much: Your camera screen's brightness can be deceiving. Always check your histogram.
- The Shutter Speed Trap: If you’re hand-holding your camera, don't let your shutter speed drop below 1/60s (or 1/lens focal length). Otherwise, you'll get "camera shake" and your photos will be blurry.
Gear Matters (But Not as Much as You Think)
People always ask, "What camera should I buy to shoot manual?" The truth is, any camera with a dial can do it. Whether you are looking at the Canon EOS R5 vs Sony a7R V or the Sony a7 IV vs Canon EOS R6 Mark II, both are incredible machines that will let you master manual mode.
If you’re just starting and want something more compact, even a Sony ZV-E10 II has full manual controls that allow you to learn the ropes.

SEO Alt Text: An assortment of modern mirrorless cameras from Canon, Sony, and OM System arranged on a wooden table, highlighting the manual mode dial.
Practical Exercises to Master Manual Mode
You can read all the photography tutorials in the world, but you won't learn until you actually click the shutter. Try these three exercises:
1. The Depth of Field Test
Find an object (a coffee mug, a flower, a willing friend). Set your camera to its lowest f-number (like f/1.8 or f/3.5). Take a shot. Now, change your aperture to f/11 and adjust your shutter speed to keep the meter at "0." Take another shot. Compare how the background changes.
2. The Motion Blur Challenge
Go to a busy street or a fountain. Try to take a photo where the cars or water are blurry, but the buildings are sharp. Then, try to take a photo where everything is frozen in time. This will teach you the relationship between shutter speed and light.
3. The Low Light Hustle
Go into a dimly lit room. Try to get a sharp photo without using a flash. You’ll have to balance a slow shutter speed, a wide aperture, and a high ISO. This is where you really learn the trade-offs of the exposure triangle.
For more inspiration and deep dives into the technical side, I always recommend checking out PhotoGuides.org and some of the more personal stories on blog.edinchavez.com.
Putting It All Together
Mastering manual mode is a journey. You’re going to take some bad photos. You’re going to overexpose things. You’re going to forget to change your settings. That’s okay. That’s how you learn.
The goal isn't to be perfect every time; the goal is to be in control. When you understand how to use manual mode camera settings, you stop being a passenger in your own photography and you start being the driver.

SEO Alt Text: A close-up of a hand adjusting the command dial on a professional camera, with a beautiful sunset in the background.
Photography is about capturing a feeling, a moment, a slice of time that will never happen again. Don't let a computer chip decide how that moment should look. Take the power back, turn that dial to "M," and go shoot something awesome.
If you found this guide helpful, don't forget to visit Shut Your Aperture for more gear reviews, setting guides, and tips to help you become the photographer you’ve always wanted to be. We are dedicated to being the number one photography school online, and we're glad to have you on this journey with us.