
Let’s be honest: taking a great photo is only half the battle. You can have the most expensive camera in the world, the perfect lighting, and a subject that looks like a movie star, but if you don't know how to edit, you’re leaving 50% of your photo's potential on the table.
Editing isn't about "fixing" a bad photo: it’s about bringing your vision to life. It’s the digital darkroom. Back in the day, photographers spent hours dodging and burning under red lights; today, we have sliders and AI. But because there are so many tools out there, it’s easy to feel overwhelmed.
If you’ve ever opened an editing app and thought, "Where do I even start?" this guide is for you. We're going to break down the best photo editing tutorials, the software you actually need, and a workflow that will make your images pop.
Why You Need a Solid Editing Workflow
Before we jump into the "how-to," let’s talk about the "why." A consistent workflow saves you time and ensures your portfolio has a cohesive look. Sonny, our social media manager, often tells me that the posts that perform best are the ones where the editing style is consistent and recognizable. If you’re hopping between five different filters every week, your audience won’t know what your brand is supposed to feel like.
Learning through structured tutorials helps you avoid the "trial and error" phase that can last years. Instead of guessing what the "Hues" slider does, you’ll know exactly how to use it to make your greens look lush or your skies look moody.

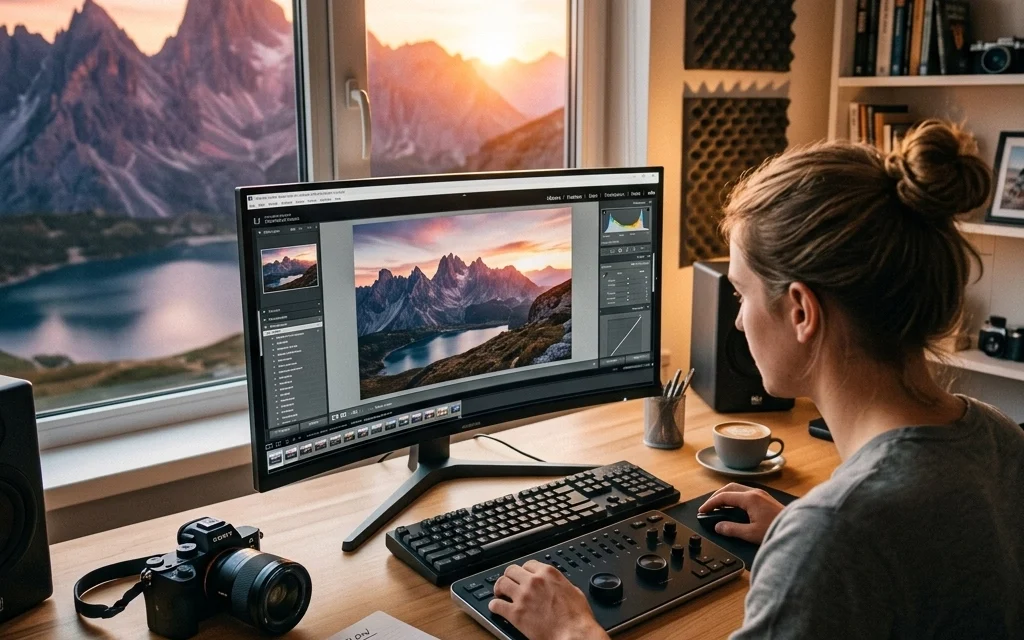
The Software: Where the Magic Happens
You can’t learn to drive without a car, and you can’t learn to edit without software. Here are the big players in the game right now.
1. Adobe Lightroom
Lightroom is the industry standard for a reason. It’s built for photographers who need to manage thousands of images while having powerful tools for color correction. If you’re just starting, Lightroom tutorials are usually the most abundant. It’s great for RAW files: and if you aren't shooting in RAW yet, check out some basics over at PhotoGuides.org to understand why you should switch today.
2. Luminar
If you want results fast without a decade of experience, Luminar is a game-changer. It uses AI to handle things like sky replacement, skin retouching, and lighting adjustments in a single click. We love it because it simplifies the complex. If you’re tired of the Adobe subscription model or just want a more intuitive interface, Luminar is the way to go.
3. Adobe Photoshop
Photoshop is for the heavy lifting. While Lightroom is for "developing" your photo, Photoshop is for "manipulating" it. Want to remove a person from the background or merge three different exposures? This is where you do it. It has a steeper learning curve, but mastering it puts you in the top tier of creators.
4. Mobile Options
For the casual shooter or the social media pro on the go, apps like Snapseed, VSCO, and Adobe Lightroom Mobile are fantastic. They offer a surprising amount of power in the palm of your hand.
The 5 Pillars of Every Good Photo Editing Tutorial
When you’re looking for tutorials, whether on YouTube or paid courses, make sure they cover these five fundamental steps. This is the "secret sauce" to a professional-looking edit.
1. Cropping and Clean-up
The first thing you should do is fix the framing. Straighten your horizons! Nothing screams "amateur" like a tilted ocean. After that, use a "healing" or "clone" tool to remove distracting elements: like a stray trash can or a sensor spot.
2. White Balance Correction
Does your photo look too blue? Too orange? Adjusting the white balance is the quickest way to make a photo look "real." Most tutorials will show you how to use the eyedropper tool to select a neutral gray or white area in your photo to set the temperature perfectly.
3. Exposure and Contrast
This is where you control the light. You want to make sure you aren't losing detail in the shadows or "blowing out" the highlights (making them pure white). Adding a bit of contrast helps the image feel less flat and more three-dimensional.
4. Color Vibrance and Saturation
Be careful here! Beginners often crank the saturation to 100. Professional tutorials will teach you to use "Vibrance" instead, which boosts the duller colors without making skin tones look like they’ve had a bad spray tan. If you’re doing professional work, like those mentioned in our post about 7 mistakes you're making with professional corporate headshots, color accuracy is everything.
5. Sharpening and Noise Reduction
Finally, you want to crisp things up. Sharpening adds definition to edges, while noise reduction smooths out the "grain" you get from shooting in low light.

Where to Find the Best Tutorials
Now, where should you actually spend your time learning? The internet is a big place, and not all advice is good advice.
- YouTube: It’s free, but it’s a rabbit hole. For high-end retouching, look for channels that focus on "non-destructive" editing. If you want to see how the pros handle fine art, Edin Chavez’s blog and his work at Edin Fine Art provide great inspiration for what the end result should look like.
- Structured Courses: Platforms like Phlearn or KelbyOne offer deep dives. These are great because they often provide the RAW files so you can follow along exactly with the instructor.
- Software Specific Guides: Skylum offers an "Ultimate Guide" for Luminar that is perfect for beginners. Since the software is AI-driven, the tutorials focus more on the creative side rather than the technical "how-to-click-this-button" side.
Advanced Techniques: Beyond the Basics
Once you've mastered the sliders, it's time to get fancy. This is where your photos start looking like they belong in a gallery or on Edin Studios.
Local Adjustments
Instead of changing the whole photo, you only change a part of it. Maybe you want the sky to be darker but the foreground to stay bright. You’ll use "Masks" or "Radial Filters" to paint in your edits exactly where you want them.
Color Grading
This is the process of adding a specific "mood" to your photo. Do you want it to feel warm and nostalgic? Or cold and cinematic? Color grading is what separates a "snapshot" from a "photograph."
Frequency Separation
This is a high-end skin retouching technique used in fashion and corporate headshots. It allows you to edit the texture of the skin (like pores and blemishes) separately from the color of the skin. It’s how you get that flawless look without making someone look like a plastic doll.

Don’t Forget the Hardware
While this is a guide about tutorials, your editing is only as good as the screen you’re looking at. If your monitor is too bright or has weird colors, your edits will look terrible when you post them online or print them.
If you’re looking to level up your professional gear or find a studio space that’s already set up for success, check out ProShoot.io. Having the right environment to edit in is just as important as the software you use.
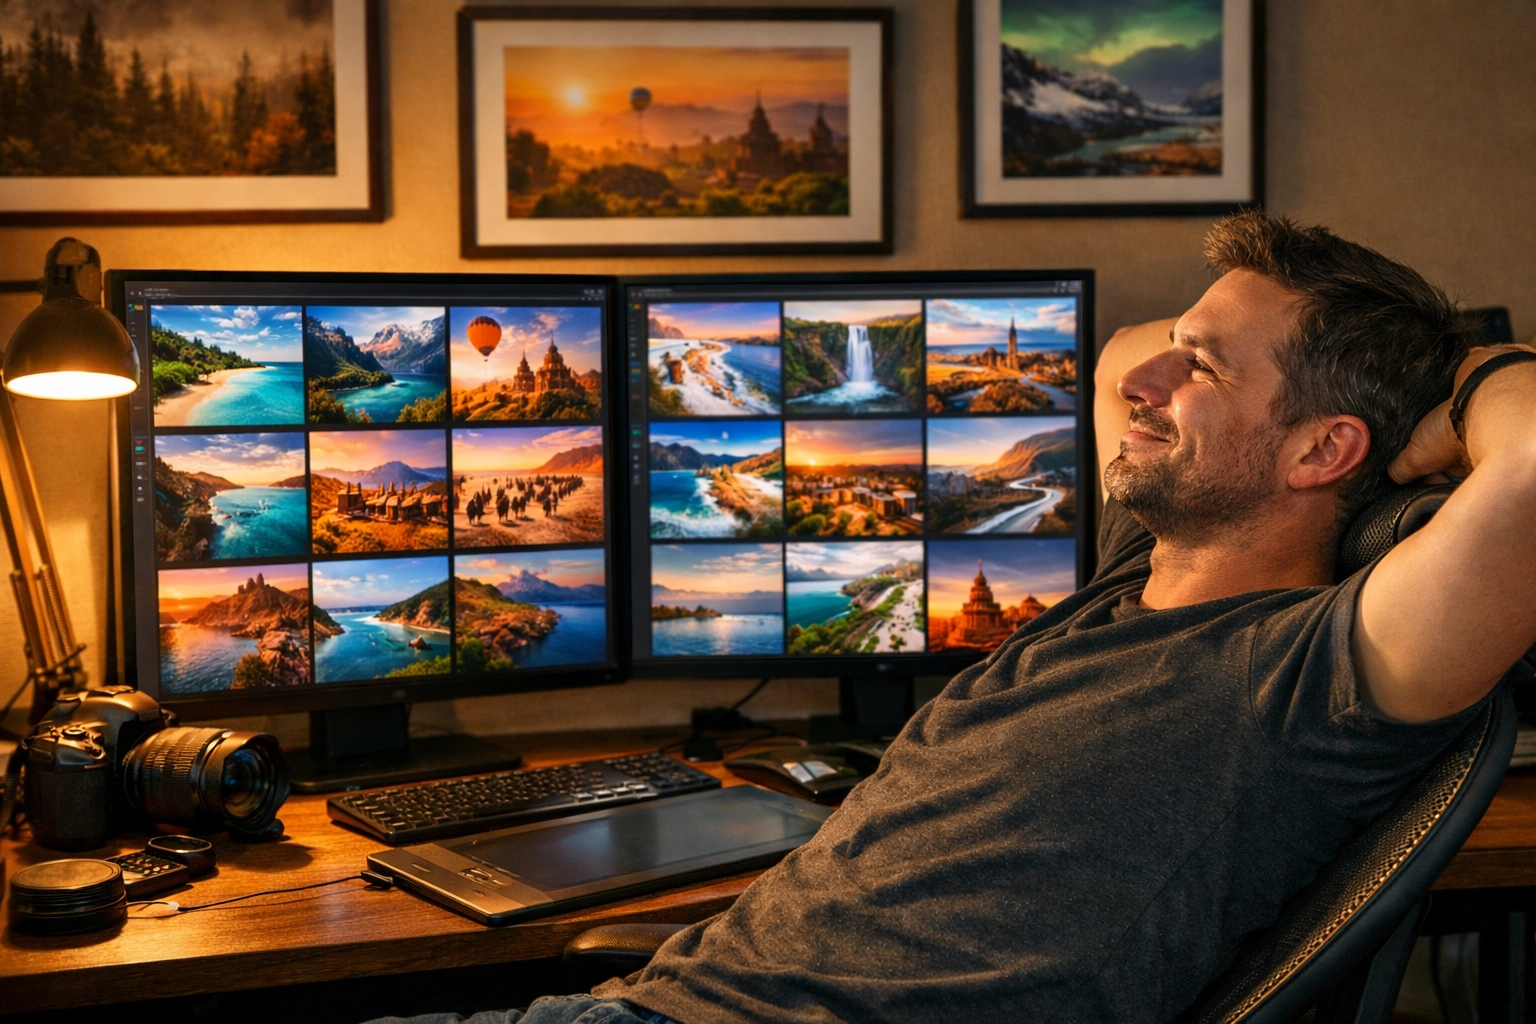
Avoiding the "Over-Edited" Look
The biggest mistake I see beginners make? Doing too much.
When you follow a tutorial, it’s tempting to use every single tool the instructor mentions. But sometimes, less is more. If your photo starts looking "crunchy" or like a CGI movie, back off the sliders.
A good rule of thumb is to do your edit, walk away from the computer for ten minutes, and then come back. Usually, you’ll realize you went a little too far with the contrast or the saturation.

Syncing with Social Media
As I mentioned earlier, Sonny and I work closely to make sure the content we put out on Shut Your Aperture is actually useful for your day-to-day shooting. If you see a specific "look" on our Instagram or TikTok that you want to replicate, let us know! We often build our tutorial recommendations based on what you guys are asking for.
Editing is a conversation between you and the viewer. It tells them how to feel about the subject. Whether it’s a gritty street photo or a soft, airy wedding shot, the edit is the finishing touch on that story.
Final Thoughts on Learning Photo Editing
Learning to edit is a journey, not a destination. Even the pros are constantly watching new tutorials because software changes every single month. New AI features in Luminar or Photoshop can turn a three-hour task into a three-second task.
Don't be afraid to experiment. Use the tutorials as a roadmap, but don't be afraid to take a detour. Break the rules. Turn the saturation up just to see what happens. Turn the exposure down until it’s almost black. Understanding the limits of your tools is the best way to master them.
If you’re looking for more inspiration, keep browsing our site. We have everything from gear reviews to deep dives into specific genres of photography. And remember, the best edit is the one that makes you proud to hit "Export."
So, grab your mouse, fire up your favorite software, and start clicking. Your best photo is still waiting to be edited.


