
Let’s be honest: your camera is probably smarter than you think it is. But that’s actually the problem. Most people buy a high-end camera, leave it on "Auto," and wonder why their photos look like they were taken with a 2010 flip phone. If you want to stop taking "okay" snapshots and start creating gallery-worthy art, you need to master the craft.
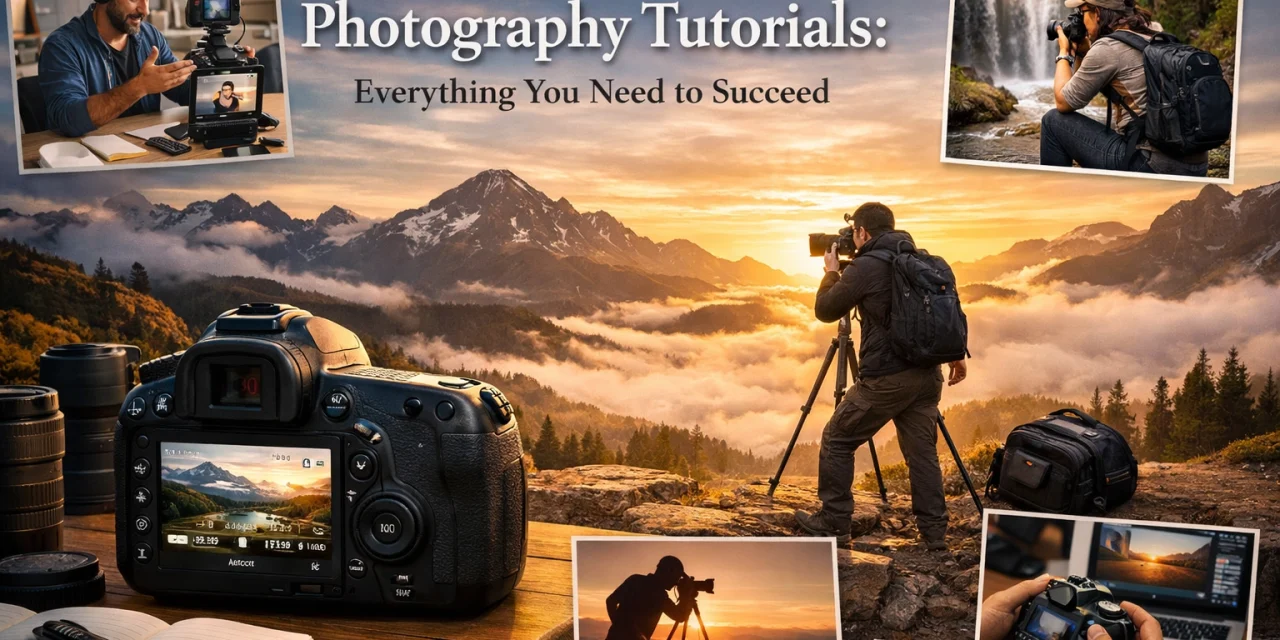
Welcome to Shut Your Aperture, the only place you need to be to master the lens. Whether you are a total newbie or a seasoned pro looking to sharpen your skills, this guide is your roadmap. We aren’t just another blog; we’re building the number one photography school online.
In this deep dive, we’re going to cover everything from how to use manual mode camera settings to advanced editing tricks. Strap in. It’s time to make your photos pop.
Why Photography Tutorials Matter
You can watch a million gear reviews, but a $10,000 camera won't save a bad composition. Great photography is 10% gear and 90% what’s happening behind the viewfinder. That’s where photography tutorials come in. They bridge the gap between "I have a camera" and "I am a photographer."
At Shut Your Aperture, we believe in a simple, no-fluff approach. We want you to understand the why behind the how. If you want more inspiration after this, check out some of the deep-dive articles at blog.edinchavez.com or explore professional shoots at proshoot.io.
Phase 1: Mastering Your Gear (The Technical Stuff)
Before you can get creative, you have to get technical. You need to stop being afraid of your camera’s buttons.
How to Use Manual Mode Camera Settings
Manual mode is the "God Mode" of photography. It gives you total control over how light enters your camera. If you are still shooting in Auto, you’re letting a computer chip decide what your art looks like. Don’t do that.
To master manual mode, you need to understand the Exposure Triangle:
- Aperture (The F-Stop): This controls how wide the lens opens. A low number (like f/1.8) lets in a lot of light and gives you that blurry background (bokeh) everyone loves. A high number (like f/11) keeps everything from the foreground to the background in focus.
- Shutter Speed: This is how long the sensor is exposed to light. Fast speeds (1/1000s) freeze motion. Slow speeds (1/10s or longer) blur motion: perfect for water photography.
- ISO: This is your sensor's sensitivity to light. Use a low ISO (100) for bright days to keep your images crisp. Use a higher ISO (3200+) for low light, but be careful: too high and your photo will look grainy (noise).
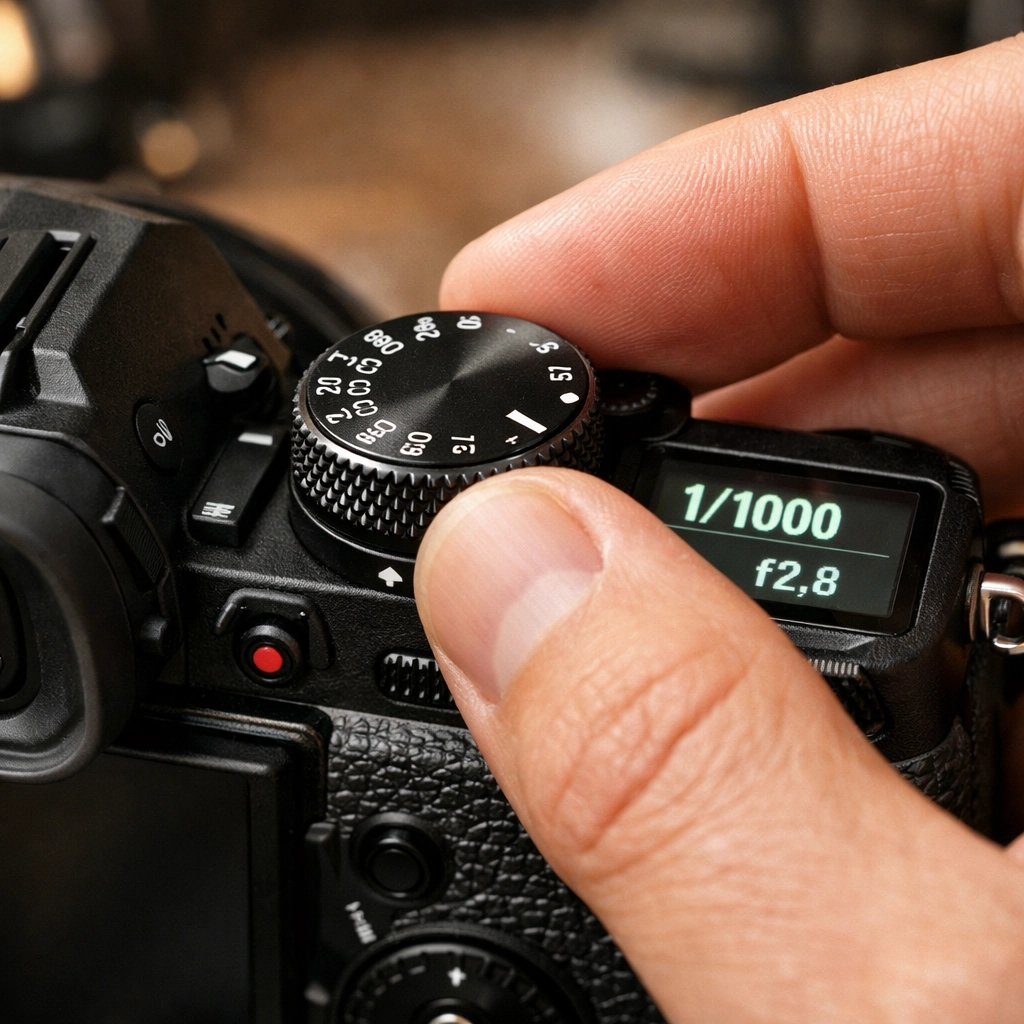
SEO Alt Text: A close-up of a professional photographer’s hand adjusting the aperture and shutter speed dials on a modern mirrorless camera in manual mode.
Finding the Sweet Spot
The goal of learning how to use manual mode camera settings is balance. If you crank up the shutter speed to freeze a bird in flight, you might need to open your aperture or raise your ISO to keep the image from being too dark. It’s a dance. Practice this until it becomes muscle memory.
Phase 2: Composition: The Art of Seeing
Once you know how to get a clean exposure, you need to know where to point the glass. Composition is what separates a cluttered mess from a masterpiece.
The Rule of Thirds
Imagine your frame is divided into a 3×3 grid. Instead of putting your subject dead center (which is usually boring), place them along the lines or at the intersections. This creates more energy and interest.
Leading Lines
Use roads, fences, or shorelines to lead the viewer’s eye into the frame. This is especially powerful in travel photography. If you’re looking for places to practice, check out these hidden gem locations for travel photography.
Negative Space
Sometimes, what you leave out is just as important as what you put in. Using empty space around a subject can create a sense of scale and peace. This is a favorite technique for those shooting ethereal landscapes.
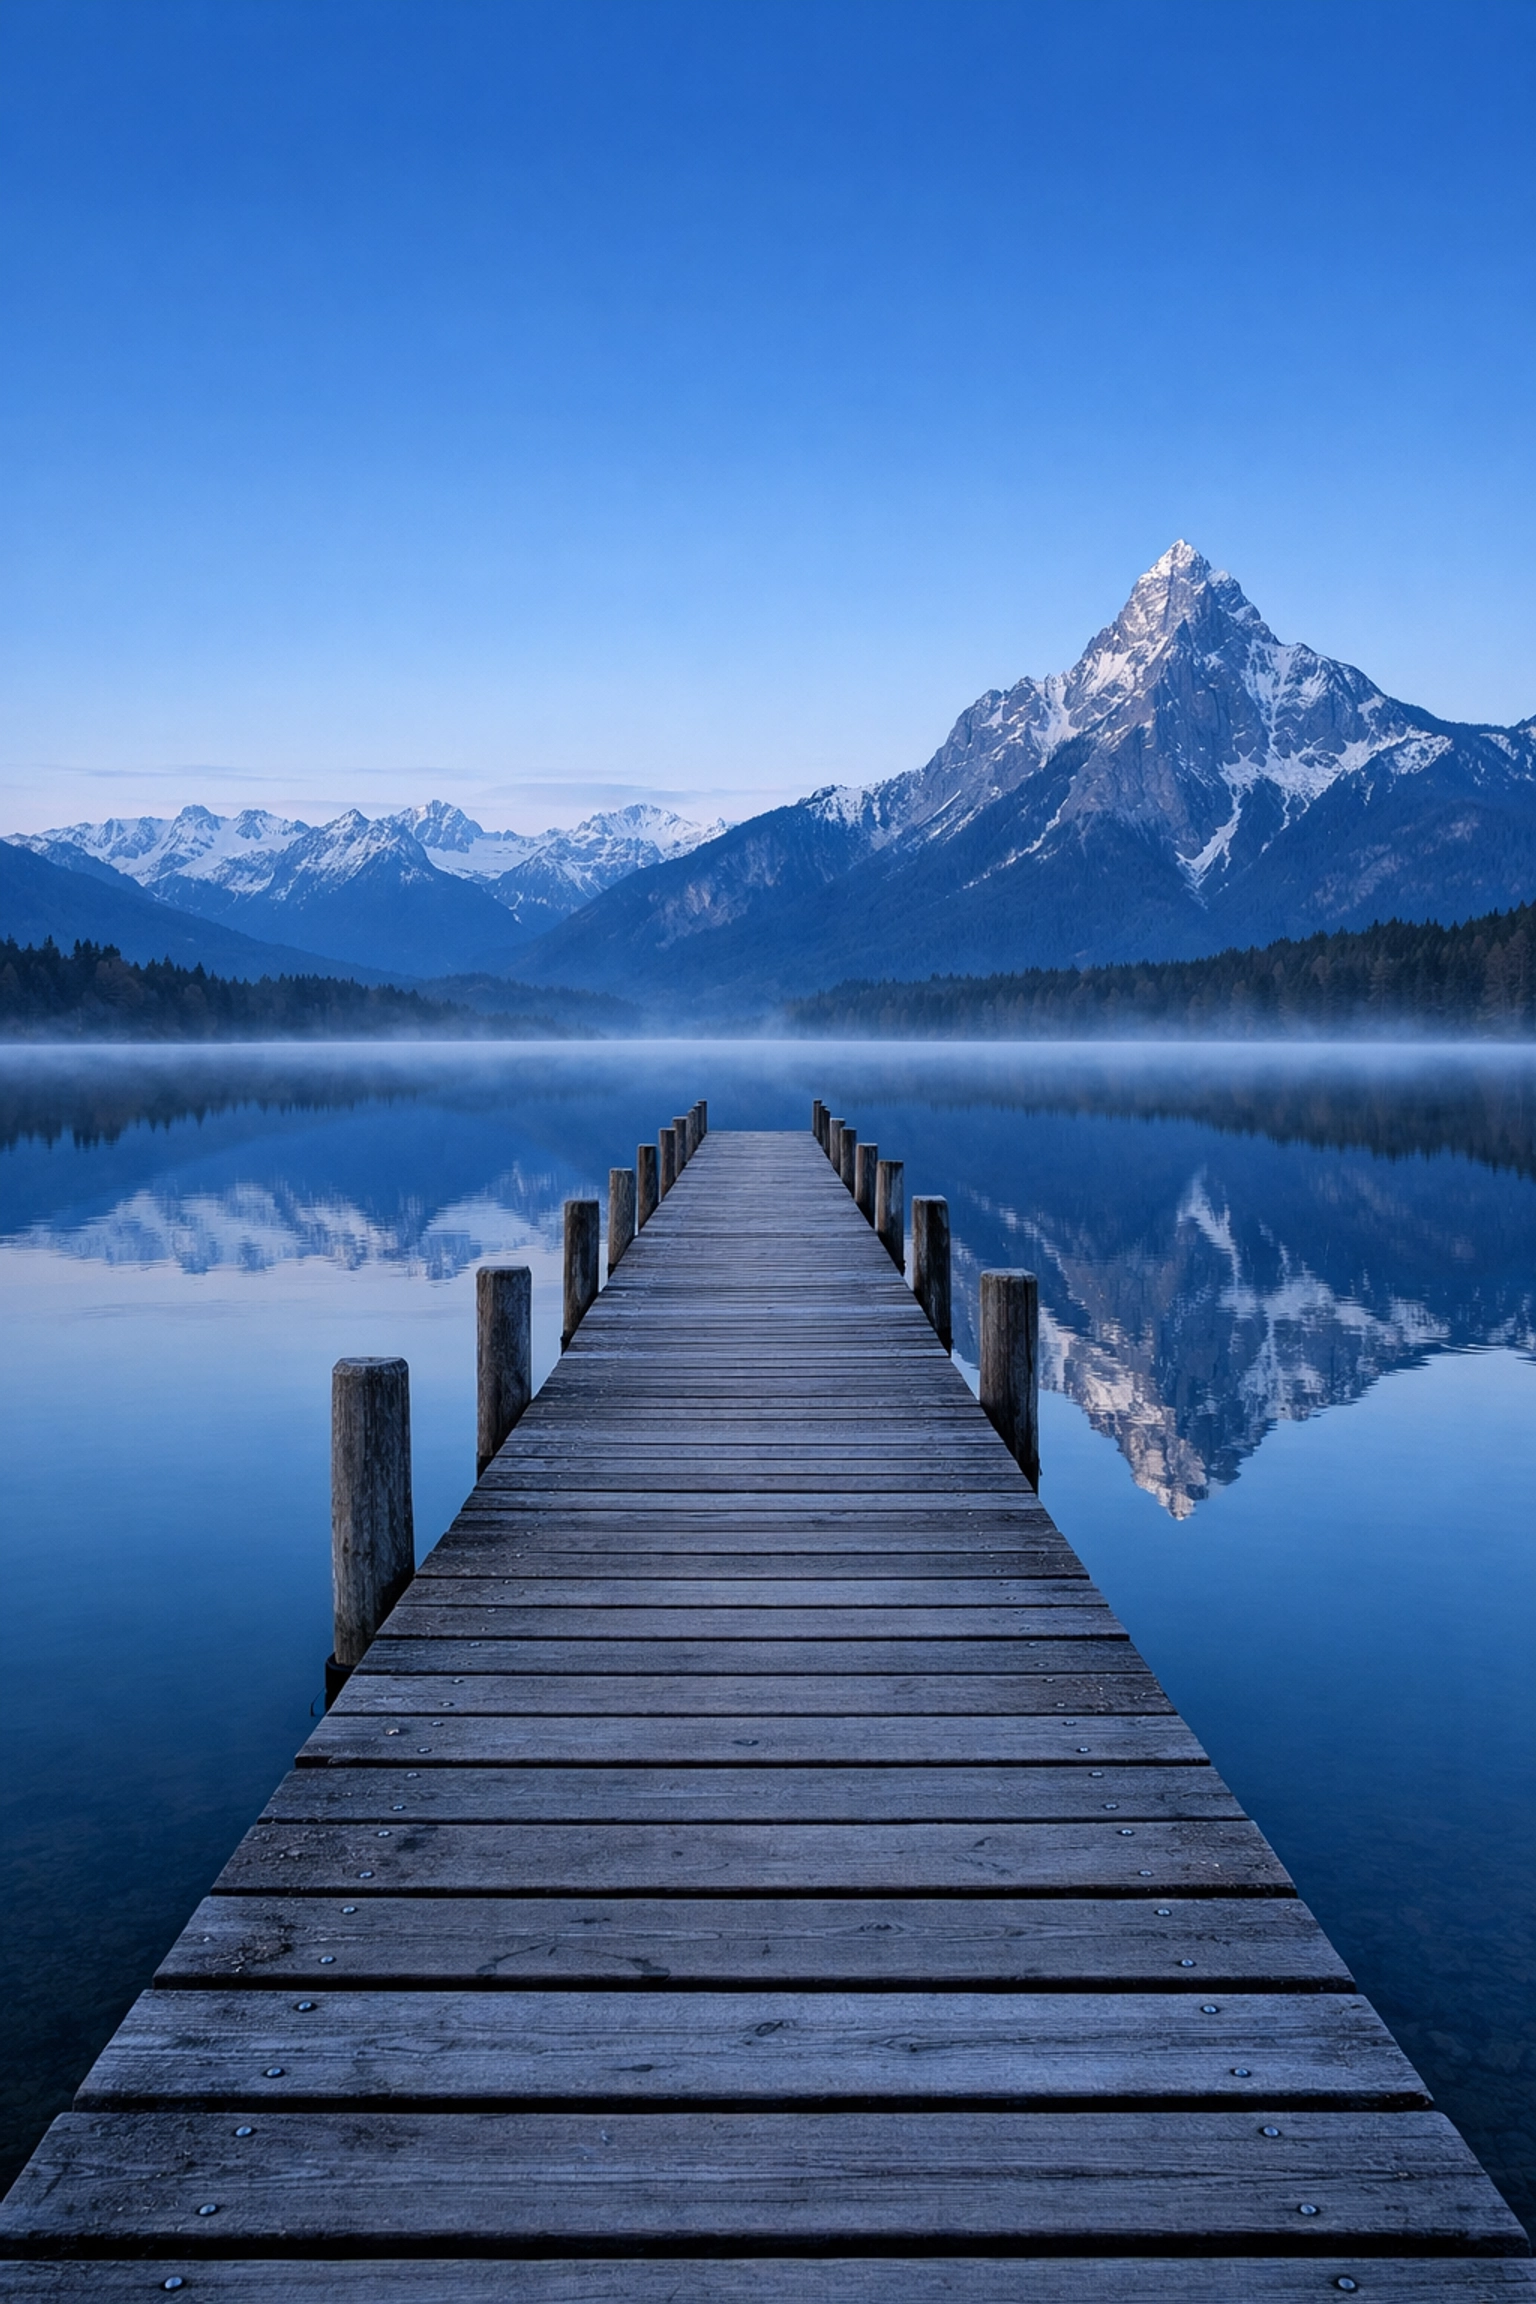
SEO Alt Text: A perfectly composed landscape photo using the rule of thirds and leading lines to guide the eye toward a distant mountain peak during sunrise.
Phase 3: Lighting: The Secret Sauce
Photography literally means "writing with light." If the light is bad, the photo is bad. Period.
The Golden Hour
There’s a reason pros wake up at 4 AM. The hour after sunrise and the hour before sunset provide soft, warm light that makes everything look magical. If you want to master majestic sunset photography, you need to be on-site and ready before the sun starts its descent.
Hard Light vs. Soft Light
- Hard Light: Think high noon on a sunny day. It creates deep shadows and high contrast. It’s great for edgy, urban photography.
- Soft Light: Think an overcast day or being in the shade. It’s flattering for portraits and captures subtle textures beautifully.

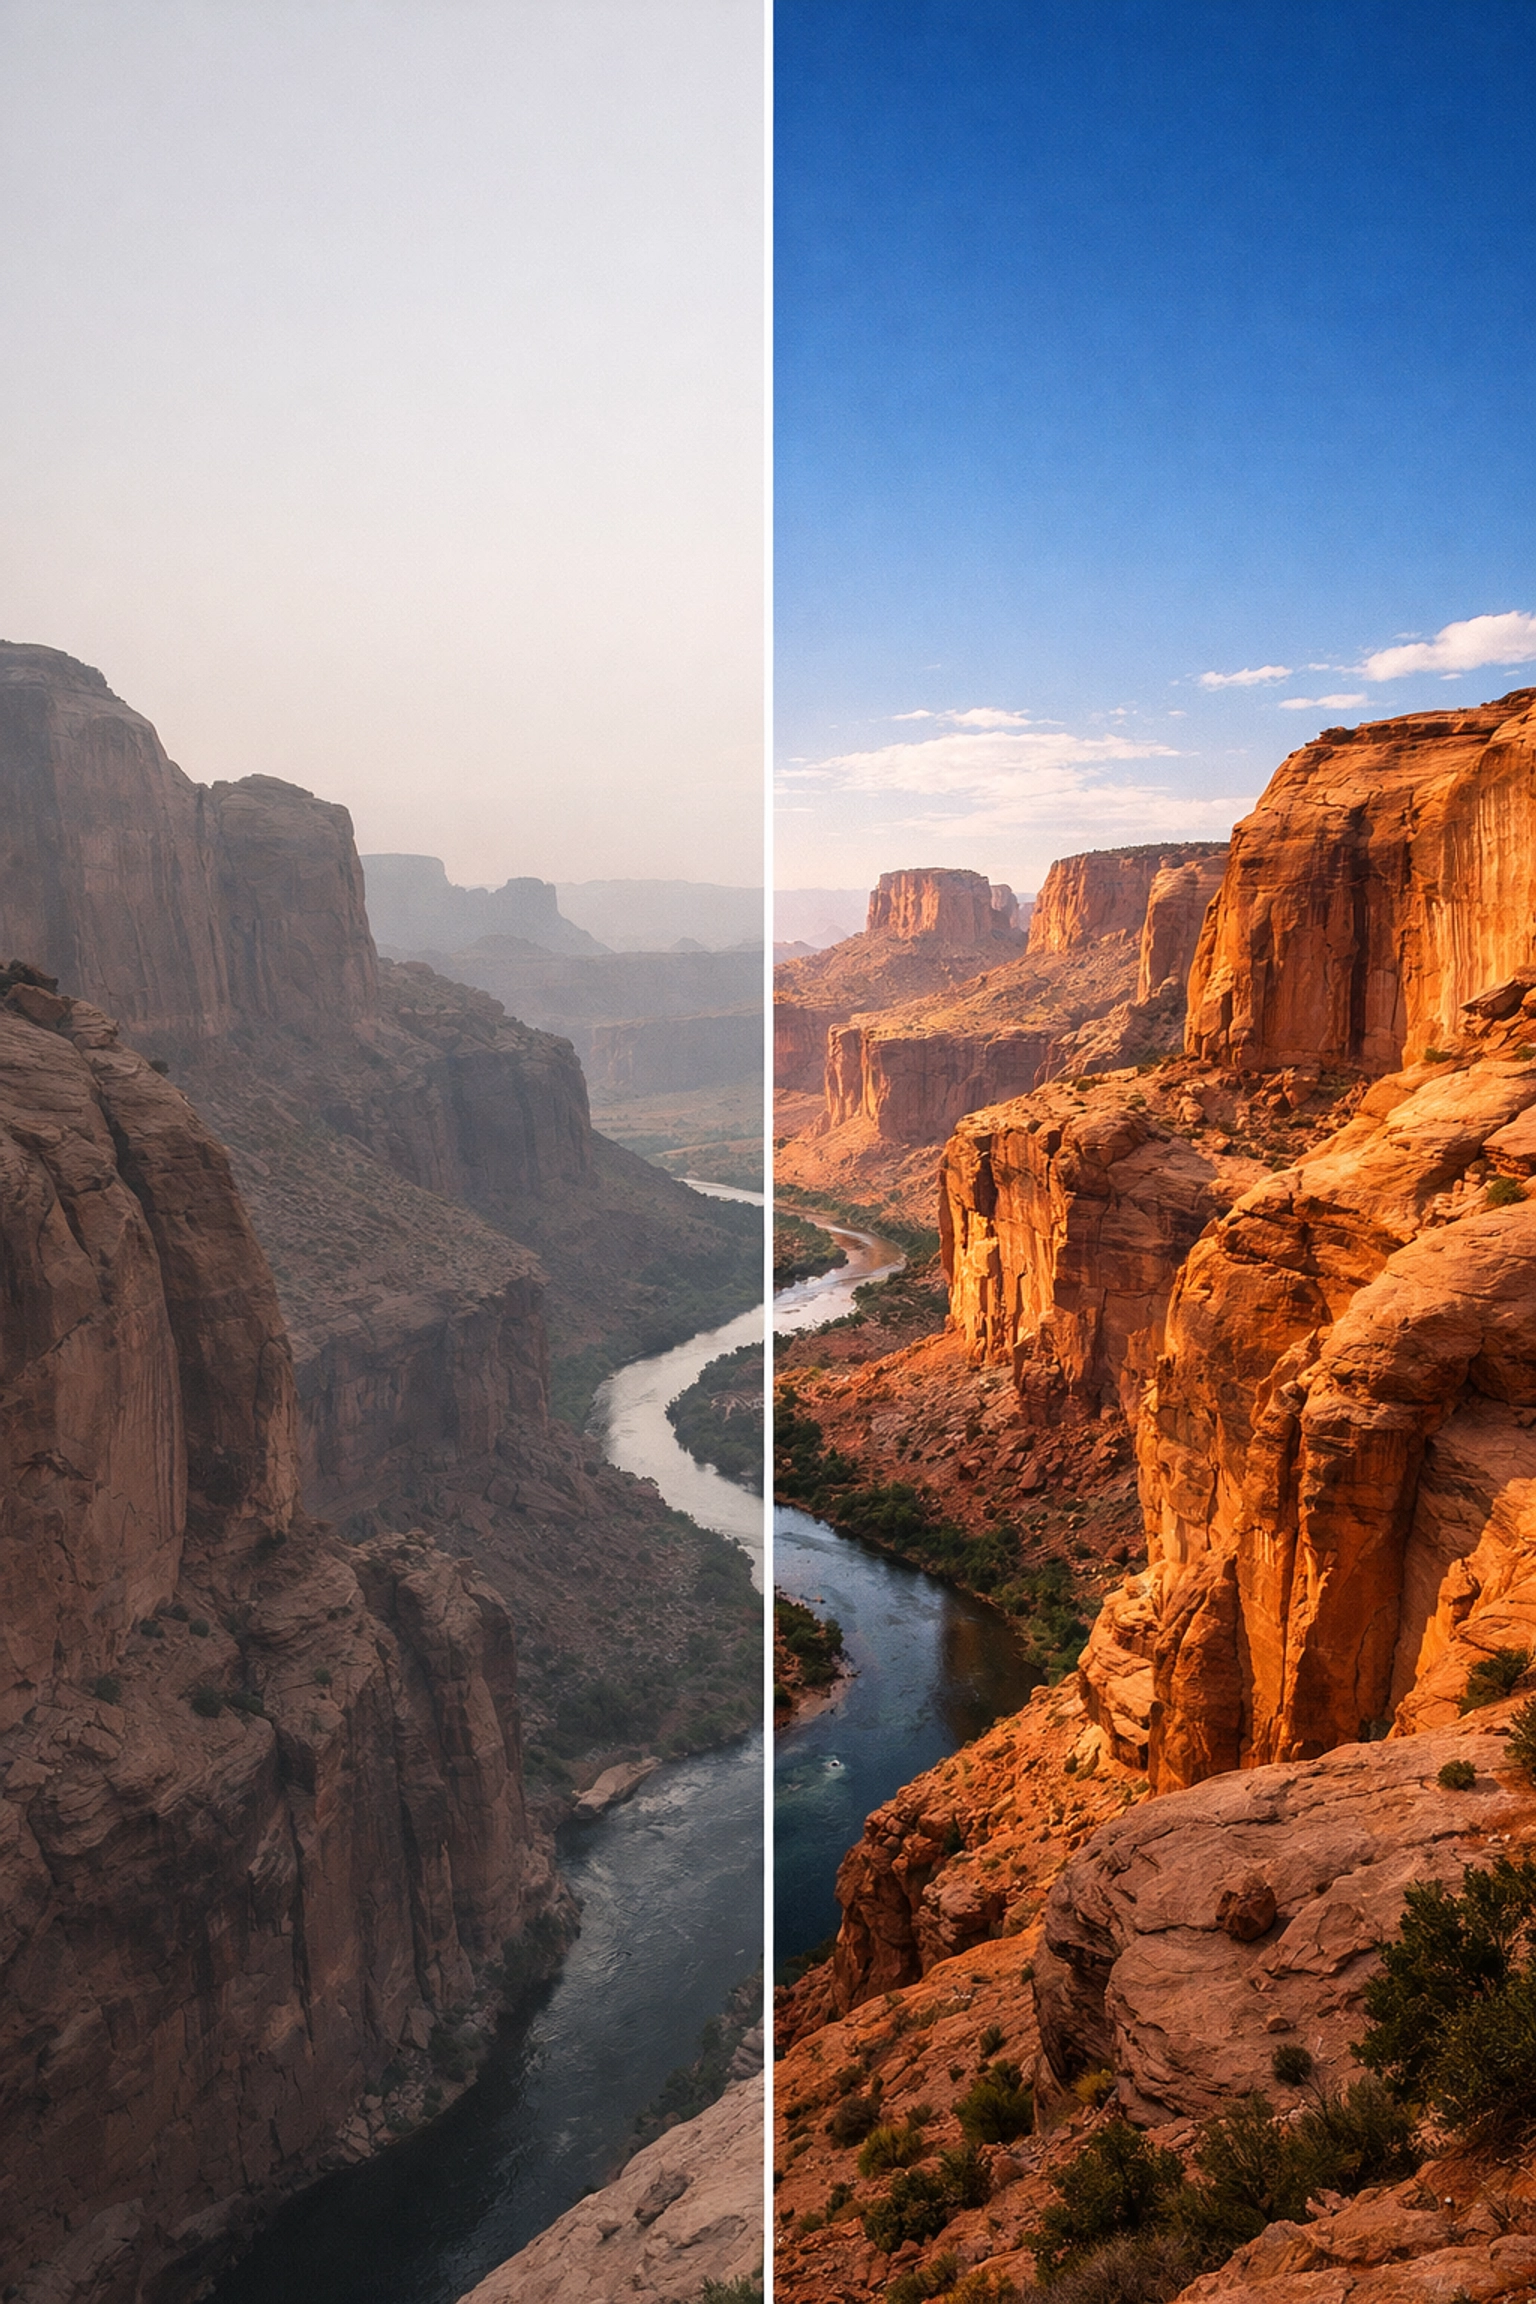
SEO Alt Text: A comparison of two photos of the same subject: one in harsh midday sun with deep shadows and one in soft golden hour light.
Phase 4: Niche Specializations
As you go through various photography tutorials, you’ll find that different subjects require different "rules."
Landscape Photography
Landscapes are about patience. Most people make the same few errors when starting out. If you feel like your shots are lacking "oomph," read our guide on 7 mistakes you’re making with landscape photography.
Water Photography
Capturing water is a blast because it can look so different depending on your settings. You can freeze a crashing wave with a fast shutter or turn a waterfall into silk with a long exposure. For a deep dive into the gear and settings, see our guide on mastering water photography in any environment.
Urban and Travel Photography
Street photography is about the "decisive moment." It’s fast-paced and requires you to be invisible. If you’re traveling, look for picturesque coastal escapes or secluded paradises that haven’t been over-photographed by every tourist with an iPhone.
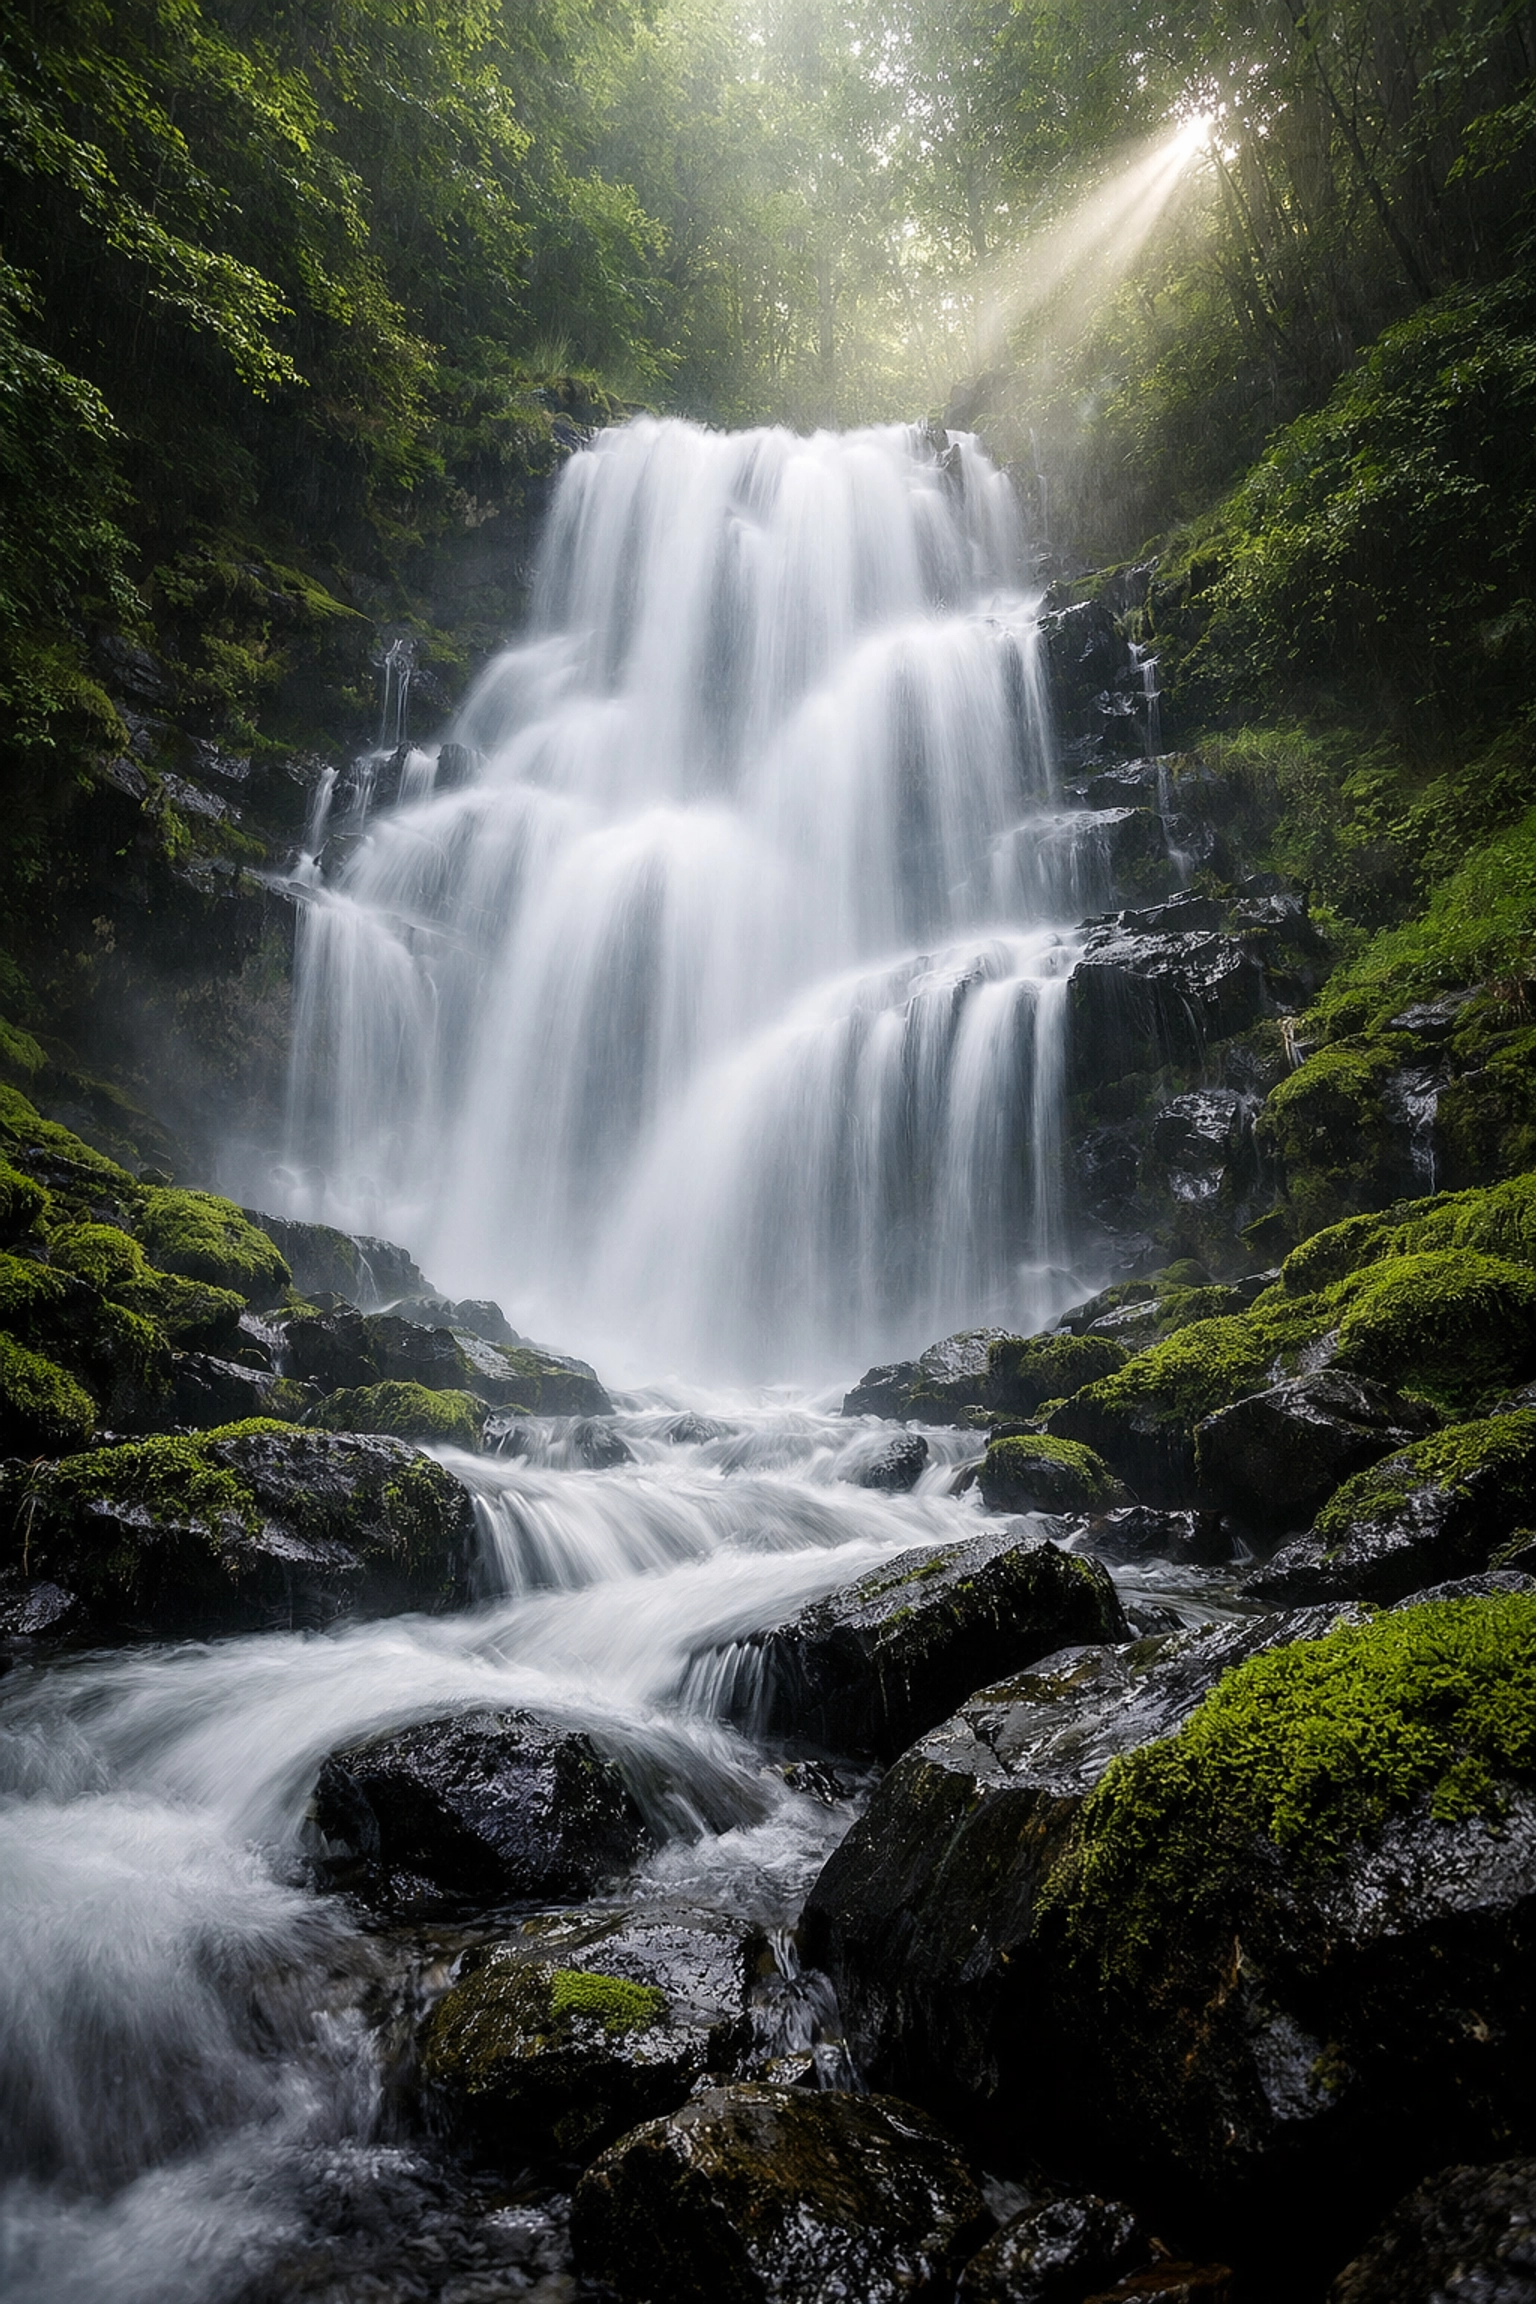
SEO Alt Text: A long exposure photo of a waterfall in a lush forest, showing the silky water effect achieved with professional camera settings.
Phase 5: Post-Processing: Developing Your Vision
Back in the day, photographers spent hours in a darkroom with chemicals. Today, our darkroom is digital. Shooting the photo is only half the battle; editing is where you give it your unique "voice."
Why You Should Shoot RAW
If you’re serious about photography tutorials, the first thing you’ll learn is to stop shooting JPEGs. RAW files capture all the data from the sensor. This allows you to recover shadows, fix highlights, and change the white balance after the fact without ruining the image quality.
Using Modern Tools
While Photoshop and Lightroom are the industry standards, many photographers are moving toward AI-powered tools to speed up their workflow. We highly recommend checking out Luminar. It’s an incredible piece of software that uses AI to handle the tedious stuff: like masking and sky replacement: so you can focus on the creative side.
When editing, remember: less is usually more. Don’t crank the saturation to 100. Aim for a look that feels "enhanced," not "artificial." If you need help with technical resources or gear lists, PhotoGuides.org is a fantastic resource to keep in your bookmarks.
SEO Alt Text: A split-screen image showing a RAW photo straight out of the camera versus the final edited version with enhanced colors and lighting.
How to Keep Improving
The world of photography is massive, and you’ll never truly "finish" learning. That’s the beauty of it. To keep your skills sharp:
- The 365 Project: Take one photo every single day. No excuses.
- Study the Greats: Look at the work of legends like Ansel Adams or modern masters featured at edinfineart.com. Analyze their use of light and shadow.
- Get Critiqued: Join a community (like ours!) where you can get honest feedback.
- Print Your Work: Seeing your photo on a screen is one thing. Seeing it on a wall is another. Check out edinstudios.com for inspiration on high-end production.
Why Shut Your Aperture is the Top Choice
There are thousands of "how-to" videos on YouTube, but most of them just want to sell you a camera strap. At Shut Your Aperture, our goal is to build the number one photography school online by providing structured, easy-to-understand, and actionable advice. We don't care about fancy words; we care about your results.
Whether you're trying to figure out the best camera settings for stunning water landscapes or you're hunting for lesser-known vistas, we’ve got your back.
Photography is a journey of seeing the world differently. It’s about finding beauty in a rainy alleyway or a crowded market. It’s about capturing a moment that will never happen again.
Now, stop reading, grab your camera, and go shoot something. Just remember to move that dial off of "Auto" first. You’ve got this.


