
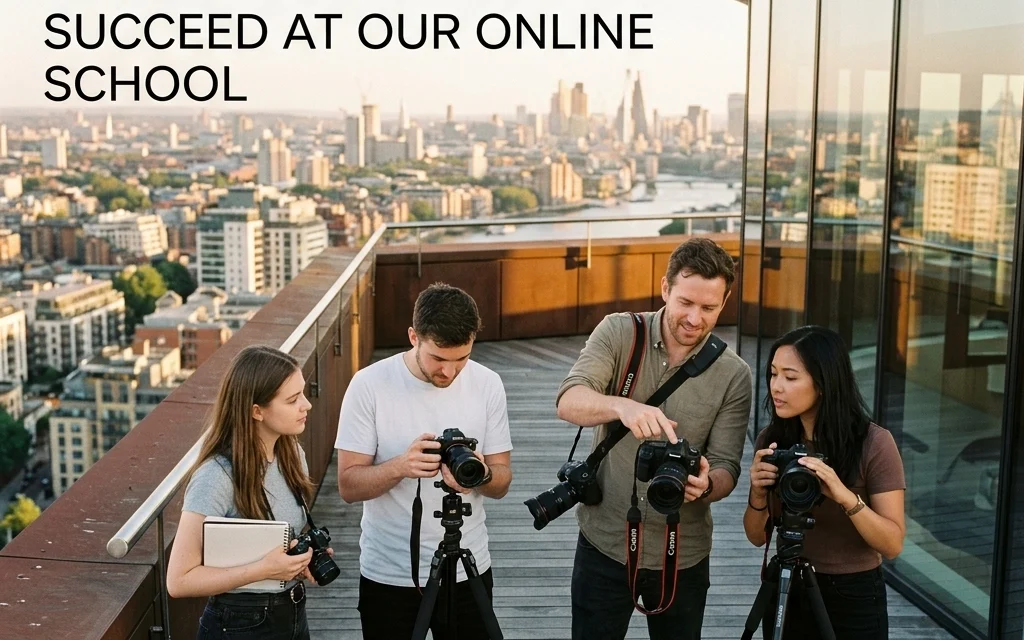
Let’s be real for a second: most photography tutorials are boring. They’re filled with technical jargon that makes you want to put your camera back in the box and go back to using your smartphone. But here at Shut Your Aperture, we do things differently. We believe that learning photography should be as fun as the actual shooting. Whether you’re trying to figure out how to use manual mode camera settings for the first time or you’re an experienced pro looking to refine your lighting, you’ve come to the right place.
This is the ultimate guide to mastering your craft. We’ve built an online school that cuts through the noise and gets straight to the point. If you want to take photos that stop people in their tracks, keep reading.
Why Online Photography Tutorials are a Game Changer
In the old days, you had to sit in a dusty classroom or assist a grumpy professional for years to learn the ropes. Today, the world is your classroom. Online photography tutorials allow you to learn at your own pace, in your own environment. You can pause, rewind, and practice a specific technique until it becomes second nature.
Our goal at Shut Your Aperture is to be the number one photography school online by providing content that is easy to digest but incredibly powerful. We focus on four main pillars: Technical Basics, Editing, Light, and Composition.
Phase 1: Mastering Your Gear (The Technical Stuff)
Before you can create art, you have to understand your tool. Your camera is just a box that captures light, but it has a lot of buttons. The most common question we get from beginners is how to use manual mode camera settings without feeling overwhelmed.
The Exposure Triangle
If you want to move past the "Auto" setting, you have to master the Exposure Triangle. This is the relationship between Aperture, Shutter Speed, and ISO.
- Aperture: This is the opening in your lens. Think of it like the pupil of your eye. A wide opening (low f-number like f/1.8) lets in a lot of light and gives you that blurry background everyone loves. A small opening (high f-number like f/16) keeps everything in focus, from the foreground to the horizon. This is crucial for things like landscape photography.
- Shutter Speed: This is how long your sensor is exposed to light. Fast shutter speeds (1/1000s) freeze motion, like a bird in flight. Slow shutter speeds (1/2s or longer) create motion blur, perfect for making waterfalls look like silk.
- ISO: This is your camera’s sensitivity to light. On a bright sunny day, keep it low (ISO 100). In a dark room, you’ll need to raise it, but be careful: too much ISO leads to "noise" or grain in your photos.
Learning mastering photography 10 essential tips will help you navigate these settings until they become muscle memory.
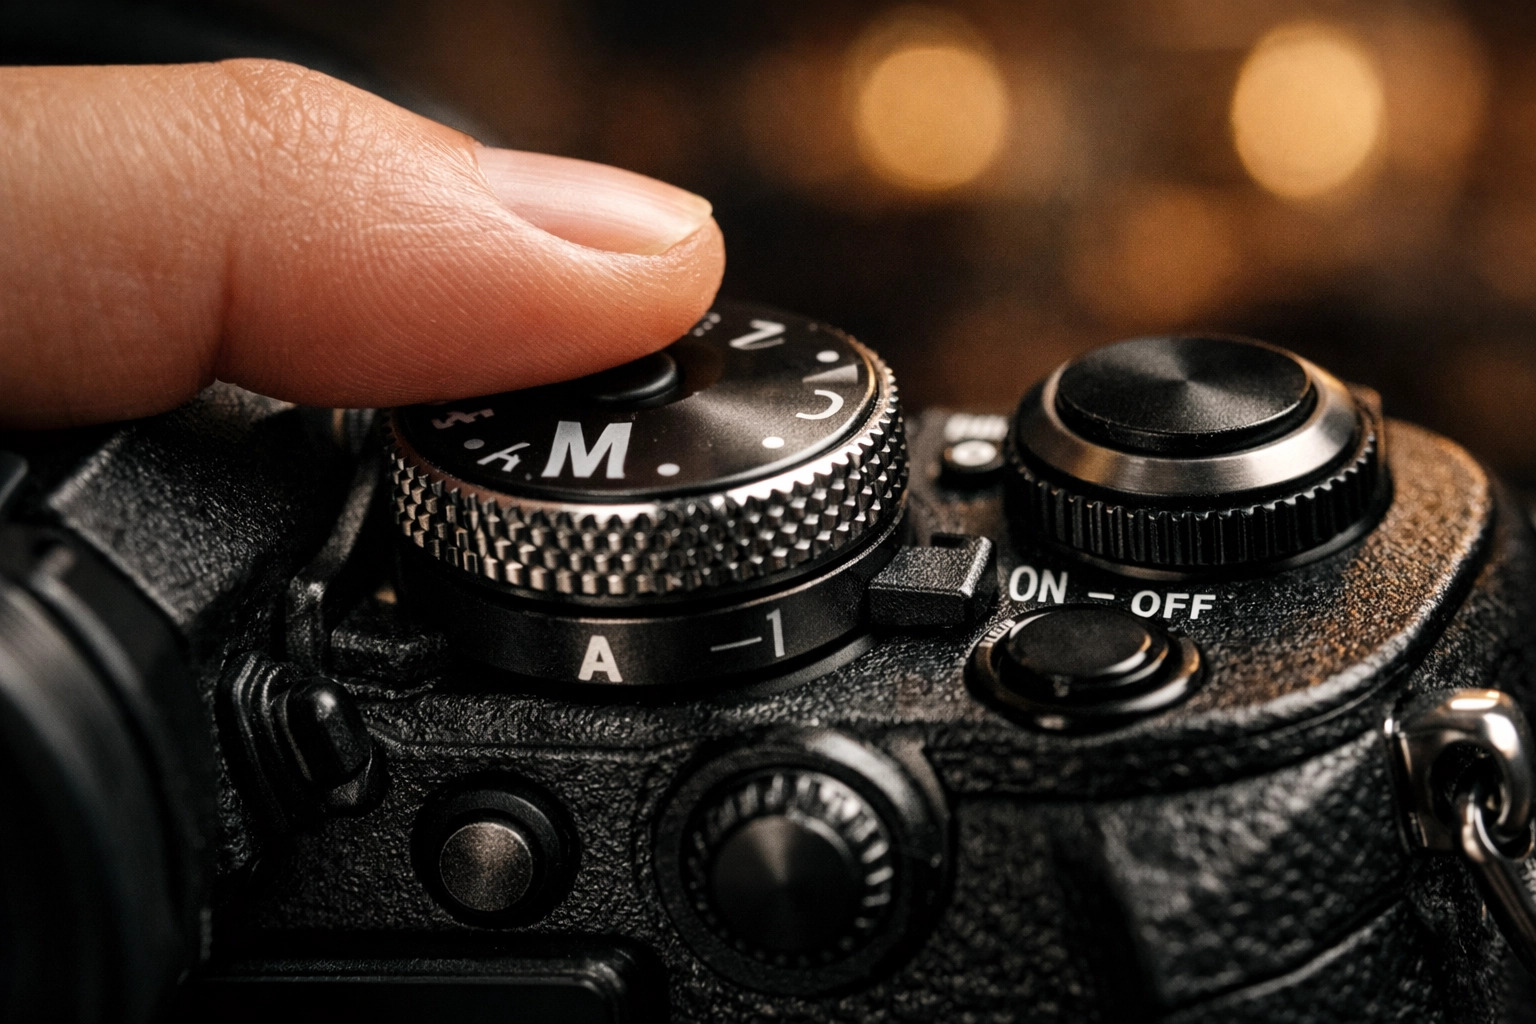
SEO Alt Text: A close-up of a hand adjusting the manual settings on a professional DSLR camera lens in a soft-lit studio environment.
Phase 2: The Art of Composition
Once you know how to get a "correct" exposure, you need to know where to put things in the frame. This is where you go from "taking a picture" to "creating a photograph."
At Shut Your Aperture, our photography tutorials dive deep into advanced composition. While the Rule of Thirds is a great starting point, the masters: like Peter Lik: often use more complex structures.
Moving Beyond the Basics
- The Golden Ratio: A mathematical ratio found in nature that creates a sense of organic balance.
- Leading Lines: Using roads, fences, or shorelines to lead the viewer’s eye toward the subject.
- Depth and Layering: Placing something in the foreground, middle ground, and background to create a 3D feel on a 2D surface.
If you’re interested in how composition can literally change a viewer’s perspective, check out how we use vistas and perspectives to manipulate perception in real estate.
Phase 3: The Secret Language of Light
Light is everything. You can have the most expensive camera in the world, but if the light is bad, the photo will be bad. In our tutorials, we teach you how to "read" light.
Is the light hard or soft? What is the direction? In real estate photography, for example, the role of luminosity is the difference between a house that looks like a dungeon and one that looks like a dream home.
We also cover the Inverse Square Law, which sounds like a math nightmare but is actually quite simple: as you move a light source further away, the light intensity drops off significantly faster than you’d expect. Knowing this allows you to control the mood of your portraits or interior shots with precision. For more professional insights, you can always check out proshoot.io to see how the pros handle complex lighting setups.
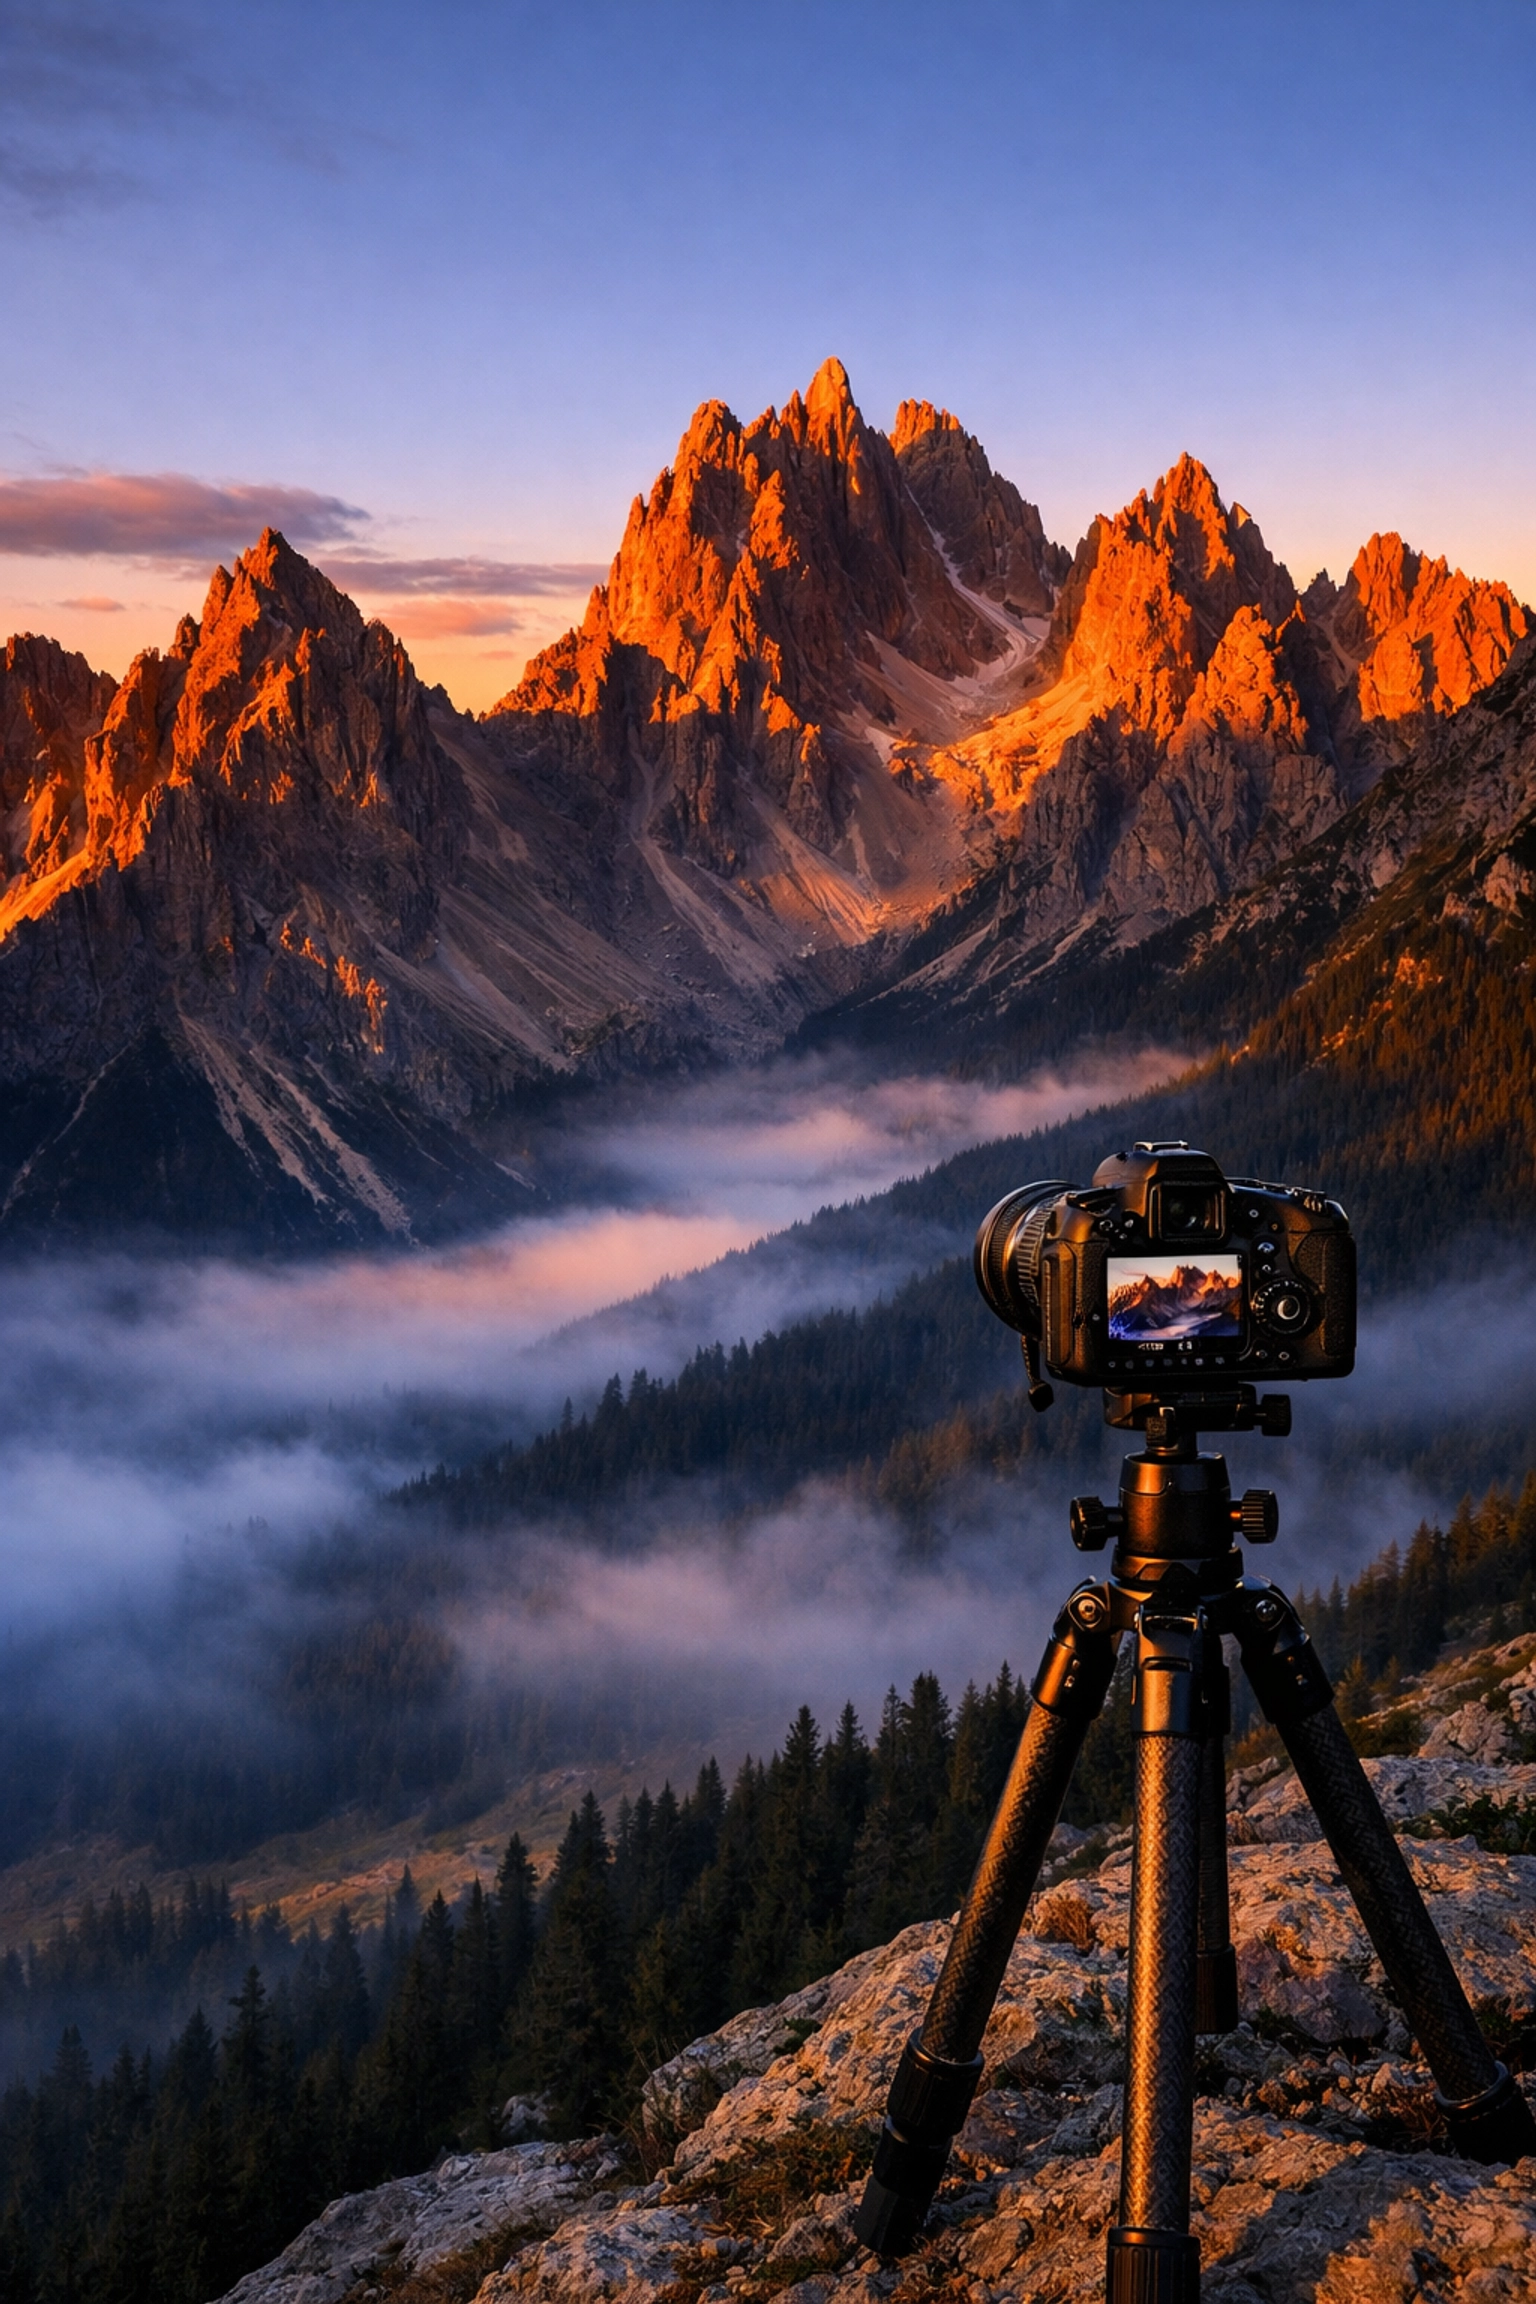
SEO Alt Text: Golden hour light hitting a rugged mountain landscape, showcasing the use of natural light and shadows in professional photography.
Phase 4: Post-Production and Editing
Taking the photo is only half the battle. The "digital darkroom" is where your personal style truly comes to life. Many people think editing is "cheating," but even the greats like Ansel Adams spent hours in the darkroom manipulating their images.
We highly recommend using Luminar for a streamlined workflow. It uses AI to handle the tedious stuff (like sky replacement or skin retouching) so you can focus on the creative side.
A Professional Workflow
- Culling: Use software to quickly pick the best shots and delete the junk.
- Global Adjustments: Fix the white balance, exposure, and contrast.
- Local Adjustments: Use brushes to brighten a subject’s eyes or darken a distracting background element.
- Color Toning: This is where you create the "mood." Do you want it warm and nostalgic or cool and cinematic?
If you want to see how cinematic techniques can transform a simple property showcase, take a look at our guide on cinematic techniques for real estate.
Specializing: Real Estate, Landscapes, and Beyond
Once you have the foundation, it’s time to specialize. Our online school offers specific tracks for different genres.
Real Estate Photography
Is photography essential for real estate marketing? Absolutely. In fact, it’s the most important factor in getting a buyer through the door. From aerial photography to ethereal imagery, we show you how to make properties look like a million bucks (even if they’re listed for much less).
Landscape and Adventure
For those who love the great outdoors, we have tutorials inspired by the best in the business. Whether you're planning your best time for USA road trips or looking for Peter Lik’s favorite locations, we provide the technical roadmap to capture the world's beauty. You can also explore the fine art side of things at edinfineart.com or edinstudios.com for more inspiration.
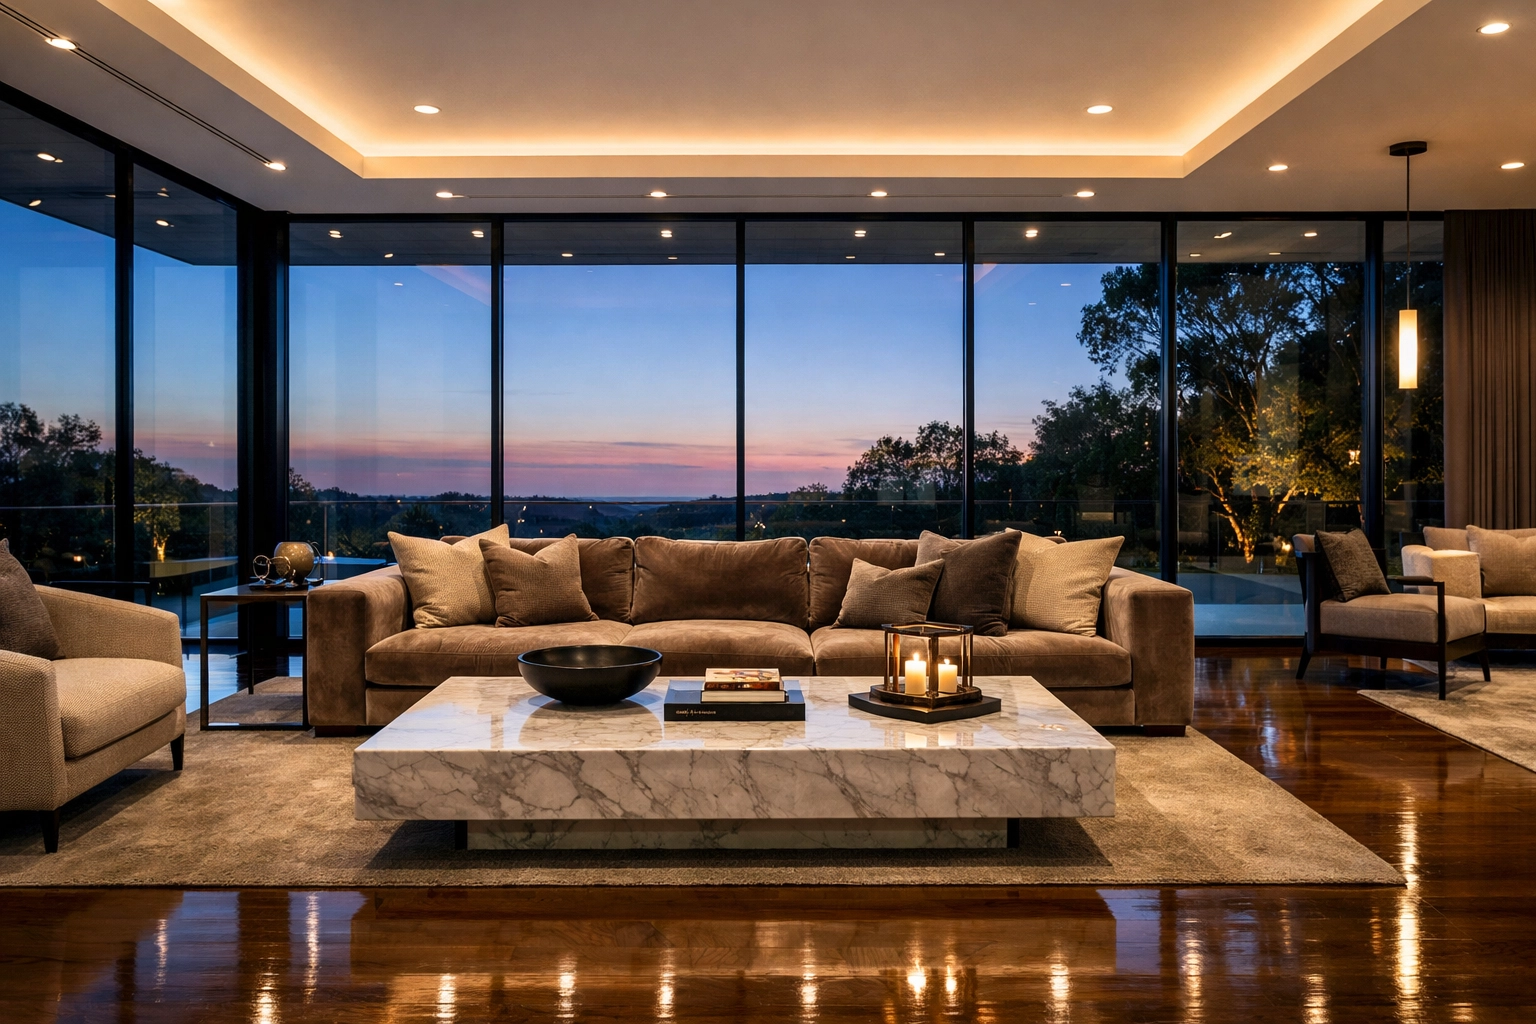
SEO Alt Text: A high-end luxury living room photographed with wide-angle lens and perfect luminosity, demonstrating professional real estate photography techniques.
Why Shut Your Aperture is the Number One Online School
We don't just teach you which buttons to press. We teach you how to see. Photography is about a unique perspective. Our tutorials are built by working professionals who are out in the field every day.
We also collaborate closely with our community. If you follow our social media, you’ll see Sonny, our Social Media Manager, sharing bite-sized tips that link back to our deep-dive tutorials here. It’s a full ecosystem designed to make you a better photographer.
For additional resources and technical guides, we always recommend PhotoGuides.org as a fantastic external source for keeping up with the latest industry standards.
What You Get in Our Tutorials:
- Comprehensive Video Lessons: From unboxing your first camera to advanced Photoshop techniques.
- Behind-the-Scenes Access: See the creative process revealed during actual shoots.
- Community Support: Join a group of like-minded creators who are all striving to improve.
- Up-to-Date Content: The world of photography changes fast. We keep our tutorials updated with the latest trends, like the impact of Peter Lik on modern trends.
Putting it All Together
If you’re feeling overwhelmed, just remember: every pro was once a beginner who didn't know how to use manual mode camera settings. The difference is they didn't stop. They kept shooting, kept failing, and kept learning.
Start with the basics. Get comfortable with your exposure. Then, move on to composition and lighting. Finally, master your editing in Luminar.
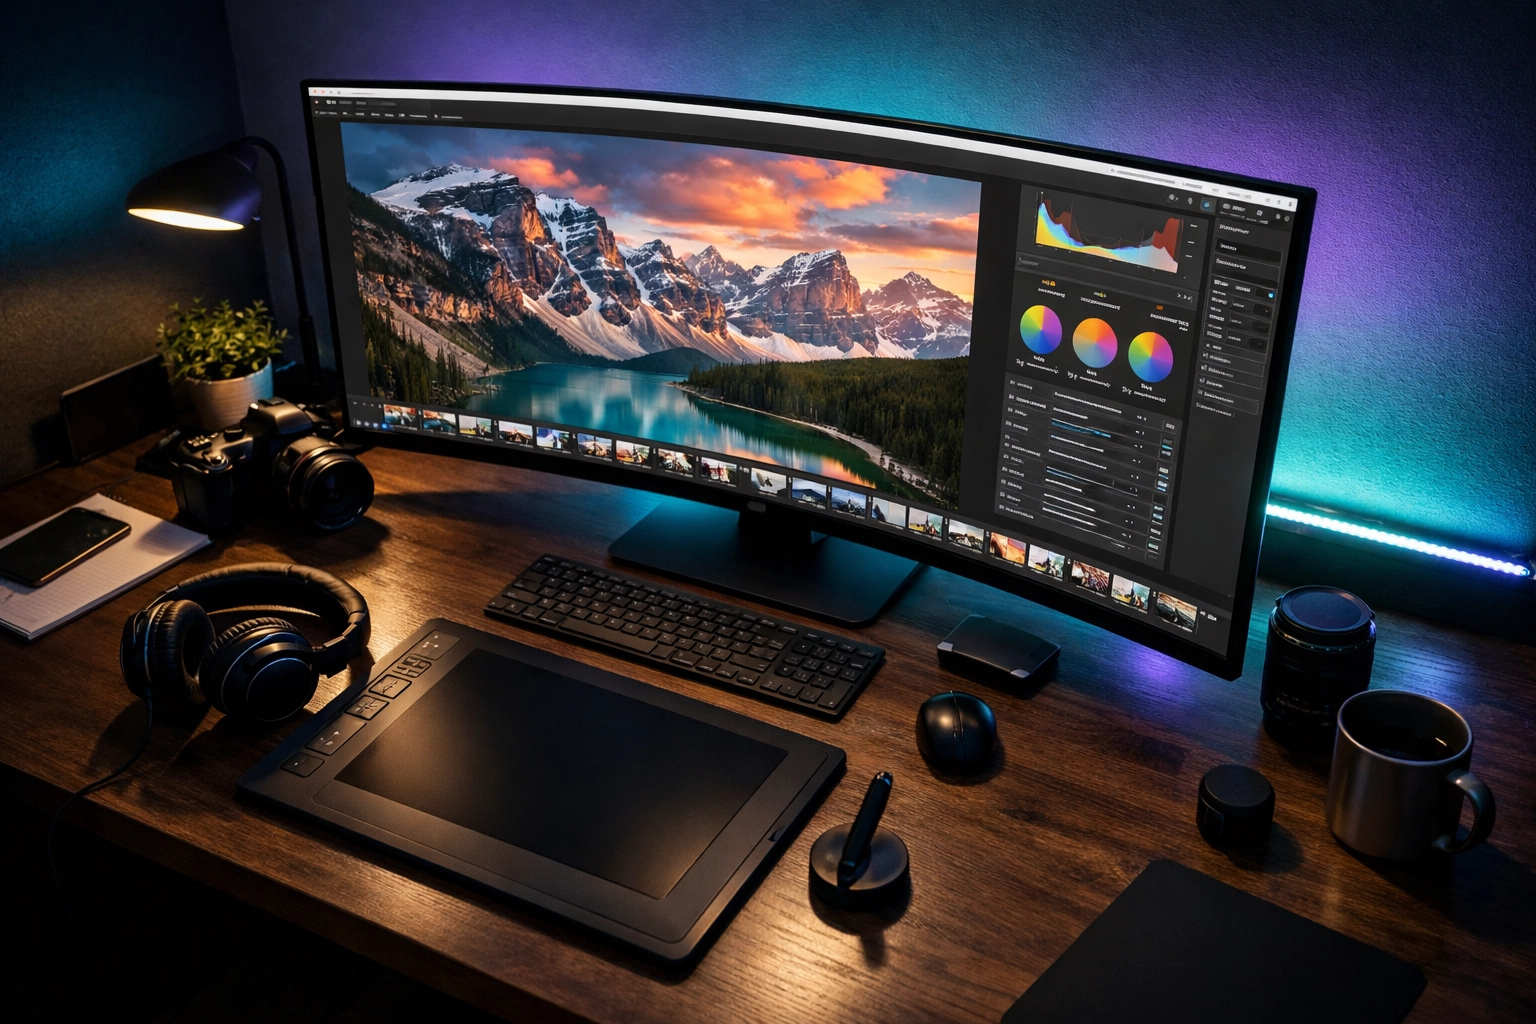
SEO Alt Text: An organized digital workspace with a large monitor displaying a landscape photo being edited in professional software, surrounded by photography gear.
If you're looking for more personal stories and gear reviews, head over to blog.edinchavez.com to see what Edin is up to lately. We are constantly adding new content to help you stay ahead of the curve.
Shut Your Aperture isn't just a name; it's a call to action. Stop talking about taking photos and start doing it. We’ve provided the map, the tutorials, and the community. All that’s left is for you to pick up the camera.
Whether you're looking for distinctive elements of real estate photography or just want to understand shot composition's impact, we have a tutorial waiting for you. Let's make something incredible together.


