Listen, the world of photography in 2026 is wild. We’ve got AI doing half the work, cameras that can basically see in the dark, and more "experts" on TikTok than you can shake a tripod at. But here’s the truth: whether you’re shooting on a brand-new mirrorless beast or a smartphone, the fundamentals don't change. If you want to stand out in a sea of mediocre content, you need more than just a fancy lens. You need a solid foundation.
At Shut Your Aperture, we’ve spent years breaking down the technical jargon into something that actually makes sense. We want to be the number one photography school online because we care about the craft, not just the gear. This guide is your roadmap. We’re going to cover everything from the "scary" manual mode to the secrets of professional lighting. Grab a coffee, and let’s get into it.
Why Photography Tutorials Matter More Than Ever
You might think that with all the smart tech in modern cameras, you don't need tutorials anymore. Wrong. In fact, you need them more than ever. Why? Because anyone can press a button, but not everyone can create art.
Photography tutorials are about more than just which buttons to press. They are about training your eye. They are about understanding how light hits a subject and how to manipulate it to tell a story. In 2026, the gap between "amateur" and "pro" isn't the camera, it’s the knowledge. If you really want to level up, you should check out some of the deep dives over at PhotoGuides.org to see how the pros are handling the new tech.
Mastering the Basics: How to Use Manual Mode Camera
If you’re still shooting in "Auto," we need to have a serious talk. Auto mode is like letting a robot choose your clothes; sure, you’ll be dressed, but you probably won't look your best. Learning how to use manual mode camera settings is the single most important step you will ever take in your photography journey.
The Exposure Triangle
The exposure triangle is the "holy trinity" of photography. It consists of Aperture, Shutter Speed, and ISO.
- Aperture (The F-Stop): This controls how much light comes through the lens and, more importantly, your depth of field. Want that blurry background (bokeh) for a portrait? Go for a wide aperture like f/1.8.
- Shutter Speed: This controls how long your sensor is exposed to light. Fast shutter speeds (1/1000s) freeze action. Slow shutter speeds (1/10s or longer) create motion blur.
- ISO: This is your sensor's sensitivity to light. Keep it low (ISO 100) for crisp images in daylight. Crank it up when it’s dark, but watch out for "noise" or graininess.
Once you master these three, you aren't just taking photos; you’re crafting them. It takes practice, but once it clicks, you'll never go back to Auto.

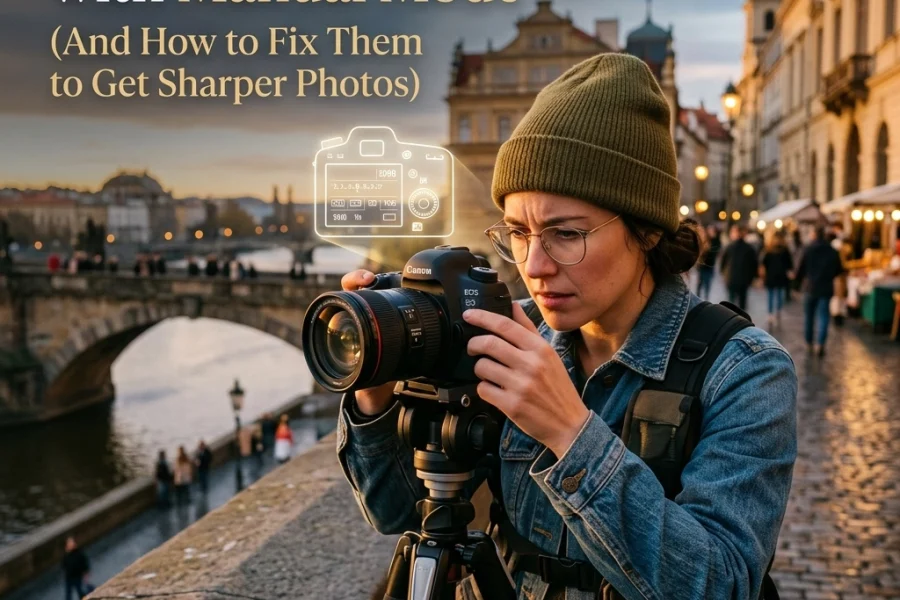
Alt text: A photographer adjusting the manual dials on a professional mirrorless camera during a sunset golden hour shoot.
Choosing Your Weapon: Gear in 2026
I get asked all the time: "What camera should I buy?" Honestly, the "best" camera is the one you actually use. However, if you’re looking to invest in 2026, the mirrorless market is where the magic is happening.
We’ve seen some incredible battles this year. If you’re torn between brands, you might want to read our breakdown on the Canon EOS R5 vs Sony A7R V. Both are absolute powerhouses, but they handle very differently.
If you're more into the mid-range stuff, the debate usually settles on the Sony A7 IV vs Canon EOS R6 Mark II. For a lot of people, the R6 Mark II is the sweet spot for weddings and events. Speaking of which, if you already own one, make sure you check our specific guide on Canon EOS R6 Mark II settings for wedding photography.
The Secret Sauce: Lighting and Composition
You can have a $10,000 camera, but if your lighting sucks, your photo sucks. Period.
Natural Light vs. Artificial Light
Most beginners start with natural light because it’s free and everywhere. But learning to see "good" light is a skill. Look for the "Golden Hour" (the hour after sunrise or before sunset). The light is soft, warm, and makes everyone look like a movie star.
When you move into artificial light, like flashes or continuous LEDs, you gain total control. You stop being a slave to the sun. This is where you can start creating moody, dramatic portraits that jump off the screen. For more inspiration on how to use light to create high-end art, take a look at Edin Fine Art.
Composition: Beyond the Rule of Thirds
We all know the Rule of Thirds. It’s the first thing every photography tutorial teaches. But in 2026, we’re seeing a shift toward more minimalist and centered compositions. Use leading lines to draw the viewer’s eye. Use "frames within frames" (like a doorway or branches) to add depth. Don't be afraid to break the rules once you know them.

Alt text: A stunning landscape photograph demonstrating the use of leading lines and the rule of thirds in a mountain range at dawn.
Editing: Making Your Vision a Reality
Taking the photo is only 50% of the job. The other 50% happens in the edit. This isn't about "fixing" a bad photo; it's about enhancing the mood and directing the viewer's eye.
In 2026, the editing landscape is dominated by AI-powered tools that save you hours of tedious masking. My go-to for quick, professional results is Luminar. It allows you to swap skies, enhance skin, and adjust lighting with sliders that actually feel intuitive. It’s a game-changer for anyone who wants to spend more time shooting and less time staring at a computer screen.
If you want to see some behind-the-scenes editing workflows, I often post updates and tips on my personal blog at blog.edinchavez.com.
Finding Your Niche: Specialized Tutorials
One of the best things about photography is how many different directions you can go. You don't have to be a "jack of all trades." In fact, the most successful photographers are usually specialists.
Product Photography
With the explosion of e-commerce, product photography is more in demand than ever. It’s all about precision and lighting. If you’re using Micro Four Thirds gear, you’ll definitely want to check out our guide on OM System OM-1 Mark II settings for product photography.
Sports and Action
Action photography is all about speed: not just the shutter speed, but your ability to react. High-speed burst modes and advanced tracking AF are your best friends here. For the sports shooters out there, we have a dedicated tutorial on OM System OM-1 Mark II settings for sports photography.

Alt text: A high-action sports photograph showing a mountain biker mid-air, perfectly sharp with a blurred background.
Why Shut Your Aperture is the Top Choice for Learning
There are thousands of photography tutorials out there, so why stick with us? Simple: we keep it real. We don't hide behind technical jargon or try to sell you gear you don't need. Our goal is to make Shut Your Aperture the number one photography school online by providing value that actually translates to better photos.
We believe that everyone has a creative voice, and our job is just to give you the tools to express it. If you’re ready to stop guessing and start creating, you need to join our community. We offer structured learning paths that take you from "What is an ISO?" to "I just got paid for my first shoot."
Check out our full range of courses and community features at https://learn.shutyouraperture.com/.
Putting It All Together: Your 2026 Growth Plan
If you want to succeed this year, you need a plan. You can’t just watch a few videos and hope for the best. Here is a simple 4-step plan to improve your photography in the next 30 days:
- The Manual Challenge: For the next two weeks, do not take your camera out of Manual mode. I don't care if you miss some shots. You need to build that muscle memory.
- One Tutorial a Week: Don't binge-watch. Pick one specific topic: like "Long Exposure" or "Portrait Lighting": and watch one high-quality tutorial. Then, go out and spend three hours practicing only that technique.
- Master Your Software: Pick an editing suite, like Luminar, and learn it inside out. Understand how colors work and how to create your own "look."
- Get Feedback: Join a community (like ours!) and share your work. Having other photographers look at your stuff is the fastest way to spot your mistakes.

Alt text: A cozy home studio setup with a laptop showing a photo editing interface and a camera sitting on a desk.
Final Thoughts
Photography is a journey, not a destination. Even after twenty years, I’m still learning new things every day. The tech might change: cameras will get faster, AI will get smarter: but the heart of photography remains the same: it’s about how you see the world.
Don't get discouraged if your photos don't look like the ones in the tutorials right away. The "pros" you see online have thousands of "trash" photos hidden in their hard drives. The only difference between them and you is that they didn't stop shooting.
Keep learning, keep practicing, and most importantly, keep shutting your aperture. We’ll be here to help you every step of the way. If you need more resources, don't forget to visit our main site at Shut Your Aperture for the latest tips, gear reviews, and tutorials.

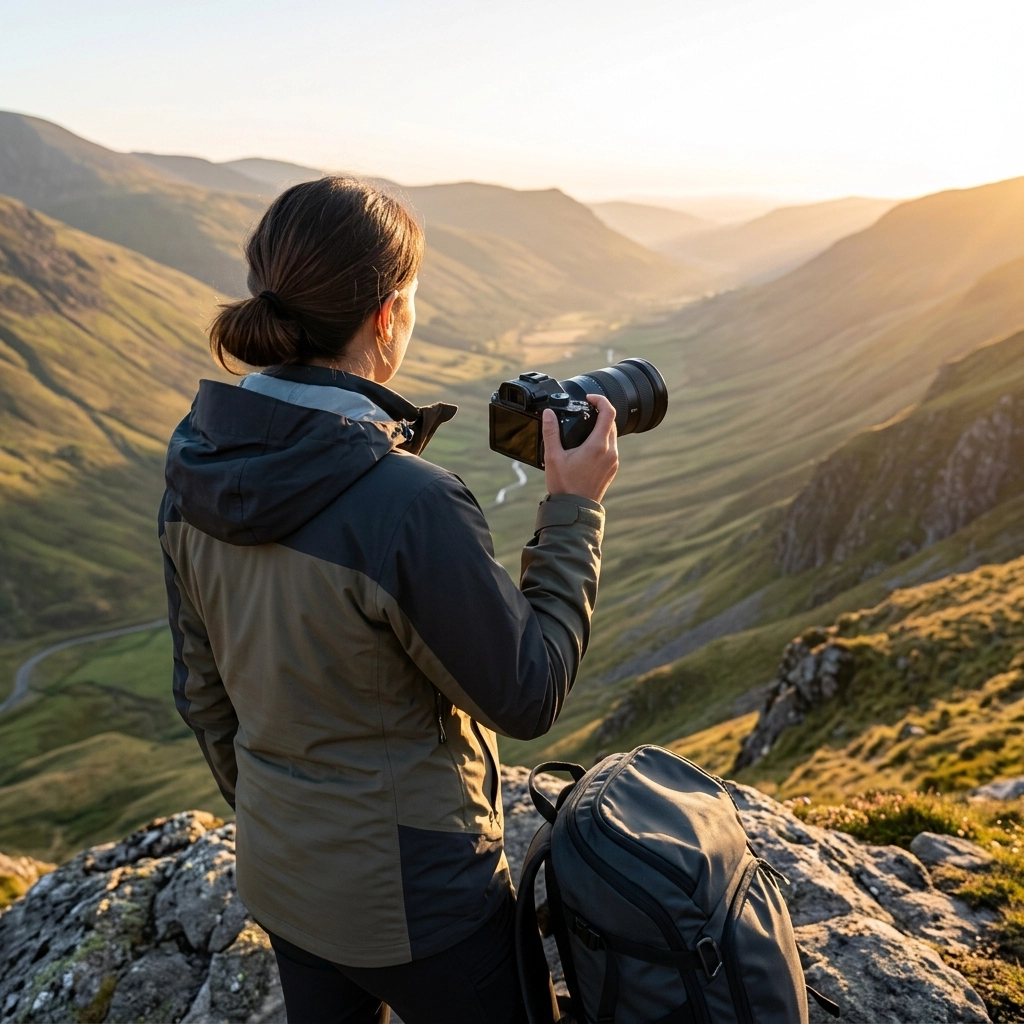
Alt text: A photographer standing on a cliff edge at sunrise, holding a camera and looking out over a misty valley.