
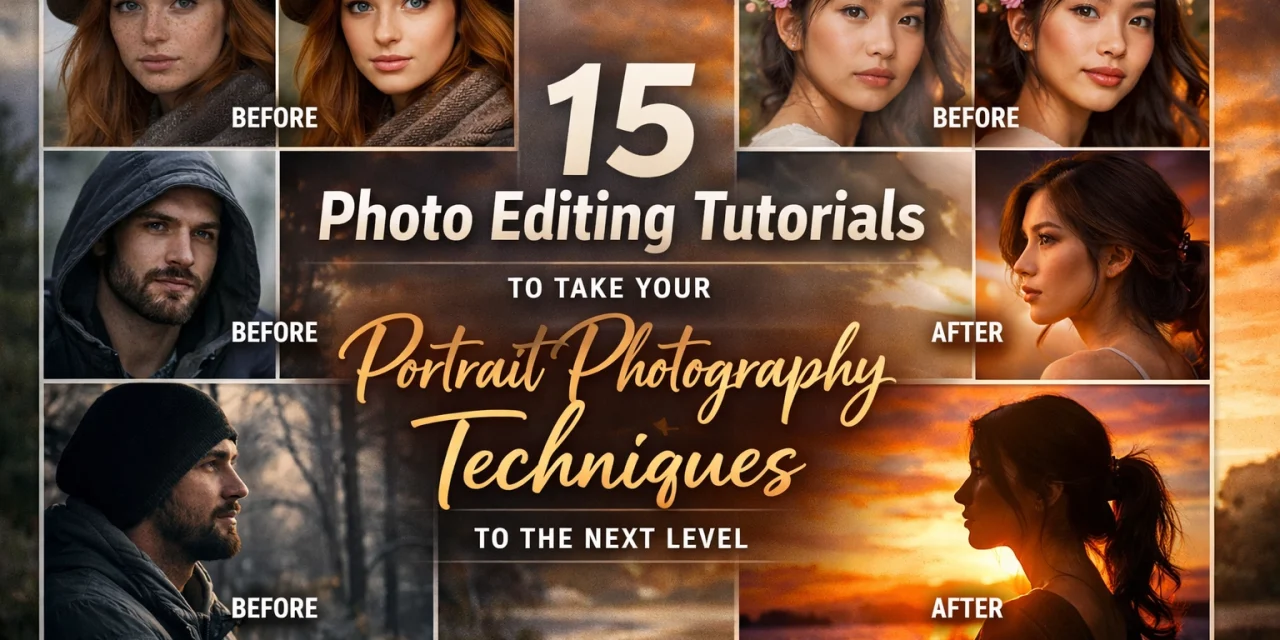
Let’s be real: clicking the shutter is only half the battle. If you’re serious about portrait photography, you know that the magic: or the "sauce," as we like to call it here at Shut Your Aperture: happens in the post-processing phase. In 2026, the line between a "good" photo and a "breathtaking" one is drawn with your editing brush.
Whether you are trying to fix a lighting mishap from a shoot in one of those picturesque coastal escapes or you want to give your studio headshots a professional high-end polish, mastering these 15 tutorials will change your game. We’ve pulled from the best techniques in Lightroom, Photoshop, and Luminar to help you level up.
1. The Essential 11-Step Foundation
Before you dive into advanced frequency separation, you need to nail the basics. Most beginner portraits suffer from "over-editing syndrome" because the foundation wasn't solid.
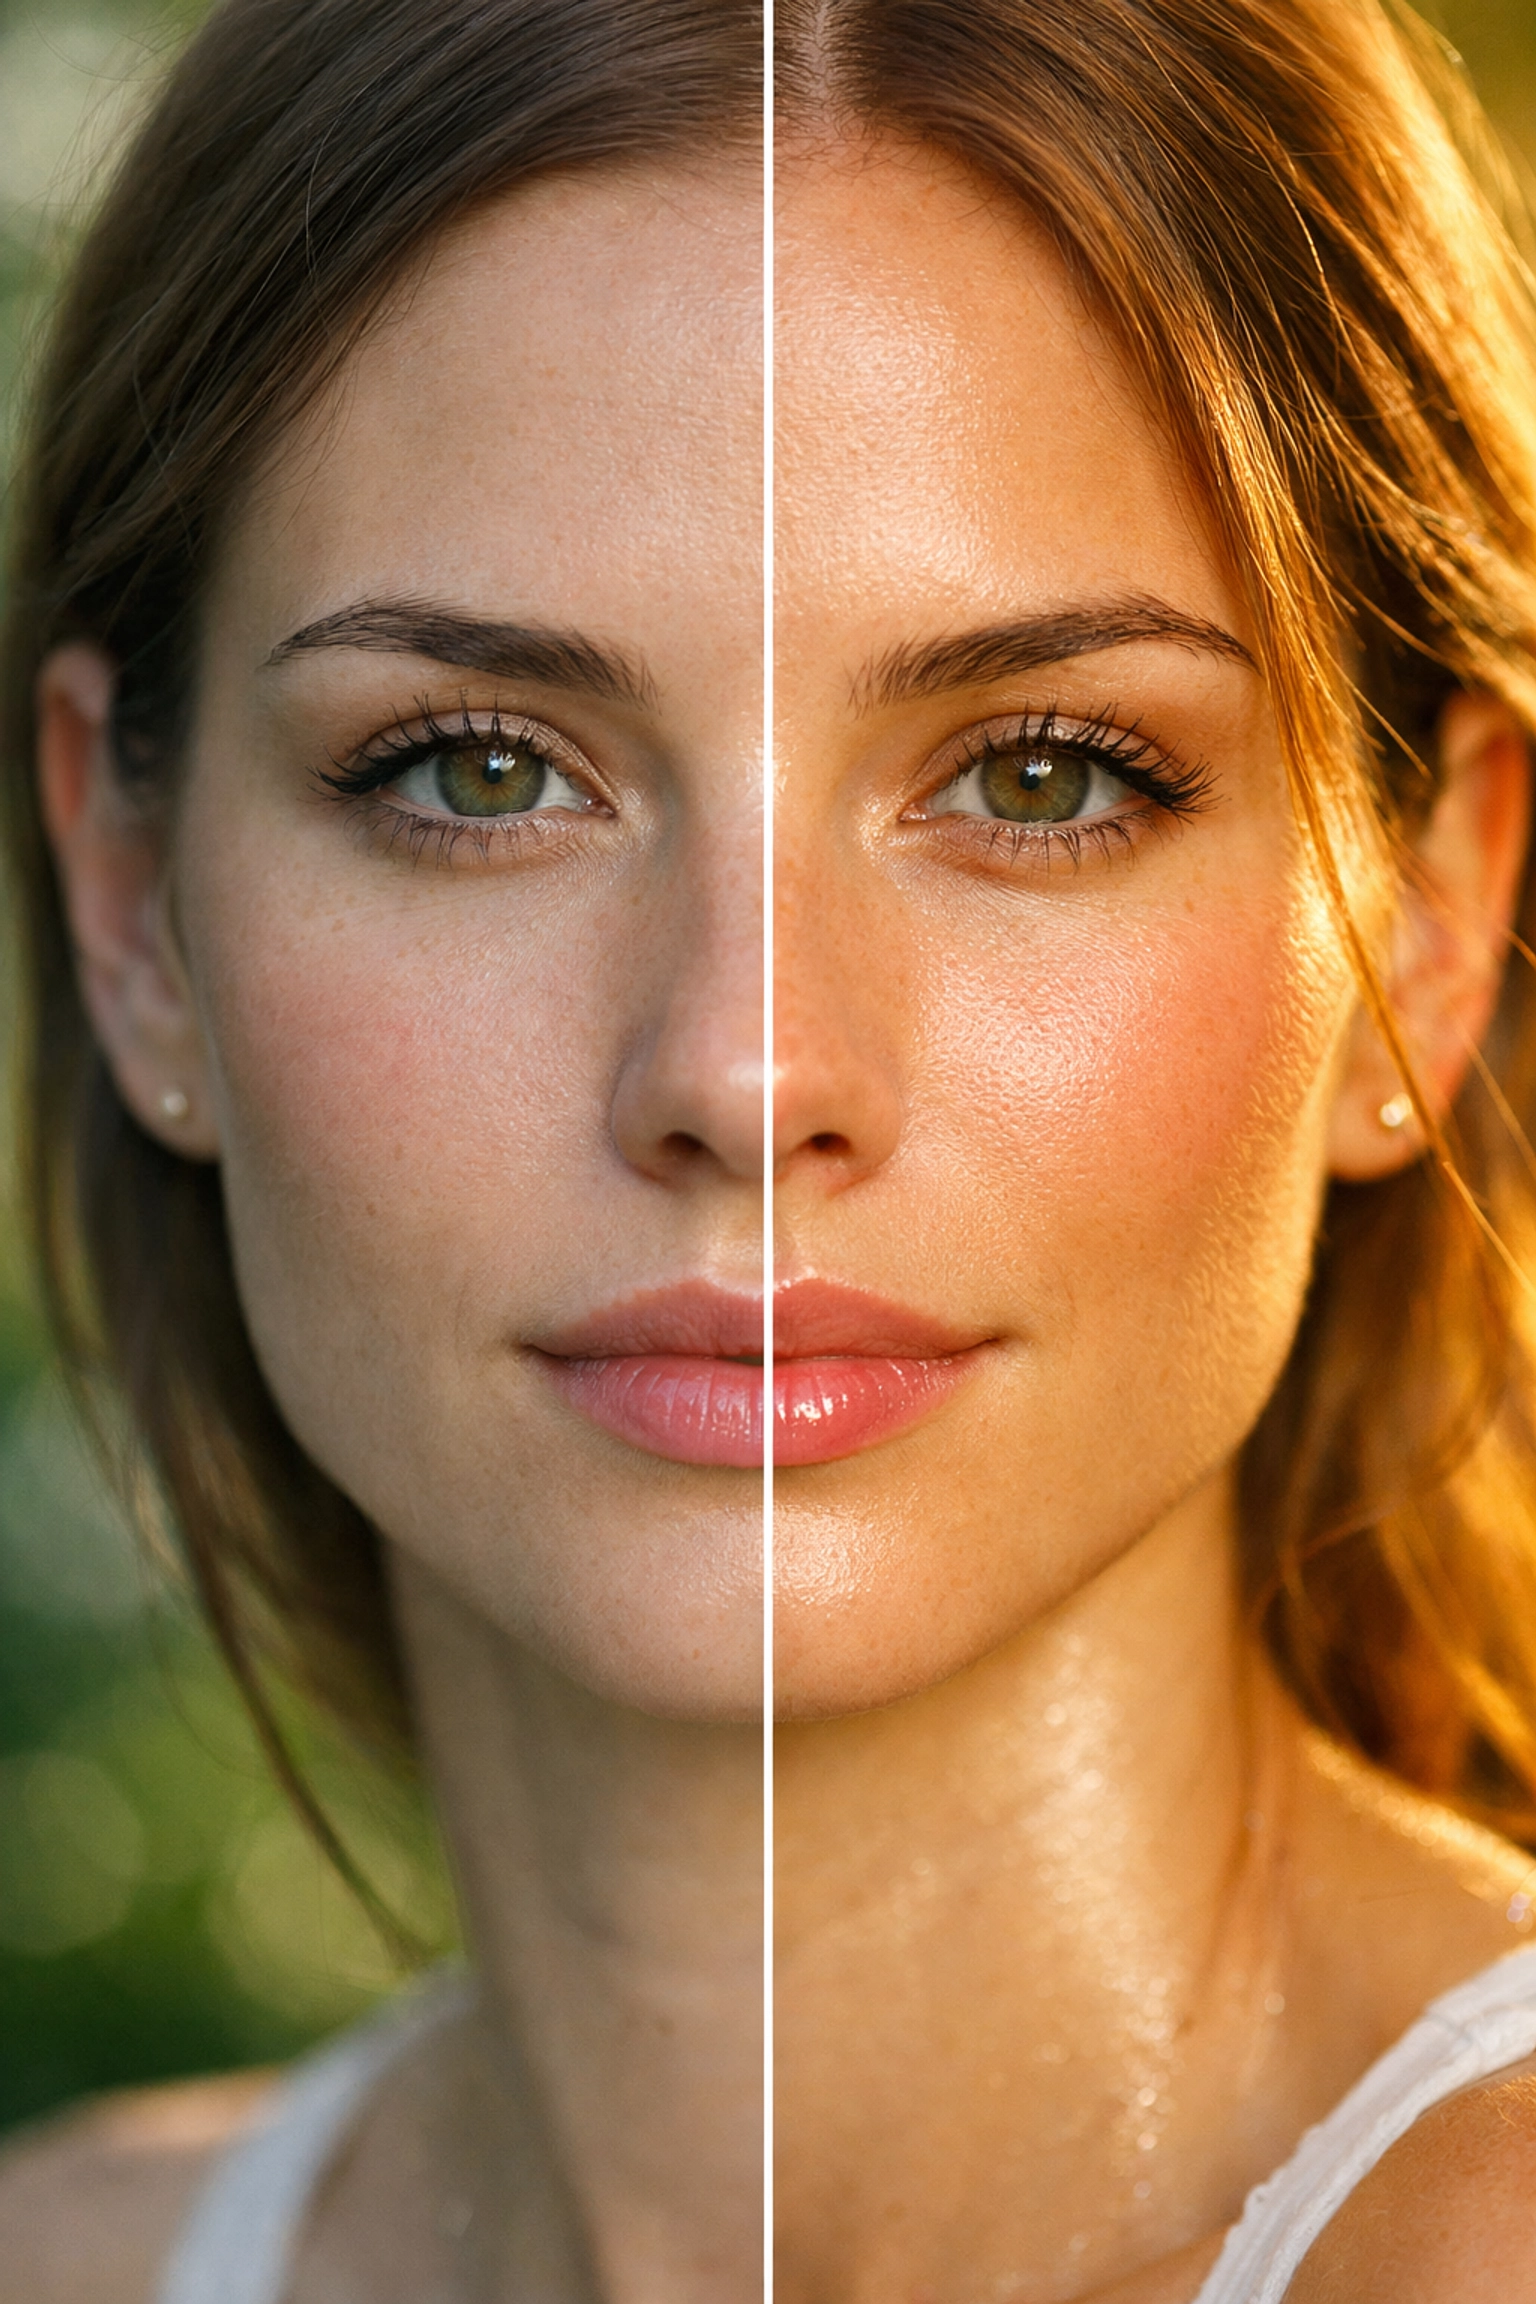
The first step is always White Balance. If your skin tones look like a Cheeto or a Smurf, no amount of sharpening will save you. Move to exposure, highlights, and shadows. The goal here isn't to make the photo look "edited": it's to make it look like the best version of reality. Check out the guide on how-to-choose-the-best-mirrorless-camera-for-2026 if you're finding your RAW files aren't giving you enough dynamic range to work with.
2. The "Less is More" Philosophy
Ben Staley is a huge proponent of this. The tutorial focuses on using Tone Curves and Camera Profiles rather than dragging every slider to 100. By shifting your Camera Profile in Lightroom first, you change how the software interprets the colors of your sensor. This often does 40% of the work for you. It’s about storytelling in photography; you want the viewer to look at the person, not the Lightroom preset.
3. Mastering Skin Tones via HSL
The HSL (Hue, Saturation, Luminance) panel is where portraits live or die. A common trick is to go to the Orange slider. Most skin tones are dominated by oranges. If the skin looks too red, shift the Orange Hue toward yellow. If it looks dull, bump up the Orange Luminance. This creates a "glow" that looks natural. If you're shooting in hidden gem locations, natural light can be unpredictable, making HSL your best friend.
4. Advanced Eye Depth (The "Windows to the Soul")
PiXimperfect has a legendary method for this. Instead of just "brightening" the eyes, you want to add depth. This involves creating a new layer in Photoshop, using a soft white brush on the bottom half of the iris, and setting the blend mode to "Overlay." This mimics how light actually hits a translucent sphere. For more technical deep-dives, you can always check out PhotoGuides.org.
5. Teeth Whitening and Mouth Color
Nothing ruins a portrait faster than neon-white teeth that look like they belong in a cartoon. The secret is to use a brush in Lightroom, lower the Saturation, and slightly increase the Exposure. Do not: I repeat, do not: set the Saturation to -100. People have natural yellow/ivory tones in their teeth. Keep it realistic. Similarly, adding a touch of "Mouth Color" involves a subtle bump in Saturation and Temp on the lips to make the subject look healthy.
6. AI-Powered Retouching with Luminar Neo
If you’re short on time, AI is your savior. Luminar Neo’s Face AI can detect facial features and allow you to slim the face, enlarge eyes slightly, or remove dark circles with a single slider. It’s particularly useful for batch-editing shoots from enigmatic vistas where the lighting was harsh.
7. Frequency Separation for High-End Skin
This is the Photoshop technique used by magazine retouchers. It involves splitting your image into two layers: one for Texture (high frequency) and one for Color/Tone (low frequency). This allows you to smooth out blotchy skin tones on the bottom layer without losing the natural skin pores on the top layer. If you've ever wondered why professional portraits look "smooth" but still "real," this is the secret.
8. Creating Attention with AI Masking
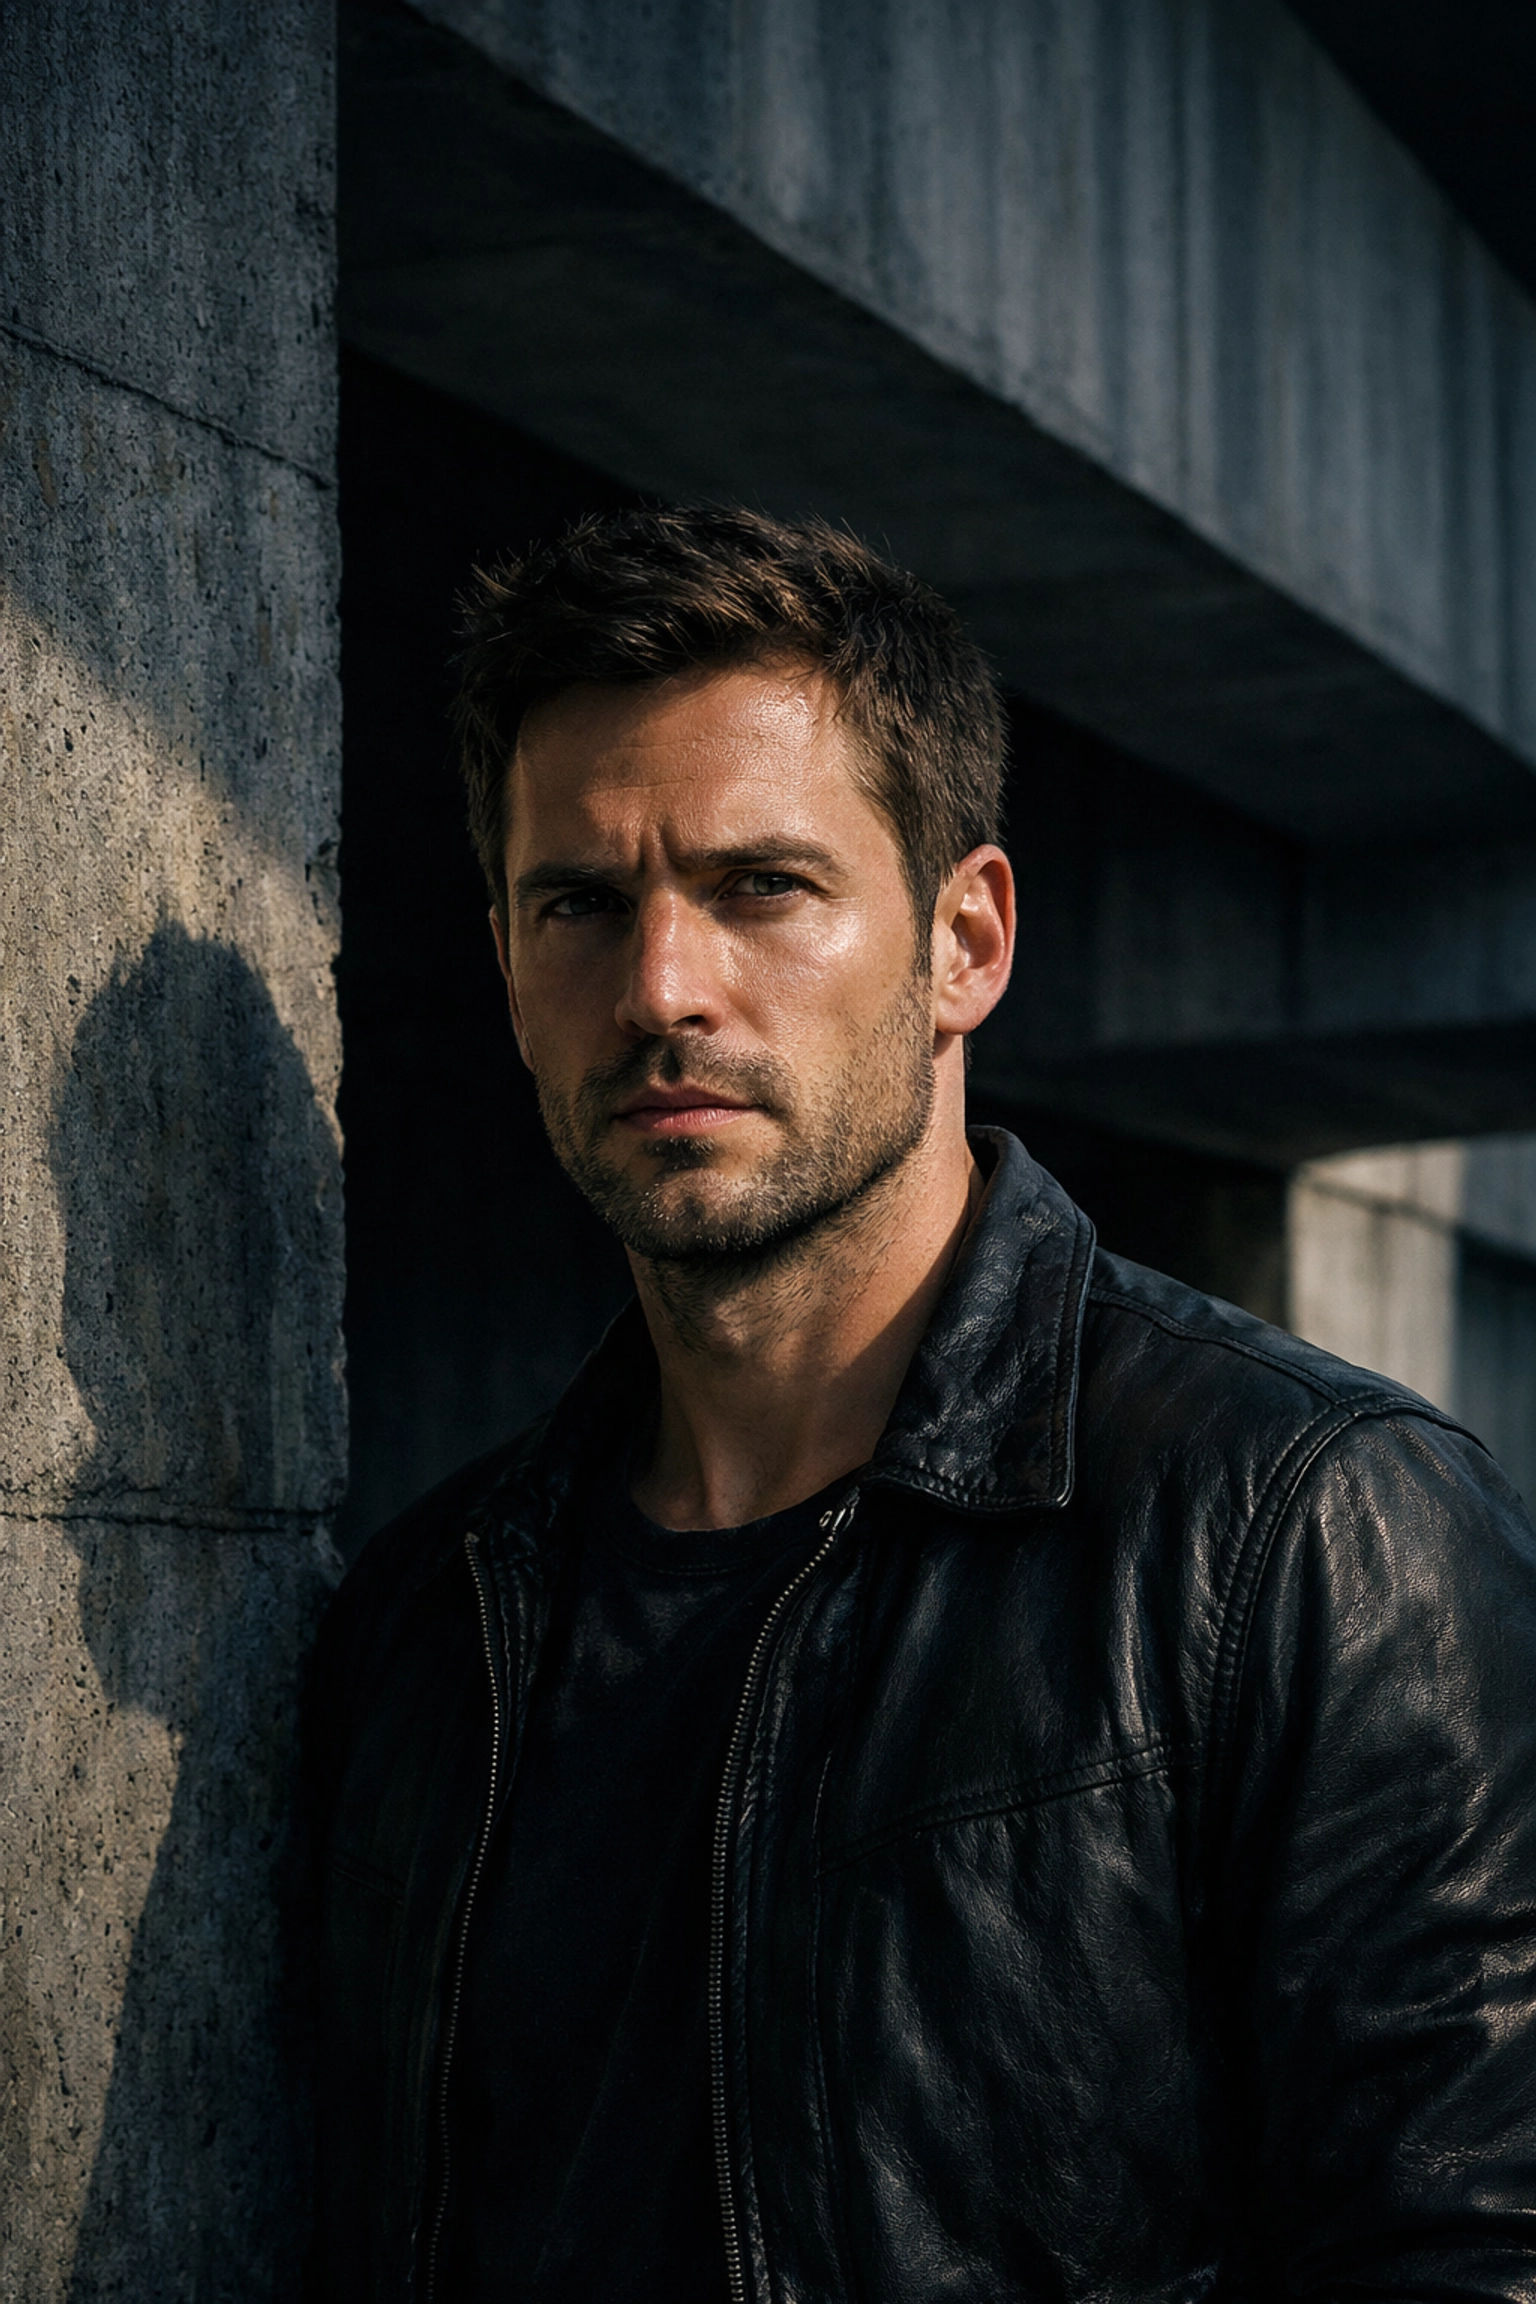
In 2026, Lightroom's "Select Subject" tool is terrifyingly accurate. Use it to mask your subject and slightly increase the exposure or sharpness, then invert the mask to lower the exposure of the background. This "pops" the subject off the screen. It works wonders for urban photography where the background can be distracting.
9. Managing Subject Exposure (The Glow)
Zac Watson’s 2025 tutorial emphasizes that the subject should always be the brightest part of the image (usually). If you’re shooting near water, check out our guide on water photography techniques to see how reflections can mess with your subject's exposure and how to fix it in post.
10. Fixing Color Shifts in Shadows
Ever notice how skin can look green or blue in the shadows? This is a "color shift." In Photoshop, you can use a Color Balance adjustment layer to add a bit of Red or Yellow back into the shadows to neutralize that "corpse-like" look that happens under certain trees or architectural overhangs.
11. Adding Hair Dimension and Volume
Hair often looks flat in digital photos. By using a "Dodge and Burn" technique: lightening the highlights of the hair and darkening the shadows: you create a 3D effect. It makes the hair look thicker and shinier. This is a staple in fashion photography. You can find more professional tips on www.proshoot.io.
12. High-Contrast Black and White Portraits
Converting a portrait to B&W isn't just about hitting the "Greyscale" button. You need to manipulate the color sliders. Dropping the Blue slider will darken the sky, while raising the Red/Orange sliders will make the skin look luminous. This creates that classic, high-end look often seen on blog.edinchavez.com.
13. Using Rare Textures for Aesthetic Depth
Sometimes a portrait feels too "digital." Adding a subtle texture overlay: like light grain or even a tangible texture: can give it a filmic quality. We’ve discussed using rare textures for aesthetic photography before, and it applies perfectly to portrait backgrounds to add mood.
14. Storytelling Through Color Grading
Color grading is about emotion. Want it to feel nostalgic? Add some warmth to the highlights and a hint of teal to the shadows. Want it to feel "fashion-forward"? Go for a high-contrast, cooler look. This is where your personality as an artist comes out. If you're struggling with inspiration, looking at majestic sunset photography can help you understand how natural light creates color harmony.
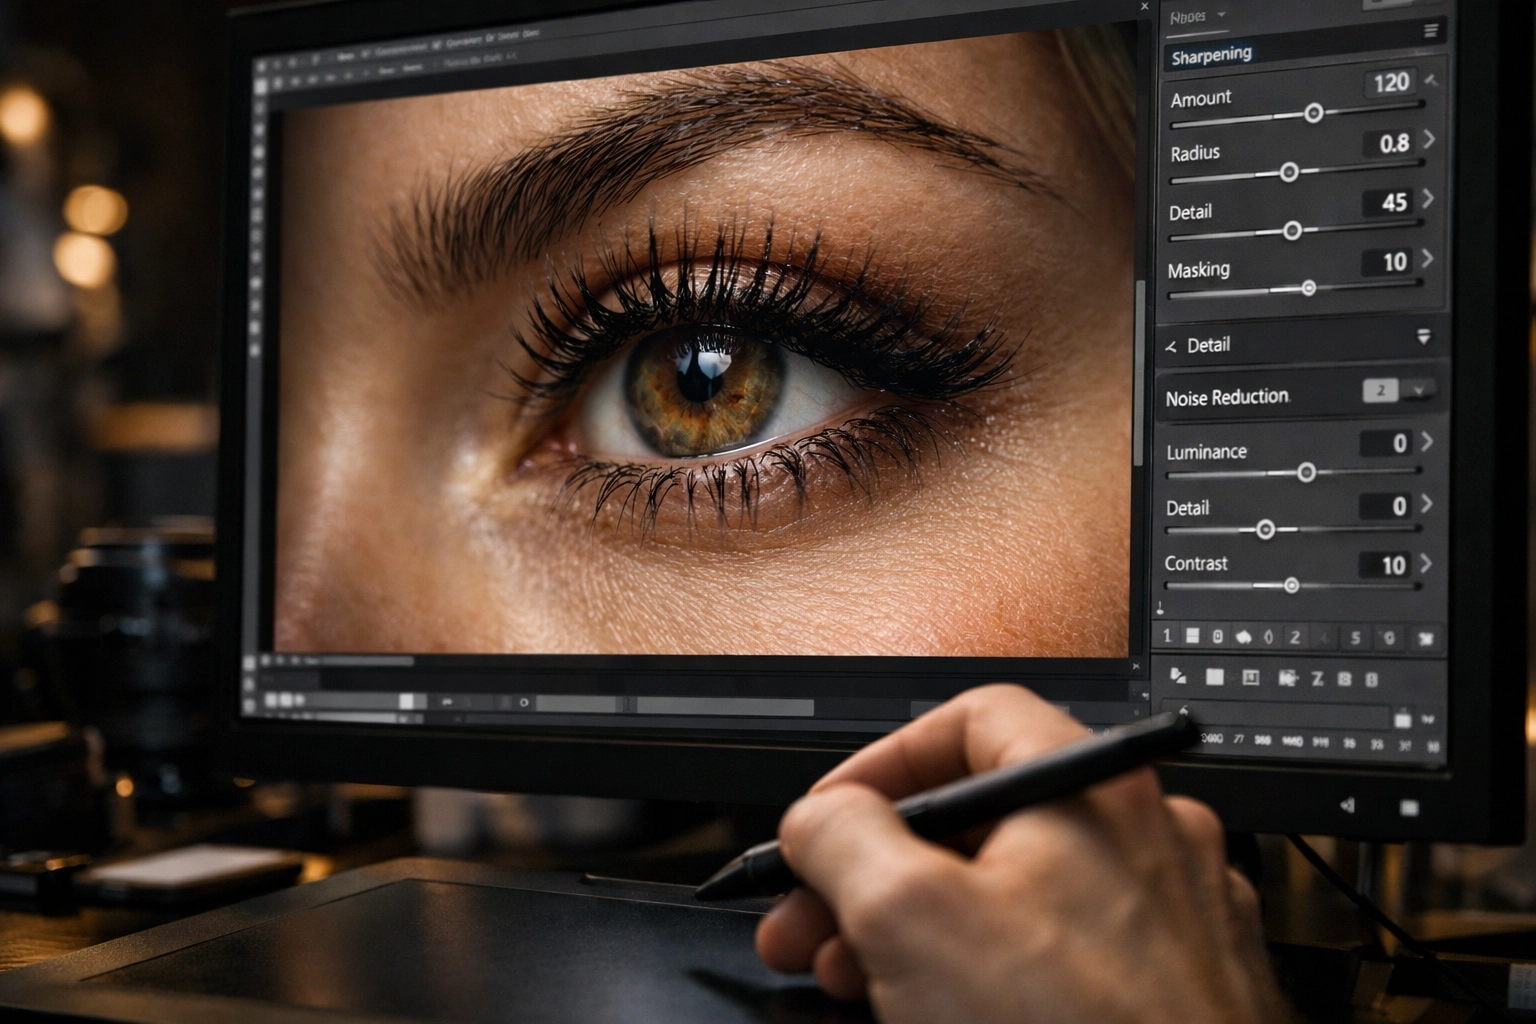
15. The Final Polish: Sharpening and Export
The last tutorial is the most overlooked. Sharpening should be selective. You want the eyes, eyelashes, and lips sharp, but the skin should stay soft. Use a "Masking" slider in Lightroom’s Sharpening panel: hold 'Alt' (or 'Option') while dragging it to see where the sharpening is being applied. Only the white lines will be sharpened. Finally, ensure your export settings are optimized for the platform: web-sized for Instagram, full-res for your portfolio.
Why Gear Still Matters (Even with Great Editing)
You might think that with all these tutorials, you could edit a photo from a potato to look like a masterpiece. While editing is powerful, starting with a clean file is easier. As we discussed in our breakdown of does new camera gear really matter in 2026, having a sensor with high dynamic range gives you the "data" you need to push those sliders without the image falling apart.
If you’re just starting out, don't get overwhelmed. Pick one of these tutorials: maybe the HSL skin tone one: and master it this week. Then move to the next. Portrait photography is a journey, and your editing style will evolve just as much as your shooting style.
For more inspiration on where to take your next portrait, why not explore some secluded paradises or ethereal landscapes? The world is your studio( now go make something amazing.)


