
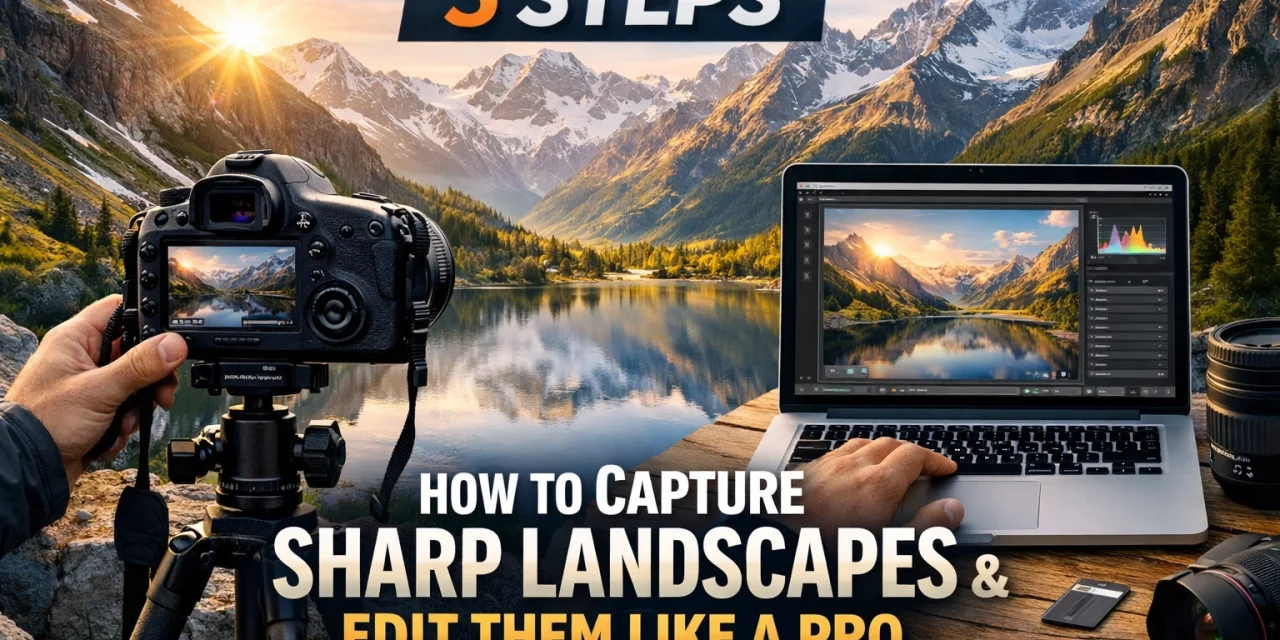
You’ve probably been there. You’re standing in front of a breathtaking mountain range, the light is hitting the peaks just right, and you snap what you think is a masterpiece. But when you get home and pull that photo up on a big screen, it’s… soft. Or blurry. Or the flowers in the front look great, but the mountains look like a watercolor painting gone wrong.
We’ve all been there. Capturing sharp landscapes isn't about having a $10,000 camera (though that doesn't hurt). It’s about understanding a few fundamental principles of how light, glass, and sensors work together. If you’re tired of "almost" getting the shot, this guide is for you. At Shut Your Aperture, we believe in keeping things simple so you can spend less time fumbling with buttons and more time actually shooting.
Here are five steps to get your landscape photos tack-sharp from front to back, plus how to polish them up in post-processing.
Step 1: Master Your Camera Settings for Sharpness
If you’re still shooting on "Auto," it’s time to break up with that green square. Auto mode is designed to make "safe" choices, which usually results in a blurry mess when it comes to landscapes. You need to take control.
The Magic of Manual Mode
The first step to sharpness is switching to Manual Mode. If that sounds intimidating, check out our Manual Mode 101 guide. For landscapes, you want to focus on three specific settings: Aperture, ISO, and Shutter Speed.
Aperture: Finding the "Sweet Spot"
Aperture controls your depth of field: how much of the image is in focus. For landscapes, you generally want a deep depth of field. A common mistake beginners make is cranking the aperture up to f/22 thinking it will make everything sharper. In reality, most lenses suffer from "diffraction" at their smallest apertures, which actually makes the image softer.
Aim for the "sweet spot" of your lens, usually between f/8 and f/11. If you have a foreground element very close to your lens, you might need f/16, but try to avoid going much higher than that. If you need more resources on technical settings, PhotoGuides.org has some great deep dives on lens physics.
ISO: Keep it Low
ISO is your camera's sensitivity to light. High ISO equals digital noise, and noise kills detail. For landscape photography, you should almost always keep your ISO at 100 (or your camera’s base ISO). This ensures the cleanest possible file with the most dynamic range.
Shutter Speed: Let the Meter Guide You
Once your Aperture and ISO are set, adjust your shutter speed until your internal light meter hits zero. Since you’ll be using a low ISO and a narrow aperture, your shutter speed might be quite slow: which leads us to Step 4.

Step 2: Perfect Your Focus with Hyperfocal Distance
This is where most people get tripped up. Where do you actually point your focus? If you focus on the foreground, the background is blurry. If you focus on the horizon, the foreground is a smudge.
The "One-Third" Rule
The "pro" way to do this is using hyperfocal distance, but let’s keep it simple. A good rule of thumb for beginners is to focus about one-third of the way into the scene.
Imagine a grid over your photo. If you focus on an object about a third of the way up from the bottom of the frame, your depth of field will usually extend from the very front all the way to infinity, especially if you’re shooting at f/11.
Use Live View and Zoom In
Don't trust your viewfinder. Switch to Live View on your LCD screen, zoom in digitally (usually a magnifying glass button) on your focus point, and manually adjust until it’s crisp. This is way more accurate than relying on your camera’s autofocus, which might get distracted by a stray blade of grass.
If you’re looking for more advanced techniques, our Ultimate Guide to Photography Tutorials covers these focusing methods in even more detail.
Step 3: Compose with a Strong Focal Point and Foreground
Sharpness doesn't matter if the photo is boring. A sharp photo of "everything" is often a photo of "nothing." You need to give the viewer's eye a path to follow.
The Anchor Point
Every great landscape needs a "hero": a mountain peak, a lone tree, or a weathered barn. This is your main focal point. Use the Rule of Thirds to place this hero off-center to create a more dynamic balance.
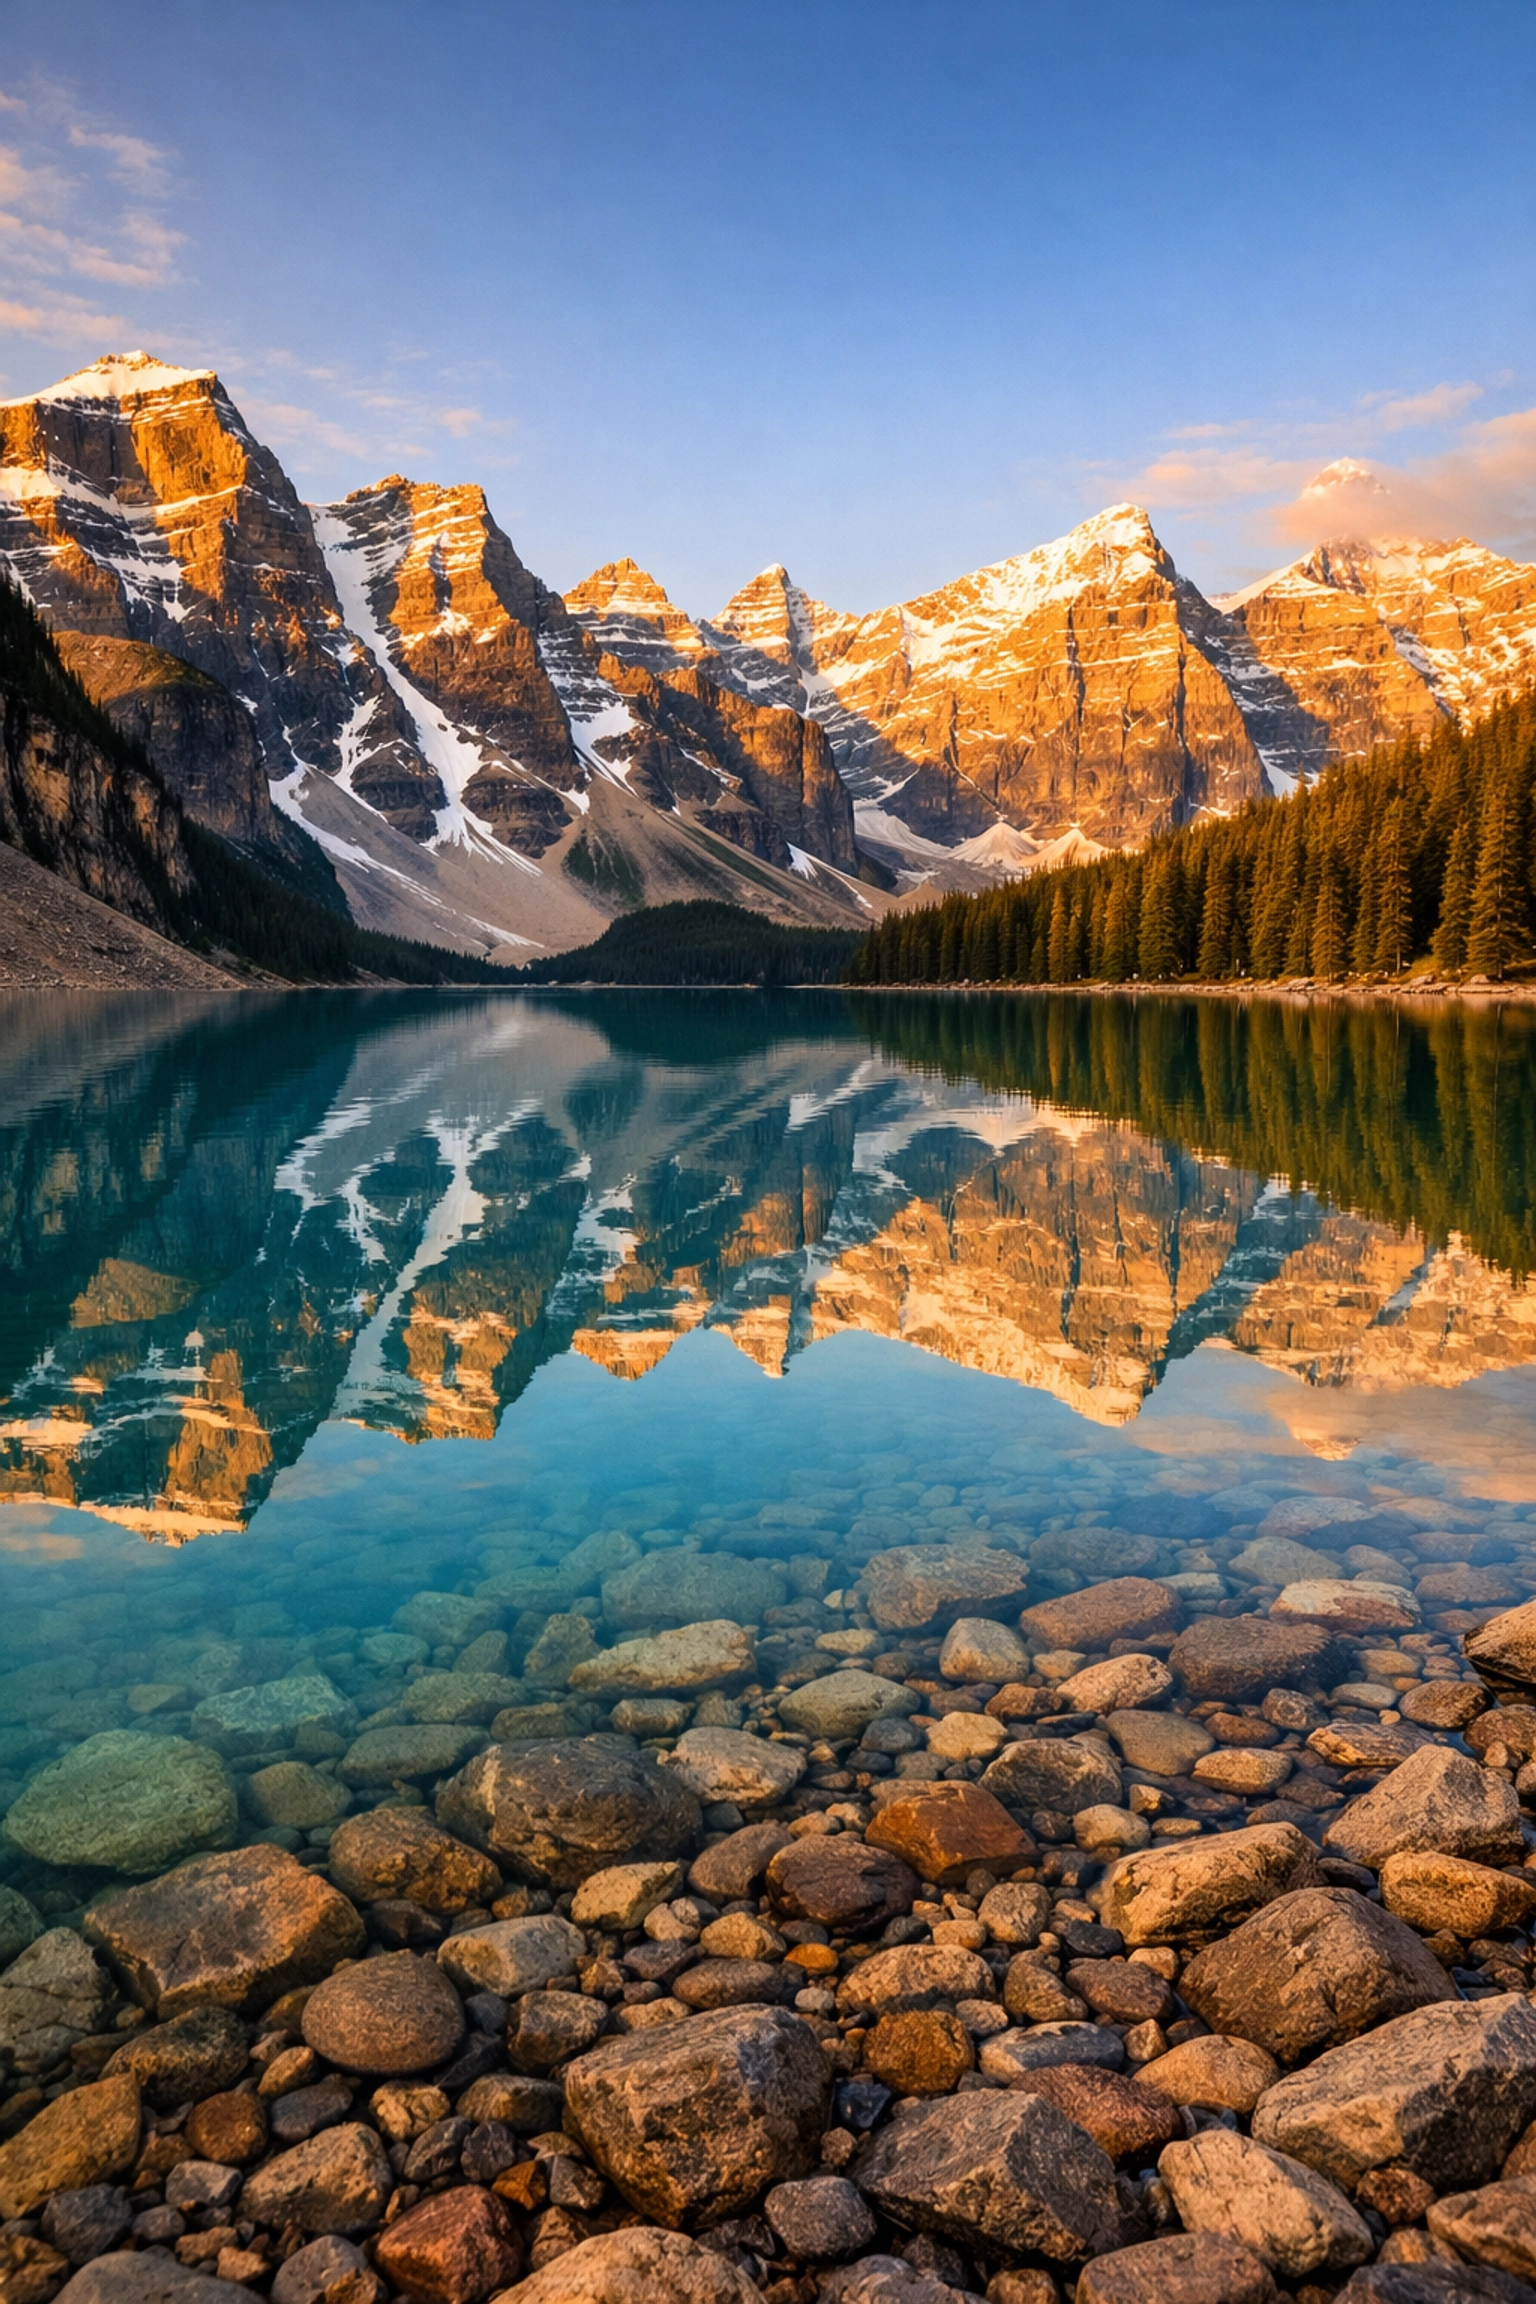
Foreground Interest
The difference between a snapshot and a professional landscape is often the foreground. Get low. Find a rock, some wildflowers, or a stream. These elements create a sense of scale and pull the viewer into the frame. When you have a strong foreground and a sharp background, it creates a 3D effect that makes the viewer feel like they could step right into the photo.
For inspiration on how to find these emotive compositions, take a look at our guide on capturing authentic emotions in travel photography: the principles of storytelling apply to landscapes too!
Step 4: Stabilize Your Camera Like a Surgeon
You’ve got the right settings and a killer composition. Now, don't ruin it by holding the camera.
The Almighty Tripod
At ISO 100 and f/11, your shutter speed will often be slower than 1/60th of a second, especially during the "golden hour" (sunrise and sunset). Even the steadiest hands in the world will introduce "micro-shake" at these speeds.
A sturdy tripod is the most important piece of gear for a landscape photographer. It locks your camera in place and allows for long exposures that make water look like silk and clouds look like brushstrokes. If you're shopping for gear, check out ProShoot.io for reviews on the latest stabilizing tech.
Use a Remote Trigger or Timer
Believe it or not, just pressing the shutter button with your finger causes the camera to shake. To get the sharpest possible image, use a remote shutter release or set your camera’s built-in 2-second timer. This gives the camera time to stop vibrating after you touch it before it actually takes the picture.
Turn Off Image Stabilization
Here’s a pro tip: if your camera or lens has Image Stabilization (IS) or Vibration Reduction (VR), turn it off when you’re on a tripod. Sometimes the system tries to look for movement that isn't there and actually ends up creating blur.
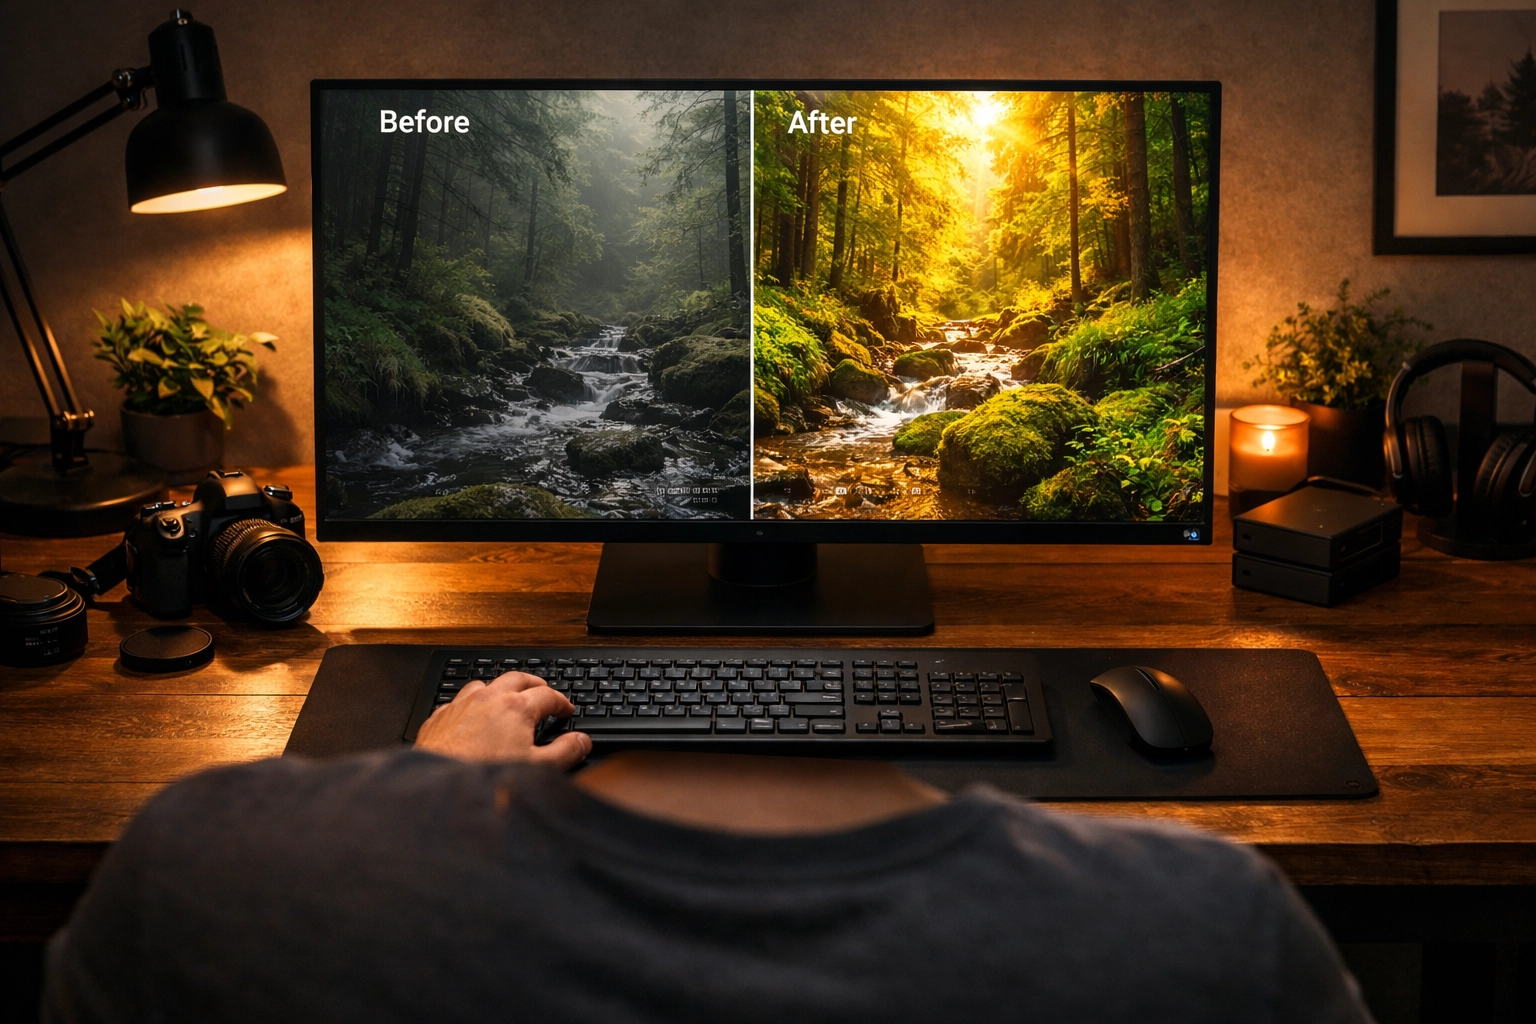
Step 5: Edit in Post-Production Like a Pro
The "raw" file out of your camera is like a cake mix: it’s got all the ingredients, but it’s not finished yet. Professional landscape photographers use software to bring out the details that the sensor captured.
Start with Adobe Lightroom
Lightroom is the industry standard for a reason. Here’s a simple workflow for sharpening:
- Lens Corrections: Check "Enable Profile Corrections" to fix any distortion or vignetting caused by your lens.
- Texture and Clarity: Don't go overboard, but a little bump in Texture can make rocks and trees pop.
- Sharpening Slider: Hold down the 'Alt' or 'Option' key while moving the "Masking" slider. This allows you to apply sharpening only to the edges of objects rather than the flat areas like the sky (which would just add noise).
Level Up with AI
If you want to take your editing to the next level without spending hours in front of the computer, check out Luminar. It uses AI to enhance skies, add realistic "sun rays," and sharpen details intelligently. It’s a game-changer for beginners because it handles a lot of the heavy lifting for you. You can see how these trends are evolving in our post about photography trends you should know.
The Power of RAW
Always shoot in RAW format. A JPEG is a "cooked" file where the camera has already made decisions about sharpness and color. A RAW file contains all the data the sensor captured, giving you the freedom to recover highlights in a bright sky or shadows in a dark forest without losing quality. If you want to see what's possible with high-end RAW processing, look at the fine art galleries at EdinFineArt.com.
Putting It All Together
Sharp landscape photography isn't a secret society; it’s a process. By controlling your aperture, mastering your focus point, using a tripod, and finishing the job in Luminar or Lightroom, you’ll see a massive jump in the quality of your work.
Checklist for Your Next Trip:
- Tripod? Checked.
- Aperture at f/8-f/11? Checked.
- ISO 100? Checked.
- Focused 1/3 into the scene? Checked.
- Timer set? Checked.
Landscape photography is about patience. Sometimes you have to wait for the wind to stop blowing or for the light to hit just right. But when you finally press that shutter and you know you’ve nailed the technical side, the feeling is unbeatable.
For more tips on different styles of photography, check out our ultimate guide to black and white wedding photography or browse our post sitemaps for hundreds of other tutorials.
Remember, the best camera is the one you know how to use. Get out there, find a beautiful view, and shut your aperture! If you need more professional insights or want to see the behind-the-scenes of a working studio, head over to EdinStudios.com or check out the personal blog at blog.edinchavez.com.
Happy shooting! Keep it simple, keep it sharp, and most importantly, have fun with it. Your next favorite photo is just one hike away.


