
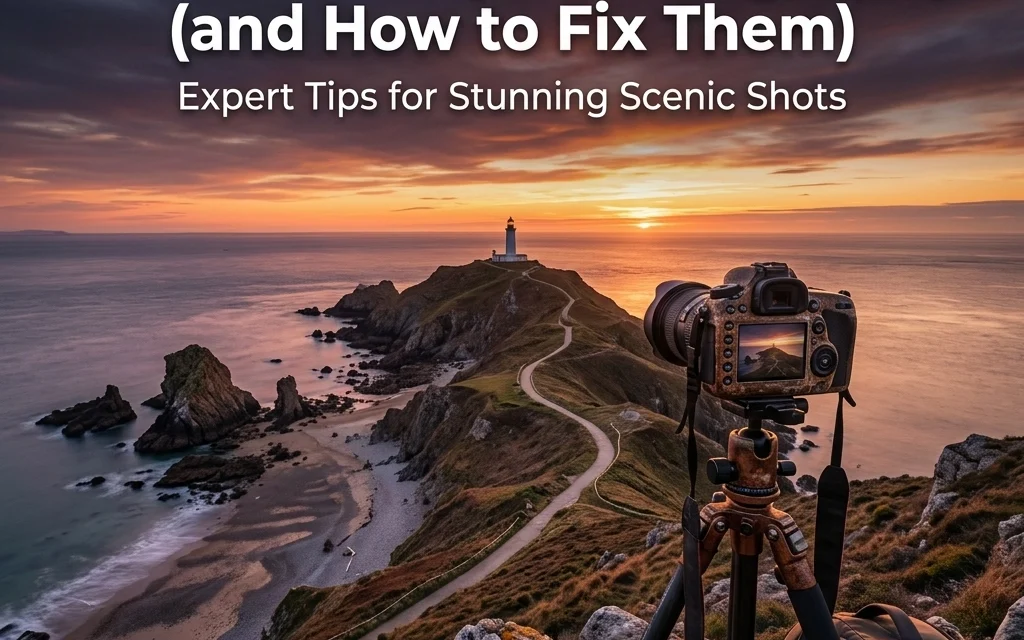
We’ve all been there. You’re standing on the edge of a canyon, the sun is dipping below the horizon, and the sky looks like it was painted by a god with a penchant for neon pink and deep orange. You click the shutter, feeling like the next Ansel Adams. Then you get home, pull the photo up on your computer, and… it’s a dud. The mountain looks like a tiny pebble, the colors are weirdly blue, and the whole thing feels as flat as a pancake.
Landscape photography is deceptively hard. It looks like you just show up and press a button, but there’s a lot of science, and a fair bit of soul, behind those epic shots you see on Instagram. The good news? Most of the reasons your photos aren't "popping" are easy to fix.
Here are the 7 most common mistakes people make with landscape photography and exactly how to stop making them.
1. The "Drunken" Horizon
This is the most common sin in the book. You’re so focused on the mountain or the sunset that you don't notice your camera is tilted about three degrees to the left. A crooked horizon is the fastest way to make a professional-grade scene look like a quick cell phone snap.
Wide-angle lenses actually make this worse. Because of the distortion at the edges of the frame, a horizon can look straight in your viewfinder but come out slanted in the file.
How to Fix It:
- Use the Grid: Turn on the 3×3 grid in your viewfinder or on your LCD screen. Align the horizon with one of those lines.
- The Virtual Horizon: Most modern mirrorless and DSLR cameras have a built-in electronic level. Use it. It’s like a flight instrument for your camera.
- Post-Processing: If you still mess it up, you can fix it in Luminar or Photoshop. Just keep in mind that when you rotate a photo to straighten it, you have to crop the edges, which might cut out something important.
2. Going Too Wide (The "Everything is Tiny" Trap)
When you see a massive landscape, your instinct is to reach for the widest lens you own, maybe a 14mm or 16mm. You want to "get it all in." The problem is that wide-angle lenses push things away. That massive, looming mountain peak suddenly looks like a tiny molehill in the distance because it’s occupying only 5% of your frame.
If your subject lacks impact, you’re probably too wide. You’re capturing a lot of "nothing" (like empty sky or boring grass) and losing the "something."
How to Fix It:
- Zoom In: Don't be afraid to use a 35mm or even a 50mm lens for landscapes.
- The Telephoto Landscape: One of the best "pro secrets" is using a 70-200mm lens for landscapes. It compresses the scene, making distant mountains look huge and imposing. It allows you to pick out specific patterns in the trees or rocks.
- Step Forward: If you must use a wide lens, get physically closer to something in the foreground to create a sense of scale.
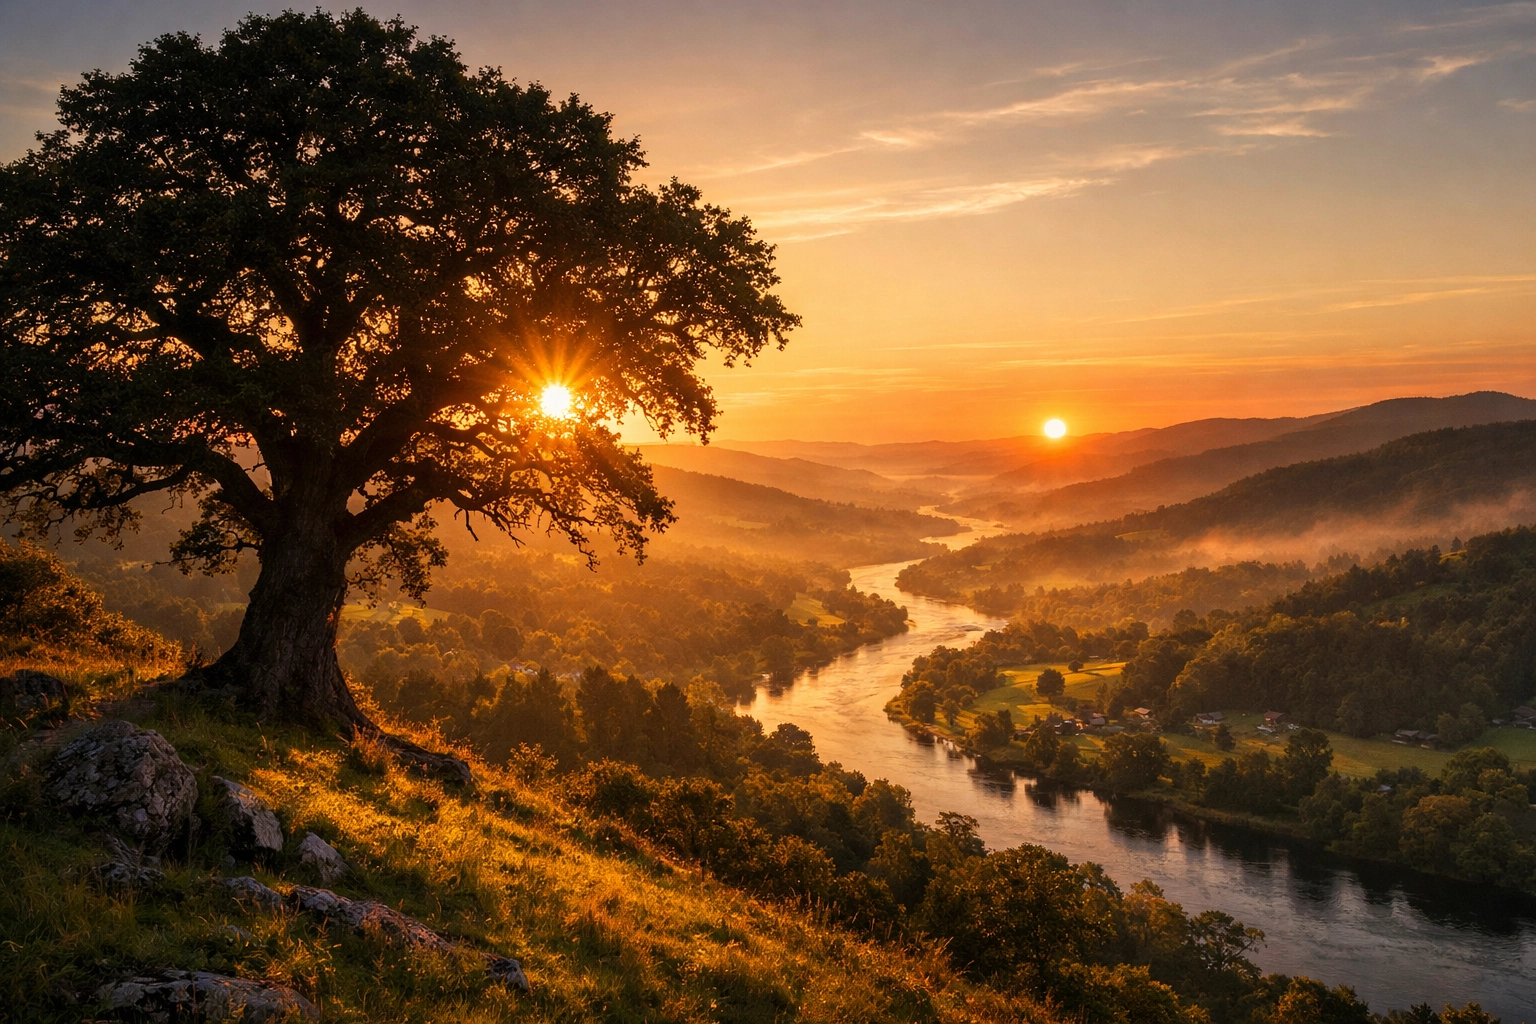
3. Ignoring the Foreground
Speaking of scale, a common mistake is focusing entirely on the "big thing" in the back and ignoring what’s right in front of you. A photo of a distant mountain with nothing but flat dirt in the bottom half of the frame feels empty. It doesn't pull the viewer into the scene.
Think of your photo as a story. The foreground is the introduction, the middle ground is the plot, and the background is the climax.
How to Fix It:
- The "Get Low" Rule: Physically lower your tripod. Putting your camera a foot off the ground makes rocks, flowers, or even cracks in the mud look like epic leading elements.
- Find a Subject: Look for a "hero" for your foreground. A cool rock, a patch of wildflowers, or a piece of driftwood.
- Leading Lines: Use the foreground to lead the eye toward the background. A winding path or a stream works wonders. If you're struggling with composition basics, check out some great resources over at PhotoGuides.org.
4. Letting Your Camera Decide the White Balance
Your camera is smart, but it’s also a bit of a literalist. When you use Auto White Balance (AWB) during a golden hour sunset, the camera sees all that beautiful orange light and thinks, "Yikes, this is too warm! Let me add some blue to 'fix' it."
The result? A sunset that looks cold and sterile. Or, if you're shooting in the shade, your photos might end up looking sickly and blue.
How to Fix It:
- Shoot in RAW: This is non-negotiable. If you shoot in RAW, you can change the white balance perfectly in post-processing without losing any quality.
- Use Presets: If you want to see the "vibe" while shooting, switch your white balance to "Shade" or "Cloudy" during sunset. It will enhance those warm tones.
- Manual Control: Use a grey card if you want to be perfect, or simply adjust the Kelvin temperature yourself. For more advanced color work, especially with skies, you might want to dive into mastering sunrise sky gradients in Photoshop to really dial in those hues.
5. Blown-Out Skies and "Crunchy" Highlights
The dynamic range of a landscape is often way more than a camera sensor can handle. If you expose for the dark ground, the sky turns into a giant white blob (blown-out highlights). If you expose for the sky, the ground becomes a black silhouette.
A lot of beginners try to fix this by cranking the "Shadows" and "Highlights" sliders to the extreme in editing. This creates that "crunchy," over-processed HDR look that makes everyone’s eyes hurt. You start seeing weird halos around trees and mountains.
How to Fix It:
- Expose for the Highlights: It is almost always easier to recover detail from shadows than it is to fix a blown-out white sky. Keep an eye on your histogram; make sure the "mountain" of data isn't hitting the far right wall.
- Bracket Your Shots: Take three photos: one underexposed, one "correct," and one overexposed. You can then merge them later for a natural look.
- Sky Replacement: If the sky was just a flat, boring grey mess on the day of the shoot, you don't have to trash the photo. There are amazing techniques for sky replacement in Photoshop that can save a "blah" image.
- Graduated ND Filters: These are physical filters that are dark on top and clear on the bottom, helping you balance the light in-camera.
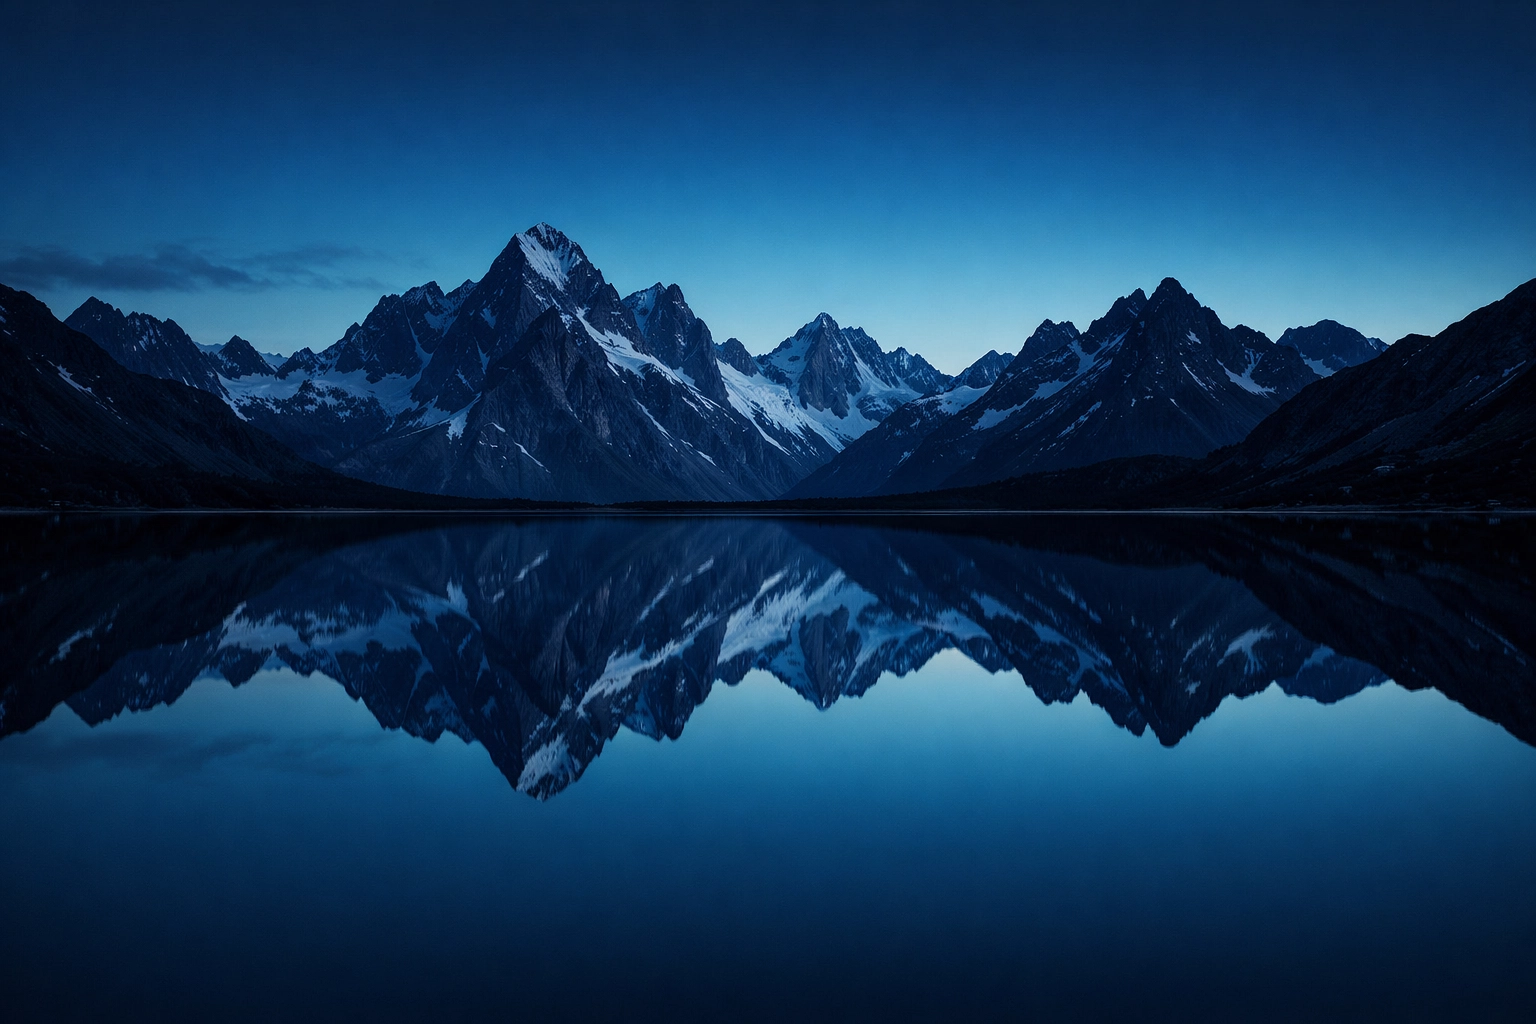
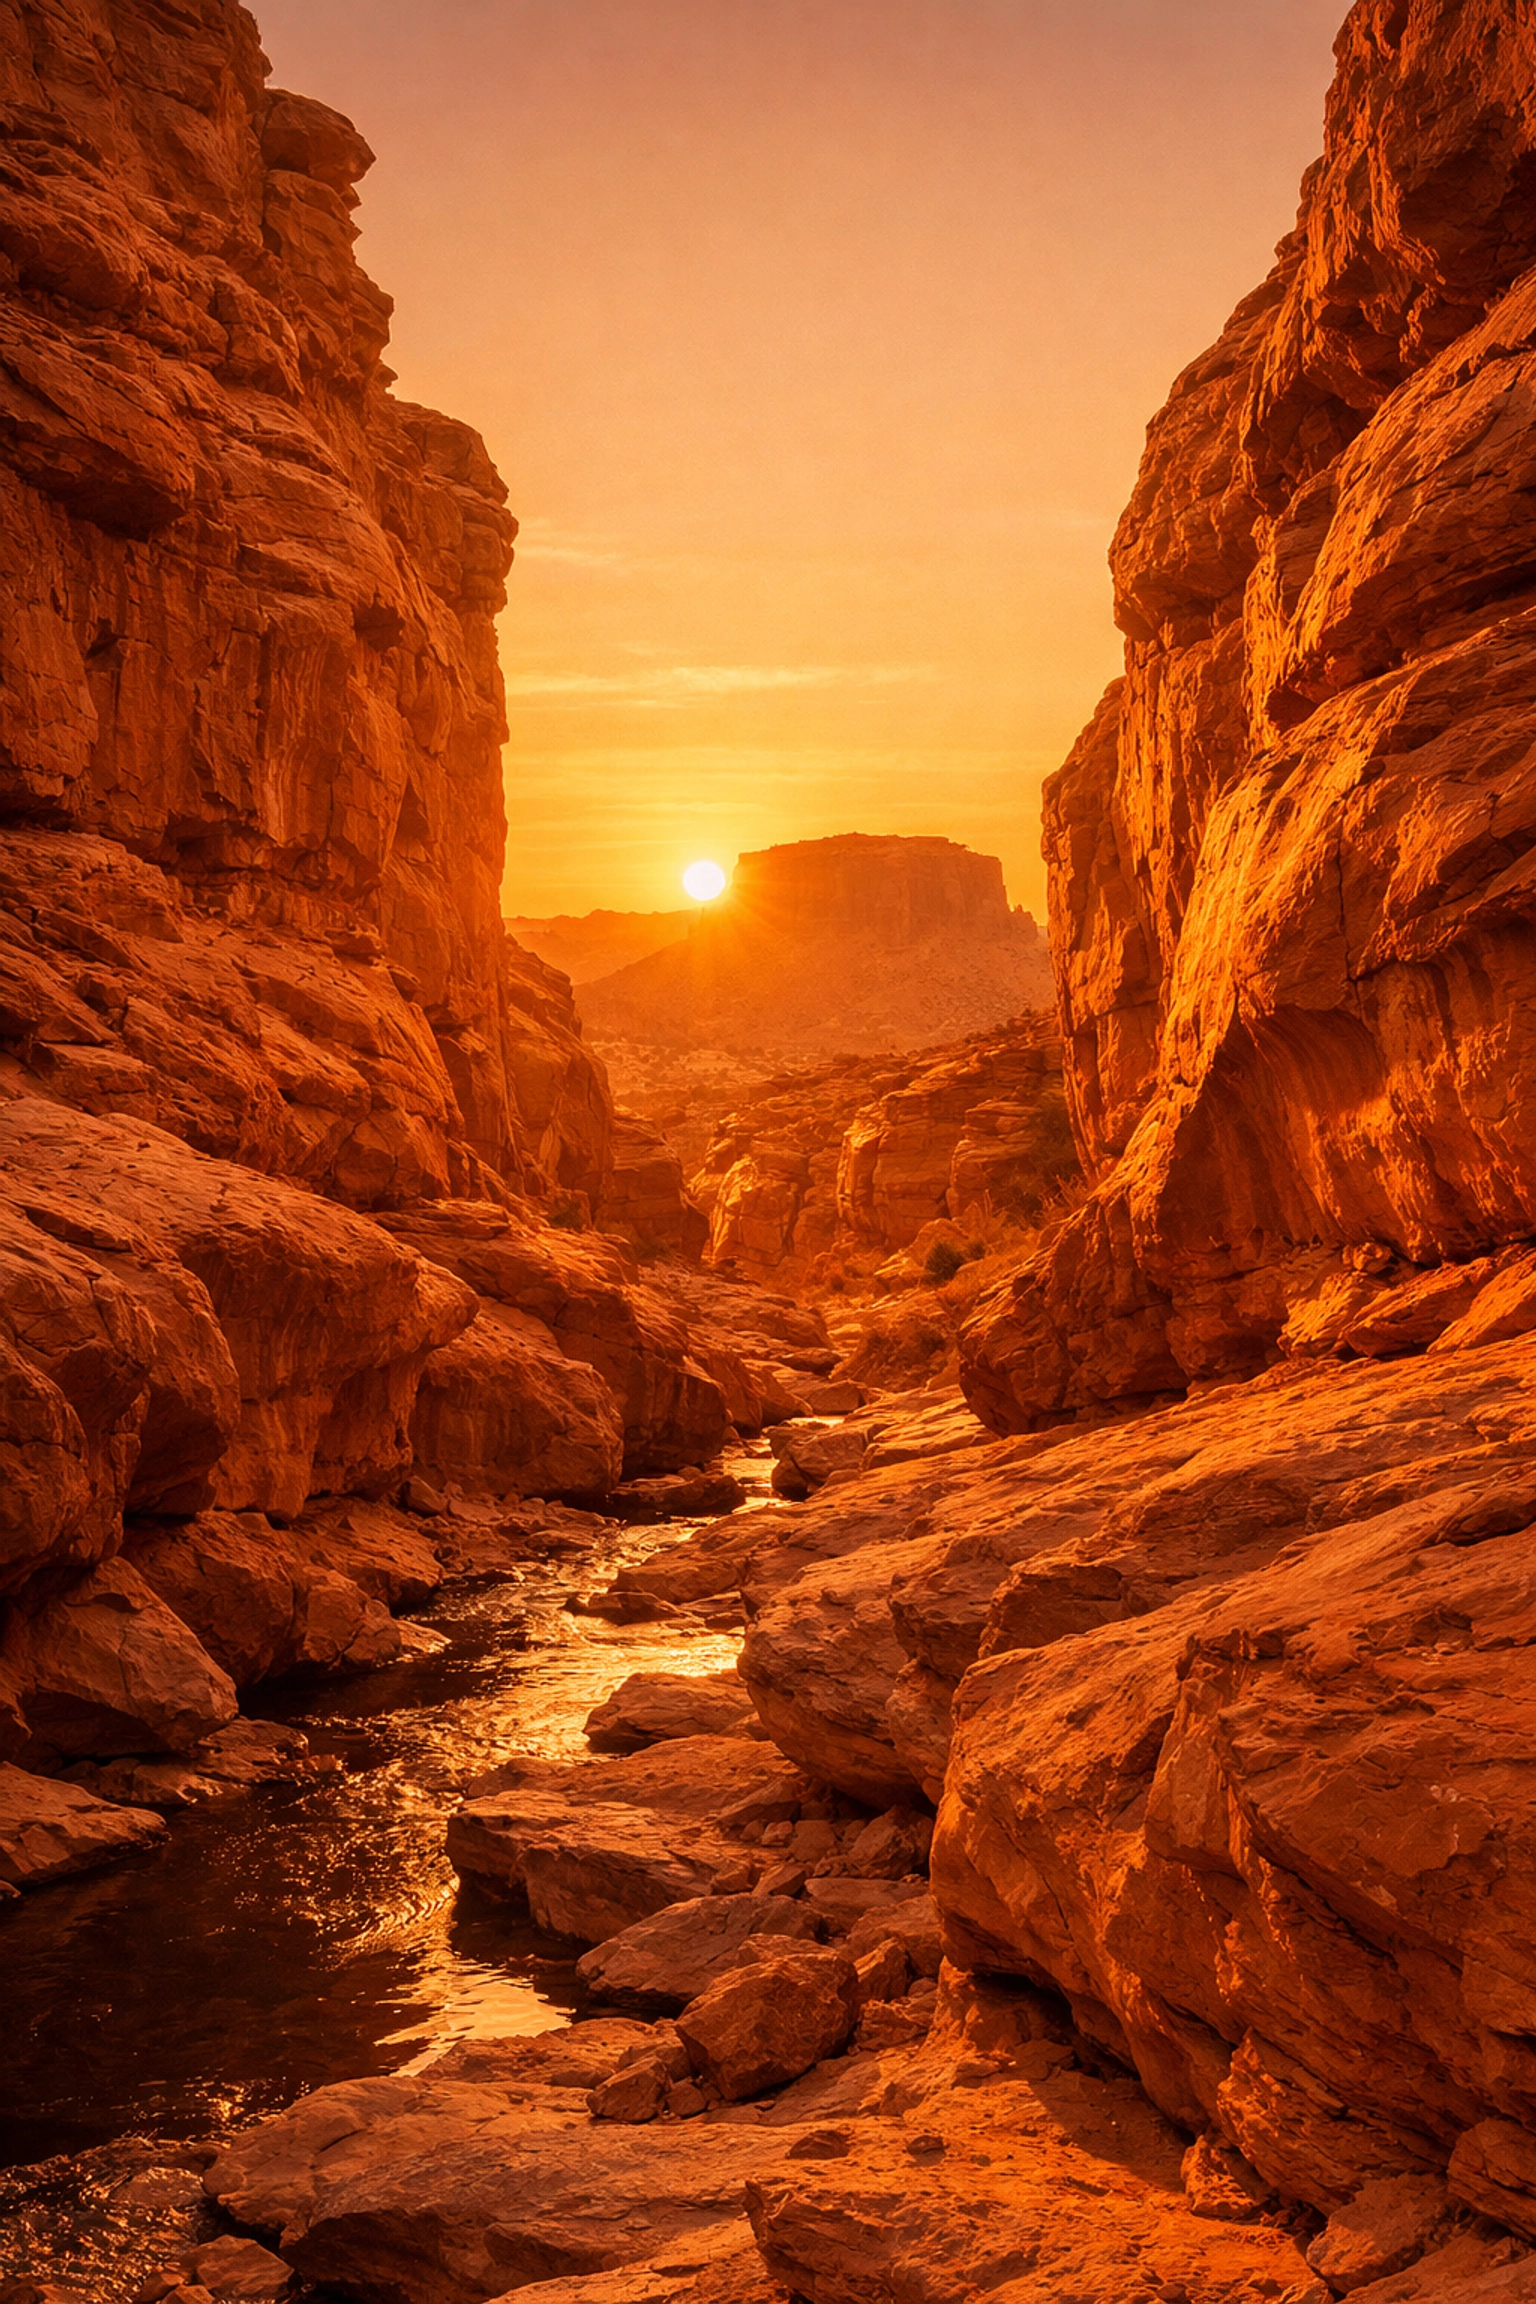
6. Shooting at the Wrong Time
You can be the best technical photographer in the world, but if you show up at a beautiful mountain range at 1:00 PM on a cloudless day, your photos are going to look flat. Mid-day sun creates harsh shadows, washes out colors, and lacks any sort of drama.
Landscape photography is 10% pressing the shutter and 90% waiting for the right light.
How to Fix It:
- The Golden Hour: Aim for the hour after sunrise and the hour before sunset. The light is soft, warm, and hits the landscape at an angle, creating texture.
- The Blue Hour: Don't pack up as soon as the sun goes down! The 20-30 minutes after sunset provides a beautiful, moody blue light that is incredible for long exposures.
- Plan Ahead: Use apps like PhotoPills or The Photographer’s Ephemeris to see exactly where the sun will be at any given time. If you’re planning something more specialized, like event-based landscapes, you might want to look into the ultimate guide to event photography gear to make sure you're prepared for any lighting shift.
7. Over-Processing (The "Clarity Slider" Abuse)
We’ve all done it. You open up your editing software, you’re feeling hyped, and you crank the Clarity, Dehaze, and Saturation sliders up to 100. Suddenly, your photo looks like a radioactive dreamscape.
Over-processing is the hallmark of a beginner. It destroys fine detail, introduces noise, and creates "chromatic aberration": those weird purple or green lines along the edges of high-contrast objects like tree branches against a bright sky.
How to Fix It:
- Subtlety is King: If you think you’ve added enough Saturation, back it off by 10%.
- Use AI Tools Wisely: Tools like Luminar have incredible AI features that can enhance a sky or add "Sunrays" realistically. The trick is to use them to enhance what’s already there, not to create a whole new reality that looks fake.
- Check Your Edits at 100%: Zoom in on your photo. If you see "halos" (white glows) around the mountains or trees, you’ve pushed the highlights or contrast too far.
- Fixing Defects: Always check the "Remove Chromatic Aberration" box in your lens correction settings. It’s a one-click fix for a very distracting problem.
Moving Beyond the Basics
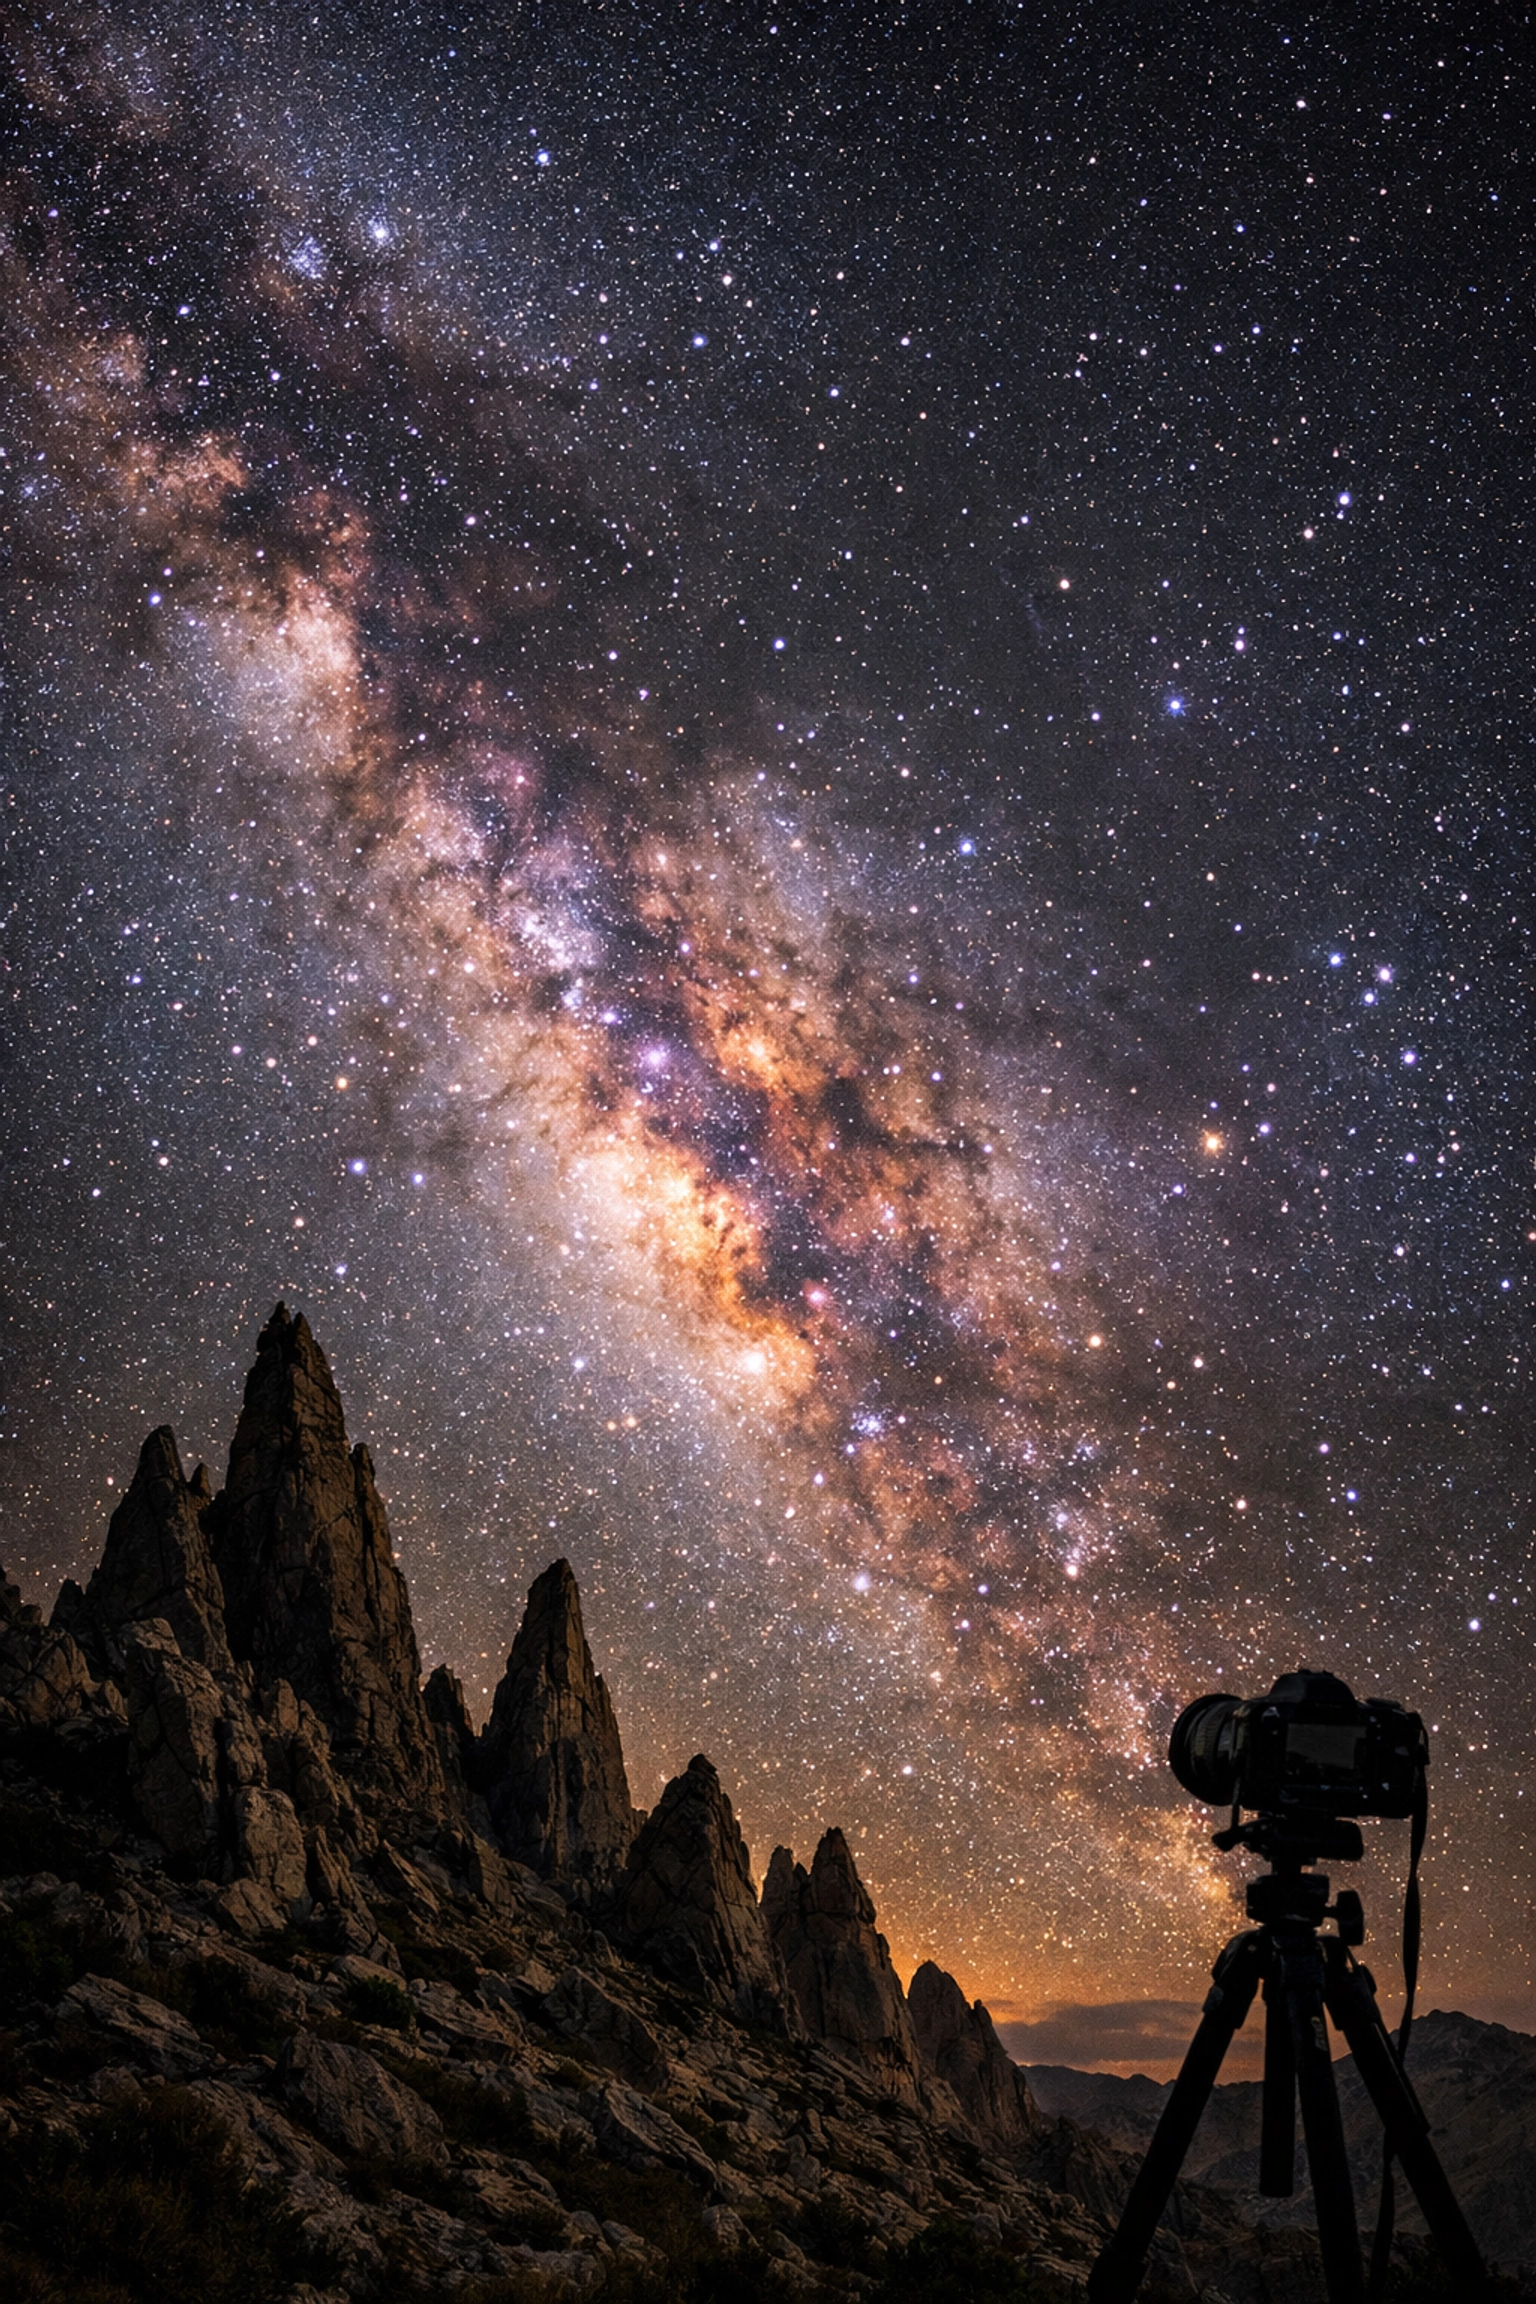
Once you stop making these seven mistakes, you'll find that your photography takes a massive leap forward. But don't stop there. Landscape photography is an evolving art form. Once you master the "daylight" stuff, start looking into night photography. Learning how to master night sky filters or even creating a galaxy sky can open up a whole new world of creativity.
If you’re stuck in a rut with boring weather, remember that you aren't limited by what the weather man says. You can learn to create custom cloud brushes to add texture to a bald sky, or even craft a starry night from a late-evening shot.
A Quick Workflow Checklist for Your Next Shoot:
- Check your level: Is the horizon straight?
- Check your edges: Is there anything distracting (like a random trash can) peeking into the frame?
- Check your foreground: Do you have something to lead the eye?
- Check your exposure: Are you protecting your highlights?
- Check your focus: Use a small aperture (like f/11) to keep everything from front to back sharp.
Landscape photography is a marathon, not a sprint. You’re going to have days where the light doesn't cooperate or you forget your tripod plate (we’ve all been there, trust me). But by avoiding these common pitfalls, you’re giving yourself the best possible chance to capture something truly epic.
For more inspiration and deep dives into the gear that makes these shots possible, check out ProShoot.io or see some world-class examples of what’s possible over at EdinFineArt.com.
Now, quit reading this, grab your gear, and go get outside. The light is waiting.


