We’ve all been there. You grab your camera, step out onto the sidewalk, and… nothing. The street looks the same as it did yesterday. The people are just walking, the cars are just driving, and the inspiration is stuck somewhere at the bottom of your morning coffee cup.
Street photography is one of the most rewarding genres, but it’s also one of the hardest to stay "fresh" in. It’s easy to fall into the trap of just taking pictures of people walking past brick walls. This weekend, let’s break that cycle. Whether you’re a seasoned pro or just getting started, these 25 ideas will help you see your city through a brand-new lens.
If you're looking to dive deeper into the basics before you hit the pavement, check out The Ultimate Guide to Photography Tutorials to sharpen your technical skills.
The Magic of Motion
One of the biggest mistakes new street photographers make is trying to freeze everything. But the city is alive; it moves. Why not show that?
1. The Ghostly Commute
Find a busy subway station or a crowded crosswalk. Set your camera on a tripod (or a steady trash can) and drop your shutter speed to about 1/4 or 1/2 of a second. Let the crowd turn into a ghostly blur while the architecture remains tack-sharp. It creates a sense of "urban isolation" that is incredibly powerful.
2. Light Trails in the Daylight
Most people think light trails are for nighttime. But if you have an ND filter, you can capture the motion of colorful buses or taxis during the day. It adds a streak of color to an otherwise grey street scene.
3. Panning with Cyclists
Cyclists move at the perfect speed for panning. Set your shutter to 1/15th or 1/30th, lock focus on the rider, and move your camera at the exact same speed they are moving. If you nail it, the cyclist will be sharp, and the background will be a beautiful horizontal blur.
4. Street Performers in Action
Instead of a static shot of a guitar player, focus on their hands or the movement of a dancer’s skirt. Motion blur here conveys the energy of the performance rather than just documenting it.
5. Architectural Contrast
Keep your camera perfectly still and wait for someone to run through the frame. The contrast between the permanent, unmoving concrete and the fleeting human element is a classic street photography trope for a reason, it works.
Light, Shadows, and Reflections
If photography is "writing with light," then street photography is "hunting for light."
6. The "Golden Hour" Silhouette
Find a spot where the sun is low and hitting a wall. Wait for a subject to walk into the light and expose for the highlights. This will turn your subject into a perfect black silhouette against a glowing background.
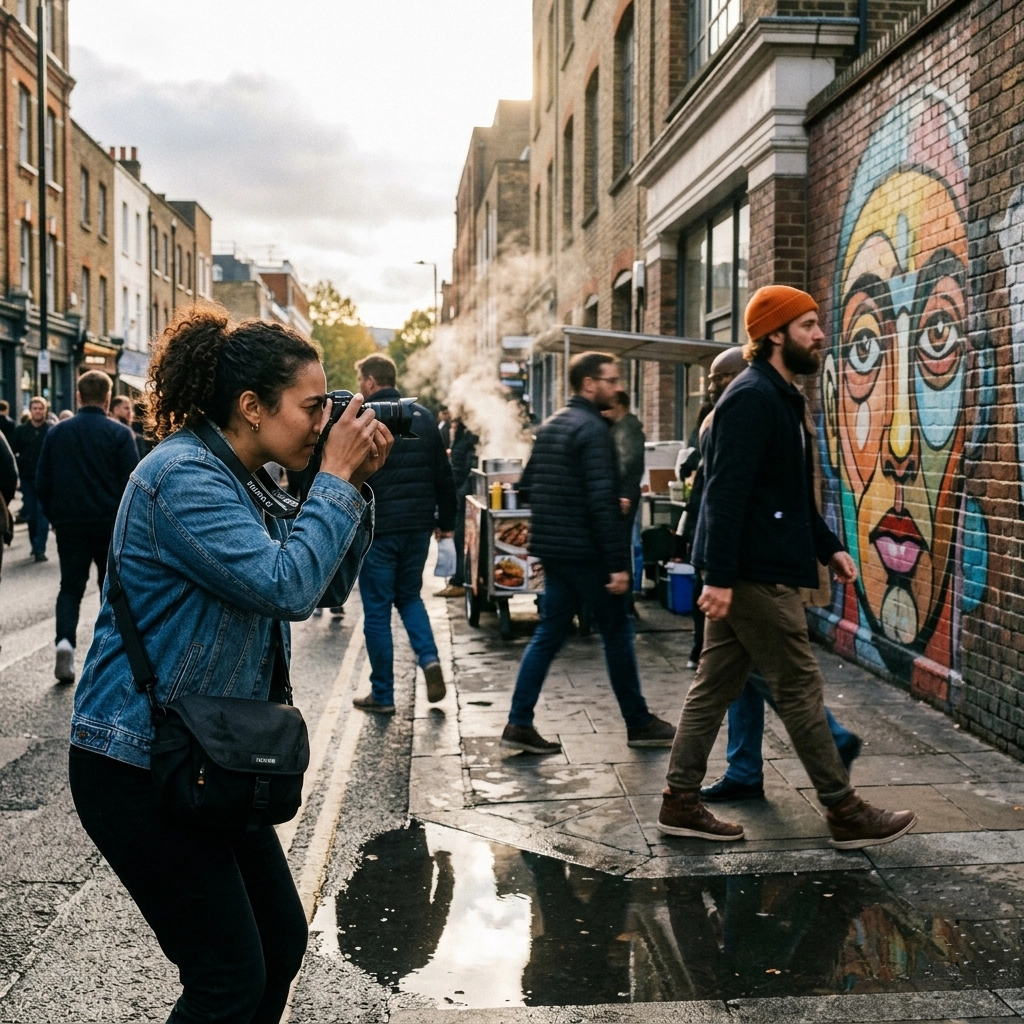
7. Puddle Portals
Rainy days are a gift. Don't stay inside. Find a large puddle and get your camera as close to the water as possible (without dropping it!). Use the reflection to create a symmetrical world. It’s a great way to unlock secrets to enchanting urban photography.
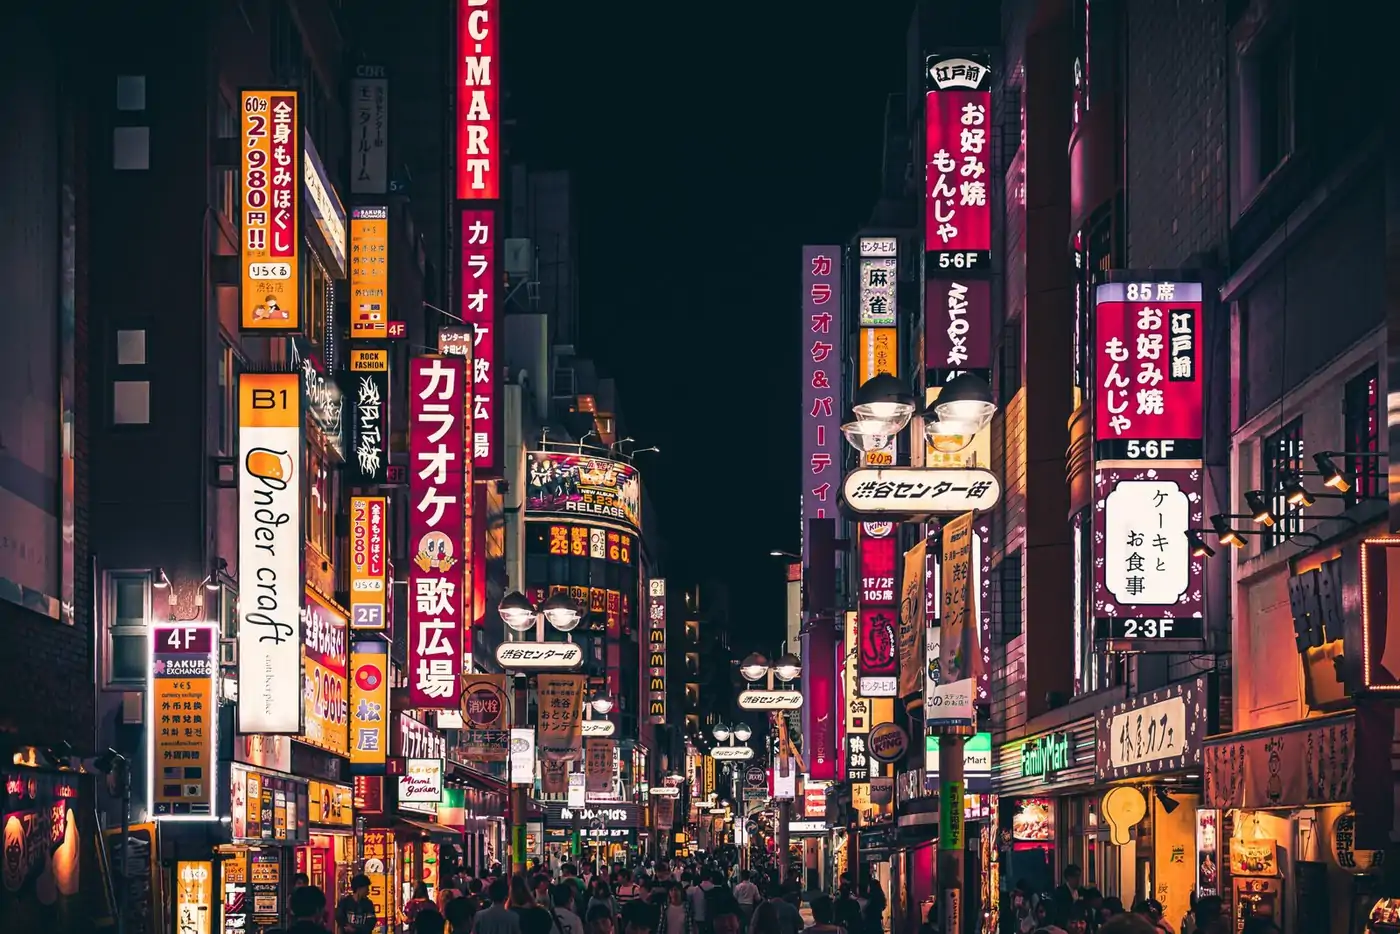
8. Neon Dreams
Nighttime street photography is all about neon. Look for subjects standing near store signs. The way the red or blue light hits their face can create a cinematic, "Blade Runner" vibe. If the colors aren't popping quite right in-camera, you can always enhance the mood using Luminar during your post-processing.
9. High-Contrast Shadows
Look for harsh midday sun. While landscape photographers hate it, street photographers love it. Look for "pools" of light between tall buildings. Wait for someone to step into that single beam of light while everything else stays in deep shadow.
10. Window Shopping
Use the reflections in store windows to layer two scenes on top of each other: the products inside the store and the street life behind you. It creates a complex, multi-layered story in a single frame.
11. Flash in the Pan
Don't be afraid to use a flash during the day. Using a direct flash on a shaded street can make textures pop and give your photos a raw, "editorial" feel. This technique is often used by legends like Bruce Gilden to create intense, high-energy portraits.
12. Wet Pavement Bokeh
After a rainstorm, the streets are basically one big mirror. Point your camera at the ground and use a wide aperture (f/1.8 or f/2.8) to turn the reflections of car lights and street lamps into beautiful, blurry bokeh.
Color and Abstract Forms
Sometimes, the "story" isn't a person. Sometimes, it's just the way the city looks.
13. The "Red" Challenge
Pick a color, let’s say red, and spend two hours only taking photos of things that are red. A red coat, a red fire hydrant, a red sign. It forces your brain to look past the "obvious" shots and focus on specific details.
14. Street Art Integration
Don't just take a photo of a mural. Wait for a person to walk by who interacts with the mural in a funny or ironic way. Maybe a person in a suit walks past a painting of a giant monster, or someone’s hat lines up perfectly with a painted halo.
15. Geometric Minimalism
The city is full of triangles, squares, and leading lines. Forget about the people for a second and focus on the shapes. Look for stairs, alleyways, or the way a bridge cuts across the sky. For more on this aesthetic, check out using rare textures for tangible aesthetic photography.
Compositional Experiments
If you usually shoot at eye level, stop it. It’s boring. Everyone sees the world from five or six feet up.
16. The "From the Hip" Shot
Try shooting without looking through the viewfinder. This isn't just a way to be "sneaky"; it gives you a lower perspective and a more candid feel. It takes practice to get the framing right, but the results feel much more organic.
17. The Bird’s Eye View
Find a parking garage, a balcony, or a pedestrian bridge. Look straight down. Seeing the tops of umbrellas or the patterns of crosswalks from above turns the street into an abstract painting.
18. Frame Within a Frame
Use arches, doorways, or even the space between two parked cars to "frame" your subject. It draws the viewer’s eye exactly where you want it to go.
19. Shooting Through Objects
Hold something in front of your lens, a piece of colored glass, a leaf, or even a fence. By shooting through it with a wide aperture, you create a blurred foreground element that adds depth and a sense of "looking in" on a private moment.
20. The Square Format
If you usually shoot 3:2, switch your camera (or your mind) to a 1:1 square crop. It changes the way you compose everything. You’ll find yourself centering subjects more and looking for different types of balance.
The Human Element and Storytelling
At its core, street photography is about the human condition.
21. The Street Portrait
This is the hardest one for most people: actually asking. If you see someone with an incredible look, walk up and say, "Hey, I'm a photographer, and I love your style. Can I take a quick portrait?" Most people are flattered. For tips on gear for these moments, ProShoot.io has some great insights.
22. The "Photographer" Shot
Go to a tourist landmark and photograph the people taking photos. The poses people strike for selfies are often hilarious and tell a huge story about our modern culture.
23. Hands and Feet
You don’t always need a face to tell a story. A pair of worn-out boots or a hand clutching a newspaper can be just as evocative as a full portrait.
24. Urban Decay
Look for the parts of the city that are falling apart. A cracked window, a rusted sign, or an abandoned storefront. These places have a history and a "soul" that shiny new skyscrapers lack. If you’re traveling, you can find some of these hidden gem locations for travel photography through our guides.
25. The Decisive Moment
This is the holy grail. It’s the moment when everything aligns: the light, the subject, and the background. It might be a child jumping over a puddle or two strangers sharing a look. It requires patience. Pick a good spot, sit there, and wait.
Technical Tips for Your Weekend Shoot
While the idea is important, the execution matters. Here are a few quick tips to ensure your weekend shoot is a success:
- Go Light: Leave the massive zoom lenses at home. A 35mm or 50mm prime lens is usually all you need. It makes you more mobile and less intimidating to people on the street.
- Zone Focusing: If you’re shooting candidly, try using manual focus and setting your aperture to f/8. This gives you a deep "zone" of focus so you don't have to worry about the autofocus hunting when a moment happens fast.
- Post-Processing: Don't over-edit. The goal of street photography is usually a sense of reality. However, a little bit of color grading or contrast adjustment can go a long way. Tools like Luminar are great for quickly enhancing the mood of your urban shots without making them look "fake."
- Check the Legalities: In most countries, taking photos in public places is perfectly legal, but it’s always good to be respectful. If someone looks uncomfortable, move on. There are plenty of other stories to tell. You can find more about the ethics and craft over at Shut Your Aperture.
Where to Go?
If you feel like you've exhausted your own neighborhood, it might be time for a short trip. Sometimes just being in a new environment is enough to kickstart your creativity. Look for picturesque coastal escapes or secluded paradises if you want a break from the grit of the city.
Even within a city, look for the "lesser-known" areas. The tourist spots are crowded and over-photographed. Try the industrial district or a residential neighborhood at the end of the subway line. You’ll find lesser-known vistas for enigmatic photos that nobody else is capturing.
Wrapping It Up
Street photography isn't about having the most expensive camera or traveling to the most exotic locations. It’s about curiosity. It’s about looking at the mundane world and finding something extraordinary in it.
This weekend, don’t just walk. Observe. Look for the light, wait for the moment, and don't be afraid to fail. For every 100 photos you take, you might only get one that you truly love: and that’s okay. That’s the game.
If you want to see more of my personal street work and fine art prints, feel free to browse Edin Fine Art or check out my latest updates on the Edin Chavez Blog. Now, grab your gear and get out there. The street is waiting.


