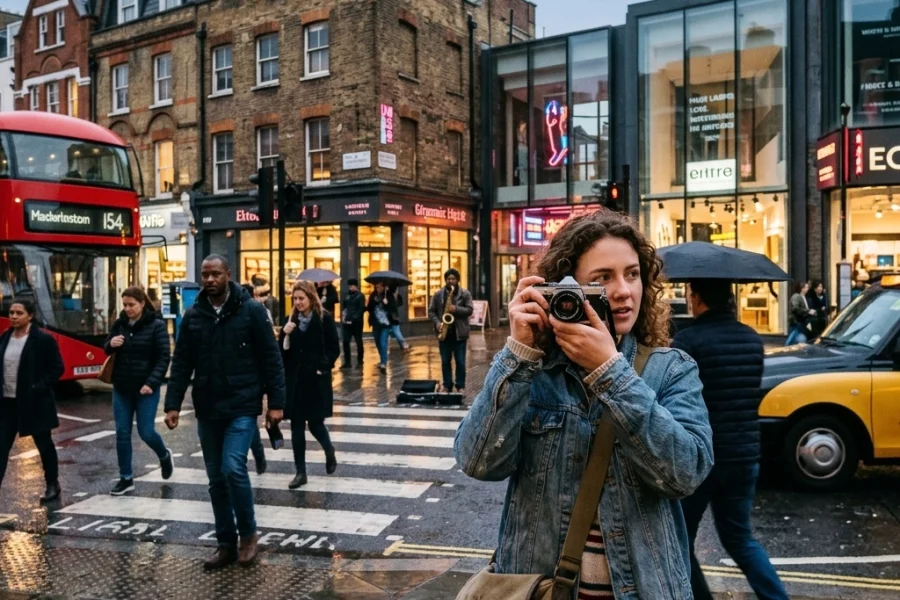
Landscape photography looks easy on paper. You find a big mountain, wait for the sun to do something cool, and press a button. Right? Well, if it were that simple, we’d all be hanging our prints in the Louvre. The truth is, capturing the soul of a place is a high-wire act of technical skill, gear management, and extreme patience.
Most photographers, even the ones who have been at it for a while, fall into the same traps. You get home, pull the files onto your computer, and realize that the epic scene you saw with your eyes looks… kind of flat. Or blurry. Or just "meh."
Don't panic. I’ve made every single one of these mistakes, and so has Edin. We've compiled the seven most common landscape photography blunders and, more importantly, how you can fix them before your next trek into the wild. I’ve also been chatting with Sonny, our Social Media Manager, to make sure these tips align with the latest trends he’s seeing on Instagram and TikTok, so once you nail these fixes, your shots will be ready for the algorithm.
1. The "Drunken Sailor" Horizon
There is nothing that ruins a professional-looking landscape faster than a crooked horizon line. It’s the ultimate "rookie" indicator. If the ocean looks like it’s draining out of the left side of your frame, you’ve got a problem. Even a one-degree tilt can be enough to make a viewer feel subconsciously uneasy.
Why it happens:
We get excited. The light is changing fast, the clouds are perfect, and we’re rushing to frame the shot. We trust our eyes rather than our gear.
How to fix it:
- Use the Electronic Level: Most modern cameras have a built-in "virtual horizon" or electronic level. Turn it on in your viewfinder or on your back LCD. If you are still looking for the right gear, check out our guide on choosing the best camera in 2024.
- Grid Lines: Enable the 3×3 grid on your screen. Align the horizon with one of the horizontal lines.
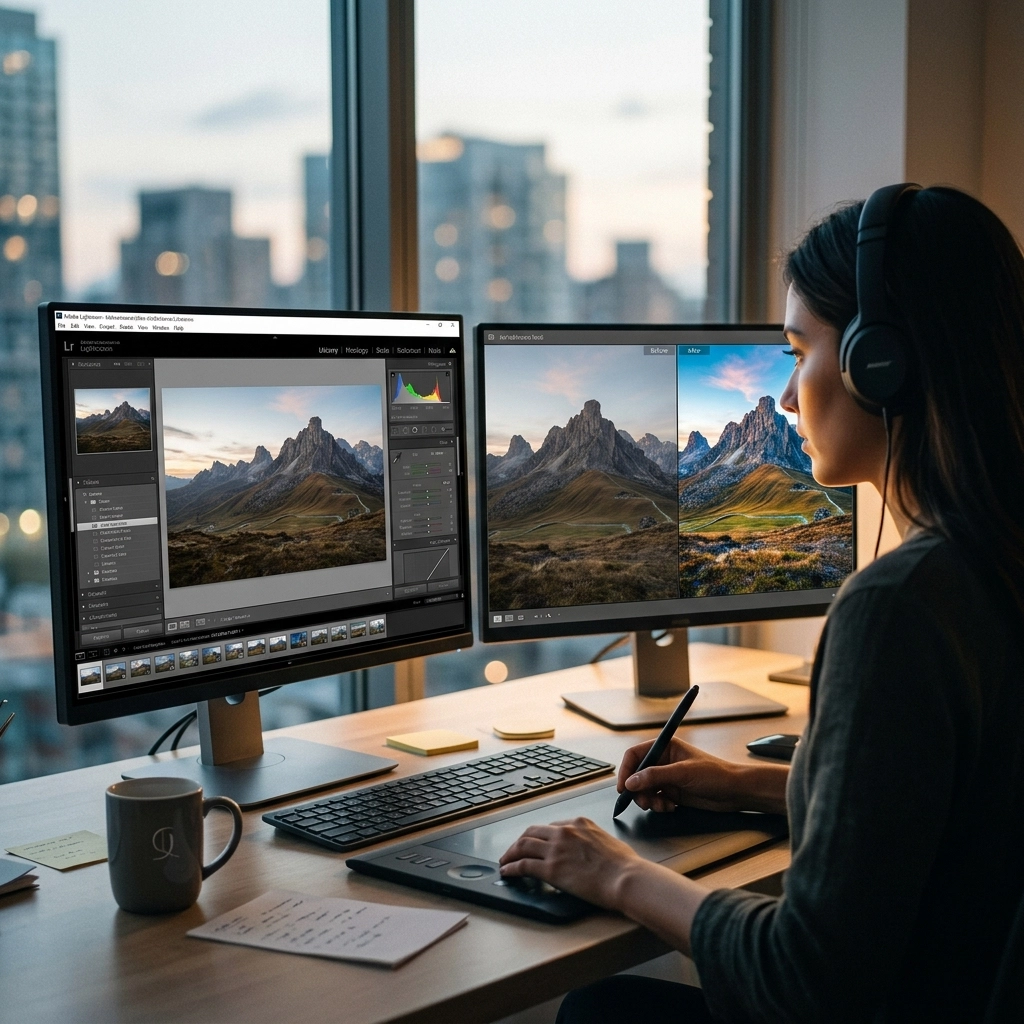
- Post-Processing: If you missed it in the field, you can fix it in Luminar. However, remember that rotating an image requires cropping, which means you might lose those carefully placed elements at the edges of your frame.

2. Shooting in "Garsh" Light (Harsh + Gross)
Midday sun is the enemy of the landscape photographer. Between 11:00 AM and 3:00 PM, the sun is high and bright, creating deep, ugly shadows and blown-out highlights. It washes out colors and flattens the texture of the landscape.
Why it happens:
Logistics. It’s easier to hike and take photos at noon than it is to wake up at 3:00 AM to catch the sunrise.
How to fix it:
- The Golden Hour: Aim to shoot during the hour after sunrise and the hour before sunset. The light is directional, warm, and soft. It adds "dimension" to mountains and trees.
- The Blue Hour: Don’t pack up the second the sun goes down. The 30 minutes after sunset provides a cool, moody glow that is perfect for cityscapes or coastal shots.
- Overcast Days: Don’t stay home if it's cloudy! Overcast skies act like a giant softbox, which is actually perfect for forest photography or waterfalls. For more on handling tricky lighting, dive into our top photography tips.
- Filters: Use a Circular Polarizer to cut through glare and make those greens and blues pop.
3. The "I Don’t Need a Tripod" Delusion
"My lens has Image Stabilization!" or "I have steady hands!"
I’ve heard it all. And look, modern mirrorless cameras have incredible IBIS (In-Body Image Stabilization), but for serious landscape work, a tripod is non-negotiable. If you want those tack-sharp images that you can print large, you need to be locked down.
Why it happens:
Tripods are heavy, clunky, and annoying to carry on a five-mile hike.
How to fix it:
- Invest in Carbon Fiber: It’s lighter and absorbs vibrations better than aluminum.
- Sharpness is Everything: A tripod allows you to use a low ISO (like ISO 100) for maximum image quality and a small aperture (like f/11) for deep depth of field without worrying about your shutter speed being too slow.
- Long Exposures: If you want that silky water effect on a waterfall or streaky clouds, you need a tripod and likely an ND filter. If you're just starting, check out the best cameras for beginners that pair well with lightweight travel tripods.
- Maintenance: Remember that salt water and sand are tripod killers. Check out our camera maintenance guide to keep your gear (including your tripod legs) in top shape after a beach shoot.
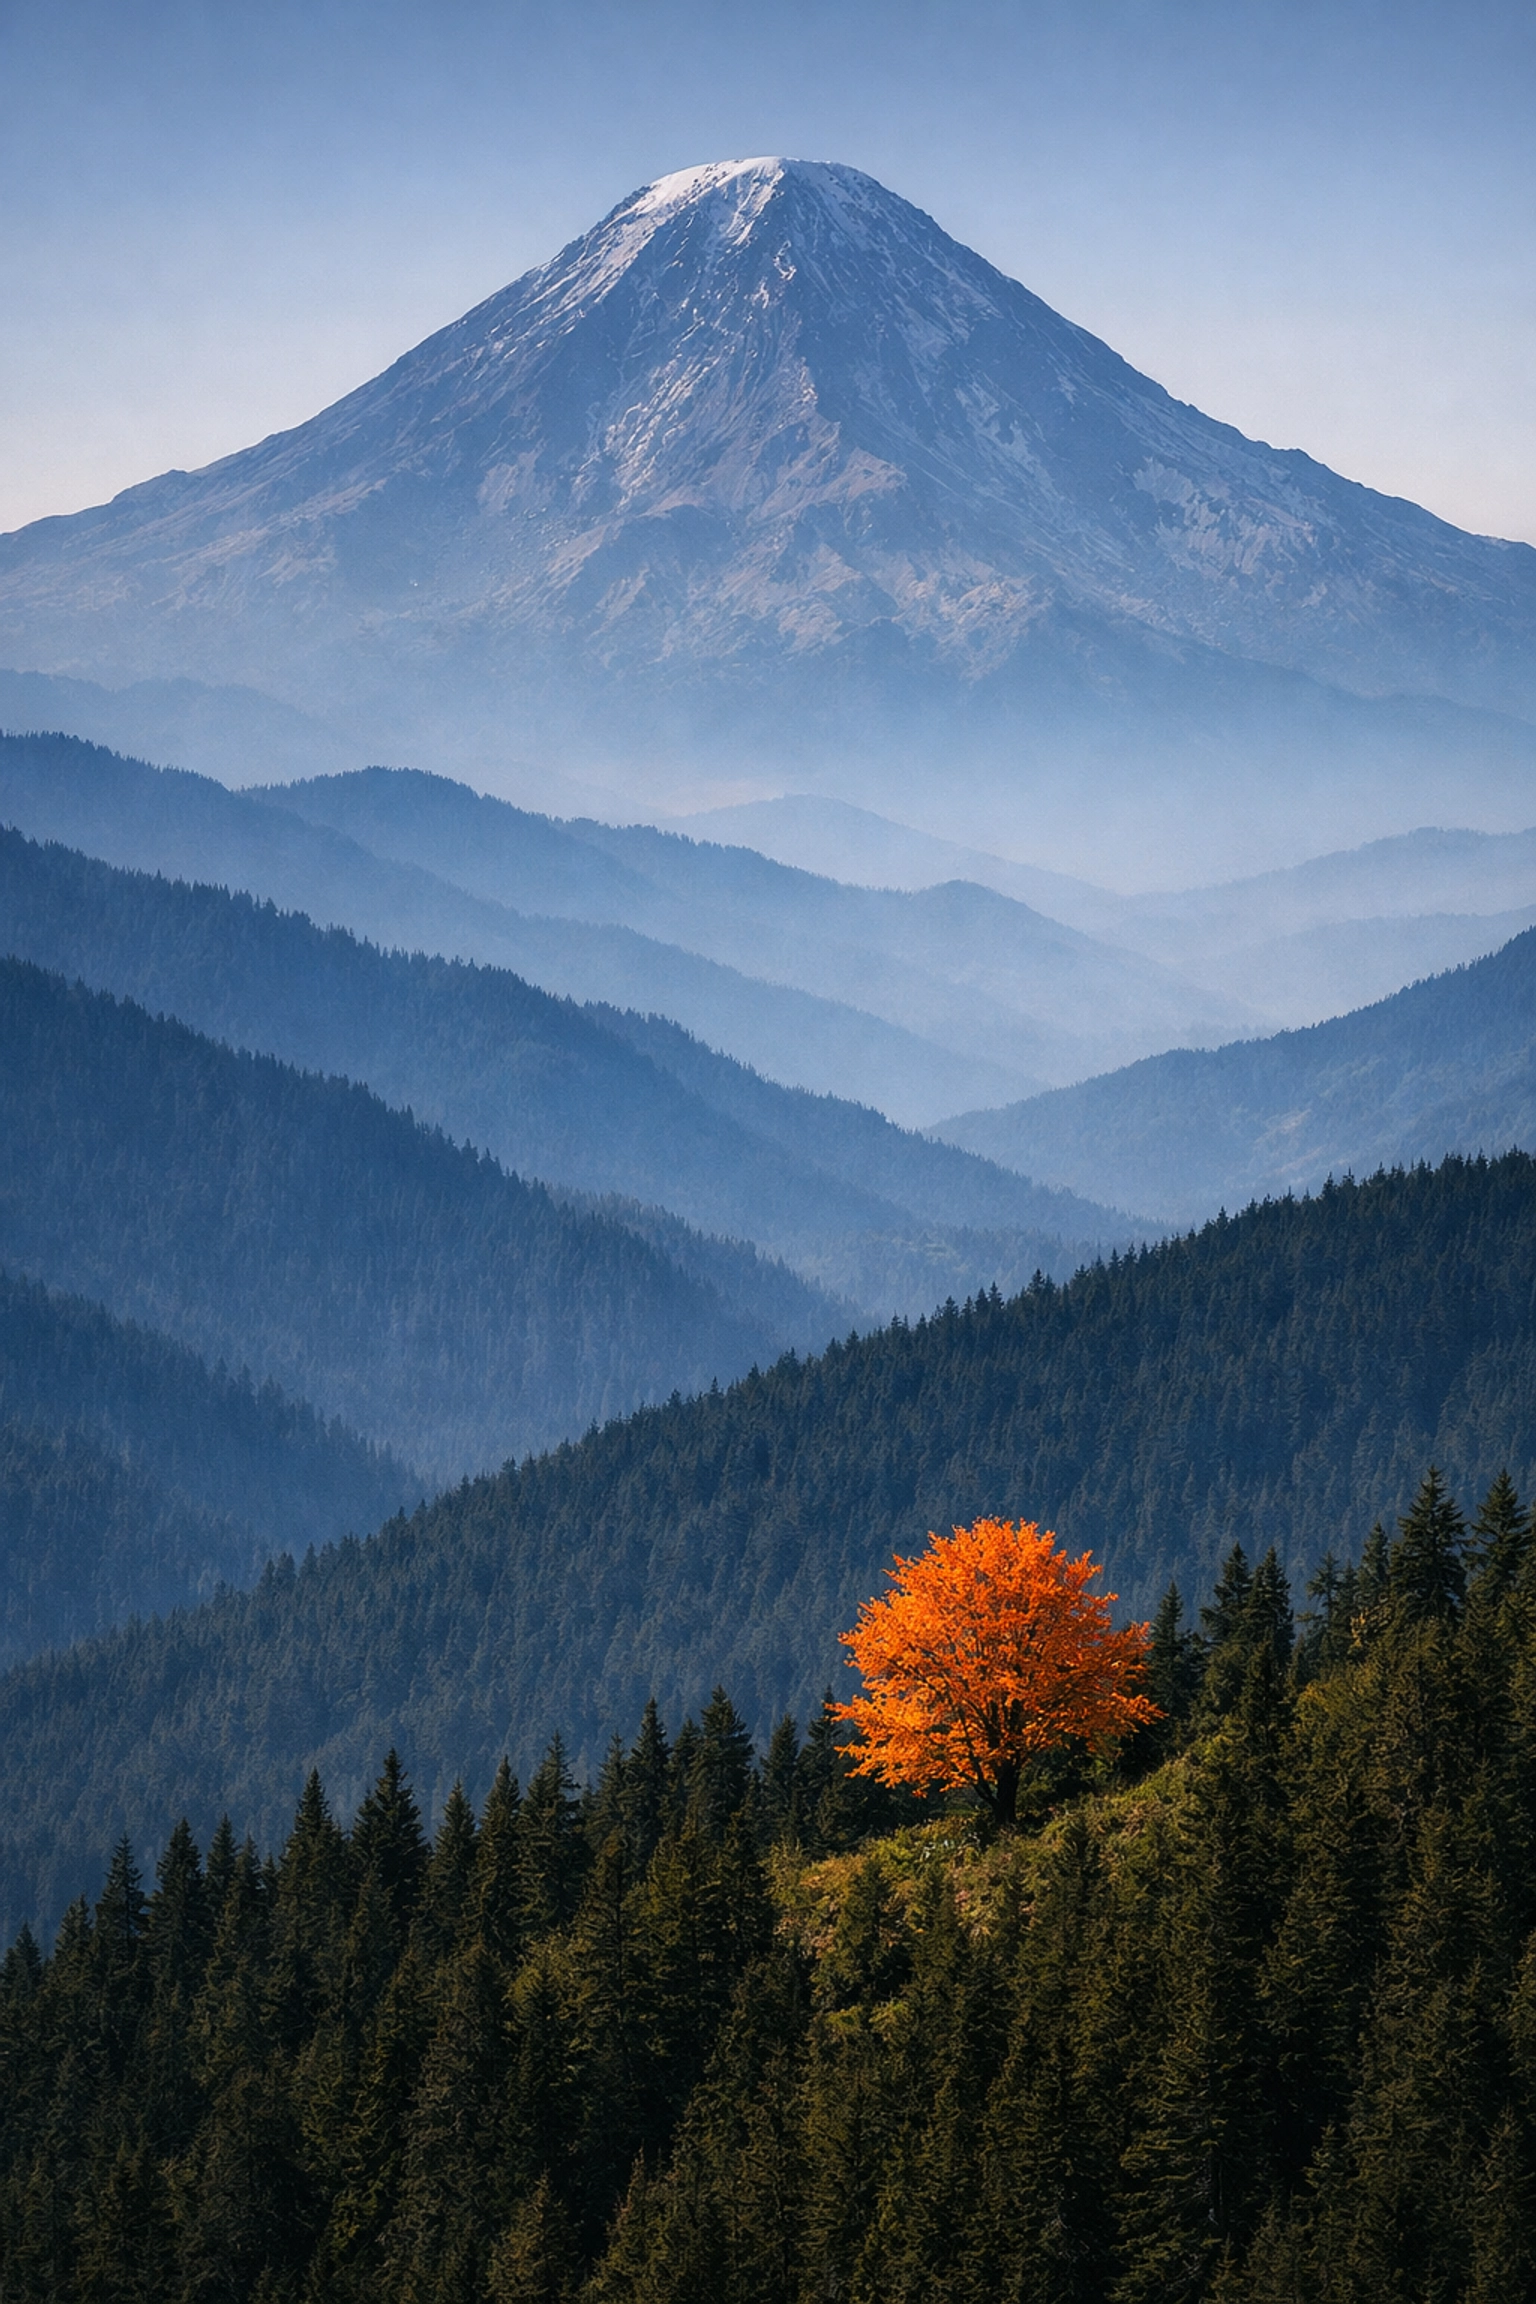
4. The Wide-Angle Trap
When people think of landscapes, they think of wide-angle lenses. They want to "get it all in." But the problem with shooting everything at 16mm is that your subject often becomes a tiny speck in the distance, and you end up with a lot of "empty" space in the middle of the frame.
Why it happens:
We feel like the scale of the scene requires a wide lens.
How to fix it:
- Try a Telephoto: Some of the best landscape shots are taken at 70mm, 100mm, or even 400mm. Long lenses compress the scene, making distant mountains look massive and imposing.
- Focus on Details: Look for patterns in the sand, a single tree on a hill, or the way light hits a specific peak.
- Foreground Interest: If you do use a wide-angle lens, you MUST have something in the foreground (a rock, a flower, a piece of wood) to lead the eye into the scene. Otherwise, the viewer doesn't know where to look. For a deeper look at specific environments, see our guide on mastering canyon and gorge travel photography.
5. No Clear Focal Point (The "Pretty View" Syndrome)
Have you ever stood at an overlook, taken a photo of a stunning valley, and then looked at the photo later only to find it boring? That’s because a "pretty view" does not automatically make a "pretty photograph." A photo needs a subject.
Why it happens:
We get overwhelmed by the beauty of a location and forget the basic rules of composition.
How to fix it:
- The "What Am I Looking At?" Test: Ask yourself, "What is the one thing I want people to see?" If the answer is "the whole thing," you need to narrow it down.
- Leading Lines: Use roads, rivers, or paths to point directly at your subject.
- Rule of Thirds: Stop putting the horizon or your main subject dead-center. Offset them to create more tension and interest.
- Storytelling: Think about what you're trying to say. Is this a story about the isolation of a cabin? Or the power of a storm? For more on professional-grade techniques, see professional photography cameras.
6. Ignoring the "Border Patrol"
You’ve got the perfect mountain, the perfect light, and the perfect reflection. But when you get home, you notice a stray trash can in the bottom left corner, or half of a tree branch sticking out of the top right. These "edge distractions" pull the viewer's eye away from your subject and ruin the immersion.
Why it happens:
"Tunnel vision." We are so focused on the main subject that we forget to look at the edges of the viewfinder.
How to fix it:
- The Four-Corner Check: Before you click the shutter, pause. Move your eye to all four corners of the frame. Is there anything "peeking" in that shouldn't be there?
- Move Your Feet: Sometimes moving six inches to the left is all it takes to hide a distracting element behind a foreground rock.
- Clean Up: If it’s a piece of trash or a distracting stick, just pick it up (and take it with you, Leave No Trace!).
- Organic Framing: Use those branches to frame the shot intentionally rather than having them cut through the corner haphazardly. For more composition inspiration, check out PhotoGuides.org.

7. Over-Processing (The "Crunchy Sky" Disaster)
Post-processing is a huge part of landscape photography, but there is a fine line between "enhanced" and "radioactive." Over-saturating the blues, over-sharpening the clouds (creating "crunchy" textures), and pushing the shadows so far that they become noisy are common mistakes.
Why it happens:
We want our photos to look like the epic HDR images we see on social media, so we push the sliders too far.
How to fix it:
- Walk Away: After you finish an edit, walk away from your computer for 15 minutes. When you come back with fresh eyes, you’ll usually realize you went too far with the saturation slider.
- Use Subtle AI Tools: Software like Luminar has incredible AI tools that can enhance a sky or add "Sunrays" realistically. The key is to use them at 20-30% opacity rather than 100%.
- Watch the Histograms: Don’t clip your highlights or blow out your blacks. Keep your edits within the natural range of the sensor.
- Learn from the Pros: Check out blog.edinchavez.com for insights into how professional photographers balance their edits to keep them looking natural yet impactful.
Bonus Tip: Preparation and Safety
Landscape photography often takes you into remote areas. A mistake in the field isn't just a bad photo; it can be a safety issue.
- Check the Weather: Use apps like PhotoPills or Clear Outside to track cloud cover and sun position.
- Battery Life: Cold weather kills batteries. Always carry spares. If you're out vlogging your journey, you'll need even more power, check our list of the best vlogging cameras for gear that handles batteries efficiently.
- The Right Shoes: You can't get the shot if you're worried about slipping off a wet rock in flip-flops.
Landscape photography is a journey of constant learning. Don't be discouraged if your first few outings result in some of these mistakes. Even the pros at ProShoot.io and Edin Fine Art started somewhere. The goal is to be intentional. Slow down, check your levels, wait for the light, and watch your borders.
If you're looking for more gear-specific advice, we have plenty of camera comparison insights to help you find the right tool for the job. Whether you're using the best smartphone cameras or a high-end mirrorless setup, these principles remain the same.
Now, grab your gear, get outside, and stop making these mistakes! And hey, if you catch a killer shot, tag us so Sonny can see it: he’s always looking for great community work to feature. Happy shooting!