Let’s be honest: the "fix it in post" mantra is a bit of a lie. If you take a blurry, poorly composed shot, no amount of digital wizardry is going to turn it into a masterpiece hanging in a gallery. However, if you take a solid image and give it some love in the digital darkroom, that’s where the magic happens.
Photo editing is like seasoning a steak. You want to enhance the flavor that’s already there, not drown it in so much salt and pepper that you can’t tell what you’re eating anymore. Whether you’re just starting or you’ve been clicking the shutter for years, having a structured workflow is the difference between a "cool snap" and a professional-grade photograph.
In this guide, we’re going to break down everything you need to know to master the art of post-processing. We’ll talk about the tools, the techniques, and the common pitfalls that trap most photographers.
It Starts Before You Ever Open a Laptop
I know, you want to get to the sliders. But we have to talk about the foundation first. Editing isn’t a rescue mission; it’s an enhancement. The better your file is coming out of the camera, the more room you have to play in software.
Composition and Lighting
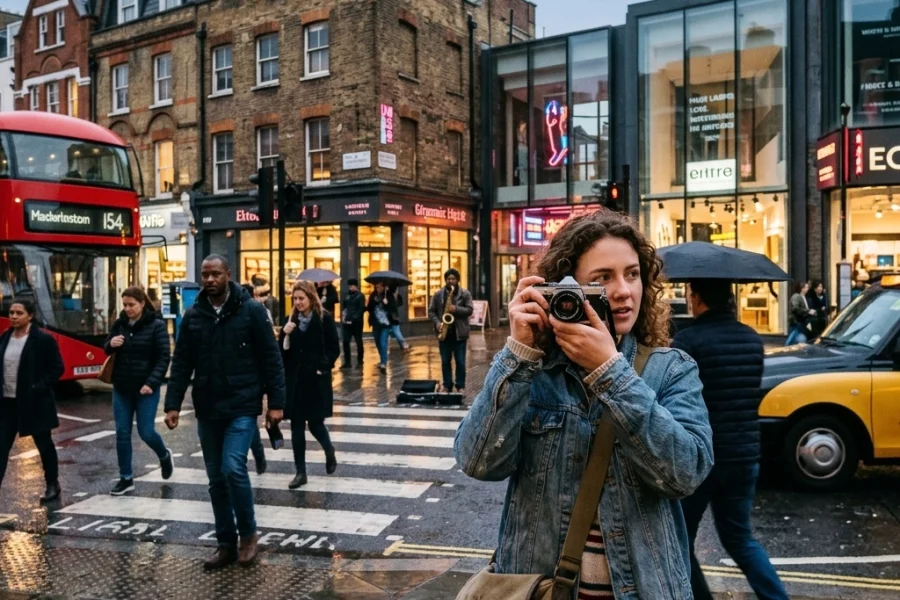
You can’t "edit in" a better perspective. If you missed the shot because the horizon was crooked or you cut off someone's feet, you’re already fighting an uphill battle. Learning portrait photography techniques revealed is essential because it teaches you how to get the framing right before you ever touch a mouse.
Shoot in RAW
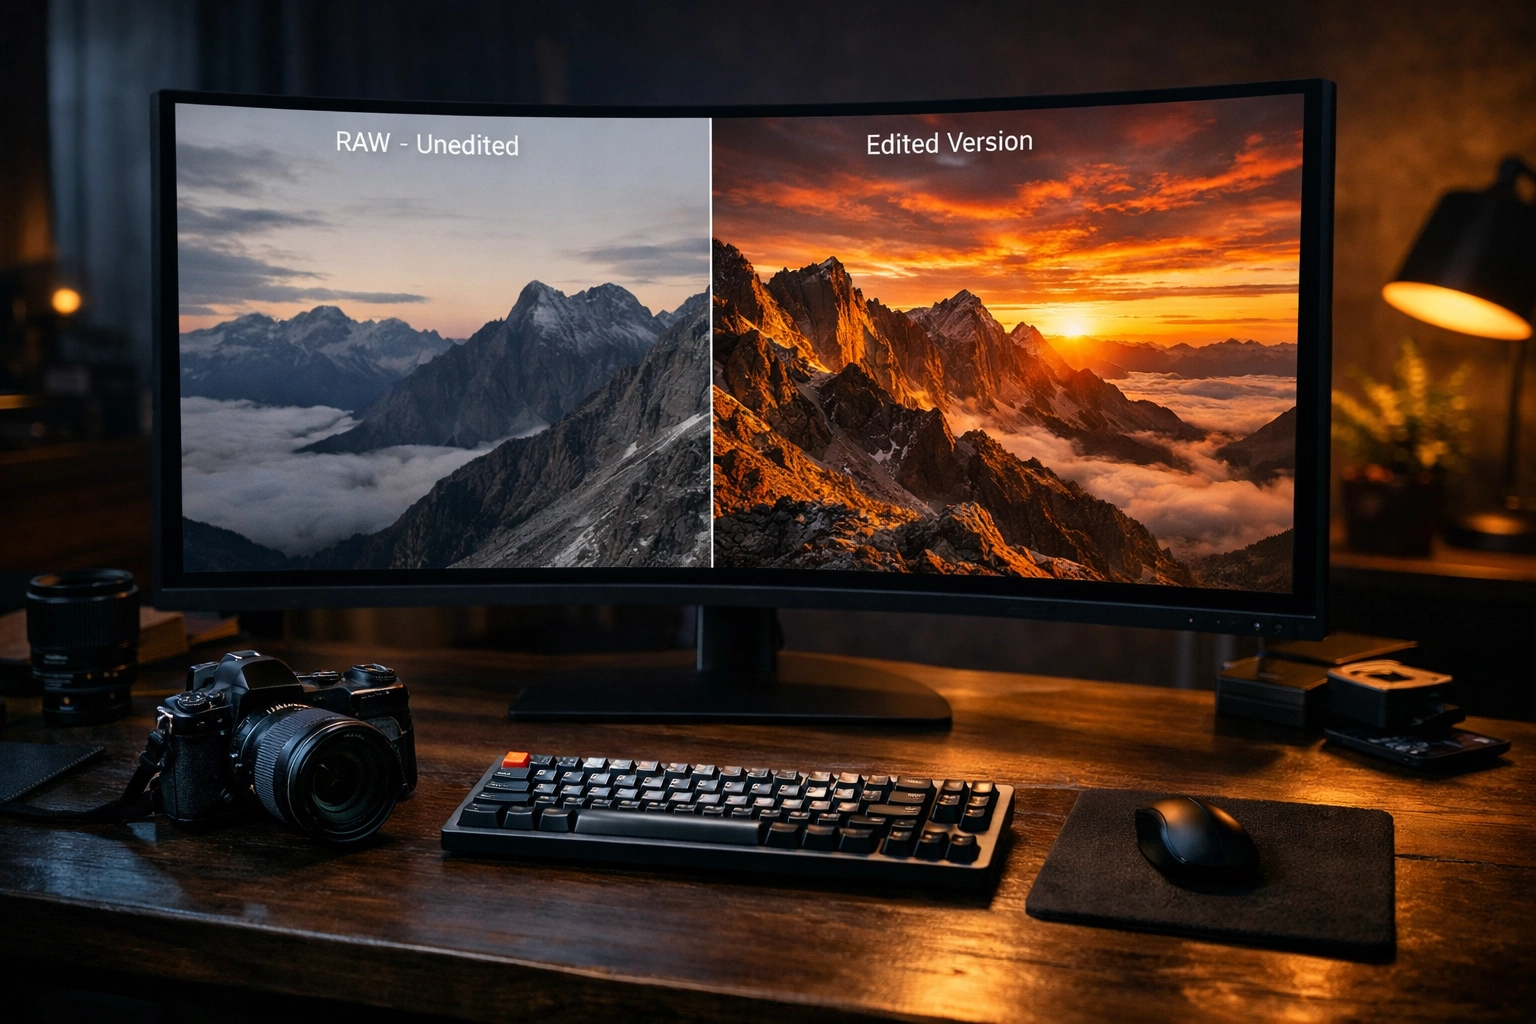
If you’re still shooting in JPEG, stop. Just stop. JPEG files are processed by your camera and then "baked." Much of the data is thrown away to keep the file size small. RAW files, on the other hand, contain all the data your sensor captured. This gives you massive dynamic range, meaning you can recover details from deep shadows or bright highlights that would be lost forever in a JPEG.
Think of a JPEG like a finished cake and a RAW file like the ingredients. You can’t un-bake a cake, but you can do whatever you want with the flour and eggs.
The Essential Photo Editing Workflow
Most beginners jump around their editing software like a caffeinated squirrel. They boost the saturation, then crop, then try to fix the exposure, then realize the white balance is off. This is a recipe for frustration. You need a systematic approach.
1. Culling and Organization
Before you touch a slider, you need to pick the winners. Don’t waste time editing a shot that’s 90% identical to the one next to it. Be ruthless. Use a star system or flags to narrow your shoot down to the absolute best frames.
2. Cropping and Straightening
This is the first "real" edit. Why? Because cropping changes the balance of the image. It might change how you perceive the exposure or the focus of the shot. If your horizon is tilted, fix it now. Nothing screams "amateur" like a crooked ocean.
3. White Balance
Color temperature sets the mood. If your photo is too blue (cold) or too orange (warm), the whole vibe is off. Adjust your white balance first so you’re working with a neutral, accurate base. You can check out more on color basics at PhotoGuides.org to see how different temps affect the viewer's psychology.
4. Exposure and Contrast
This is where the "meat" of the edit happens. Look at your histogram. You want a healthy spread of data from left (shadows) to right (highlights). If the image is too dark, bring up the exposure. If the highlights are "blown out" (pure white with no detail), pull them back.
Contrast adds that "pop." It separates the light from the dark, giving the image dimension. Just don't go so far that your shadows turn into black holes.
5. Color Adjustments
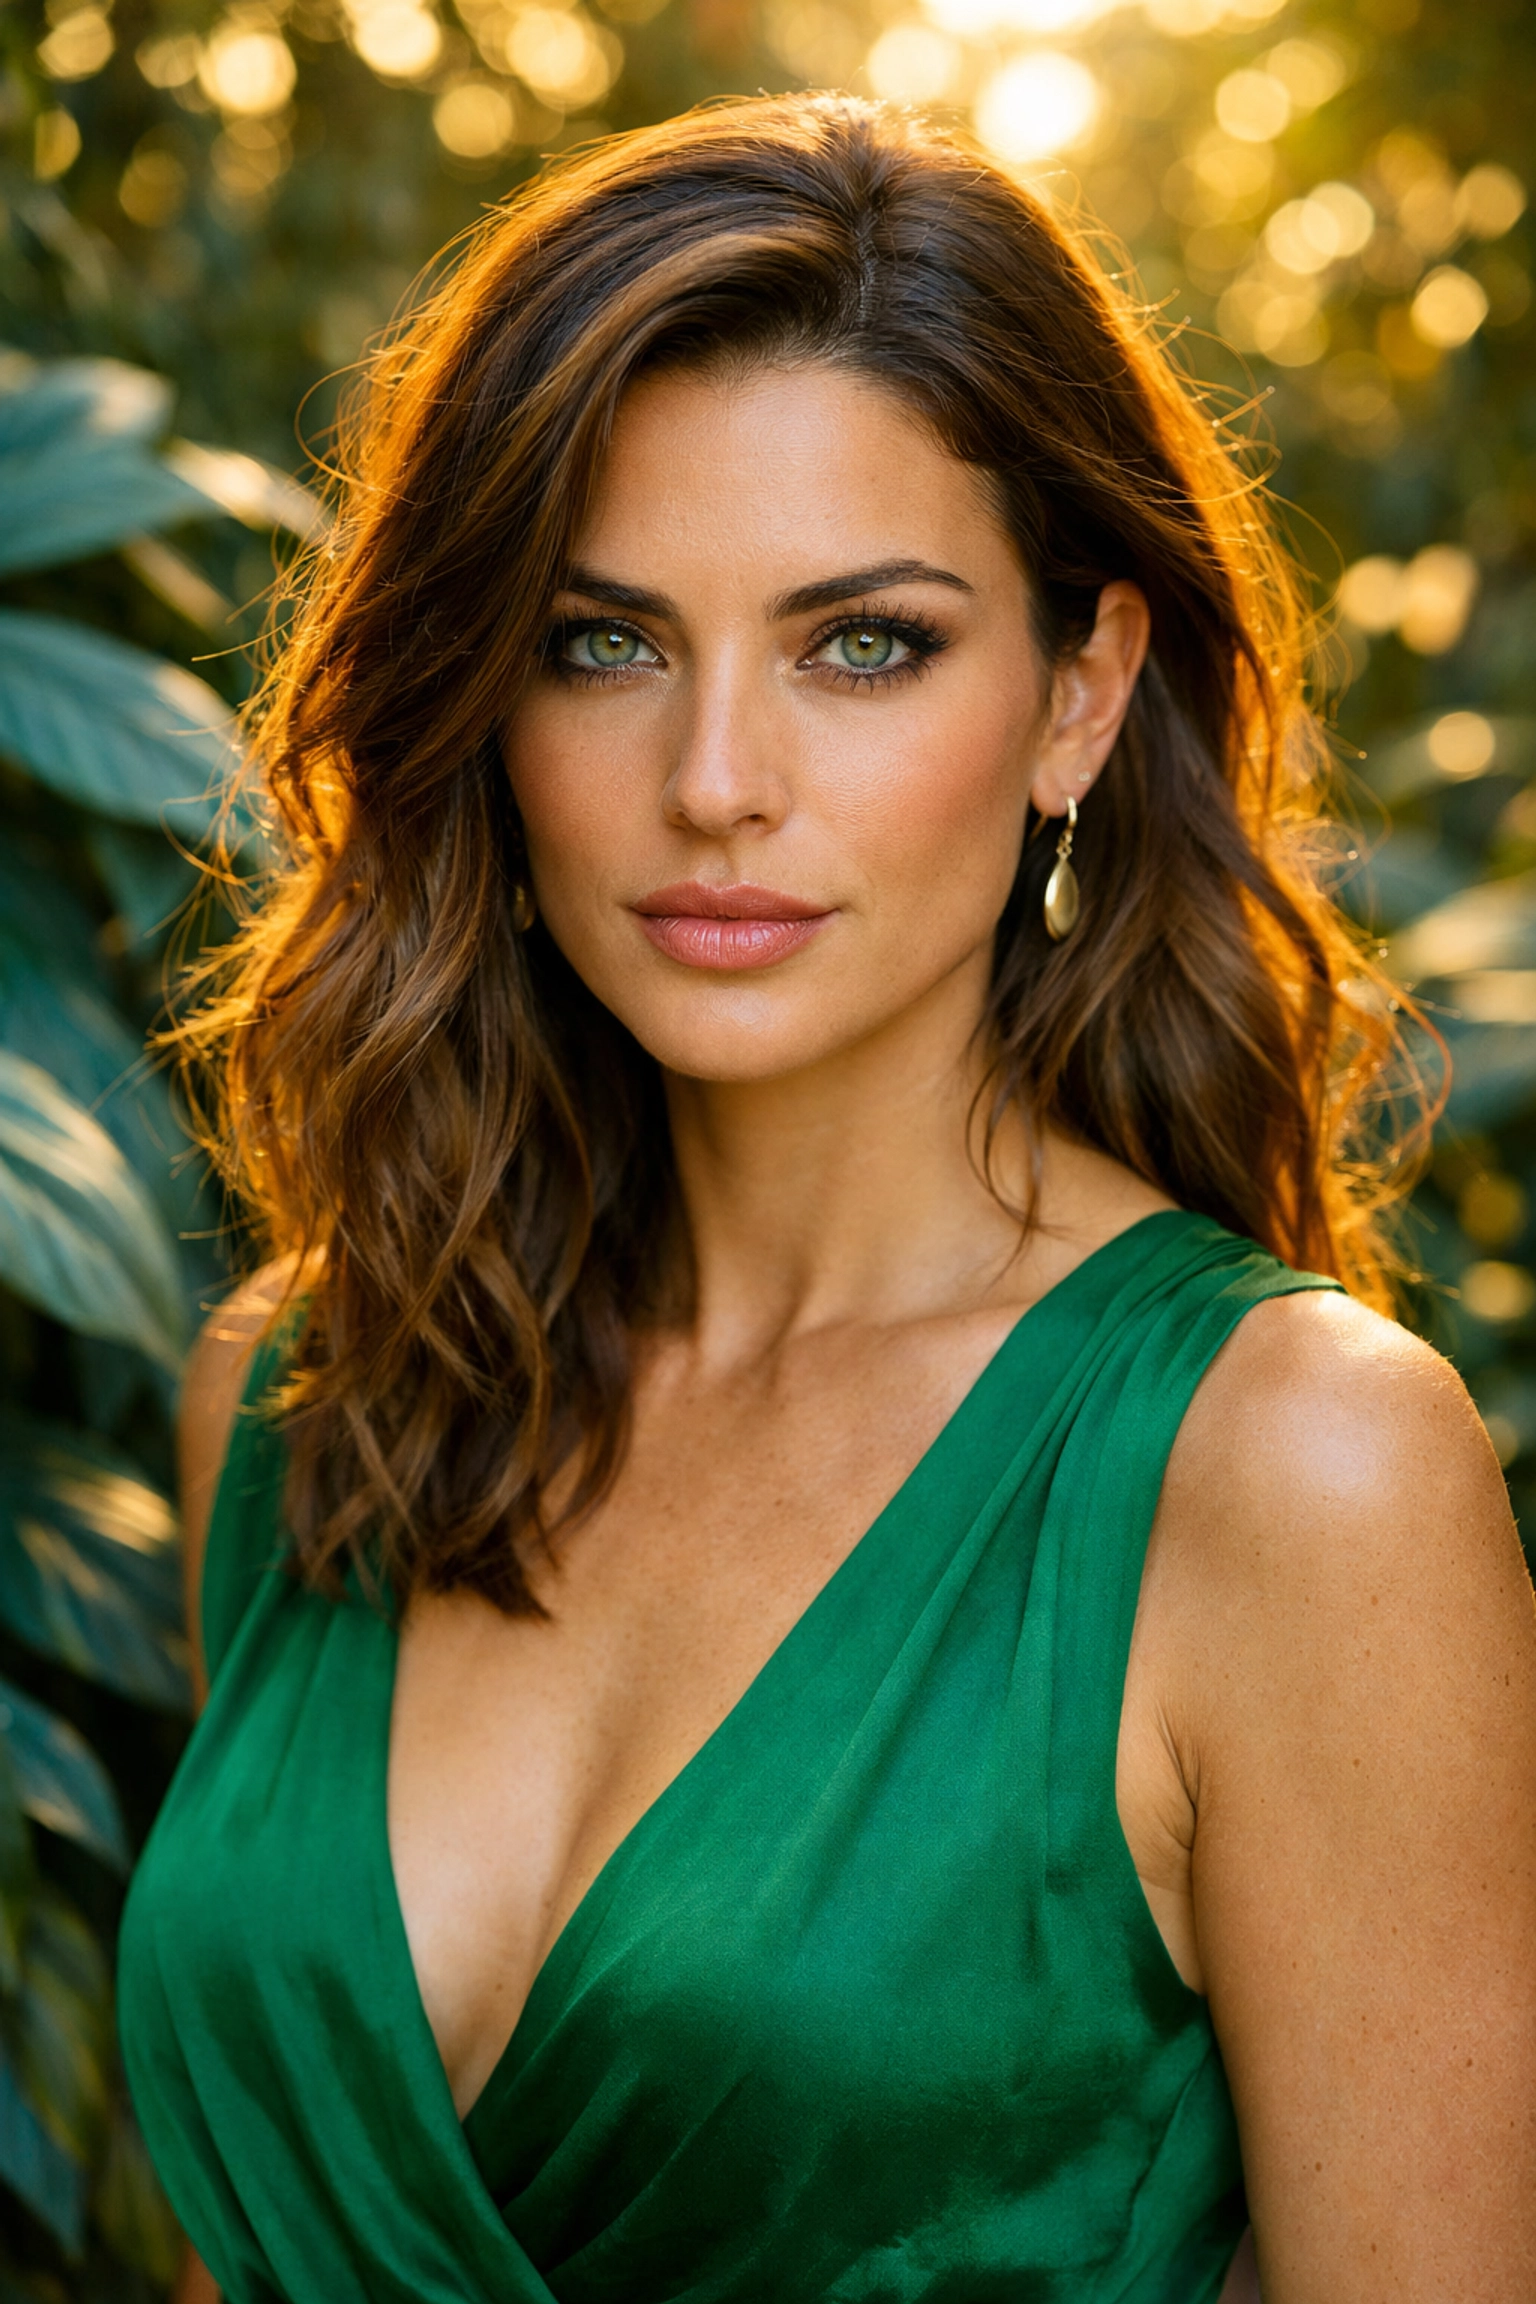
This is usually where people go overboard. There’s a difference between Saturation and Vibrance. Saturation boosts every color in the image equally. Vibrance is "smarter": it boosts the less-saturated colors and protects skin tones so people don't end up looking like Oompa Loompas.
If you really want to level up, you need to make colors come to life in Photoshop using HSL (Hue, Saturation, Luminance) sliders. This allows you to change specific colors: like making the sky a deeper blue without affecting the green grass.
Advanced Techniques: Taking it Further
Once you’ve mastered the basics, it’s time to look at selective editing. Global edits (applying a change to the whole photo) are great, but local edits are what separate the pros from the hobbyists.
Masking and Brushing
Maybe the sky is too bright, but the foreground is perfect. In software like Lightroom or Luminar, you can use a graduated filter or a brush to only darken the sky. This kind of selective control is how you create "fine art" looks.
Dealing with Noise
Noise is that grainy texture you get when shooting in low light. It can ruin a great shot if handled poorly. Learning how to take low light action photos will help you minimize noise in-camera, but software is surprisingly good at cleaning up what’s left. Just don't over-smooth it, or your subjects will look like they’re made of plastic.
Sharpening
Sharpening should be the very last thing you do. It’s meant to crisp up the fine details. If you sharpen too early, you might end up magnifying noise or creating weird artifacts around the edges of your subjects.
Choosing the Right Software
There isn’t a single "best" program, but there are definitely industry standards.
- Adobe Lightroom: The gold standard for workflow and organization. It’s where most photographers spend 90% of their time.
- Adobe Photoshop: For when you need to do heavy lifting: removing objects, swapping skies, or high-end retouching. You can see some of the artistic possibilities at www.edinfineart.com.
- Luminar: This is the king of AI-powered editing. If you want to get professional results quickly without learning every complex tool in Photoshop, Luminar is a game-changer. It handles things like sky replacement and skin retouching with a single click.
- Capture One: Many studio and fashion photographers prefer this for its superior color rendering and tethering capabilities.
If you’re looking for professional-grade gear or studio space to test these out, check out www.edinstudios.com or www.proshoot.io.

Common Photo Editing Mistakes to Avoid
Even the best of us fall into these traps. Awareness is half the battle.
1. Over-Sharpening
If you see "halos" (white glowing lines) around the edges of your subject, you’ve gone too far. Back it off. Real life isn't that crunchy.
2. The "Clarity" Trap
Clarity adds mid-tone contrast. It makes textures pop. It’s very addictive. But if you push the slider to +100, your photo will look like a grimy, over-processed mess. Use it sparingly, especially on portraits. Nobody wants their skin texture to look like a topographical map of Mars.
3. Neglecting the Histogram
Your eyes can lie to you, especially if your monitor isn't calibrated. The histogram never lies. If the graph is pushed all the way to the right edge, you’re losing highlight detail. If it’s all the way to the left, you’re losing shadows. Keep an eye on it throughout the process.
4. Editing for Too Long
Eye fatigue is real. After an hour of staring at the same photo, your brain starts to think that neon-green grass looks "natural." Always take a five-minute break, walk away, and come back with fresh eyes. You’ll often find you over-edited and need to dial everything back by 20%.
Finding Your Personal Style
The goal of photo editing isn't just to make a photo look "correct." It’s to make it look like yours.
Some photographers love a moody, desaturated look. Others want vibrant, high-contrast colors that jump off the screen. There is no right or wrong here, but consistency is key. If you look at Edin Chavez’s blog, you’ll see a consistent vibe that ties his work together.
Developing a style takes time. Experiment with presets in Luminar, but don't just "set it and forget it." Use presets as a starting point, then tweak the settings to match your specific vision for that image.
Mobile Editing: On the Go Success
We live in a world where your phone is a powerful editing suite. If you’re shooting on your iPhone or Android, you don't always need to wait until you get home to your desktop.
Apps like Snapseed, Adobe Lightroom Mobile, and VSCO offer incredible control. In fact, many of the same principles we discussed: white balance, exposure, and HSL: apply directly to mobile apps. For some quick inspiration on what’s possible with modern mobile tech and new releases, check out today’s photography news.
Summary: The Path to Success
To succeed in photo editing, you have to treat it as an extension of the creative process. It’s not a chore; it’s the final stage of your vision.
- Get it right in camera so you have a high-quality "canvas" to work on.
- Shoot RAW to maximize your data.
- Follow a workflow: Crop, White Balance, Exposure, Color, then Detail.
- Stay Selective: Use masks and brushes to guide the viewer’s eye.
- Don’t overdo it: Less is usually more.
Editing is a skill that takes years to master, but the journey is half the fun. Every time you open a photo, you’re solving a puzzle. How do I make this feel the way it felt when I was standing there? When you finally nail it, there’s no better feeling in photography.
Now, go open up your favorite editor: whether it's Photoshop or Luminar: and start experimenting. The only way to get better is to push those sliders around and see what happens. Just remember to keep an eye on that histogram!