
Let’s be honest: taking a photo of a person should be easy, right? You have a subject, you have a camera, and you press the shutter. But then you look at the back of the screen and something just feels… off. Maybe their nose looks weirdly large, or there’s a tree branch growing out of their ear, or they look like they’re posing for a 1990s DMV photo.
Portrait photography is one of those things that’s easy to learn but takes a lifetime to master. We’ve all been there, messing up the lighting, choosing the wrong lens, or turning a beautiful human being into a flat, two-dimensional cardboard cutout.
At Shut Your Aperture, we’ve seen every mistake in the book. The good news? Most of these "crimes against photography" are incredibly easy to fix. If you want to stop taking "snapshots" and start creating actual portraits, here are the seven biggest mistakes you’re probably making and exactly how to fix them.
1. The "Busy Background" Blunder
One of the biggest mistakes beginners make is focusing so much on the subject’s face that they completely forget what’s happening behind them. You could have the most beautiful model in the world, but if there’s a bright red trash can or a chaotic crowd of people in the background, your viewer's eye is going to wander.
A distracting background kills the "pop" of your subject. Even if you’re using a wide aperture to get that creamy bokeh, high-contrast shapes or bright colors in the distance will still pull focus.
The Fix:
Stop looking at your subject and start looking at the environment. Before you click the shutter, scan the edges of your frame. Is there a pole coming out of their head? Is there a bright window stealing the spotlight?
Choose backgrounds that offer tonal or color separation. If your subject is wearing dark clothes, put them against a lighter background. If they have blonde hair, avoid bright yellow walls. You want your subject to be the star, not the background. For more on how to manage background elements and visual depth, check out how cinematic techniques can transform your imagery.
2. Treating Your Subject Like a Statue
Most people aren't professional models. When you put a camera in front of them, they freeze. They stand square to the camera, shoulders broad, hands dangling awkwardly at their sides. This "deer in the headlights" look is rarely flattering. Shooting someone straight-on makes them look wider and often creates a stiff, unnatural vibe.
The Fix:
You have to be the director, not just the guy holding the camera. Give your subject something to do. Ask them to shift their weight to one back leg or turn their shoulders at a 45-degree angle. This creates a more slimming, dynamic profile.
Watch the hands, too! The "claw hand" is a real thing. If their hands are visible, give them something to hold or tell them to tuck a thumb into a pocket. A great trick is the "staircase" pattern for fingers, don't let them bunch up into a fist. You can find more deep dives into composition and posing over at PhotoGuides.org.
3. The "Average Height" Perspective
We spend 99% of our lives looking at people from eye level. If you only shoot your portraits from eye level, your photos are going to look exactly like… well, life. That’s boring.
Shooting from a standard standing height is the fastest way to make your work look amateur. It lacks drama and fails to utilize the creative power of perspective.
The Fix:
Move your body. Drop to a knee to give your subject a sense of power and height. This is especially useful for kids or shorter subjects. Conversely, grab a stool and shoot from slightly above. This often makes the eyes look larger and helps define the jawline.
By changing your angle, you change the story of the photo. If you want to see how perspective changes the mood of a shot, take a look at the lessons in landscape photography from Peter Lik, the same rules of "finding the unique angle" apply to people just as much as mountains.
4. Using the Wrong Lens for the Job
I see this all the time: a photographer uses a wide-angle lens (like a 24mm or 35mm) and gets way too close to the subject’s face. The result? Their nose looks huge, their ears disappear, and their head looks like a lightbulb. Wide-angle lenses distort features when you’re in close.
While a 50mm "nifty fifty" is a great starter, even it can cause a bit of distortion if you’re trying to do a tight headshot on a full-frame camera.
The Fix:
For portraits, focal length matters. If you want flattering, compressed features, go longer. An 85mm or a 105mm lens is the gold standard for a reason. These lenses compress the facial features and create a beautiful, natural look. If you’re stuck with a 50mm, just back up a few steps and crop the photo later rather than getting right in their grill. For gear recommendations and lens reviews that won't break the bank, head over to proshoot.io.

5. Shutter Speed That’s "Just Okay"
"But Edin, my subject is standing still!" It doesn't matter. Even if your subject is a statue, you aren't. Micro-shakes from your hands or the tiny movements of a subject breathing can cause a slight softness in the eyes. In portraiture, if the eyes aren't tack-sharp, the photo is a bin-job.
A lot of photographers follow the "1 over the focal length" rule, but with high-resolution sensors, that's often not enough anymore.
The Fix:
Crank that shutter speed up. If I’m shooting a portrait, I rarely go below 1/200th or 1/250th of a second if I’m handheld. This ensures that even if the subject laughs or blinks, I’m freezing that moment in time. Don't be afraid to bump your ISO slightly to compensate; modern cameras handle noise much better than they handle blur.
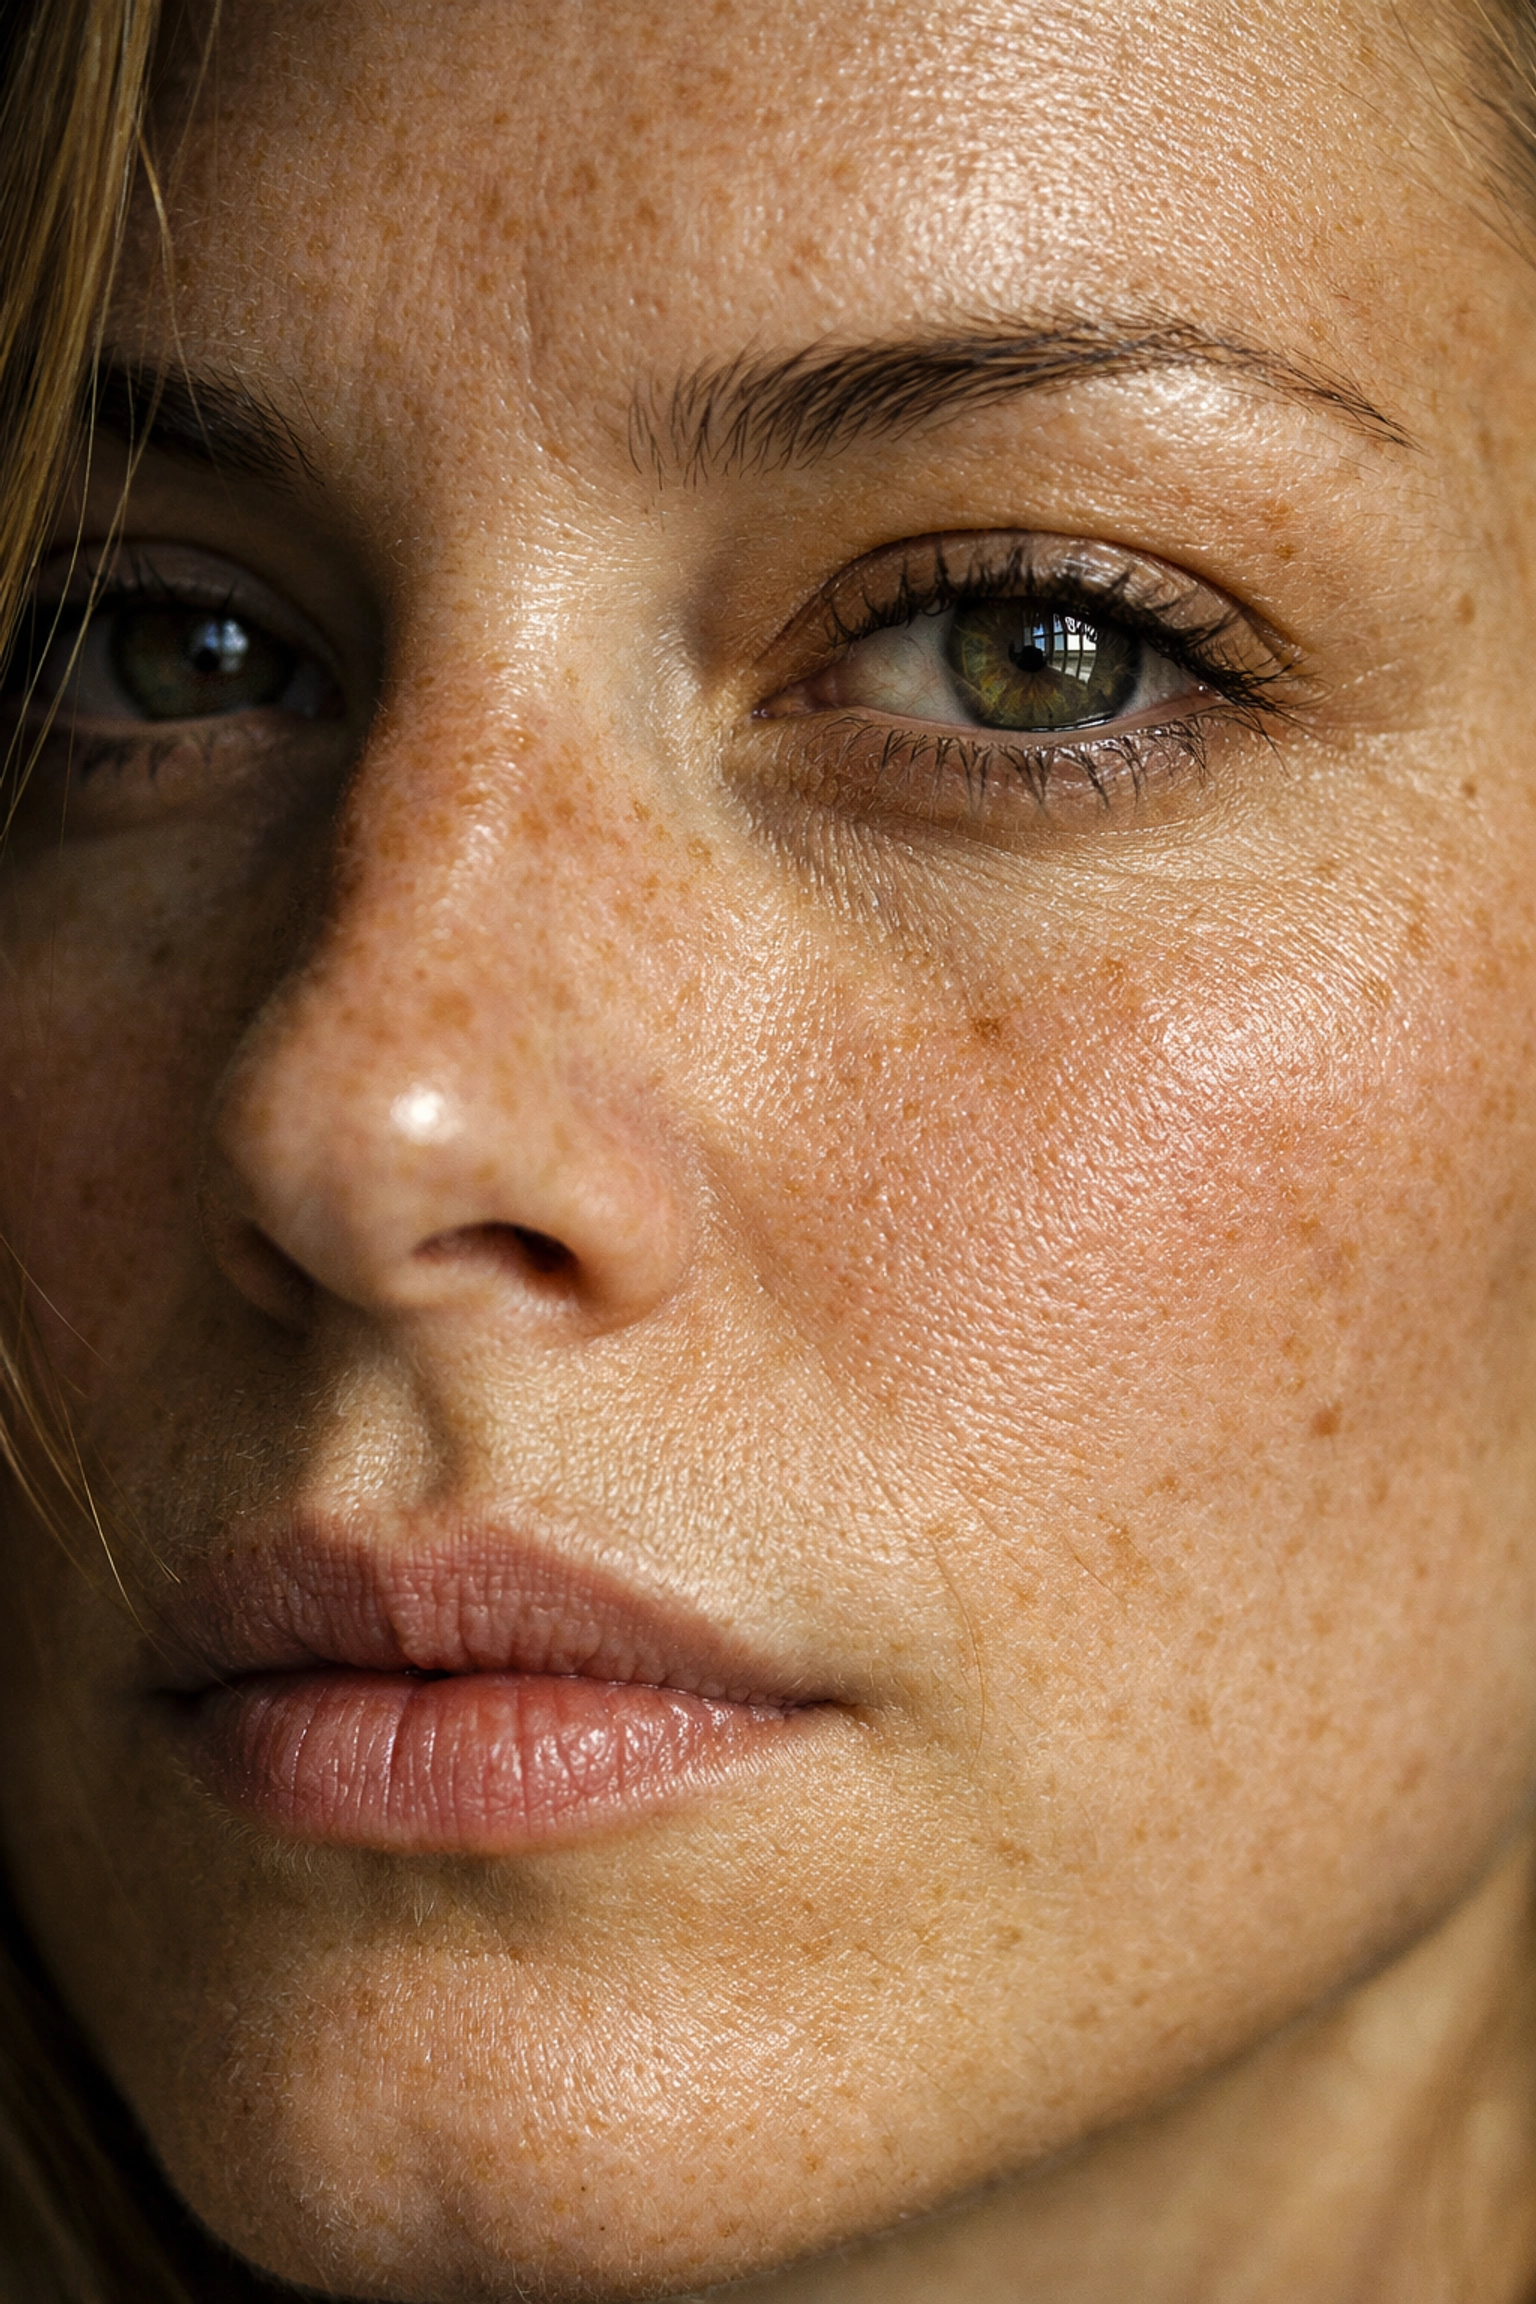
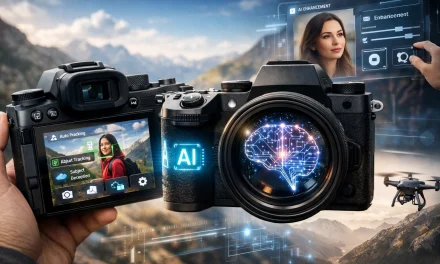
6. The "Uncanny Valley" Over-Processing
We live in an age of AI and filters, and the temptation to "fix" everything in post-production is real. The biggest mistake here is over-smoothing the skin. When you remove every pore and Every wrinkle, your subject starts looking like a Sims character or a wax figure at Madame Tussauds.
Similarly, over-whitening the eyes or teeth until they glow like LED lights is a one-way ticket to a fake-looking photo.
The Fix:
Less is more. Use tools like Luminar to enhance natural features rather than erasing them. Luminar has some incredible AI-driven skin and portrait tools that allow you to remove temporary blemishes (like a pimple) while keeping the natural skin texture intact.
When you’re editing eyes with Luminar, keep the shading around the edges of the eyeballs so they retain their spherical shape. If you want to see what high-end, professionally edited work looks like without being overdone, browse the galleries at edinfineart.com.
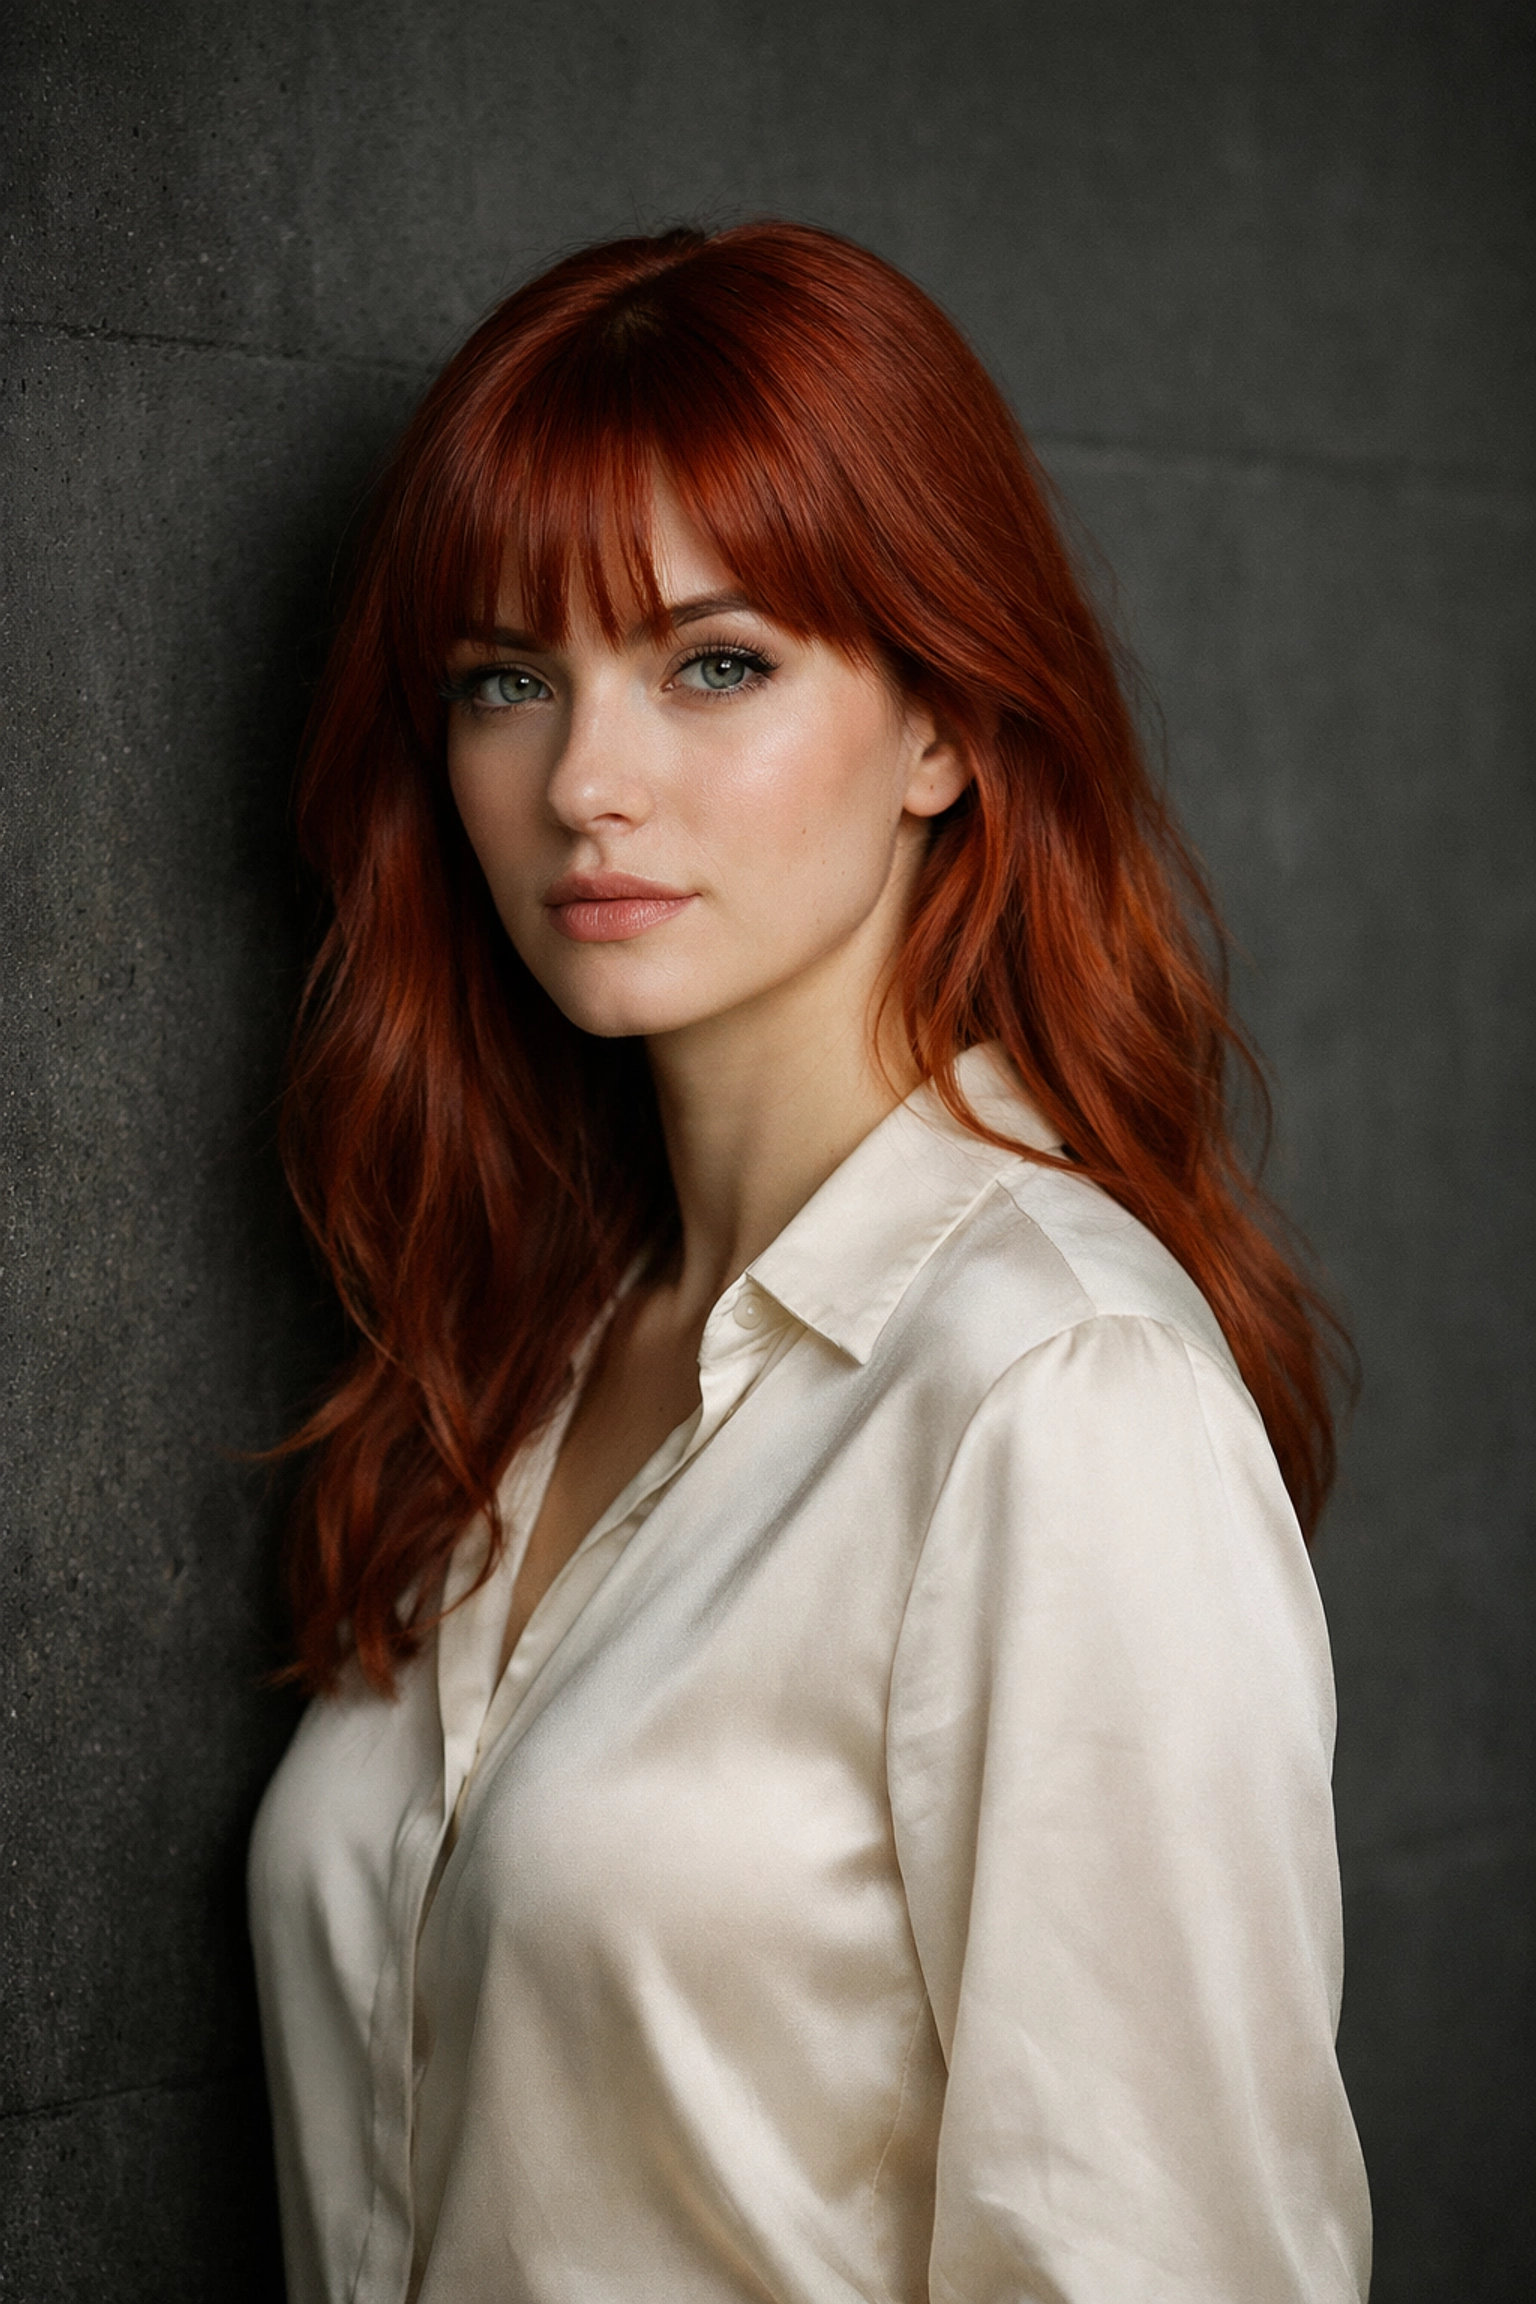
7. Zero Subject-Background Separation
Have you ever taken a photo of someone in a black shirt against a dark background, and it looks like their head is just floating in a void? Or maybe a bride in a white dress against a bright sky? This is a lack of separation.
Without separation, your photo looks flat. You lose the three-dimensional quality that makes a portrait feel alive.
The Fix:
Lighting is your best friend here. Use a "rim light" (a light placed behind the subject to one side) to create a highlight along their hair or shoulders. This "peels" them off the background.
If you’re using natural light, look for "luminosity." Position your subject so the light hits them differently than the background. For a deeper understanding of how light interacts with subjects and environments, check out the role of luminosity in photography. While that article focuses on real estate, the physics of light remain the same: highlight the edges to create depth.
Bonus: Forgetting the Human Connection
The technical stuff: the f-stops, the shutter speeds, the Luminar edits: all of that is secondary. The biggest mistake you can make is staying buried in your settings and forgetting to talk to the person in front of you.
If you are stressed, your subject will be stressed. If you are silent, the silence will feel awkward.
The Fix:
Keep talking. Even if you’re just saying, "That looks great," or "Hold that, perfect," keep the energy up. A portrait is a collaboration. If you can make your subject laugh or feel confident, you’ll get a better shot than any $5,000 lens could ever give you. Check out edinstudios.com to see how professional environments are set up to make subjects feel at ease.
Wrapping It Up
Portrait photography isn't about being perfect; it's about being intentional.
Avoid the messy backgrounds, watch your focal lengths, and for the love of all things holy, don't over-edit the skin into plastic. Use the right tools: like a solid 85mm lens and software like Luminar: to enhance what's already there.
Next time you’re out with your camera, pick just one of these fixes to focus on. Once that becomes second nature, move to the next. Before you know it, you won't just be taking pictures of people; you’ll be capturing who they really are.
If you’re looking for more tips on how to level up your photography game, keep an eye on our latest updates at blog.edinchavez.com. Now get out there and shut your aperture (or open it wide, depending on the vibe)!


