You can transform your photography skills from basic to brilliant with just a few vital techniques. In this ultimate guide, you will discover ten straightforward steps that will help you master your camera and elevate your photos to new heights. Whether you’re starting with a smartphone or a professional DSLR, these tips are designed to enhance your understanding of composition, lighting, and settings, empowering you to capture stunning images. Dive in and unlock the potential within your camera today!
 Save
Save
Understanding Your Camera
While plunging into photography, grasping the fundamentals of your camera is vital for capturing stunning images. Familiarize yourself with its components and capabilities so that you can fully utilize its potential. Understanding how your camera works not only enhances your skills but also boosts your confidence as you commence on your photographic journey.
Camera Types and Features
Clearly, there are various camera types available, each suited for different photography styles. Below is a comparison of five popular types:
| Camera Type | Features |
| DSLR | Interchangeable lenses, optical viewfinder, extensive manual controls |
| Mirrorless | Compact design, interchangeable lenses, electronic viewfinder |
| Point-and-Shoot | Automatic settings, compact size, easy to use |
| Smartphone | Portable, built-in editing tools, versatile shooting options |
| Action Camera | Durable, waterproof, suited for adventure photography |
- Consider your photography style.
- Assess your budget and needs.
- Evaluate lens options for versatility.
- Research additional features such as Wi-Fi connectivity.
- After this evaluation, you will be better positioned to choose the right camera for you.
Basic Camera Controls
Some vital camera controls are vital for enhancing your photography skills. Understanding these controls will enable you to adjust settings according to different shooting conditions and creative styles.
Controls such as ISO, shutter speed, and aperture are the backbone of photography. ISO determines your camera’s sensitivity to light, while shutter speed affects how long the shutter remains open to allow light in. Aperture controls the size of the lens opening, influencing the depth of field. Familiarizing yourself with these settings will empower you to experiment with various techniques and achieve stunning results tailored to your vision.

Master Camera Settings
Any photographer looking to elevate their skills must understand how to manipulate their camera settings. Mastering these settings allows you to create stunning visuals that reflect your unique vision. It’s crucial to familiarize yourself with the interplay between shutter speed, aperture, and ISO, which together form the foundational elements of photography. As you learn to navigate these settings, you’ll gain greater control over your images, producing photographs that not only capture moments but also evoke emotions.
Shutter Speed Fundamentals
Some of the most captivating images are made by controlling shutter speed, which determines how long your camera’s sensor is exposed to light. A fast shutter speed can freeze motion, while a slower speed can create dynamic blur, conveying movement. Understanding the right shutter speed for different situations will significantly enhance your ability to tell stories through your photographs.
Aperture and ISO Basics
The aperture and ISO settings are just as vital as shutter speed in creating your perfect photograph. Aperture controls the size of the lens opening, affecting depth of field and the amount of light hitting the sensor. ISO adjusts your camera’s sensitivity to light, enabling you to shoot in various lighting conditions without compromising image quality.
This relationship between aperture and ISO is fundamental in mastering exposure. A wide aperture (a low f-number) allows more light in, making it ideal for low-light environments, while creating a shallow depth of field for beautiful background blur. Conversely, a high ISO setting can brighten your image in dim lighting but may introduce noise. Balancing these elements will empower you to capture stunning photos in diverse situations while achieving the artistic effects you desire.
Composition Rules
Unlike what most people think, composition is not just about placing your subject in the center of the frame. Understanding composition rules will elevate your photography by guiding the viewer’s eye and creating visually engaging images. Familiarize yourself with these principles to enhance your skills and add depth to your work.
Rule of Thirds
Little tweaks in your composition can significantly improve your photos. The Rule of Thirds involves dividing your image into a 3×3 grid, allowing you to position important elements along these lines or at their intersections. This creates harmony and makes your photographs more dynamic.
Leading Lines Technique
With leading lines, you can draw the viewer’s attention directly to your subject by utilizing natural lines in your environment. These lines can be roads, rivers, or even architectural features. They guide the viewer’s eye, creating a sense of depth and perspective in your photos.
Rules of composition like the Leading Lines Technique encourage you to explore your surroundings creatively. By incorporating lines into your shots, you can create pathways that lead the viewer deeper into the frame, thereby adding interest and intrigue to your images. Experiment with different angles and perspectives to see how lines can enhance your storytelling and engagement in photography.
Light in Photography
All photographers know that light is the foundation of stunning imagery. Mastering the ways light interacts with your camera can elevate your photography from mediocre to magnificent. Understanding the quality, direction, and color of light will enable you to capture the mood and essence of your subjects, creating compelling stories through your lens. As you investigate deeper into this topic, you’ll discover that both natural and artificial light sources play a significant role in shaping your photographs.
Natural Light Sources
If you want to harness the power of natural light, consider how the sun moves throughout the day. Golden hour, just after sunrise and before sunset, provides soft, warm light that is perfect for capturing well-balanced images. Cloudy days can also create diffused lighting that softens shadows and highlights, offering a different aesthetic. By paying attention to the quality and angle of natural light, you can dramatically improve your photographs.
Artificial Light Management
Light can be manipulated through artificial means to achieve the desired effect in your photography. This includes using equipment like flash units, studio lights, or continuous lighting setups that allow you to control the intensity and direction of light. Understanding how to mix natural and artificial light can create striking contrasts and enhance your images, making your subjects pop.
Sources of artificial light come in various forms, each with its unique characteristics. Flash units, whether built-in or external, provide a powerful burst of light that can freeze motion and illuminate details in low-light situations. Continuous lights, such as LED panels or softboxes, allow you to see the effects of lighting in real-time, giving you more control over your setup. Experimenting with different artificial light sources and learning how to manipulate them can help you create dynamic compositions that stand out.
Focus and Autofocus
Many aspects of photography hinge on achieving sharp focus. Mastering focus and autofocus systems allows you to ensure that the subject in your frame stands out clearly while the background either complements or beautifully blurs. Understanding how your camera focuses will dramatically enhance your photography skills and help you capture stunning images more consistently.
Focus Modes Explained
Assuming you’re just starting, it’s imperative to grasp the different focus modes available on your camera. Most cameras come equipped with autofocus (AF) modes like Single AF, Continuous AF, and Manual Focus. These modes help you control how your camera locks onto and tracks subjects, aiding in obtaining sharp images whether you are photographing still life or moving subjects.
Manual Focus Techniques
Even if autofocus is convenient, manual focus gives you greater control over your images. This technique requires you to adjust the focus ring to achieve desired sharpness, allowing you to select your focal point, particularly in challenging lighting conditions or when dealing with complex compositions.
Modes of manual focus come in handy when working in low light or photographing subjects that may confuse your camera’s autofocus system. You can also rely on techniques like focusing on a specific detail, using the camera’s live view mode, or zooming in on your LCD screen to ensure precision. Manual focus encourages you to slow down and develop an intuitive connection with your subject, ultimately leading to more intentional and impactful photographs.
Exposure Triangle
After understanding the basics of photography, the Exposure Triangle becomes important for mastering your camera’s settings. This triangle consists of three elements: aperture, shutter speed, and ISO, which work together to control the amount of light that reaches your camera’s sensor. Balancing these elements will not only enhance your images’ clarity but also give you creative control over exposure, helping you achieve your desired results in various lighting conditions.
Balancing Camera Settings
Clearly, balancing your camera’s settings involves understanding how aperture, shutter speed, and ISO interact with each other. When you adjust one setting, you may need to compensate by modifying one or both of the other settings to maintain a proper exposure. This balance allows you to achieve the depth of field, motion blur, and noise levels that suit your artistic vision.
Exposure Compensation
Compensation is a key technique for adjusting the exposure of your images, especially in challenging lighting situations. By using your camera’s exposure compensation feature, you can tweak the automatic exposure metering to make your photos brighter or darker. This allows you to take control of the exposure more precisely, ensuring your final results match your creative intent.
Plus, using exposure compensation helps you tackle tricky scenes, such as backlit subjects or high-contrast environments. When your camera struggles with metering due to the lighting conditions, adjusting exposure compensation lets you fine-tune the brightness easily. Experimenting with this feature will enhance your skills and ensure that your photographs reflect your unique vision effectively.
Shooting Modes
After you’ve become acquainted with your camera’s functions, mastering shooting modes is vital for enhancing your photography skills. Different modes allow you to control various aspects of exposure, focus, and depth of field, giving you the flexibility to adapt to various shooting conditions. Whether in dynamic environments or meticulously planned settings, knowing when to use each mode can help you capture stunning images with ease.
Manual vs Auto
If you want to truly understand your camera, you will need to choose between Manual and Auto modes. In Auto mode, your camera makes all the decisions for you, which is great for beginners. However, Manual mode allows you to fully control your settings, enabling you to be more creative and adaptive in different situations. It’s all about finding the right balance that makes you feel confident behind the lens.
Priority Modes Overview
Shooting in priority modes can offer you a fantastic middle ground between Auto and Manual settings. These modes, such as Aperture Priority (Av or A) and Shutter Priority (Tv or S), allow you to specify one aspect—either the aperture or shutter speed—while the camera automatically adjusts the other settings for optimal exposure. This means you can focus on creativity without getting overwhelmed by the technical details.
With Aperture Priority, you can control how much light enters your camera, impacting the depth of field and resulting in beautifully blurred backgrounds or sharp landscapes. On the other hand, Shutter Priority lets you freeze motion or create intentional blur, perfect for capturing fast action or the unique feel of flowing water. Using these modes allows you to enhance your photography while gradually building your understanding of exposure settings.
Lens Selection
Once again, choosing the right lens can dramatically enhance your photography experience. Understanding the different types of lenses available will allow you to capture images with precision, creativity, and clarity. Each lens offers unique characteristics and effects, enabling you to expand your repertoire and experiment with various styles. By mastering lens selection, you will elevate your skills and become more confident in capturing the world through your camera.
Types of Lenses
Once again, lens selection is vital for achieving desired results. Here are some common types of lenses you should be aware of:
- Standard Lens
- Wide-Angle Lens
- Telephoto Lens
- Macro Lens
- Fisheye Lens
Perceiving the differences among these types will empower you to choose the appropriate lens for your specific photography needs.
| Lens Type | Features |
| Standard | Versatile, great for everyday photography |
| Wide-Angle | Captures more landscape; ideal for architecture |
| Telephoto | Zooms in on distant subjects; fantastic for wildlife |
| Macro | Perfect for capturing extreme close-ups |
Focal Length Guide
Lens choice is often influenced by focal length, which determines how much of a scene you capture. Focal lengths are measured in millimeters (mm) and will affect the perspective and depth of your photos. Shorter focal lengths, such as 18mm, are great for wide-angle shots, while longer focal lengths, like 200mm, excel in isolating subjects.
Plus, understanding focal length can help you convey the emotion or story behind your images. A wide-angle lens allows for dramatic landscapes and intimate environments, while telephoto lenses compress space, allowing you to blur backgrounds and focus attention on your subject. By experimenting with different focal lengths, you will discover how each choice can shape the narrative of your photography.
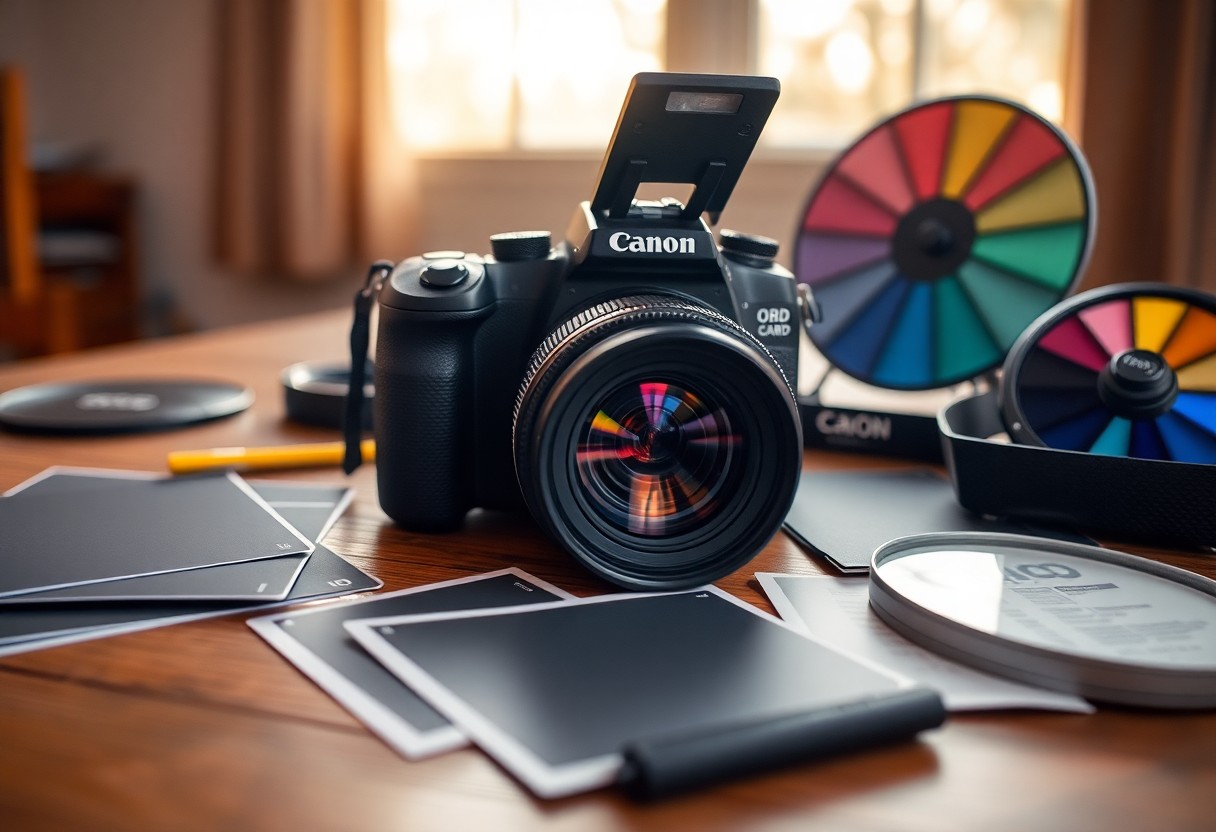
Color and White Balance
Now that you’ve got your camera settings dialed in, it’s time to explore color and white balance, which are vital for achieving accurate color reproduction in your photos. Understanding how light affects color perception will significantly enhance your photography, allowing you to express your unique vision through your images.
Color Temperature Understanding
Any photographer must grasp the concept of color temperature, which is measured in Kelvin (K) and indicates the warmth or coolness of light. Below is a simplified guide:
| Light Source | Color Temperature (K) |
| Candlelight | ~1,000 – 1,500 K |
| Incandescent Bulb | ~2,500 – 3,000 K |
| Daylight | ~5,000 – 6,500 K |
White Balance Settings
With your understanding of color temperature, it’s time to focus on white balance settings. White balance helps you neutralize color casts, ensuring that whites appear white in various lighting conditions.
You can adjust your camera’s white balance settings to match the lighting environment. Most cameras offer presets such as daylight, cloudy, and tungsten. Moreover, you can use the custom white balance setting to take a reference photo and achieve accurate colors. Experiment with different settings in various lighting conditions to see how they affect your images, and don’t hesitate to fine-tune in post-processing if necessary.
File Formats
Unlike many other digital mediums, photography offers a variety of file formats that significantly affect both the quality of your images and your workflow. Understanding the differences between these formats will help you make informed choices when saving your photos, whether you prioritize image quality, file size, or ease of sharing. Selecting the right format is vital for achieving the best results in your photography journey.
RAW vs JPEG
JPEG is the most commonly used file format in photography due to its compatibility and smaller file size. However, it compresses image data, potentially sacrificing quality for ease of use. In contrast, RAW files retain all original data captured by the camera sensor, allowing for greater flexibility in post-processing and improved image quality, though at the cost of larger file sizes. You’ll need to weigh these factors based on your photography needs.
Storage Management Tips
File storage is vital for maintaining your photographic collection and workflow. Here are some practical tips to help you effectively manage your storage:
- Organize your files in folders by date or event to make them easy to find.
- Regularly back up your files on external hard drives or cloud storage.
- Delete duplicates and unwanted images to save space.
- Consider using file naming conventions that include keywords for easy retrieval.
The above strategies can help ensure your digital library stays organized and accessible.
This will not only improve your efficiency but also safeguard your creative work from accidental loss. To further enhance your storage management, consider these additional tips:
- Invest in reliable storage devices with sufficient capacity.
- Regularly check the health of your storage media to prevent data loss.
- Utilize photo management software to catalog and edit your images efficiently.
The right approach to storage ensures that your photos remain safe and well-organized, allowing you to focus more on capturing stunning images.

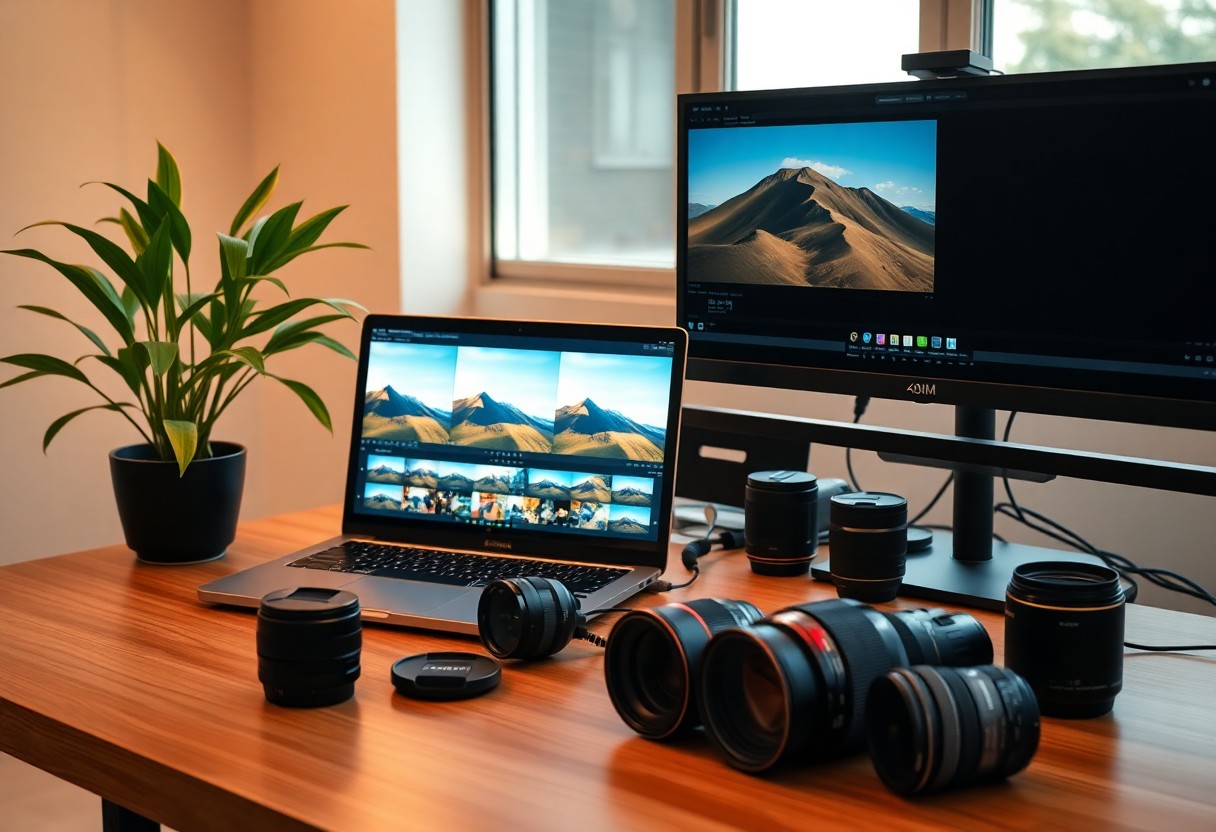
Basic Photo Editing
Now that you’ve captured stunning images, it’s time to enhance them through basic photo editing. This process allows you to refine your photos, improving their overall quality and making your creative vision come to life. Even small adjustments can significantly elevate your images, giving them a professional touch. In this section, you’ll learn how to utilize vital editing tools and common techniques to transform your photography.
Essential Editing Tools
You’ll want to explore a variety of editing software options, ranging from beginner-friendly programs like Lightroom and Snapseed to more advanced applications like Photoshop. Familiarizing yourself with these tools will help you navigate the editing process with ease and confidence. Each platform offers unique features that cater to different editing needs, so choose one that aligns with your skill level and goals.
Common Editing Techniques
Editing your photos can dramatically enhance the vibrance and clarity of your images. You’ll often want to adjust brightness, contrast, saturation, and sharpness to bring out the best in your shots. Cropping can help create a more focused composition, while applying filters and presets can provide a consistent stylistic approach. Make sure to experiment with these techniques to discover what works best for your unique style.
Tools like sliders for exposure and contrast adjustments let you fine-tune your images quickly. Try playing around with color balance and saturation to enhance the mood of your photo. Additionally, utilizing cropping tools can help you improve composition and eliminate distractions. Don’t hesitate to explore different layers and blending modes in advanced software for added creativity. This experimentation is where your personal touch begins to shine.
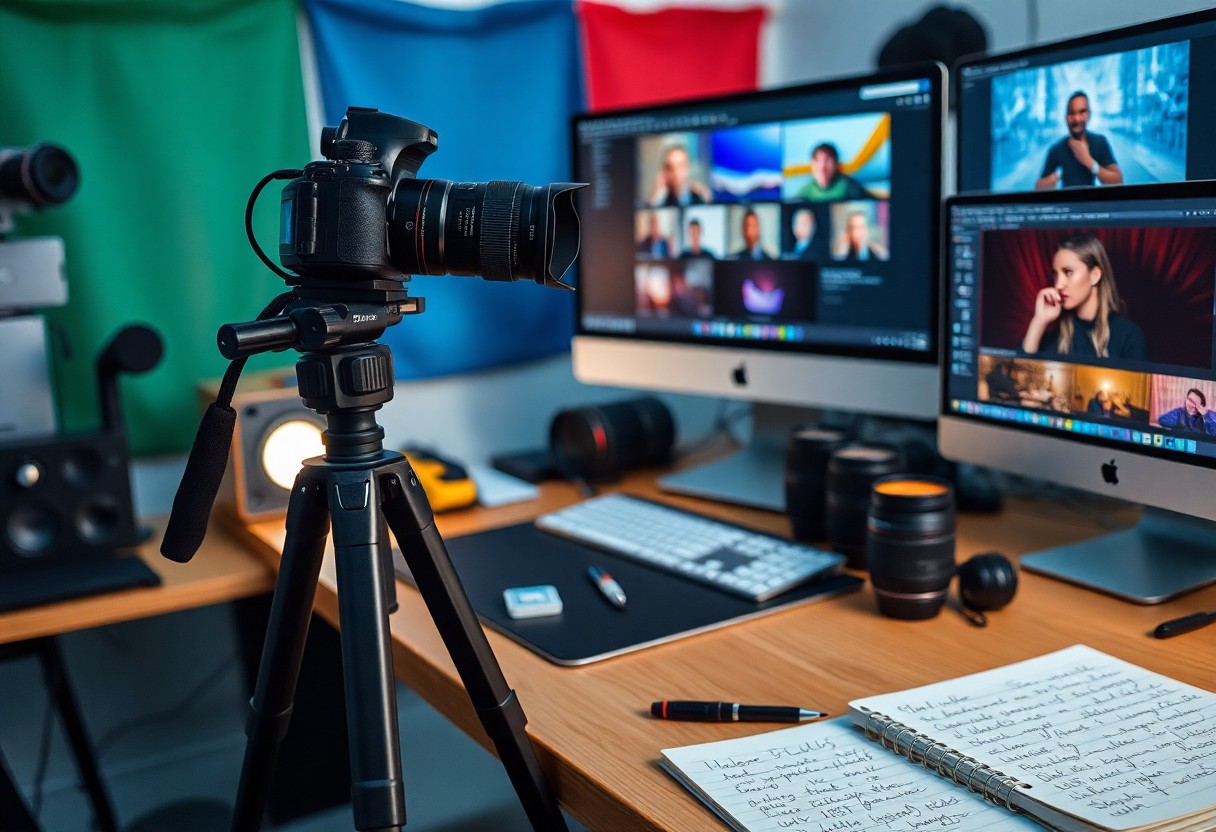
Camera Accessories
Despite the fact that your camera plays a pivotal role in photography, the right accessories can enhance your experience and improve your results significantly. From tripods to lenses, understanding the gear that complements your camera will elevate your photography skills, allowing you to capture stunning images with ease.
Essential Photography Gear
While you may start with just your camera, investing in necessary photography gear can vastly improve your shooting experience. Consider items like a sturdy tripod for stability, extra batteries to avoid missing shots, and a reliable camera bag to protect your equipment. These basics lay the foundation for great photography.
Optional Equipment Guide
Clearly, there are many optional accessories that can further expand your creative possibilities. While not necessary, they can enhance your photography and provide unique ways to express your artistic vision.
Optional equipment includes items such as filters, which can manipulate light and enhance colors, and external flashes for better lighting in challenging conditions. You might also consider remote shutter releases for long exposure shots, and additional lenses to explore different perspectives. Investing in these optional accessories allows you to customize your photography toolkit, helping you adapt to various shooting environments and styles.
Common Photography Mistakes
After you’ve taken the time to learn the basics of photography, it’s important to be aware of common mistakes that can hinder your progress. Many beginners overlook critical aspects of photography that can significantly affect the quality of their images. By understanding these mistakes, you can improve your skills and develop a more refined approach to capturing stunning photographs.
Technical Errors
Errors in settings such as exposure, focus, and white balance can make your images fall flat. As a beginner, it’s easy to overlook the importance of correctly adjusting these settings for your specific shooting conditions. Take the time to understand your camera’s manual controls to ensure that your photos reflect your artistic vision rather than technical flaws.
Composition Mistakes
Mistakes in composition can detract from the overall impact of your photographs. By failing to consider elements such as framing, leading lines, and the rule of thirds, you may produce images that lack focus and clarity. A well-composed photograph can engage viewers, guiding their eyes to the main subject and creating a more powerful storytelling experience.
Any oversight in composition can lead to images that feel cluttered or unbalanced. Make a habit of analyzing your scene before you click the shutter; look for distractions that could divert attention from your subject. Experiment with angles and perspectives to find the most compelling layout. Understanding and applying the principles of good composition will help you take your photography to the next level.
Practice Exercises
Your journey to mastering photography involves consistent practice. Engaging in targeted exercises can significantly enhance your skills and confidence with your camera. By dedicating time to different types of shooting scenarios, you will develop a better understanding of your camera’s settings and your own creative eye. The following drills and assignments will help you refine your technique and expand your portfolio.
Indoor Photography Drills
Any environment can be a great place to practice photography, especially indoors. Start by experimenting with natural and artificial light sources in your home. Set up a corner with various objects, and practice different techniques such as composition, focus, and exposure. Challenge yourself to capture the mood and atmosphere by using shadows and highlights creatively. This routine will sharpen your skills in a controlled setting before you transition to the great outdoors.
Outdoor Shooting Assignments
Indoor photography often builds foundational skills, but outdoor shooting assignments will immerse you in a dynamic environment. The array of light, movement, and subjects will challenge you to adapt quickly and refine your skills. Assignments in varied locations, like parks or urban spaces, encourage you to explore different angles, lighting conditions, and compositions. Embrace spontaneity by capturing candid moments, and play with techniques like depth of field and framing to enhance your images. These sessions not only boost your technical abilities but also help you cultivate your style.
Assignments can range from simple tasks such as photographing your surroundings at different times of day to more complex projects like photo stories or themed series. Keep a shooting log to track your progress and note what works well or what could be improved. This reflective practice will guide your growth as a photographer and inspire creativity in future shoots.
Mobile Photography
To excel in photography with your mobile device, you must leverage its capabilities to capture stunning images. Mobile photography has become increasingly popular due to the convenience and adaptability of smartphones. With a few simple techniques and understanding of your device, you can create impressive photographs that rival those taken with professional cameras.
Smartphone Camera Settings
To get the most out of your smartphone camera, you should familiarize yourself with its settings. Take the time to explore features like HDR, grid lines, and manual controls. Adjusting these settings can greatly enhance your images, allowing you to tailor your shooting experience to suit various lighting conditions and subjects.
Mobile Editing Apps
On your journey to improve your mobile photography, you’ll find that editing can elevate your images significantly. Various mobile editing apps provide intuitive tools and filters for enhancing your photos, making them look more polished and professional.
With countless mobile editing apps available, you can choose ones that best fit your style and needs. Applications like Snapseed, Lightroom Mobile, and VSCO offer powerful editing features that allow you to adjust exposure, contrast, and color balance, among others. These tools can turn a good photo into a great one, enabling you to express your creativity and vision in every shot you take.

Photography Styles
Once again, it’s important to explore the various photography styles that you can research into as a beginner. Understanding these styles not only allows you to find your niche but also inspires your creativity. From portrait and landscape photography to street photography and macro, each style presents unique challenges and rewards. By experimenting with different genres, you can discover your passion and develop a versatile skill set that will enhance your overall photography journey.
Portrait Photography Basics
While venturing into portrait photography, you’ll focus on capturing the essence of individuals, emphasizing their personality and emotions. You need to pay attention to lighting, composition, and the connection between you and your subject. This style involves working with various poses, expressions, and settings to create engaging and memorable images that tell a story.
Landscape Photography Introduction
For those intrigued by landscape photography, this genre invites you to capture the beauty of nature and the world around you. From sweeping vistas to intricate details in a forest, it allows you to translate your personal experiences into stunning visuals.
With landscape photography, it’s important to consider factors such as lighting, time of day, and composition to create powerful images. Golden hour—just after sunrise or before sunset—offers soft, warm light that enhances your landscapes. Experimenting with different perspectives and focal lengths can help you capture the grandeur of your surroundings, while using techniques like long exposure can add a unique touch to flowing water or moving clouds. Don’t hesitate to venture outdoors, explore various terrains, and develop your artistic eye as you capture the world through your lens.
Camera Maintenance
Keep your camera and accessories in top shape by regularly performing maintenance. Proper care will not only enhance the lifespan of your gear but also ensure that you capture the best images possible. Embrace a routine that includes cleaning your equipment and following best storage practices to keep everything functioning optimally.
Cleaning Your Equipment
Little things can make a big difference when it comes to cleaning your photography gear. Regularly dust and wipe down your camera body, and use a soft brush or blower to remove particles from lenses. Ensure your sensors are clean, as any smudges can affect image quality. Investing in a good cleaning kit will help you keep your equipment in pristine condition.
Storage Best Practices
Cleaning your camera isn’t enough if you don’t store it properly. Proper storage protects your equipment from dust, moisture, and temperature fluctuations that can damage delicate components. Always keep your camera in a padded bag or case, and use silica gel packets to absorb excess moisture. Find a cool, dry place for long-term storage; avoid areas that experience extreme heat or humidity to prevent potential damage.
Any environment where you store your camera should be free from extremes to prolong its lifespan. Try to use a dedicated camera bag with dividers to keep your gear organized and secure during transport. If you’re storing multiple lenses, consider individual pouches to avoid scratches. Always double-check that your camera is turned off before storing it, and if you’re not going to use it for a while, remove the batteries to prevent leaks. Following these storage tips ensures that your equipment stays ready for your next photography adventure.
Photography Ethics
Despite the artistic freedom photography offers, it is imperative to approach your craft ethically. Respecting the rights and privacy of your subjects is vital. Being mindful of how you represent people and places can make a significant difference in how your work is perceived. Strive for honesty in your storytelling while ensuring you do not exploit or mislead through your imagery. Building trust and demonstrating integrity will not only enhance your reputation but also enrich your photography experience.
Model Release Guidelines
Even if you’re capturing candid moments, acquiring a model release form from your subjects can protect you legally. Always be transparent about how you intend to use their image, whether it’s for commercial projects or personal portfolios. Having a signed release ensures that you respect their rights and allows you to confidently share your work, knowing you have their permission.
Copyright Basics
Little do many budding photographers know that copyright law safeguards their creative work. As the creator of a photograph, you automatically hold the copyright to it. This means you have the exclusive right to use, distribute, and sell your images. Understanding copyright basics is imperative so you can properly license your work or provide credit to fellow creators when sharing their content.
A deeper understanding of copyright laws can protect your photography and support ethical practices. When you publish your work online or submit it to contests, be clear about your copyright ownership and licensing terms. Utilizing Creative Commons licenses for sharing can also foster collaboration while respecting your rights. Always be conscious of other artists’ copyrights, and when using their work, properly attribute and ask for permission when necessary. This respect for copyright not only builds goodwill within the photography community but also enhances your professional reputation.
Sharing Your Work
All your hard work deserves to be seen. Sharing your photography not only allows you to showcase your skills but also opens doors for feedback and growth. From social media platforms to personal websites, there are countless ways to present your images to the world. Connect with fellow photographers and potential clients, and enjoy the positive reinforcement that comes from sharing your passion.
Social Media Platforms
An effective way to share your photography is through social media platforms. Websites like Instagram, Facebook, and Pinterest offer vast audiences that can help you gain followers and exposure. By strategically using hashtags and engaging with your community, you can showcase your work to like-minded enthusiasts and reach a broader audience.
Online Portfolio Creation
For a more professional approach, creating an online portfolio is imperative. This platform allows you to curate your best work, present your unique style, and make a lasting impression on potential clients.
Work on developing an online portfolio that reflects your artistic identity. Choose a user-friendly website builder or platform to showcase your photographs in an organized, visually appealing manner. Categorize your work into different styles or subjects, and ensure that each photo is high quality. Don’t forget to include an engaging bio, contact information, and links to your social media channels, making it easy for visitors to connect with you. A well-designed portfolio can significantly enhance your credibility and attract new opportunities in your photography journey.
Photography Community
Not only can photography be a rewarding solo endeavor, but engaging with a community of fellow enthusiasts can enhance your skills and inspire your creativity. Whether you seek support, motivation, or constructive feedback, immersing yourself in a photography community is invaluable for your growth. Connecting with like-minded individuals allows you to share experiences, learn new techniques, and gain insight into different styles and perspectives.
Finding Photography Groups
Assuming you’re eager to connect with fellow photographers, start by exploring local clubs or online groups. Many cities have photography associations that welcome all skill levels. Additionally, platforms like Meetup and Facebook host numerous photography-focused groups where you can interact and collaborate with others.
Learning Resources Online
If you’re looking to boost your photography skills quickly, various online resources can help you dive deeper into the world of photography. From free tutorials to comprehensive courses, there’s a wealth of information available at your fingertips.
For instance, websites like YouTube, Skillshare, and Coursera offer countless videos and classes on specific techniques, equipment handling, and post-processing. Engaging with online forums and photography blogs can also expose you to new ideas and trends in the field. Whether it’s through structured courses or casual blog articles, these resources will help you expand your knowledge and refine your craft.
Conclusion
With these considerations in mind, you are now equipped to take your photography skills to the next level. By mastering your camera through the ten simple steps outlined in this guide, you can transform the way you capture moments and scenes. Embrace experimentation and practice consistently, and in no time, you’ll notice significant improvements in your photography. Enjoy the journey of discovering your unique style and creativity behind the lens!