
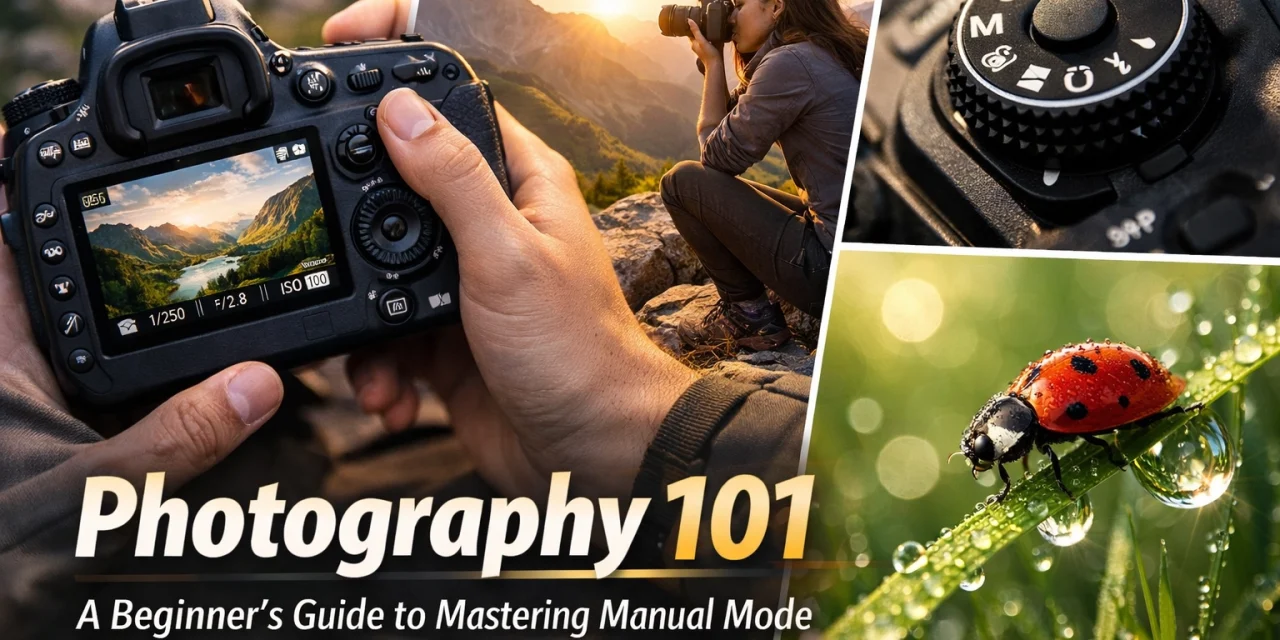
Welcome, dear hobbyists and fellow enthusiasts, to the threshold of your creative liberation. For many, the journey into photography for beginners starts with a shiny new camera and a sense of wonder, only to be dampened by the safety net of "Auto" mode. While Auto is a reliable companion, it is also a cage. It makes decisions for you, often sacrificing the ethereal quality of light for a sterile, mathematically "correct" exposure.
To truly capture the soul of a moment, the way the golden hour light dances across a weathered face or the stoic silence of a mountain peak, you must learn how to use manual mode camera settings. Mastering Manual Mode isn't just a technical milestone; it is a rite of passage. It transforms your camera from a mere gadget into an extension of your own vision.
In this guide, we’re going to strip away the jargon and get down to the brass tacks of the "Exposure Triangle." We’ll treat light as our paintbrush and the sensor as our canvas. Let’s venture forth into the world of total creative control.
The Eternal Trinity: Understanding the Exposure Triangle
At the heart of every raw, authentic shot lies a delicate balance between three intrinsic forces: Aperture, Shutter Speed, and ISO. Think of these as the three legs of a stool; if one is off-balance, the whole image topples. When you move away from the "Green Mode" and switch that dial to "M," you are taking responsibility for this balance.
I have tried every "easy" hack out there, but nothing compares to the deep satisfaction of dialing in these settings manually and seeing the back of the LCD glow with exactly what you envisioned.

SEO Alt Text: A close-up of a camera mode dial set to Manual (M) with a soft-focus background of a sun-drenched landscape.
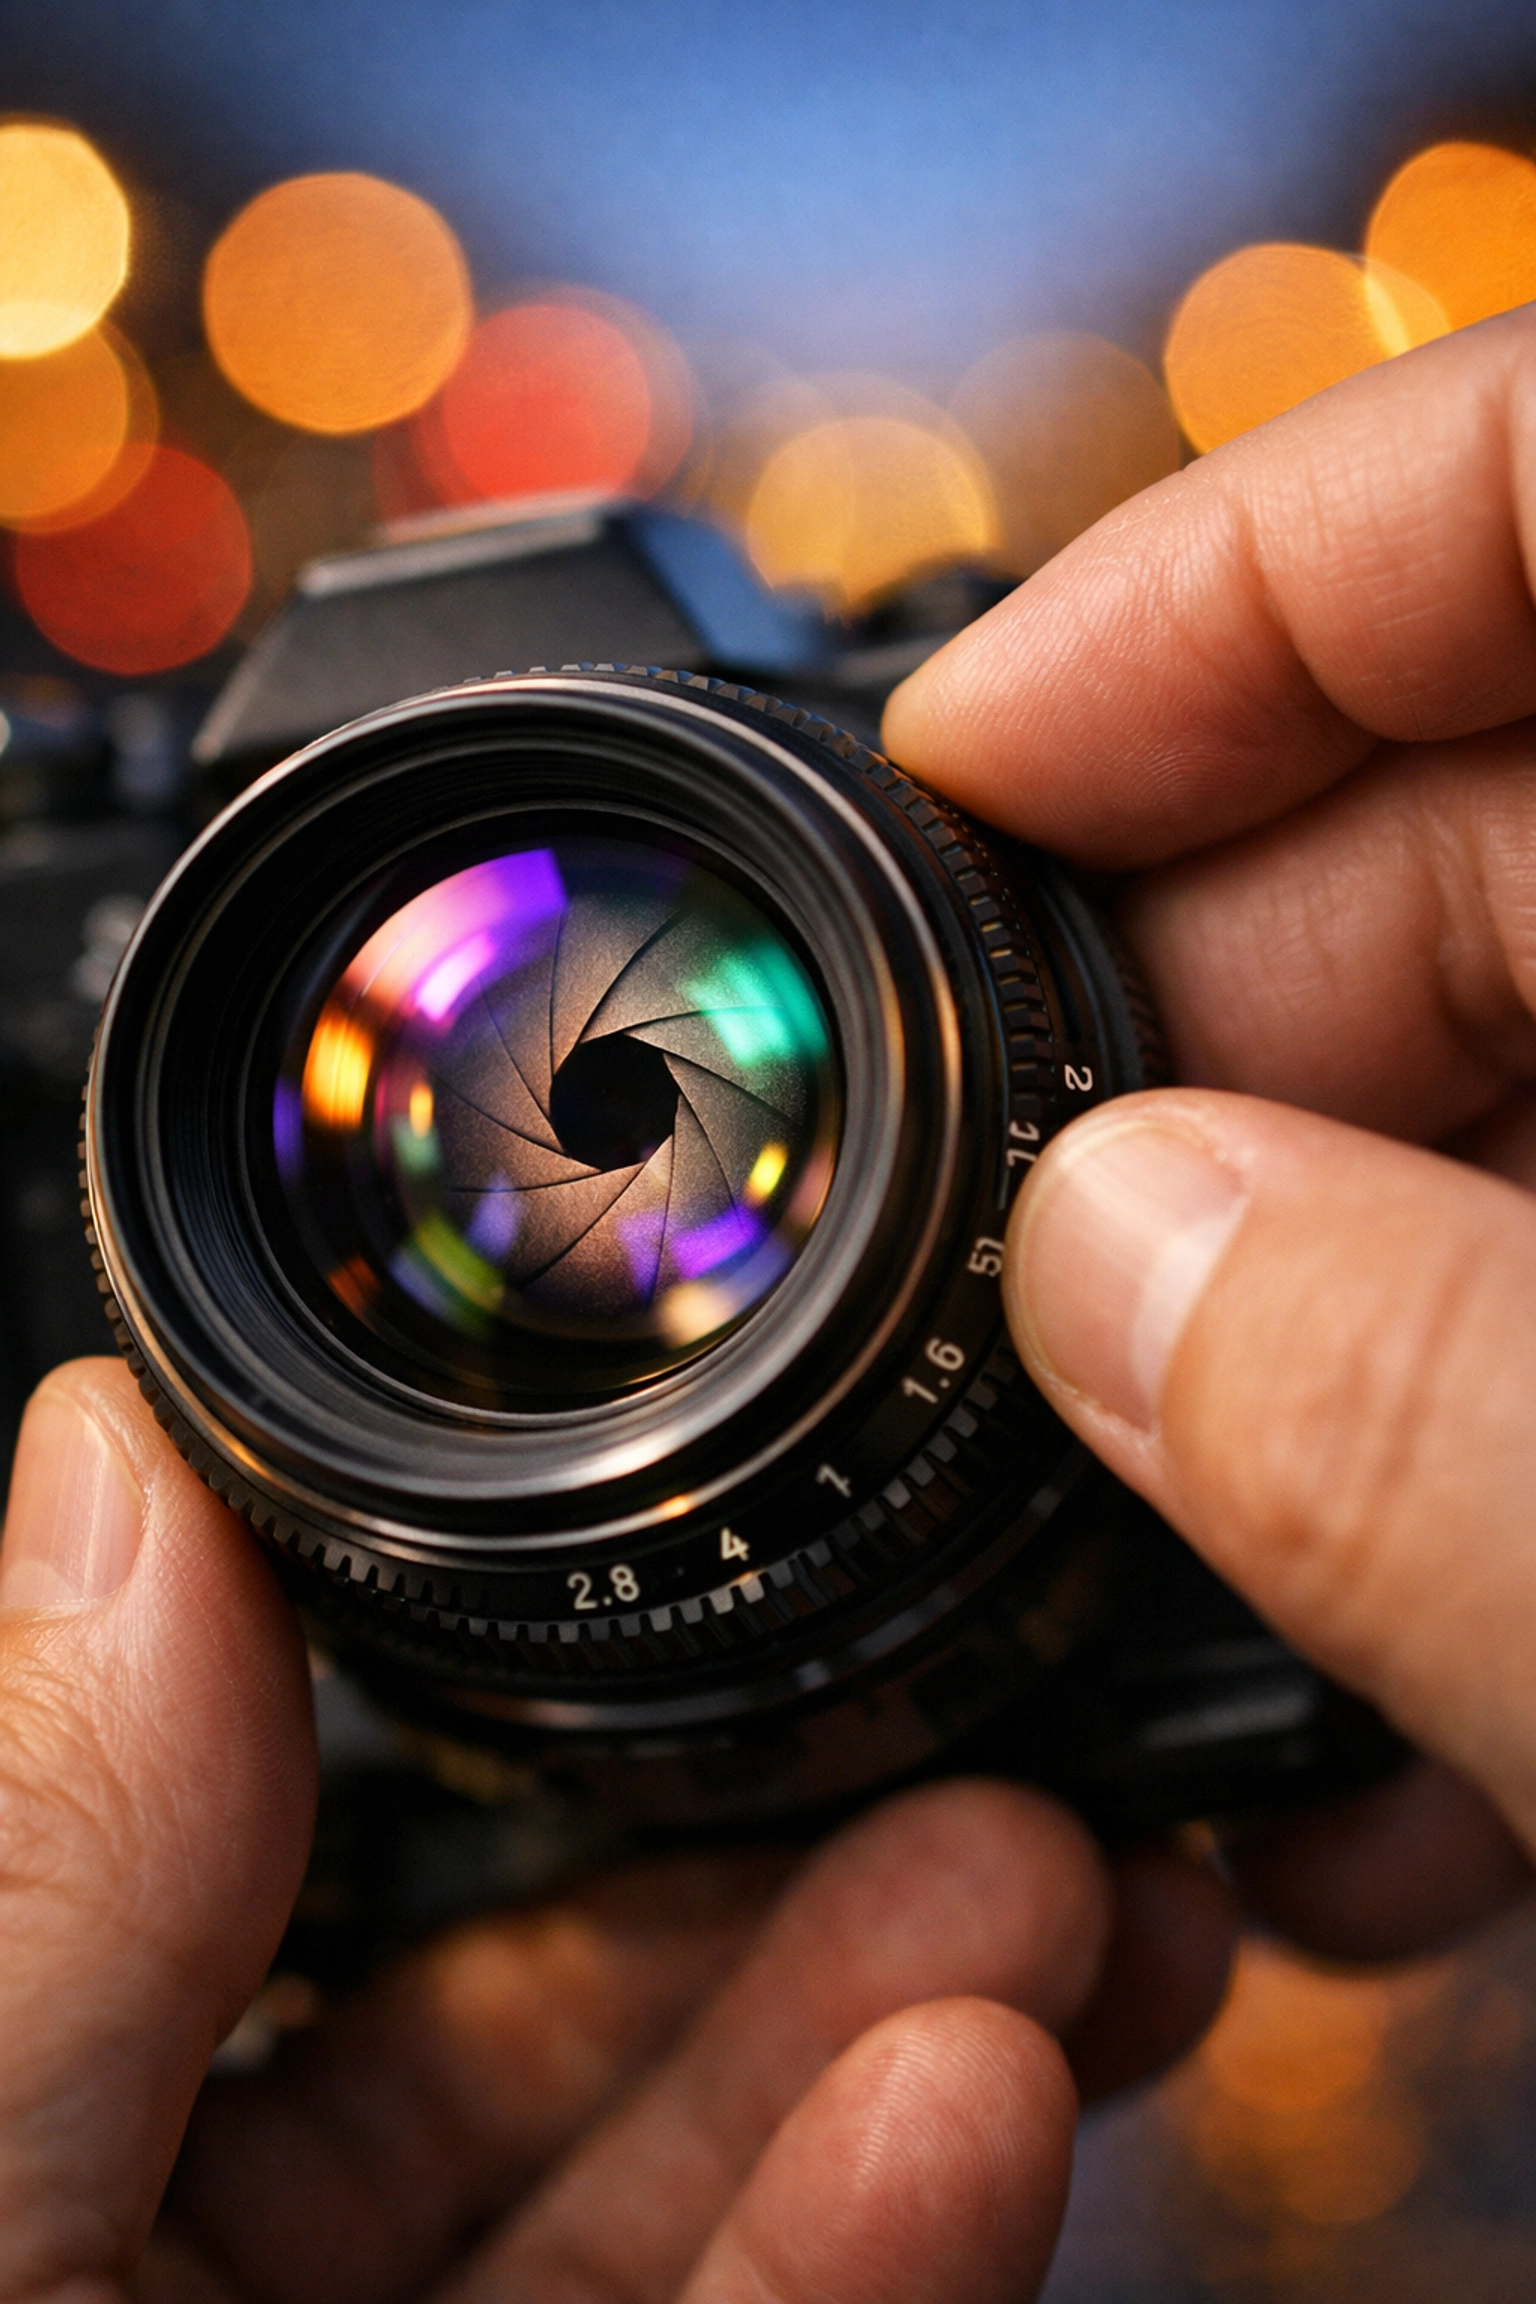
Artistic Aperture: The Gateway to Grandeur
Aperture is perhaps the most poetic of the three settings. It refers to the opening of your lens diaphragm, measured in f-stops (like f/1.8 or f/16). It controls the volume of light entering the "eye" of your camera, but its true magic lies in its ability to manipulate the depth of field.
When you use a wide aperture (a low number like f/2.8), you invite a flood of light and create that creamy, out-of-focus background known as bokeh. This is essential for portrait techniques where you want the subject to pop against a soft, dreamlike environment. Conversely, a narrow aperture (a high number like f/11 or f/16) acts as a stoic gatekeeper, letting in less light but keeping the entire scene sharp from the foreground to the distant horizon.
If you’re diving into mastering nature photography, you’ll often find yourself leaning toward those higher f-stops to capture every intricate detail of the wilderness.
Shutter Speed: Freezing the Ephemeral
If Aperture is the "eye," Shutter Speed is the "blink." It dictates how long your camera's sensor is exposed to the light. It is the tool we use to either freeze a split second of chaotic energy or let time flow like water across the frame.
A fast shutter speed (1/1000th of a second) can freeze a bird in mid-flight, capturing a moment so ephemeral the human eye could never truly process it. A slow shutter speed (several seconds) allows the world to whisper its secrets onto your sensor, turning crashing waves into a mist-like veil. This is a game-changer for anyone interested in a dubai-timelapse or capturing the rhythmic pulse of a city.
Remember, the longer the shutter stays open, the more light hits the sensor, but also the more likely you are to encounter camera shake. For those long, soulful exposures, a tripod is your unsung hero. You can find some of my favorite gear recommendations over at ProShoot.io.
Intentional ISO: The Silent Sentinel
ISO is the level of sensitivity your camera sensor has to the available light. In the days of film, you’d buy a specific "speed" of film; today, we have the luxury of changing it with a dial.
In a perfect world, we’d always shoot at ISO 100 for the cleanest, most pristine images. However, when the sun begins its descent and the shadows grow long and reverence-filled, you may need to increase your ISO to keep your shutter speed fast enough. Just be wary: as you climb higher (ISO 3200, 6400, and beyond), you introduce "noise" or grain.
While some modern cameras like the Nikon D850 handle high ISO with grace, always strive for the lowest ISO possible to maintain the intrinsic quality of your raw files.
SEO Alt Text: Infographic explaining the exposure triangle showing the relationship between Aperture, Shutter Speed, and ISO for photography for beginners.
The Metering Method: Your North Star
Before you click the shutter, you need to look through the viewfinder at the light meter. It’s that small scale ranging from -3 to +3. When you are learning how to use manual mode camera settings, this meter is your guide.
Your goal isn't always to hit "0." Sometimes, to capture the mood of a somber, rainy afternoon, you might want to underexpose slightly (-1). To capture the ethereal glow of a high-key portrait, you might overexpose (+1). The meter tells you what the camera thinks is neutral gray, but you are the artist. You decide where the light should fall.
For more technical breakdowns on how light interacts with digital sensors, I highly recommend checking out PhotoGuides.com.
Step-By-Step: Dialing in the Shot
Now that we’ve delved into the theory, it’s time to get down to the actual process of taking a photo in Manual Mode. Follow these steps to ensure your "raw shots" are as powerful as the scenes they depict.
1. Define Your Creative Intent
Ask yourself: What is the most important element of this shot?
- Is it the shallow depth of field for a portrait? Set your Aperture first.
- Is it freezing the motion of a skater? Set your Shutter Speed first.
- Is it a landscape where everything must be sharp? Set your Aperture to f/8 or f/11.
2. Check the Available Light
Look at your ISO. If it’s a bright, sunny day, keep it at 100. If you are indoors or in the "Blue Hour," you might need to bump it up. Always start low and only increase if your other two settings can’t get you to the exposure you need.
3. Balance the Scale
Adjust your remaining settings while looking at the light meter in your viewfinder. If you chose a fast shutter speed to freeze motion, you might find your meter is way off to the left (underexposed). You’ll need to open up your aperture or raise your ISO to bring the "needle" back toward the center.
4. The Test Shot and the Histogram
Take the photo. Don't just trust the tiny screen on the back of your camera; look at the histogram. The histogram is a mathematical representation of the light in your shot. If the "mountain" of data is smashed against the right side, you’ve blown out your highlights. If it’s smashed to the left, your shadows are "crushed" into pure blackness.
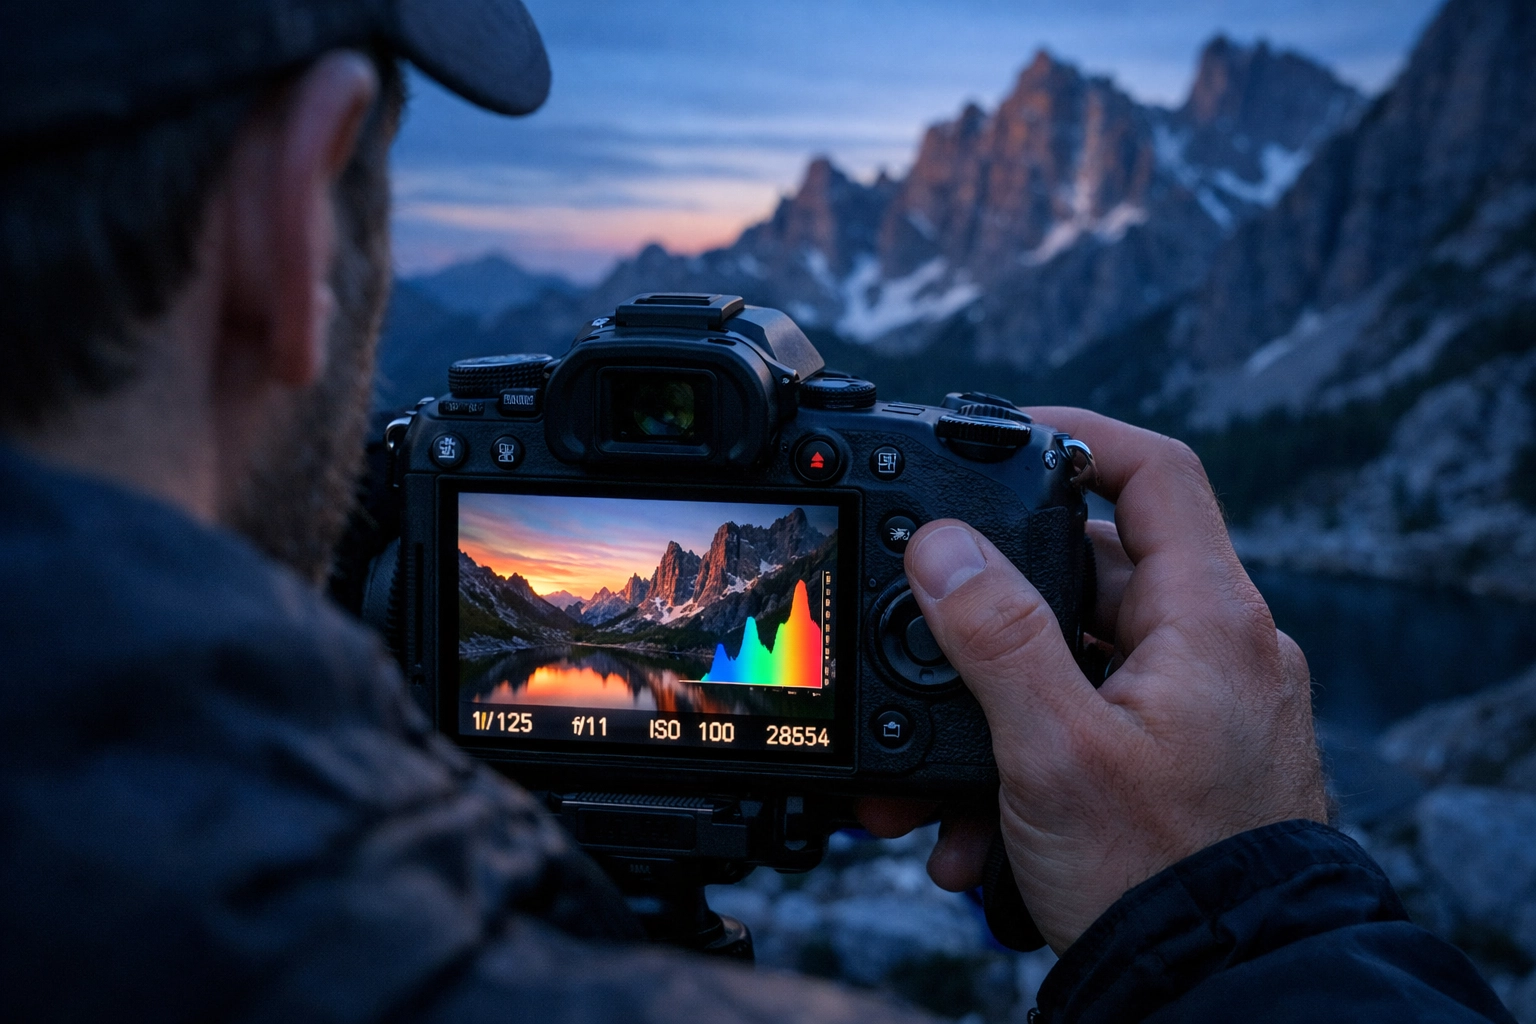
SEO Alt Text: A photographer looking at the histogram on the back of a mirrorless camera during a sunset shoot.
Why Raw Matters
If you are going to take the time to shoot in Manual, you absolutely must shoot in RAW format rather than JPEG. A JPEG is a finished meal; a RAW file is a kitchen full of fresh ingredients.
RAW files contain all the data captured by the sensor, giving you the flexibility to recover highlights that seemed lost or pull detail out of the deep shadows during post-processing. When I’m working on my fine art pieces, the RAW file is my starting point, the raw clay that I later mold into a masterpiece.
If you're looking to take your RAW files to the next level, check out our guide on Luminar 4 or dive into our HDR tutorial for those high-dynamic-range scenes that demand even more control.
Practical Scenarios for the Manual Adventurer
Golden Hour Glory
When the sun dances with the horizon, the light changes by the second. In Manual Mode, you can maintain a consistent look for a series of photos even as the sun dips lower. I prefer to underexpose slightly here to keep the rich oranges and pinks of the sky from "clipping."
The Stoic Street
In street photography, moments are fleeting. You might set your shutter speed to 1/500th to ensure everyone is sharp, set your aperture to f/5.6 for a decent depth of field, and then use "Auto ISO" as a bridge. Yes, even in Manual, some "auto" helpers are okay once you understand the fundamentals! Check out some of the work by Marek Kijevsky to see how light and timing collide on the street.
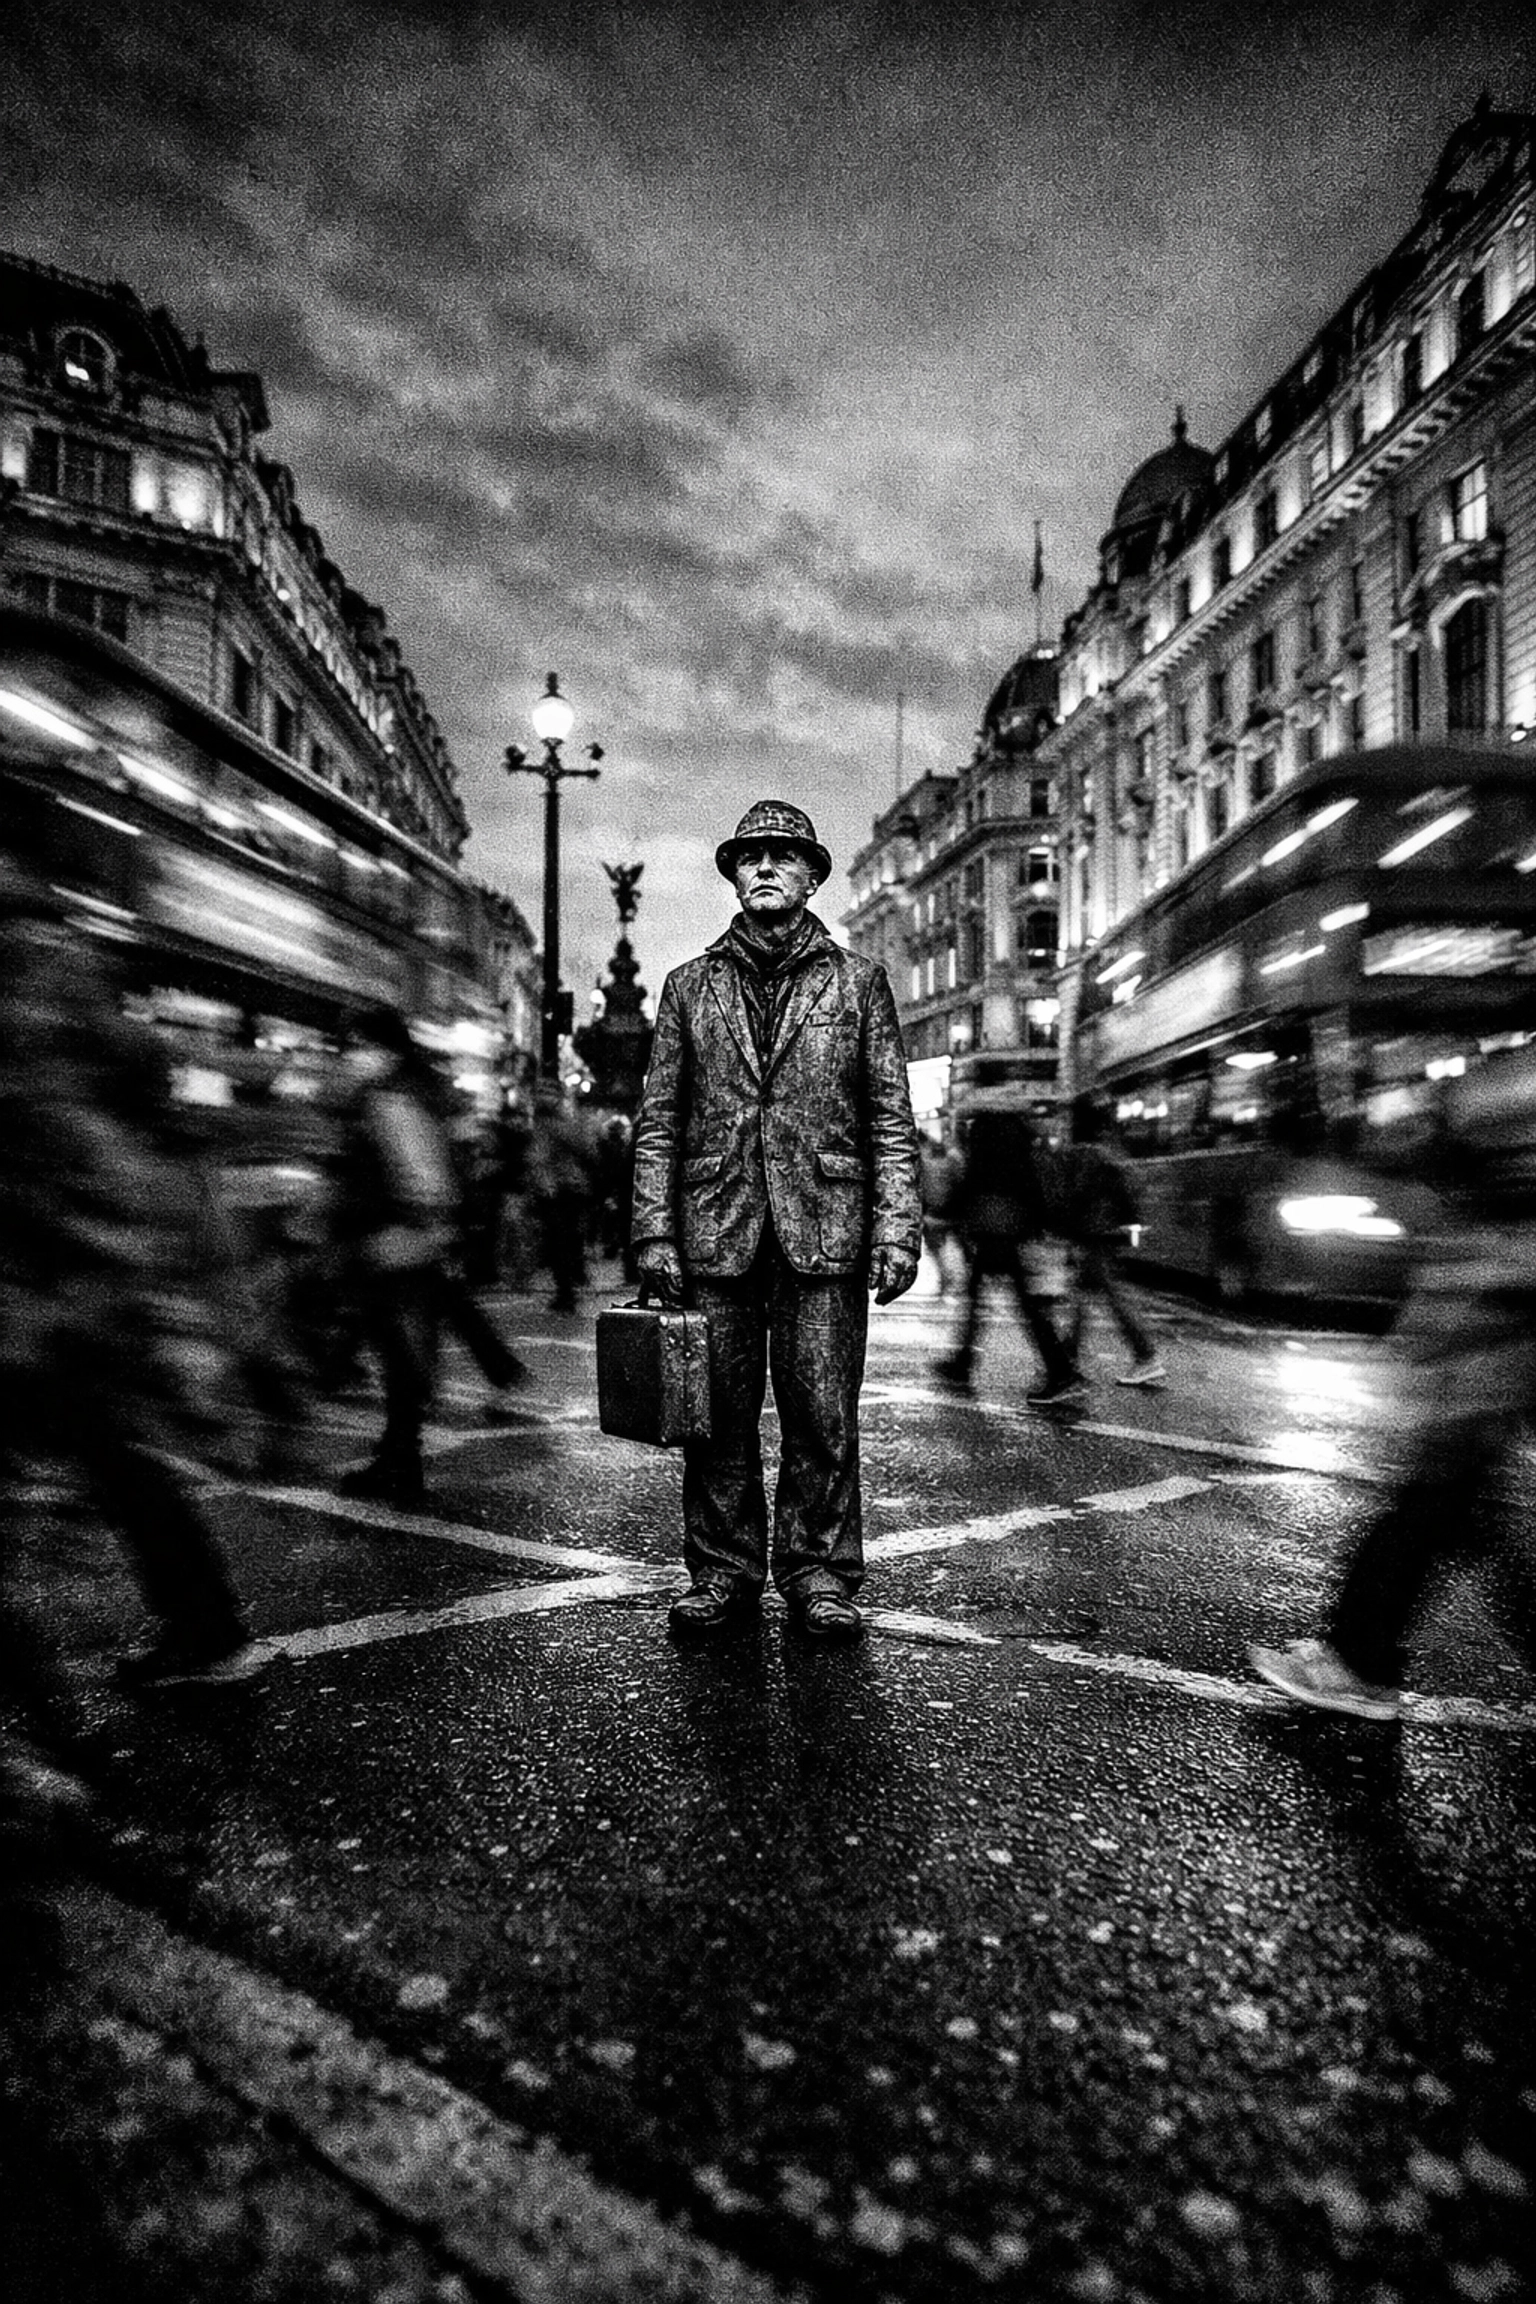
SEO Alt Text: A black and white street photography shot of a busy intersection, showing motion blur in the pedestrians but a sharp background.
Minimalist Macro
When you are getting up close and personal with nature, manual focus and manual exposure are non-negotiable. The tiniest movement can shift your plane of focus. By controlling your aperture, you decide exactly which petal or dewdrop gets the spotlight. For inspiration in the abstract world, browse our abstract category.
Common Pitfalls for the Fellow Enthusiast
It is easy to get discouraged when your first few manual shots come out pitch black or blindingly white. Seize these moments! They are your best teachers.
- The "Exposure Chimping" Trap: Don't spend the whole shoot looking at your screen. Trust your settings, trust your meter, and stay present in the moment.
- Ignoring White Balance: While we focus on exposure, don't forget that the "temperature" of light matters. While you can fix this in RAW, getting it right in-camera saves you a world of hurt later.
- Overcomplicating the Gear: You don't need a $5000 setup. A basic DSLR or mirrorless camera with a kit lens is more than enough to learn the soul of manual photography. For those looking to upgrade their creative space, I always suggest checking out EdinStudios.com for ideas on how to set up a professional environment.
The Spiritual Reward of the Craft
Mastering Manual Mode is more than just learning how to operate a machine; it is about developing a reverence for the light. It forces you to slow down, to observe the world with more intention, and to respect the ephemeral nature of time.
When you stop letting the camera think for you, you start to see the world differently. You notice the way light spills through a window or how a shadow stretches across a cobblestone street in Barcelona. You become a participant in the creation of the image, rather than just a witness.
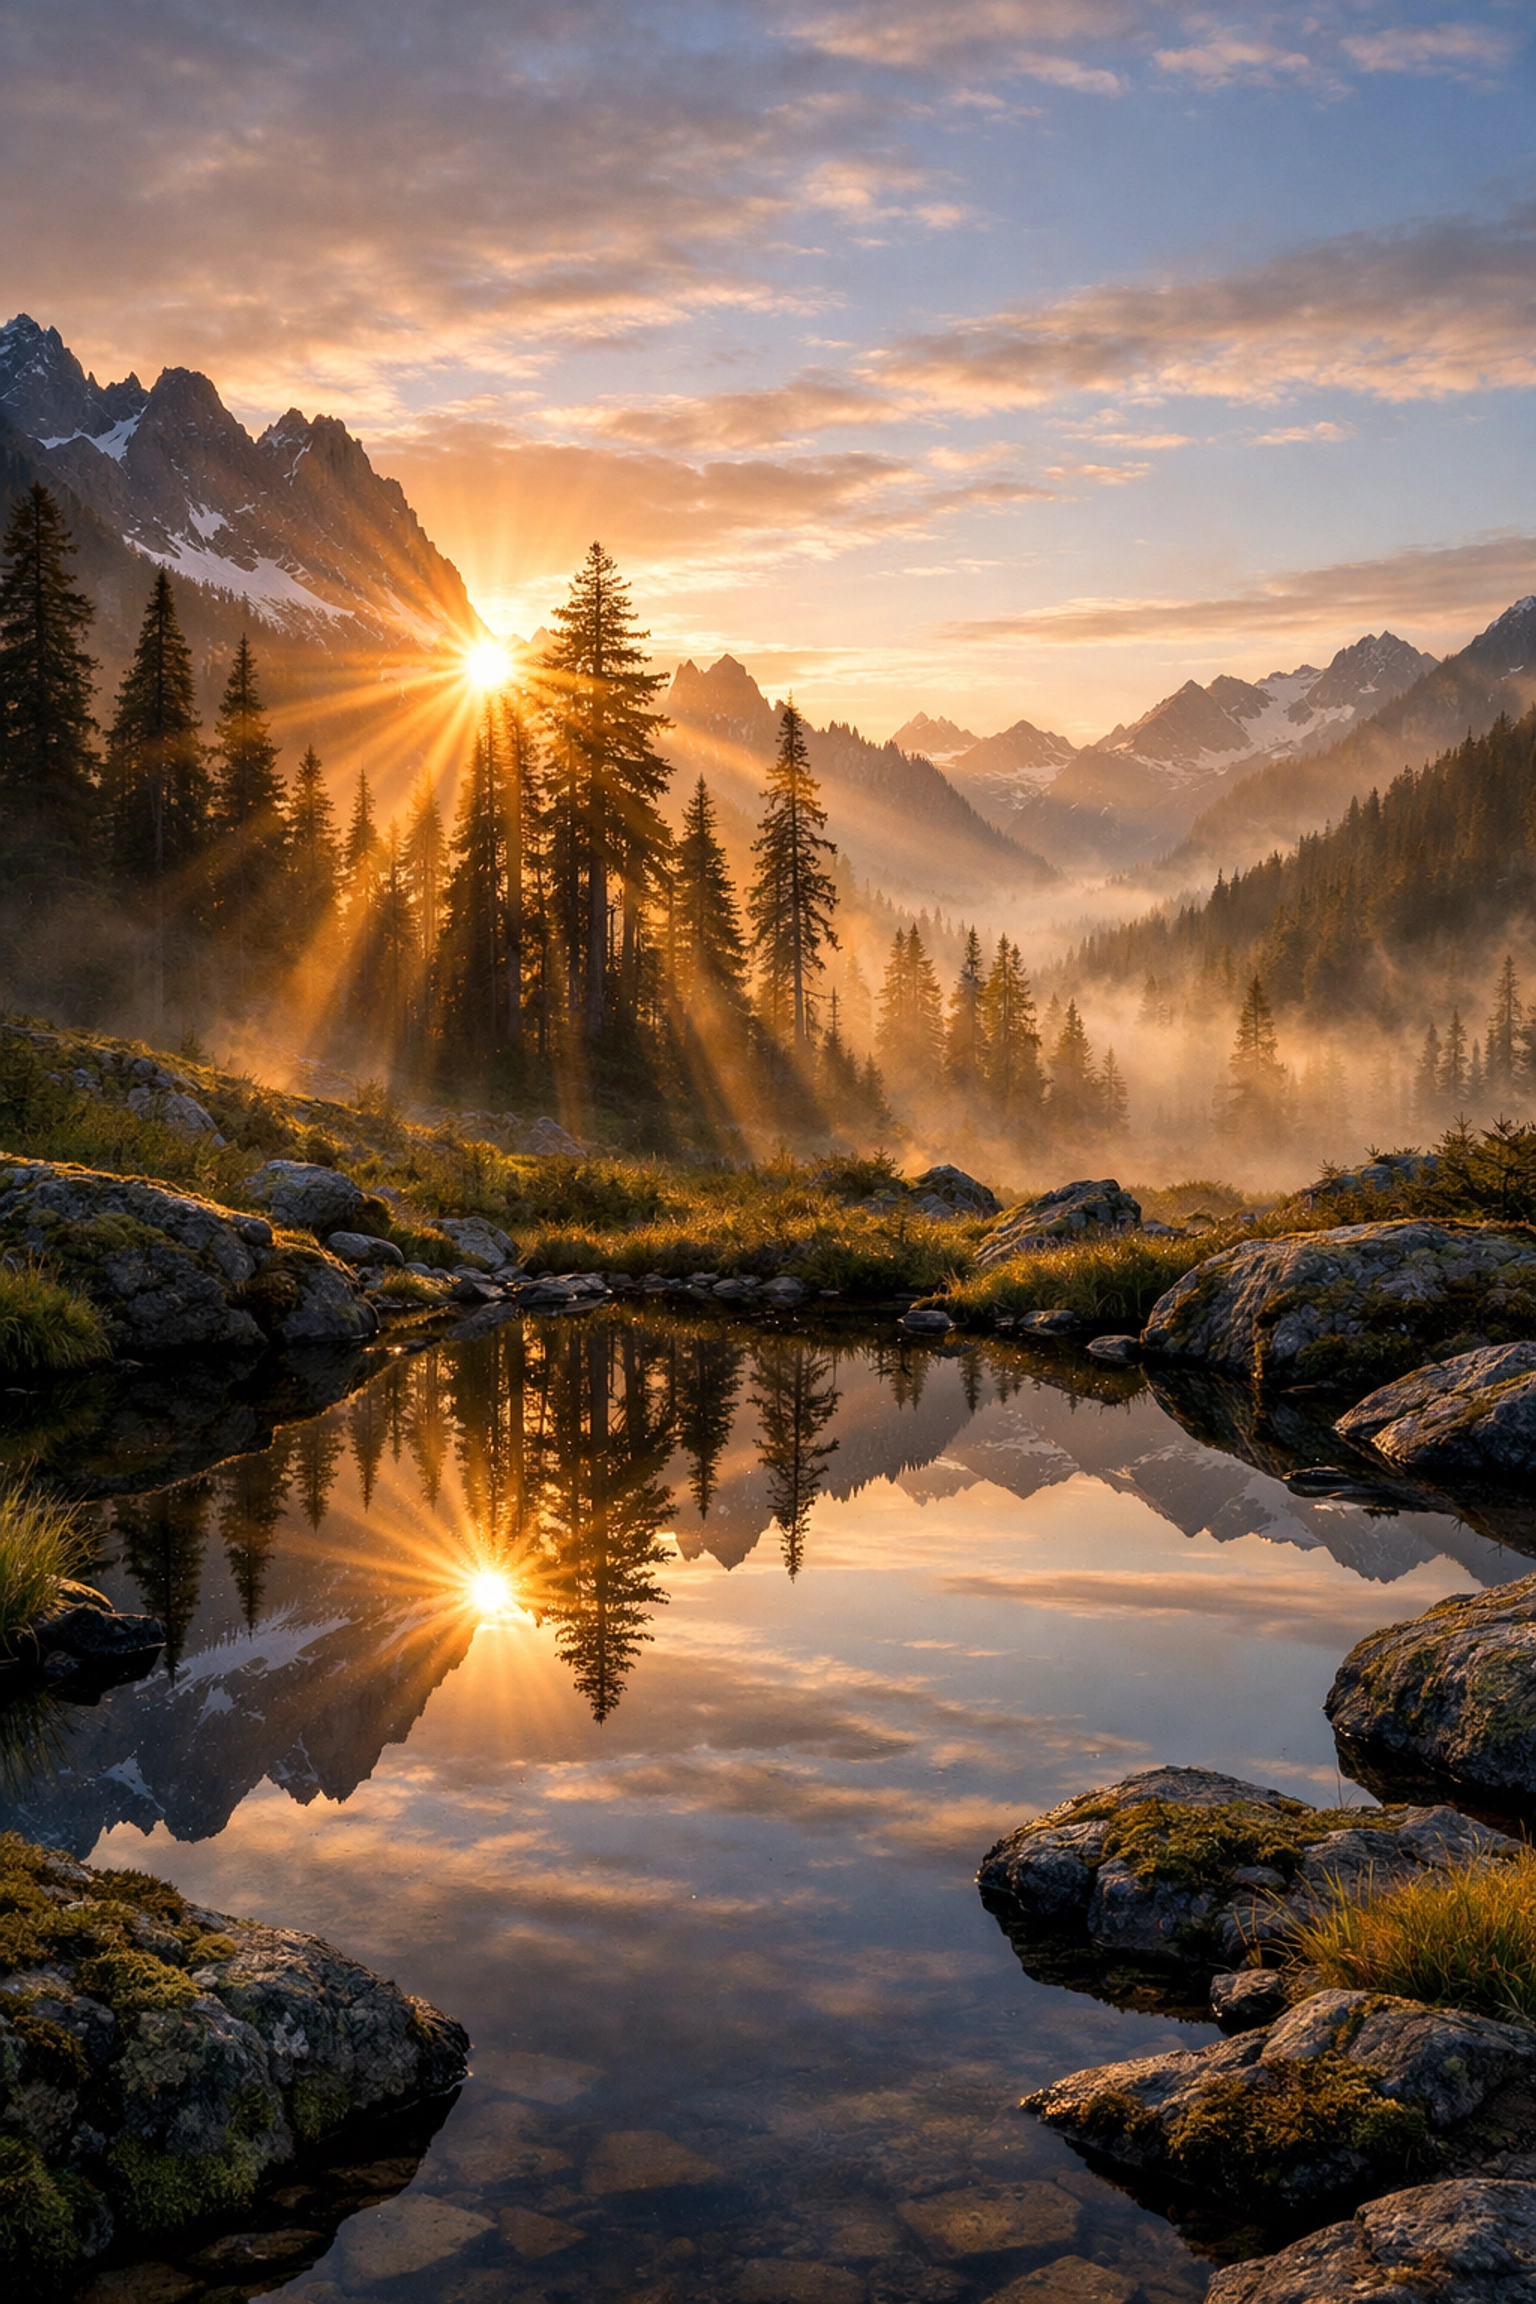
SEO Alt Text: A serene landscape photo of mountains at dawn, captured using manual mode to balance the dark foreground and bright sky.
For more deep dives into the artistry of the lens, visit my personal blog at blog.edinchavez.com. I share a lot of the "behind the scenes" struggles and triumphs there that don't always make it into the tutorials.
Your Journey Starts Now
The path to becoming a master photographer is long, but it is paved with beautiful experiences. Don't be afraid to fail. Some of my most favorite shots were "mistakes" that happened while I was experimenting with manual settings.
If you’ve captured something you’re particularly proud of after reading this guide, we’d love to see it! Check out our submissions page to share your journey with the community. And if you’re looking for some high-quality resources to kickstart your editing, our downloads section is packed with tools to help you shine.
Drop me a line below if you have any questions! Are you struggling with the exposure triangle? Is there a specific setting that just won't click? Let’s talk about it. We’re all in this shared journey together.
Venture forth, keep your eyes open, and never stop chasing the light.
Enjoyed this guide? Check out more tutorials or explore the work of legends like Cory Richards and Valerie Millett to see where manual mastery can take you.


