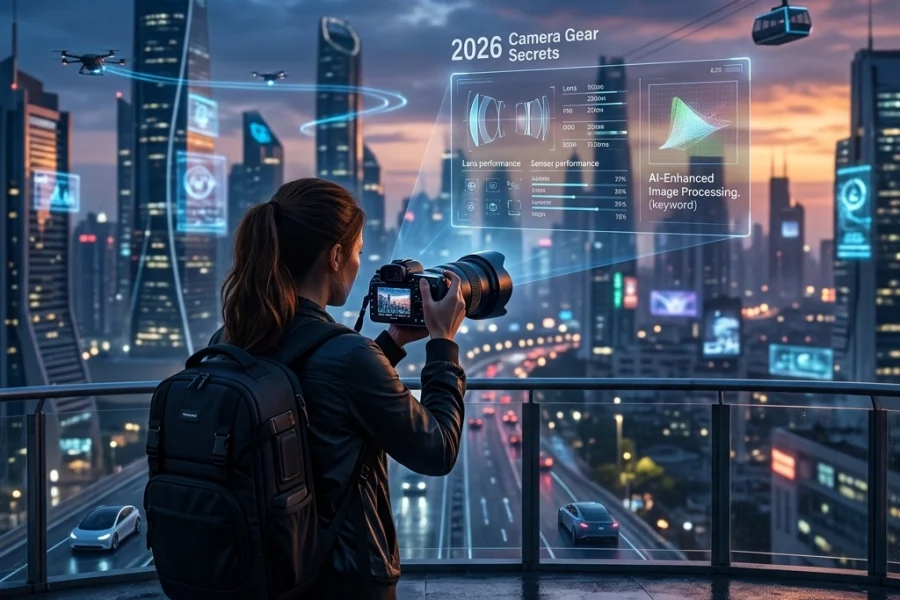
Categories: News, PHOTO SERIES, TUTORIALS, TRAVEL
Tags: News, PHOTO SERIES, TUTORIALS, TRAVEL
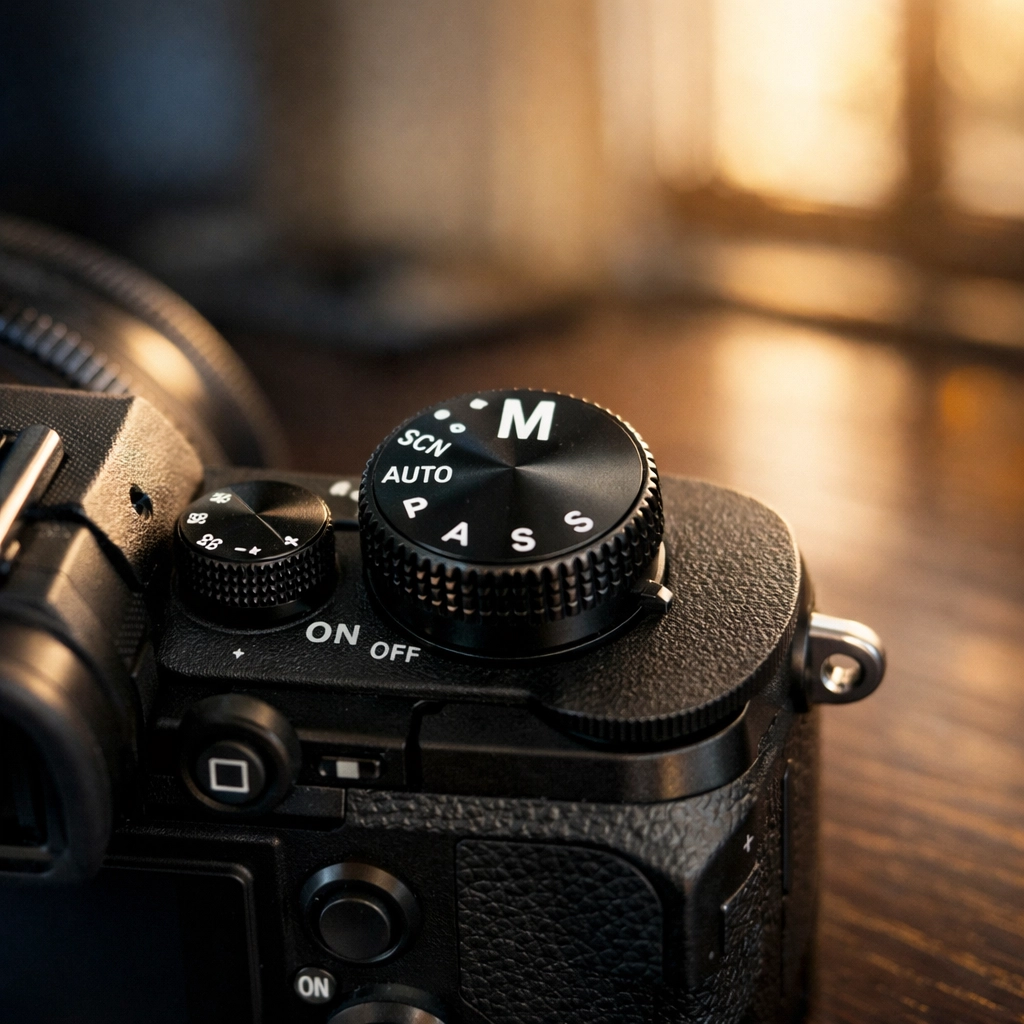
Let’s be honest. That little "M" on your camera dial is intimidating. It sits there, staring at you, silently judging you while you retreat back to the safety of "Auto" or "Program" mode. You bought a high-end camera to take world-class photos, yet you’re letting a computer chip make all the creative decisions for you.
It’s time to stop that.
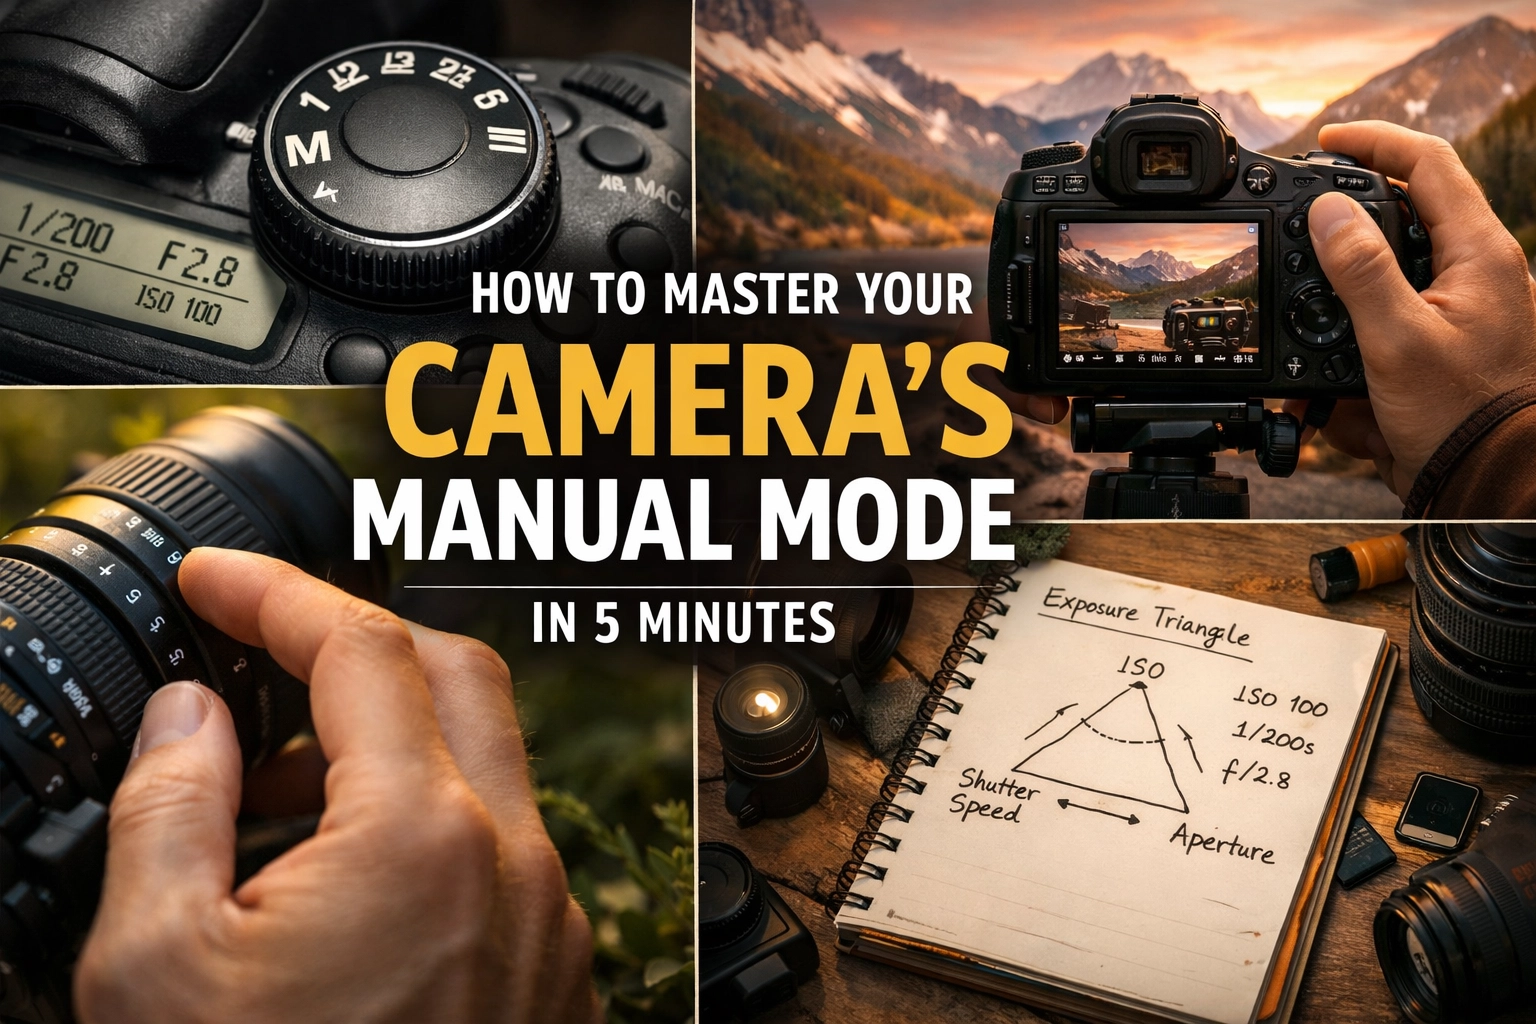
Mastering manual mode isn't about memorizing physics equations or being a tech genius. It’s about understanding three simple pillars and how they talk to each other. I’m going to break this down so simply that you’ll be able to switch to Manual and actually get a usable shot in the next five minutes. No fluff, no "lofty" photography jargon, just the meat and potatoes of how to take control of your gear.
The Secret "Click" Moment
Most people think manual mode is a math problem. It’s not. It’s a balancing act. Imagine you have a bucket (your camera sensor) and you want to fill it with water (light). You can fill it with a wide hose for a short time, or a tiny straw for a long time. Either way, you get the same amount of water.
In photography, we call this the Exposure Triangle. It consists of Aperture, Shutter Speed, and ISO. If you change one, you usually have to change another to keep the balance.
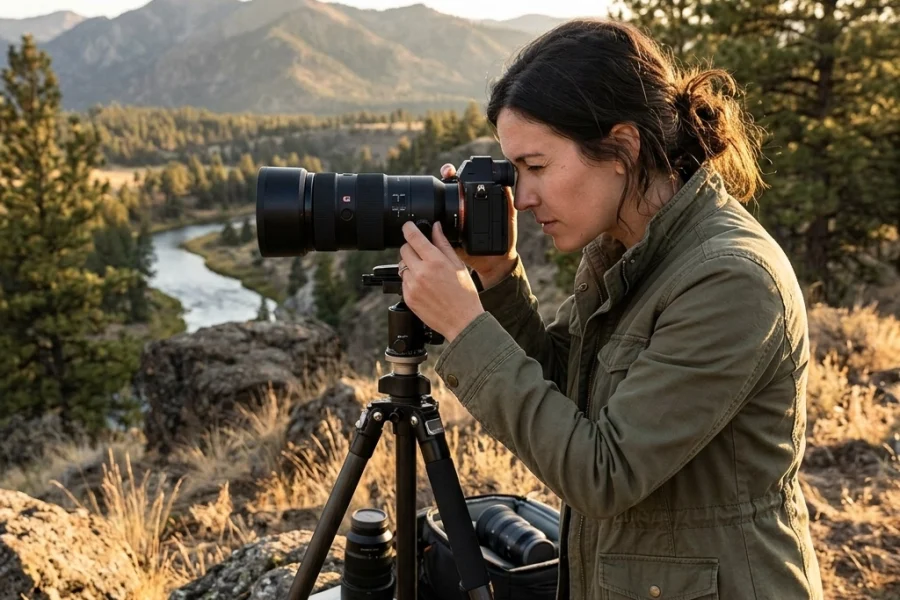
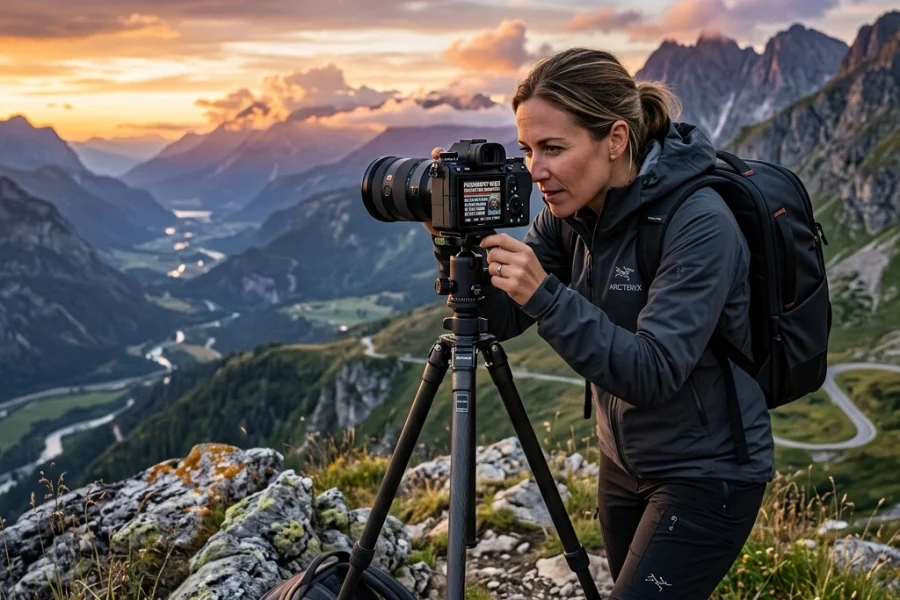
If you’re looking to find inspiration for your first manual shots, check out some hidden gem locations for travel photography. Taking your camera to a beautiful spot makes the learning process a whole lot more fun.
Pillar 1: Aperture (The "Vibe" Setter)
Aperture is the hole inside your lens. It’s measured in "f-stops" like f/1.8, f/4, or f/16.
Here is the only thing you need to remember: The smaller the number, the bigger the hole.
- Low f-number (f/1.8 – f/2.8): This lets in a ton of light and gives you that blurry, creamy background (bokeh). It’s perfect for portraits or when you want to make a subject pop.
- High f-number (f/11 – f/16): This makes the hole tiny. Less light gets in, but everything from the blade of grass in front of you to the mountain in the distance will be sharp. This is the go-to for ethereal landscapes.
If you’re struggling with focus while playing with aperture, head over to PhotoGuides.org for some deep dives on lens mechanics.
Pillar 2: Shutter Speed (The "Time" Keeper)
Shutter speed is how long the "curtain" stays open to let light hit the sensor. It’s written in fractions of a second, like 1/1000 or 1/50.
- Fast Shutter (1/500 and up): Freezes motion. If you’re shooting a bird in flight or a car racing at proshoot.io events, you need a fast shutter.
- Slow Shutter (1/60 and below): Blurs motion. This is how people get those silky-smooth waterfall photos.
Pro-tip: If you are holding the camera in your hands, try not to go slower than 1/60. Anything slower will capture the tiny shakes in your hands, and your photo will look like a blurry mess. For those ultra-sharp shots, you might want to look at Edin’s Fine Art to see how stability impacts high-end prints.
Pillar 3: ISO (The "Sensitivity" Boost)
ISO is your camera sensor's sensitivity to light.
- Low ISO (100 – 400): Use this when it’s bright outside. It produces the cleanest, crispest images.
- High ISO (1600+): Use this when it’s dark. It "fake-boosts" the light, but the trade-off is "noise" (that grainy, crunchy look).
Think of ISO as your last resort. You want to keep it as low as possible to maintain image quality. If you find your photos are too grainy, you can often clean them up using Luminar, which has some of the best AI noise reduction on the market.
The 5-Minute Manual Mode Strategy
Alright, let's put it all together. Here is the workflow I want you to try right now. Turn your dial to M.
Step 1: Set your Aperture based on your "Look"
What are you shooting? If it’s a person, dial it down to the lowest number your lens allows (like f/2.8). If it’s a landscape, dial it to f/8 or f/11.
Step 2: Set your Shutter Speed based on the "Action"
Are things moving? If you're just standing in your living room, set it to 1/125. It’s a safe middle ground.
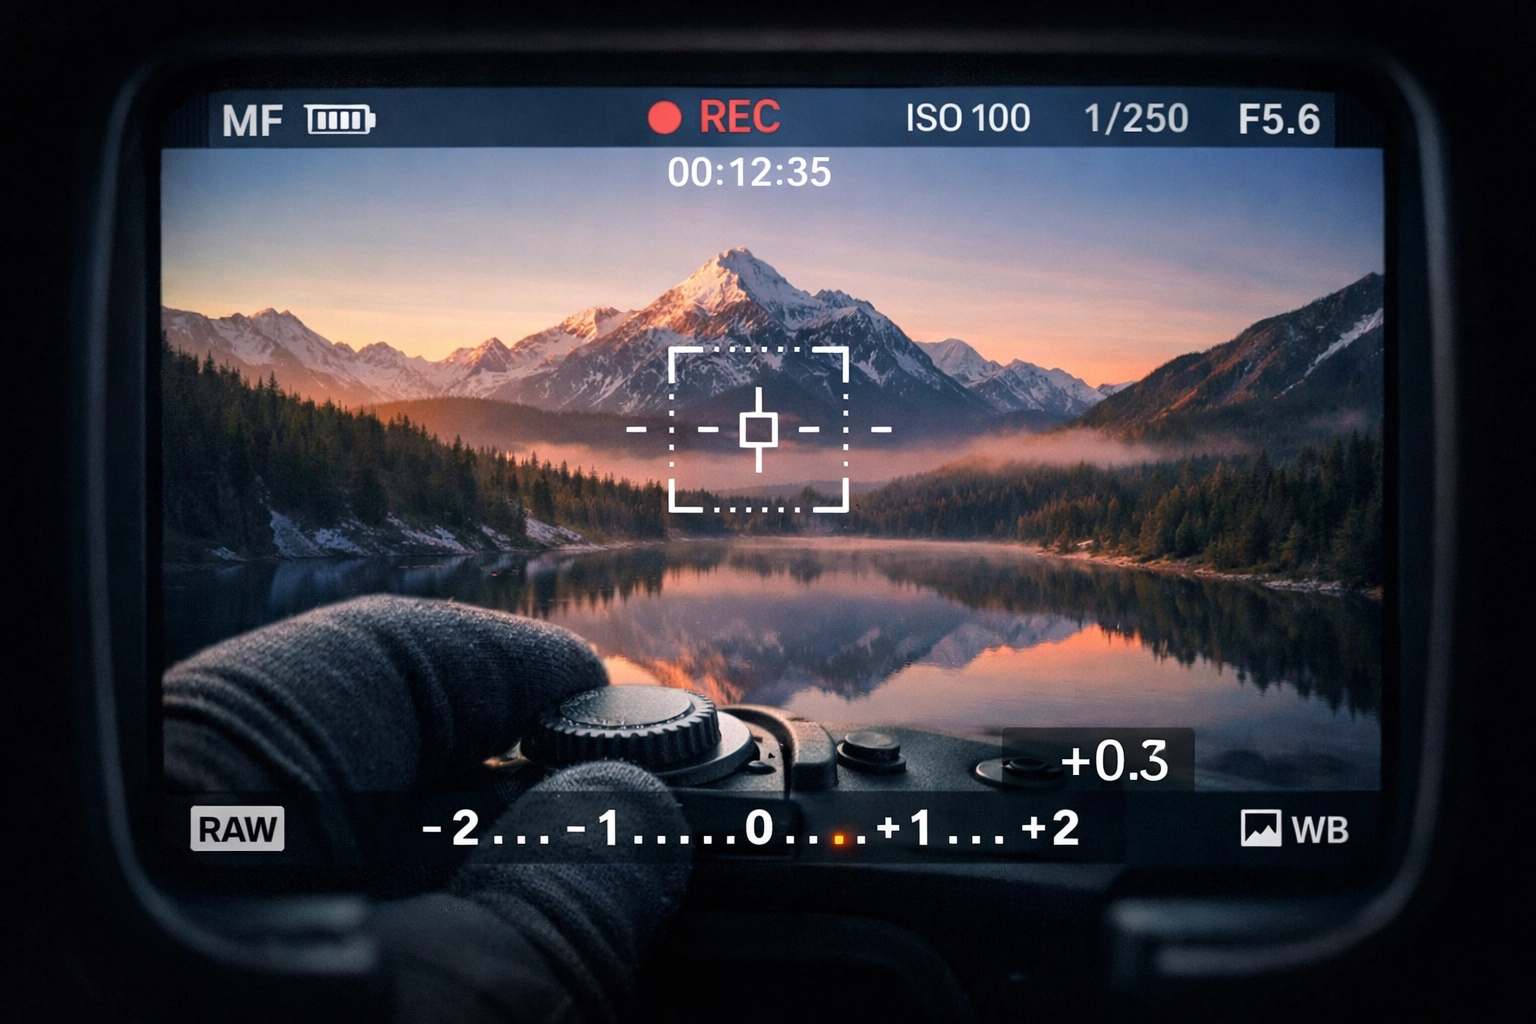
Step 3: Use the Light Meter to set your ISO
Look through your viewfinder. You’ll see a little scale with a "0" in the middle, and bars going to -3 and +3. That’s your Light Meter.
- If the little tick mark is on the minus side, your photo is too dark. Increase your ISO.
- If it’s on the plus side, it’s too bright. Decrease your ISO.
- Get that tick mark to hit the "0".
Boom. You just took a manually exposed photo.
Why Should You Bother?
You might be thinking, "Edin, my iPhone does this automatically. Why should I spend five minutes (or a lifetime) doing it manually?"
Because the camera is a tool, not a creator. When you use Auto mode, the camera tries to make everything "average." It sees a beautiful sunset and thinks, "Too bright! Let me dim that down." It sees a dark, moody alleyway and thinks, "Too dark! Let me fire the flash and ruin the vibe."
By taking control, you can choose to underexpose for a silhouette or overexpose for a high-key, airy look. You can capture lesser-known vistas exactly how they feel, not just how they look.
Real-World Scenario: The Sunset
Imagine you’re at one of the hidden gems for stunning travel photography. The sun is dipping below the horizon.
- Aperture: You want the whole scene sharp, so you set it to f/11.
- Shutter Speed: It’s getting dark, but you don't have a tripod. You set it to 1/60.
- ISO: You look at the meter. It’s at -2 (too dark). You bump your ISO from 100 to 400. The meter hits 0.
Click. You’ve got a perfectly sharp, well-exposed landscape with zero motion blur and minimal noise.
Moving Beyond the Basics
Once you get comfortable with the triangle, you can start experimenting with using rare textures for tangible aesthetic photography. Manual mode allows you to highlight textures in a way that Auto mode never could, simply by controlling how the shadows fall.
If you ever feel stuck, I highly recommend checking out blog.edinchavez.com. I’ve posted years of behind-the-scenes content there that shows the trial and error behind the perfect shot. Even the pros mess up their manual settings sometimes: the difference is they know how to fix it on the fly.
Essential Gear for Manual Mastery
While you can shoot manual on any DSLR or Mirrorless camera, having a lens with a "fast" aperture (a low f-number like f/1.8) makes the learning process much more obvious. You can really see the difference in depth of field.
If you're looking for gear recommendations or want to see what the pros are using in a studio environment, check out Edin Studios. Having the right tools won't make you a better photographer, but it will remove the barriers between your vision and the final image.
Don't Forget Post-Processing
Even the most perfect manual exposure can use a little love. I’ve found that Luminar is the quickest way to bring out the colors I saw with my eyes that the sensor couldn't quite grab. Especially when shooting in RAW (which you should definitely be doing if you’re shooting manual), a good editing workflow is the "second half" of the process.
Common Manual Mode Mistakes
- Forgetting to check the ISO: You finish shooting in a dark room at ISO 3200, walk outside into the sun, and your first ten photos are pure white because you forgot to turn the ISO back down. We’ve all done it.
- Trusting the screen too much: The screen on the back of your camera lies to you. It’s bright and pretty. Always trust your light meter (the -3 to +3 scale) more than the screen.
- Chasing the "0": Sometimes, the meter says "0" but the photo looks boring. If you want a moody, dark photo, it's okay for the meter to be at -1. Manual mode gives you the permission to disagree with the camera.
Practice Makes Permanent
The goal isn't to think about these settings forever. The goal is to get to a point where your fingers move the dials before your brain even realizes you need more light. It becomes muscle memory.
Grab your camera, go to your backyard, and pick a flower. Shoot it at f/2.8. Then shoot it at f/22. Look at the difference. Then, try to freeze a moving car at 1/1000. Once you see the cause and effect, the "scary" manual mode becomes your most powerful creative tool.
Stop being a passenger in your own photography. Take the wheel. You’ve got this.