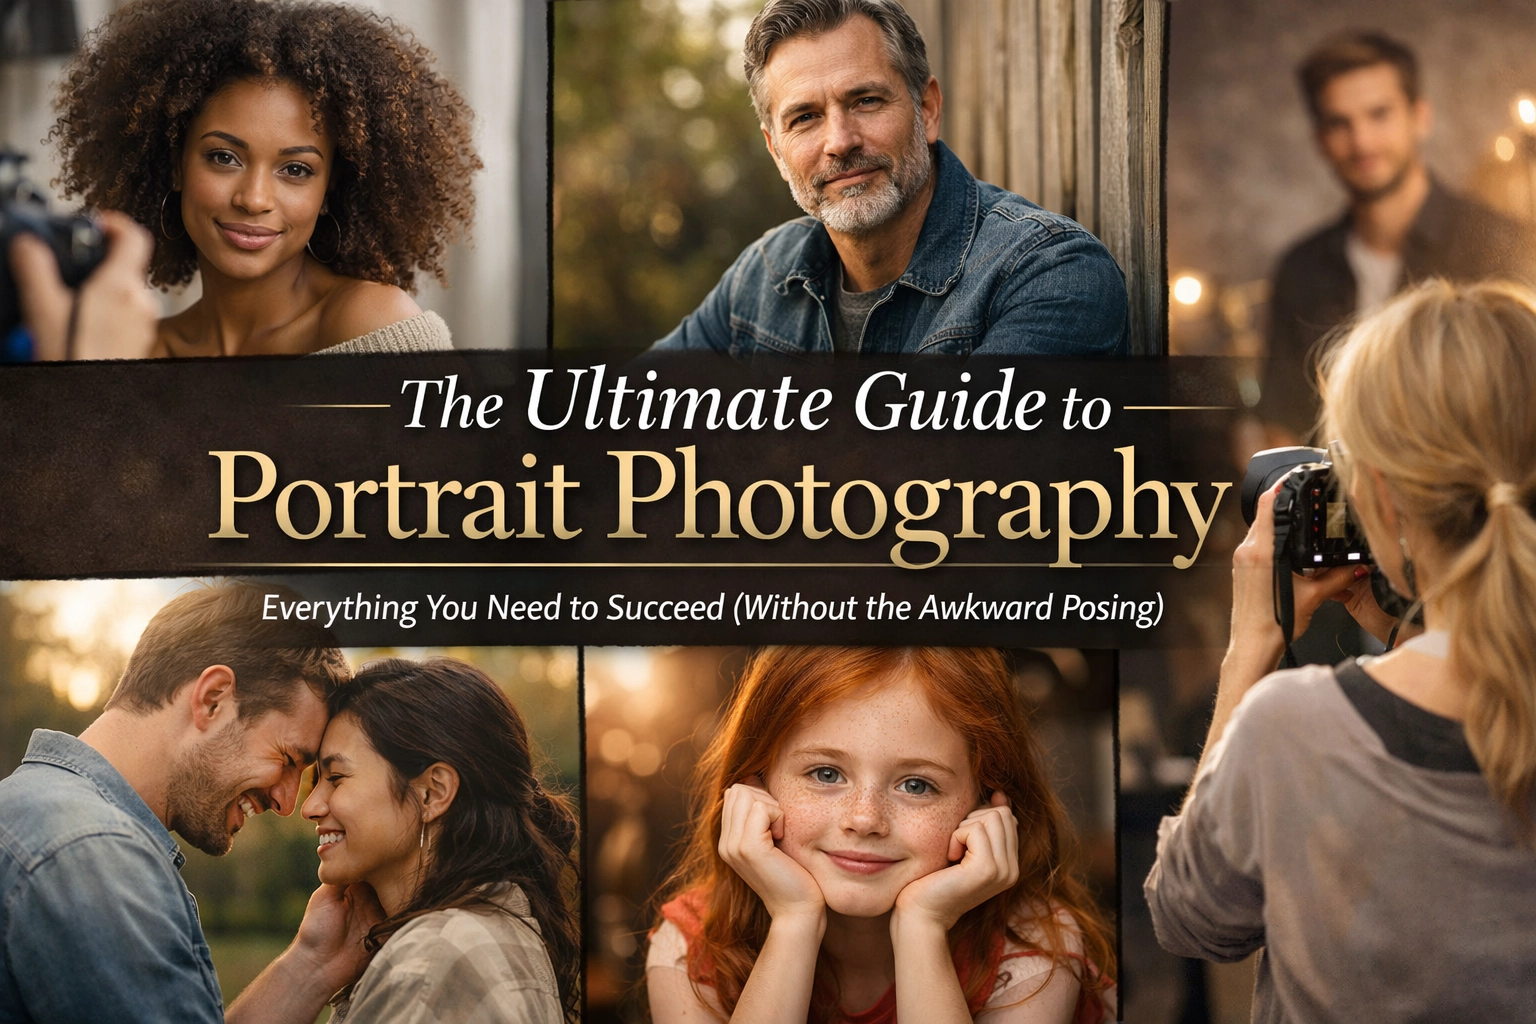
Let’s be honest: most people would rather get a root canal than stand in front of a professional camera. We’ve all seen those portraits, the ones where the subject looks like they’re being held hostage, their hands are stiff as boards, and the smile is so forced it actually looks painful.
At Shut Your Aperture, we believe portrait photography shouldn’t feel like a chore. It should be a conversation. Whether you’re a pro looking to sharpen your skills or a beginner wondering why your photos look like school ID cards, this guide is for you. We’re going to dive into the gear, the settings, and most importantly, the human connection that turns a "picture" into a "portrait."
The Gear: Don't Overcomplicate It
First things first: you don't need a $10,000 setup to take a great portrait. However, having the right tools for the job makes life a whole lot easier. If you're still wondering how to choose the best mirrorless camera for 2026, we've got you covered, but for portraits, the lens is actually more important than the body.
The Magic Focal Lengths
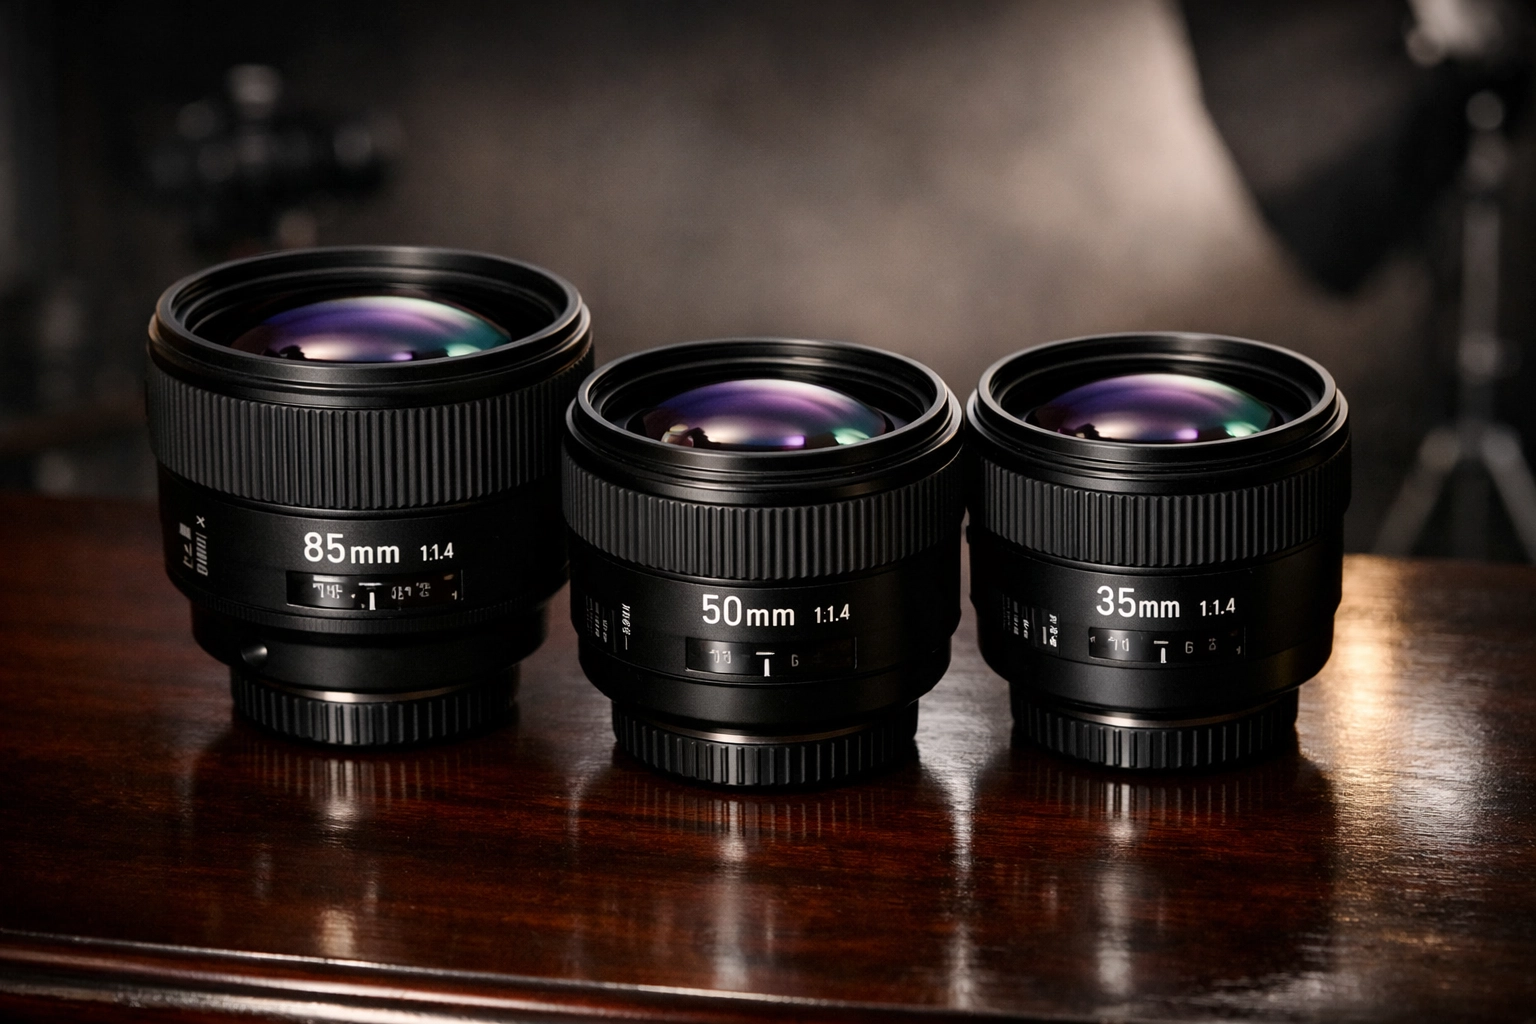
If you want to make people look their best, you need a lens that doesn't distort their features.
- The 85mm Prime: This is the gold standard. It provides a beautiful compression that makes faces look natural and creates that "creamy" background blur (bokeh) that everyone loves.
- The 50mm Prime: Often called the "Nifty Fifty," this is the most versatile and affordable option. It’s great for three-quarter shots and environmental portraits.
- The 35mm Prime: Use this if you want to show more of the surroundings. Just be careful, if you get too close, you might give your subject a "big nose" effect.
When selecting gear, remember that does new camera gear really matter in 2026? The short answer is: yes, but only if you know how to use it. A fancy camera won't fix a boring shot, but a sharp lens will definitely help your subject "pop."
Technical Settings: The Boring (but Essential) Stuff
To get that professional look, you need to step away from "Auto" mode. Don't worry, it’s not as scary as it sounds. If you're new to this, check out our mastering photography 10 essential tips for a quick primer.
1. Aperture (The Depth Master)
For a single person, you usually want a wide aperture (a low f-stop number). Shooting at f/1.8 to f/2.8 will blur the background and keep the focus solely on the person. If you’re shooting a group, stop it down to f/4 or f/5.6 to make sure everyone's nose and ears are actually in focus.
2. Shutter Speed
People move. Even when they think they’re being still, they’re swaying or blinking. Keep your shutter speed at at least 1/200th of a second if you're shooting handheld. This prevents "camera shake" and ensures the eyes are tack-sharp.
3. ISO
Keep it as low as possible (ISO 100-400) to avoid "noise" or grain. Modern cameras are great at high ISOs, but for portraits, you want the skin to look smooth, not like a gravel road.
4. Focus on the Eyes
This is the golden rule. If the eyes aren't in focus, the portrait is a fail. Use Eye-AF (Eye Autofocus) if your camera has it. If not, use a single focus point and aim it right at the eye closest to the camera.
Lighting: The Make-or-Break Factor
You can have the best camera in the world, but if the lighting is bad, the photo will suck. Period. You don't need a fancy studio; you just need to understand how light works.
The Power of Window Light
The best (and cheapest) light source is a large window. Position your subject so the light hits them at a 45-degree angle. This creates depth and dimension. If the light is too "harsh" (direct sun), hang a thin white sheet over the window to diffuse it.
Rembrandt Lighting
Named after the Dutch painter, this is a classic portrait technique. You’ll know you’ve nailed it when you see a small "triangle" of light on the cheek opposite the light source. It’s moody, flattering, and looks incredibly professional. For more on how light plays a role in visuals, you might find the role of luminosity interesting, as the principles of light are universal across genres.
Golden Hour
If you’re shooting outdoors, the hour before sunset is your best friend. The light is soft, warm, and makes everyone look like a movie star. Avoid shooting at high noon unless you want "raccoon eyes" caused by heavy shadows under the brow.

Composition: Thinking Outside the Box
Composition is how you tell the story. While the "Rule of Thirds" is a great starting point, portraits give you room to play.
- Eye Level: Creates an immediate connection.
- Shoot from Above: Often more flattering as it defines the jawline and makes the eyes look larger.
- Shoot from Below: Makes the subject look powerful and heroic (great for business portraits).
- Negative Space: Don't be afraid to leave one side of the frame empty. It creates a sense of "breathing room" and focuses the viewer’s eye on the subject.
If you’re struggling with visual flow, read our guide on storytelling in photography. It explains how to lead the viewer's eye exactly where you want it to go.
Avoiding the "Awkward Posing" Syndrome
This is the part most photographers struggle with. How do you get a normal human being to look relaxed?
1. Give Them Something to Do
Instead of saying "stand there and look pretty," give them an action. Tell them to walk toward you, adjust their watch, or run their hand through their hair. Movement creates natural lines and takes their mind off the lens.
2. The "Nose to the Ear" Trick
If you’re shooting a couple, tell one person to whisper a secret or "smell the other person's ear." It sounds weird, but it almost always results in a genuine laugh and a close, intimate pose.
3. Hands Are the Enemy
People never know what to do with their hands. Give them a prop: a coffee cup, a camera, or even a pair of sunglasses. If no props are available, tell them to put one hand in a pocket or lightly touch their collar. Just make sure the hands aren't "flat" against the body; you want to see the sides of the fingers for a more elegant look.
4. Interaction is Key
Talk to them! Don't just hide behind the viewfinder. Tell a joke (even a bad one), ask about their day, or talk about luxury dining if you want to see a "dreamy" look on their face. The best portraits happen in the split second after a person stops "posing."

Learning from the Masters
Sometimes, to move forward, you have to look at those who paved the way. While he's known for landscapes, looking at Peter Lik’s iconic works can teach you a lot about color, light, and impact. Even techniques behind Peter Lik's landscape photography apply to portraits: specifically his use of vibrant colors and dramatic lighting. Understanding the impact of Peter Lik on photography trends shows how one person's vision can change an entire industry.
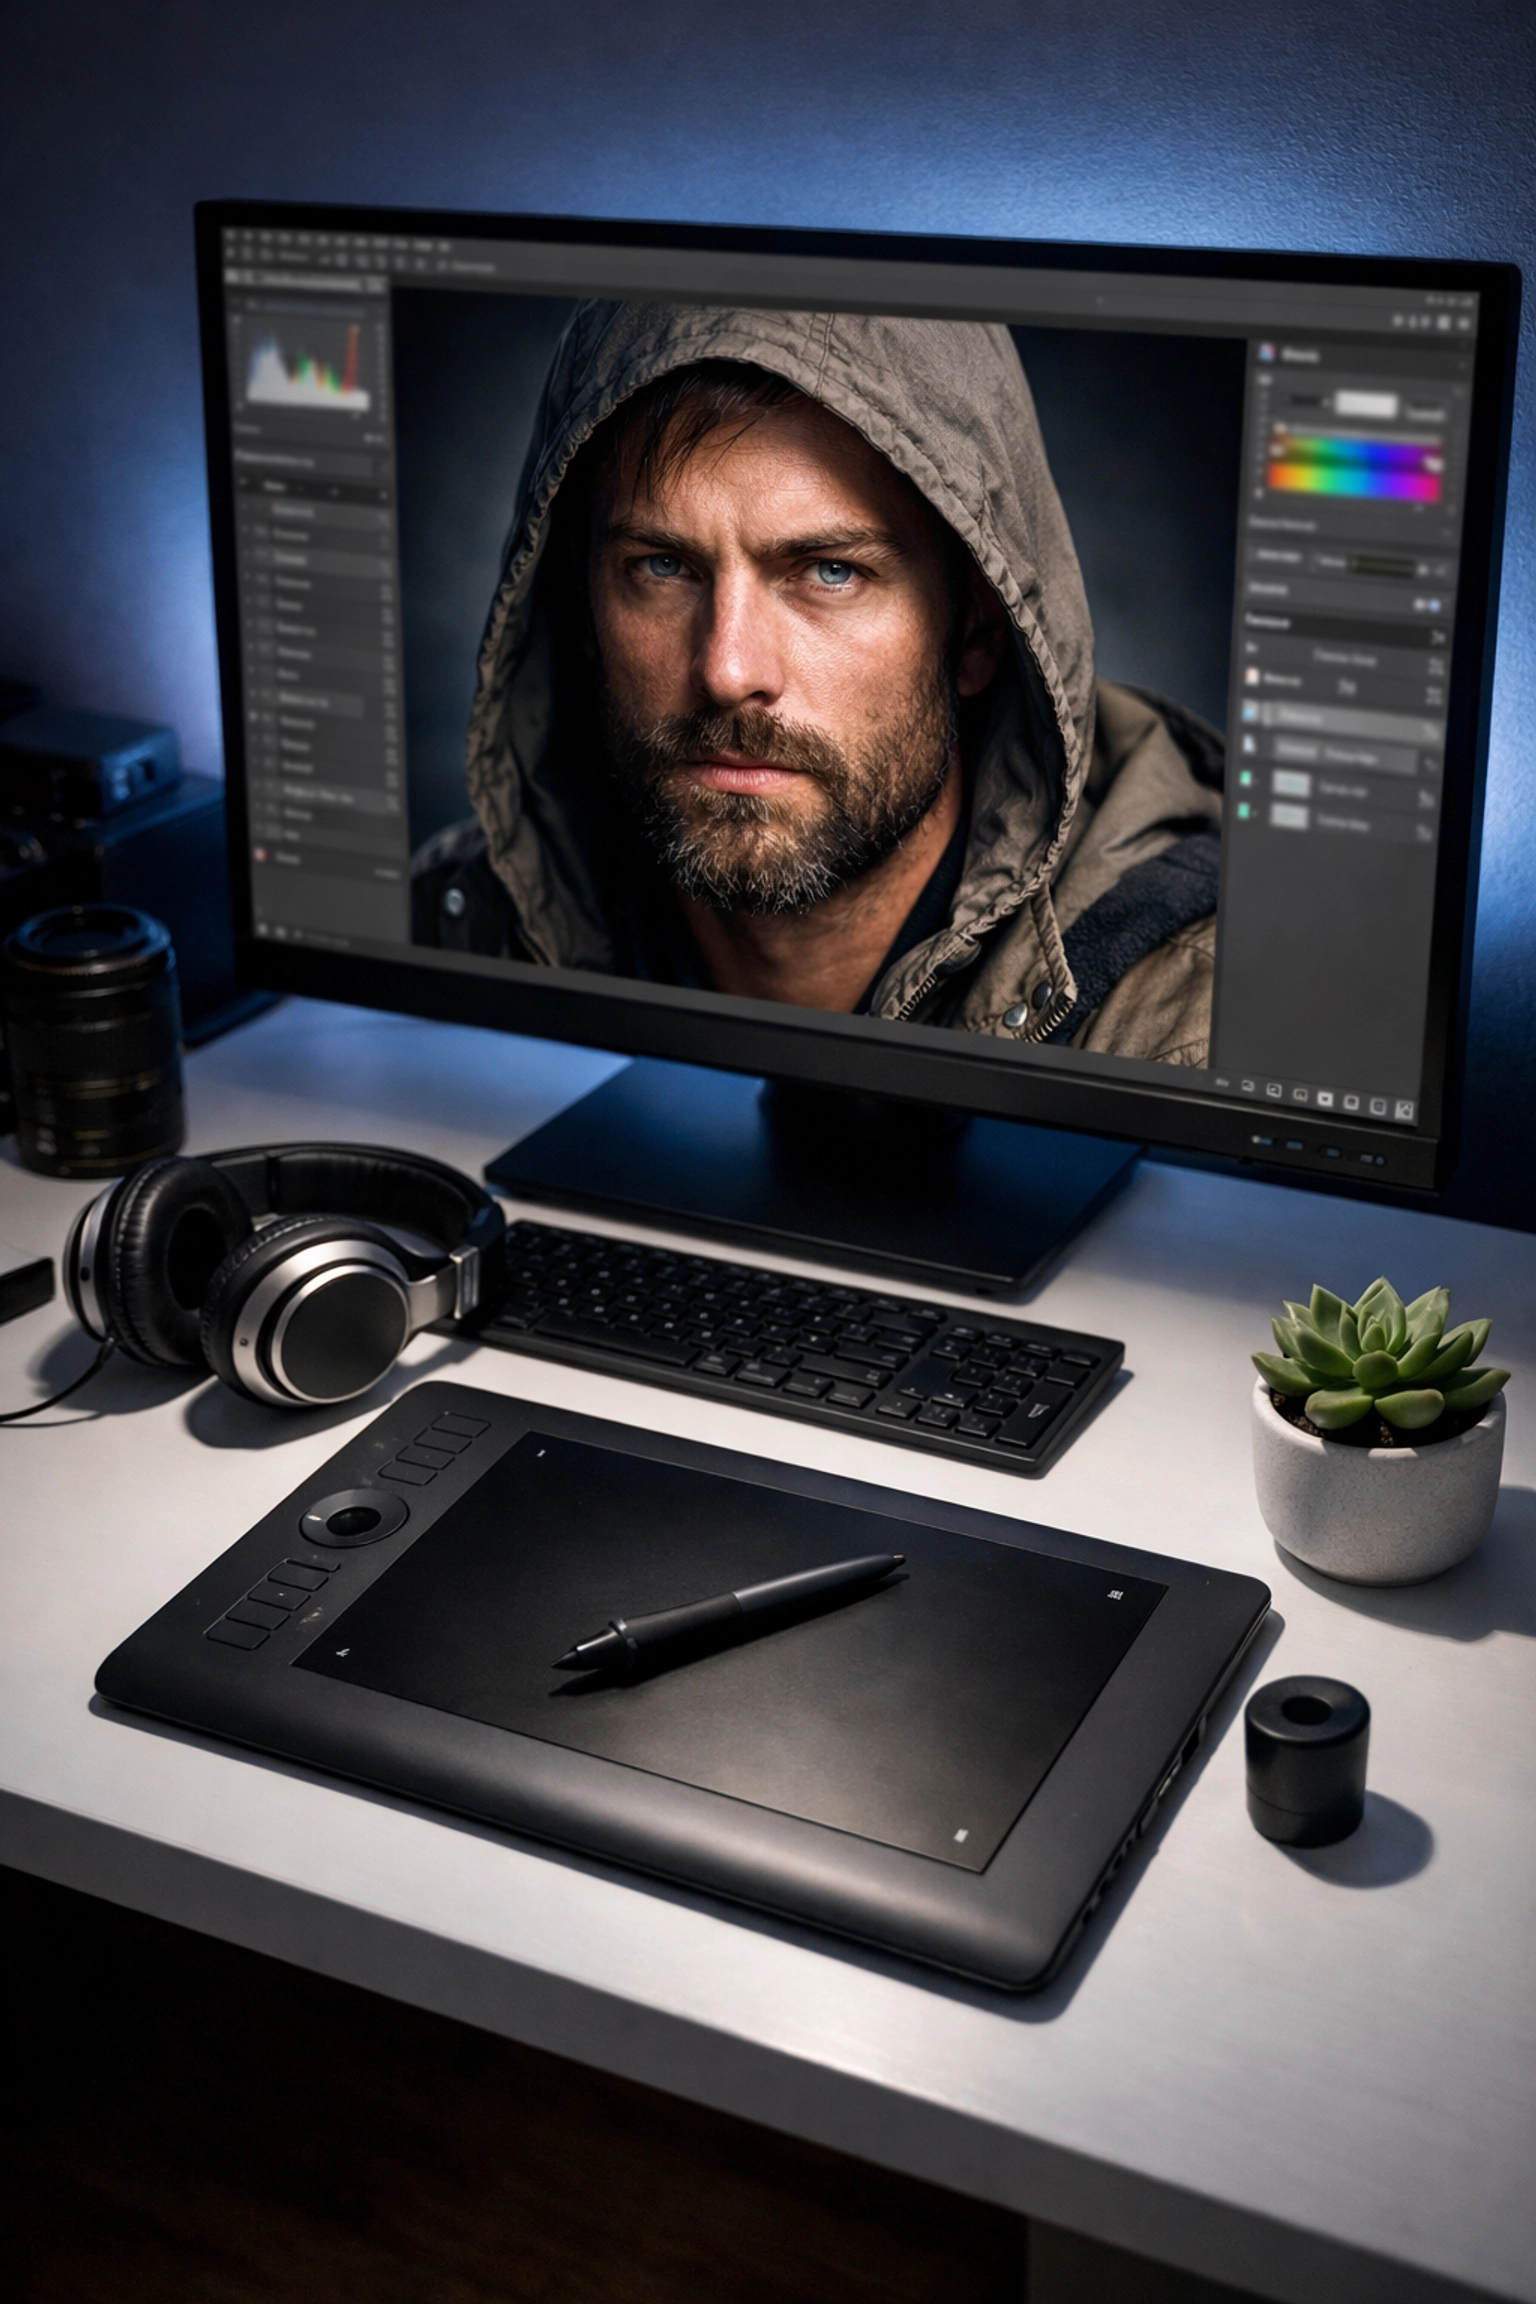
Post-Processing: The Digital Darkroom
A RAW file is like a cake mix: it has all the ingredients, but it’s not finished until it’s baked. Post-processing is where you add your personal style.
I always recommend starting with exposure and color balance. You want skin tones to look natural, not orange or grey. For skin retouching, less is more. Don't turn your subject into a plastic mannequin. Keep the "character" lines and just remove temporary blemishes.
One of the best tools for this is Luminar. Their AI-driven tools for skin enhancement and "face relighting" are absolute game-changers. It saves you hours of manual masking and allows you to focus on the creative side of the edit. If you're serious about taking your work to the next level, check out ProShoot.io for more advanced tutorials and resources.
Location, Location, Location
Where you shoot matters as much as who you shoot. An industrial backdrop gives a completely different vibe than a flower field.
- Texture is your friend: Think brick walls, wooden fences, or even a glass skyscraper.
- Depth: Try to find a location where there is plenty of space behind your subject. This helps create that bokeh effect we mentioned earlier.
- Real Estate Influence: Interestingly, some of the best portrait locations are found by looking at distinctive elements of real estate photography. Beautifully lit interiors and interesting architectural lines can serve as incredible backdrops.
Common Mistakes to Avoid
- Ignoring the Background: You might have the perfect expression, but if there's a tree "growing" out of your subject's head, the photo is ruined. Check your edges before you click the shutter.
- Over-Processing: We've all seen those eyes that look like they belong to a White Walker from Game of Thrones. Keep the whites of the eyes and the teeth natural.
- Wide Angle Distortions: Unless you're going for a "funhouse" look, stay above 35mm. For more on how focal length impacts perception, look at how vistas and perspectives can be manipulated.
- Bad Crop: Never crop at the joints (knees, elbows, ankles). It makes the subject look like an amputee. Crop mid-thigh or mid-waist instead.
Wrapping It Up
Portrait photography is a journey. It’s about more than just f-stops and shutter speeds; it’s about psychology. Your job is to make the person in front of you feel like the most important person in the room. When they feel confident, the "awkward posing" disappears on its own.
If you’re looking for more inspiration, head over to PhotoGuides.org or check out Edin Chavez’s personal blog for a deeper look into the life of a professional photographer.

Go out there, grab your camera, and start shooting. Don't worry about being perfect right away. Even the pros have a hard drive full of "bad" photos. The difference is they kept shooting until they found the one that wasn't. For more visual inspiration, you can always browse Edin Fine Art to see how composition and light create lasting impressions.
Now, stop reading this and go take some photos. And remember: shut your aperture (occasionally), but keep your eyes open!