Let’s be real for a second: that little "M" on your camera dial can be terrifying. It’s like the first time you tried to drive a stick shift, lots of stalling, weird noises, and a general feeling that you have no idea what you’re doing. Most people stay in the "Green Box" (Auto mode) because it’s safe. It takes the photo, it looks "fine," and nobody gets hurt.
But "fine" isn't why you bought a nice camera. You bought it to create art, to capture that creamy background, or to freeze a hummingbird in mid-air. To do that, you have to take the training wheels off. Manual mode isn't about being a "purist"; it’s about taking the creative power away from a computer chip and putting it back into your hands.
At Shut Your Aperture, we believe photography should be fun, not frustrating. So, let’s break down the ultimate guide to mastering manual mode without the headache.
The Holy Trinity: Understanding the Exposure Triangle
If manual mode is a religion, the Exposure Triangle is its scripture. It consists of three settings: Aperture, Shutter Speed, and ISO. They all work together to determine how bright or dark your image is. If you change one, you usually have to change another to keep the balance.
1. Aperture (The "Eye" of the Lens)
Think of aperture like the pupil of your eye. When it’s dark, your pupil gets big to let in more light. In bright sun, it shrinks. In photography, we measure this in f-stops (like f/2.8 or f/11).
- Wide Aperture (Low f-number like f/1.8): Lets in tons of light and gives you that blurry background everyone loves. This is how you mastering the beautiful bokeh effect in photography.
- Narrow Aperture (High f-number like f/16): Lets in less light but keeps everything from the foreground to the background in focus. This is essential for landscape shots.
2. Shutter Speed (The "Time" Factor)
This is how long your camera's shutter stays open.
- Fast Shutter (1/1000s): Freezes motion. If you’re trying to capture the action with top sports photography tips, you need a fast shutter.
- Slow Shutter (1/10s or longer): Blurs motion. This is how photographers make waterfalls look like silk or capture light trails at night. Just remember, if you go slow, you probably need a tripod from Shut Your Aperture to avoid "camera shake."
3. ISO (The "Sensitivity" Setting)
ISO is your camera’s sensitivity to light.
- Low ISO (100-200): Best for bright days. It produces the cleanest, crispest images.
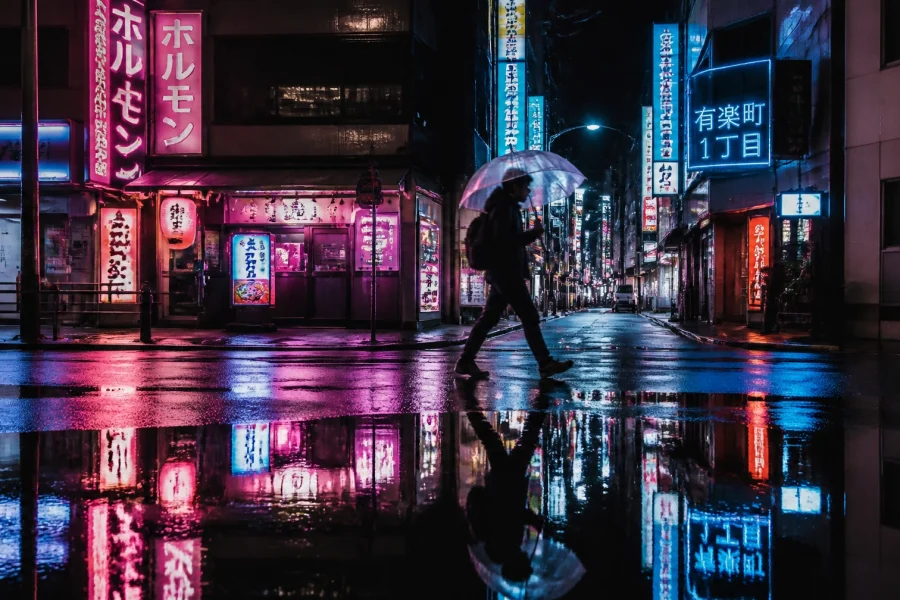
- High ISO (3200+): Necessary for low light, like a dim reception or a night street scene. The trade-off? "Noise" or grain.
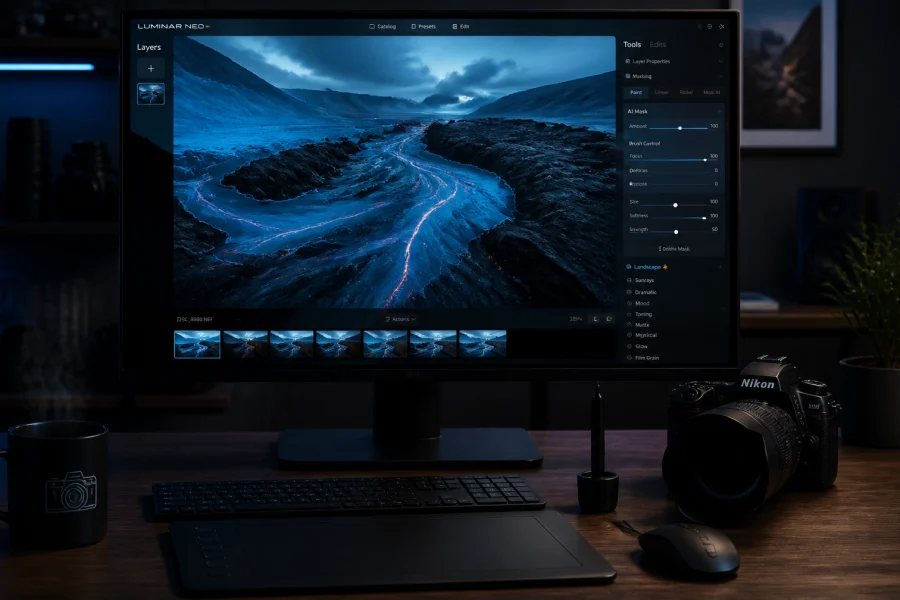
If you find yourself with a grainy photo because you had to crank the ISO, don't panic. Modern software like Luminar has incredible AI-powered denoise tools that can save your shot in post-production.

The Secret Sauce: Metering and White Balance
While the big three get all the glory, two "background" settings can make or break your Manual mode experience.
Metering Modes
Your camera has a built-in light meter. Metering is how the camera "looks" at the scene to tell you if it thinks the exposure is correct.
- Matrix/Evaluative Metering: The camera looks at the whole frame. It’s great for 90% of situations.
- Spot Metering: The camera only cares about a tiny dot in the center. Use this for high-contrast scenes, like a person standing in a spotlight on a dark stage.
White Balance
Ever take a photo that looks way too blue or weirdly orange? That’s a white balance issue. While "Auto White Balance" (AWB) is getting smarter, setting it manually (Sunlight, Shade, Tungsten) ensures your colors stay consistent across a whole shoot. This is especially important when you are capturing authentic emotions in travel photography, where lighting can change as you move through a city.
Your Step-by-Step Manual Mode Workflow
You’re standing in front of a beautiful sunset. Your camera is on "M." Now what? Don't just start spinning dials randomly. Follow this workflow:
- Switch to Manual: Turn that dial to "M."
- Pick Your Aperture First: Ask yourself: do I want a blurry background or a sharp one? Set your f-stop based on that.
- Set Your Shutter Speed: Are you handheld? Don't go slower than 1/60th or 1/125th to avoid blur. Are you shooting a moving car? Go faster.
- Check the Meter: Look through your viewfinder. You’ll see a little scale with a "0" in the middle. If the needle is to the left (-), your photo is too dark. If it's to the right (+), it's too bright.
- Adjust ISO to Balance: If your photo is too dark, raise your ISO until that needle hits the "0."
- Take a Test Shot: Look at the screen. Not quite right? Tweak and repeat.

Why Bother? The Benefits of Manual Control
You might be thinking, "Edin, this sounds like a lot of work. Why not just use Aperture Priority?" Well, there are times when the camera's brain just isn't as smart as yours.
1. Consistency
If you’re shooting a series of portraits in the same light, Auto mode might slightly change the exposure for every shot because of the color of someone's shirt. In Manual, every photo will look identical, making editing in Luminar a breeze because you can sync your settings across the whole batch.
2. Creative Intent
Sometimes you want to underexpose a photo to make it moody. The camera's Auto mode will try to "fix" it and make it bright. Manual lets you tell the camera, "No, I want it dark." This is vital for things like ultimate guide to black and white wedding photography, where shadows play a huge role in the composition.
3. Tricky Lighting
Think about a snowy landscape. To a camera, all that white looks like "too much light," so it tries to turn the snow grey. In Manual, you can override the camera and keep that snow crisp and white. This is one of the 7 mistakes you're making with landscape photography that is easily fixed by taking control.
Training Wheels: Semi-Automatic Modes
If jumping straight into full Manual feels like jumping into the deep end without knowing how to swim, try these transitional modes first.
- Aperture Priority (A or Av): You choose the aperture and ISO; the camera picks the shutter speed. This is what most pros use for 80% of their work. It gives you control over the depth of field without having to worry about every single setting.
- Shutter Priority (S or Tv): You choose the shutter speed and ISO; the camera picks the aperture. Great for sports or when you’re snapping purrfect shots of pets who won't sit still.
Using these modes helps you see how the camera reacts. Pay attention to what the camera chooses, it’s like having a coach showing you the ropes before you go solo.

Practice Makes Perfect (No, Seriously)
The biggest hurdle to mastering manual mode is the "Review" phase. You take a photo, it looks bad, and you get discouraged. Instead of switching back to Auto, ask why it looks bad.
- Is it too dark? You need more light. Open the aperture, slow the shutter, or raise the ISO.
- Is it blurry? Your shutter is too slow. Speed it up.
- Is the background too sharp? Your f-stop is too high. Lower it.
If you’re struggling with the artistic side of things while trying to manage the settings, check out our guide on essential photography composition tips. Once you get the settings down, the composition is what makes the photo a masterpiece.
Real-World Scenarios for Manual Mode
Let's look at a few times when you absolutely must use Manual to get the shot.
The Epic Milky Way Shot
You cannot shoot the stars in Auto. Your camera will just see black and refuse to take the picture. You need a wide aperture (f/2.8), a long shutter speed (20 seconds), and a high ISO (3200). You set it, put it on a tripod, and pray for no clouds. For more on gear setups, check out www.proshoot.io.
The Perfect Portrait
When you are doing chic yet affordable wedding photography, you want your subject to pop. By locking in your manual settings, you can ensure that the skin tones are perfect every single time, regardless of what the background is doing.
The Travel Hustle
When you’re mastering the art of travel photography, you often deal with "Golden Hour": that magical time when the light changes every five minutes. Using Manual mode allows you to micro-adjust as the sun dips, keeping your exposure perfect without the camera getting confused by the flares.
Final Thoughts on Taking Control
Manual mode isn't a destination; it’s a tool. There are days when I’m out shooting and I use Aperture Priority because the light is changing too fast. But knowing how to use Manual gives me the confidence to step in when the camera gets it wrong.
Don't be afraid to make mistakes. Some of the best photos come from "wrong" settings that end up looking incredible. For more inspiration and deep dives into the world of professional photography, head over to blog.edinchavez.com or see my fine art work at www.edinfineart.com.
If you're looking for more technical gear talk or studio setups, www.edinstudios.com has you covered.
Now, grab your camera, find that "M" on the dial, and go break some rules. The worst that can happen is a dark photo, and the best that can happen is you finally take the shot you’ve been dreaming of. Don't forget to sync up with Sonny on our social channels: he’s always looking for great manual mode shots to feature from our community!
Ready to level up even further? Check out our mastering mobile photo tricks for those times when you don't have your "big" camera on you.
Manual mode is where your journey as a real photographer begins. Shut your aperture, open your mind, and start shooting.