
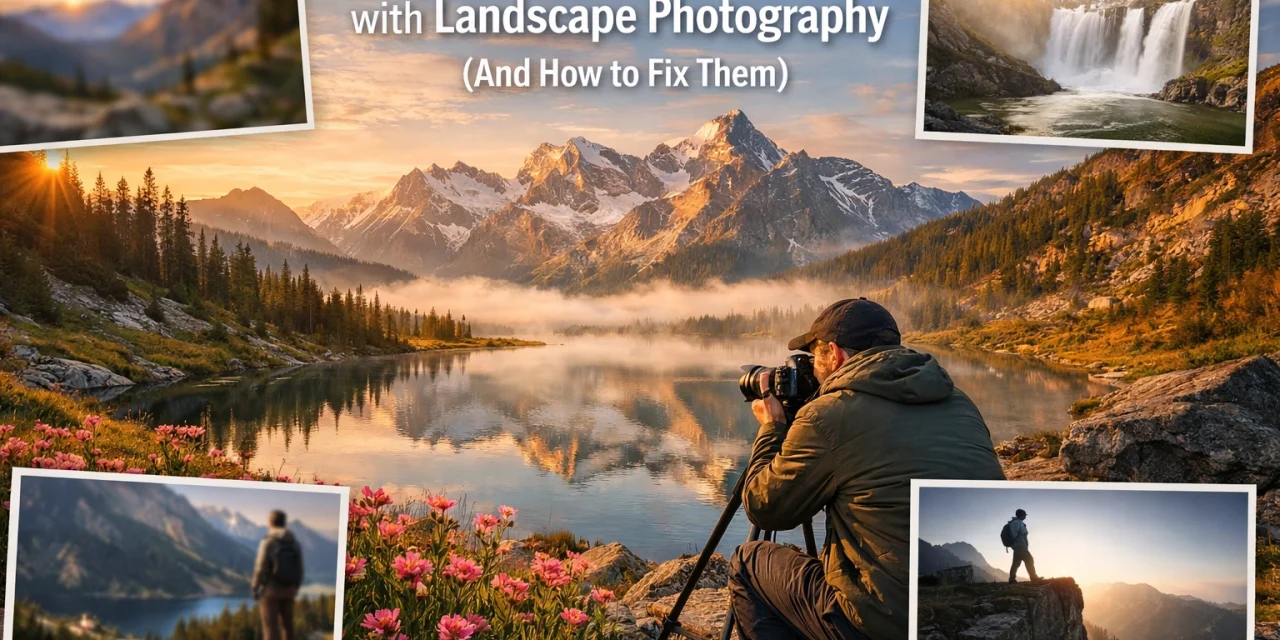
We’ve all been there. You’re standing on the edge of a cliff, the sun is dipping below the horizon, painting the sky in shades of neon pink and deep orange, and the air smells like adventure. You click the shutter, certain you’ve just captured a masterpiece. Then you get home, pull the RAW file up on your monitor, and… meh. It looks flat. It looks messy. It looks nothing like what you felt in that moment.
Landscape photography is deceptive. It feels like you just have to "show up" to a beautiful place, but the reality is that there are dozens of tiny technical and creative hurdles between a "nice snapshot" and a "fine art photograph."
At Shut Your Aperture, we see these common pitfalls every single day. The good news? They are incredibly easy to fix once you know what to look for. Whether you are just starting out with Photography for beginners 101 or you’ve been hiking with a tripod for years, these seven mistakes are likely holding you back.
Let’s dive into how to stop making them and start making images that actually do justice to the great outdoors.
1. The "Maximum Aperture" Myth: Stopping Down Too Much (or Not Enough)
One of the first things you learn in landscape photography is that you need a deep depth of field. The instinct is to crank your aperture to f/22 to make sure everything from the pebble at your feet to the mountain five miles away is sharp.
The Problem: There are two issues here. First, if you use a wide aperture like f/2.8 for a vast landscape, your foreground or background will likely be a blurry mess. Second: and more surprisingly: if you stop down to f/22, you run into something called "lens diffraction." This is a physical property of light where the rays begin to interfere with each other as they pass through a tiny opening, actually making your image less sharp overall.
The Fix: Find the "sweet spot" of your lens. For most full-frame lenses, this is somewhere between f/8 and f/11. This range usually provides enough depth of field to keep the entire scene in focus without the softening effects of diffraction.
If you have a subject very close to your lens and still want the background sharp, don't just keep stopping down. Instead, try "focus stacking." Take one photo focused on the foreground, one on the midground, and one on the background, then blend them in post-processing. To learn more about managing these technical settings, check out our Manual Mode 101 guide.
2. Defaulting to the Ultra-Wide Lens
When people think of landscapes, they think wide. They buy a 14mm or 16mm lens and try to cram the entire world into a single frame.
The Problem: Wide-angle lenses make everything look smaller and further away. That massive, intimidating mountain peak? On a 16mm lens, it looks like a tiny molehill in the distance. Wide lenses also create a lot of "dead space" in the middle of the frame where nothing interesting is happening. This is one of the most common landscape photography mistakes we see from beginners.
The Fix: Don’t be afraid to use a telephoto lens (like a 70-200mm) for landscapes. Telephoto lenses "compress" the scene, making distant mountains look larger and more imposing against the foreground. If you must use a wide-angle lens, you have to get physically close to a foreground element: like a rock, a flower, or a crack in the ice: to create a sense of scale and lead the eye into the frame.
Experimenting with focal lengths is a huge part of developing your style. You can see how different perspectives change a scene over at PhotoGuides.org.
3. The "Everything and the Kitchen Sink" Composition
You’re at the Grand Canyon. It’s huge. You want to show how huge it is. So you point the camera and capture everything.
The Problem: A photo of "everything" is often a photo of "nothing." Without a clear subject or a focal point, the viewer’s eye wanders aimlessly around the frame. Cluttered compositions, where trees are sticking out of the sides of the frame and there are distracting patches of bright sky in the corners, ruin the emotional impact of the shot.
The Fix: Simplify. Before you press the shutter, ask yourself: "What is the one thing I want people to look at?" If it’s a specific rock formation, make that the star. Use "visual weight" to balance the frame. If you have a heavy element on the left, find something smaller on the right to balance it out.
Less is almost always more in landscape work. If you find your frames are too messy, try "shooting for the crop": mentally eliminating the edges of the frame to focus on the core story. If you need inspiration on how to simplify, Edin Chavez’s fine art work is a great place to see how minimalism works in the real world.
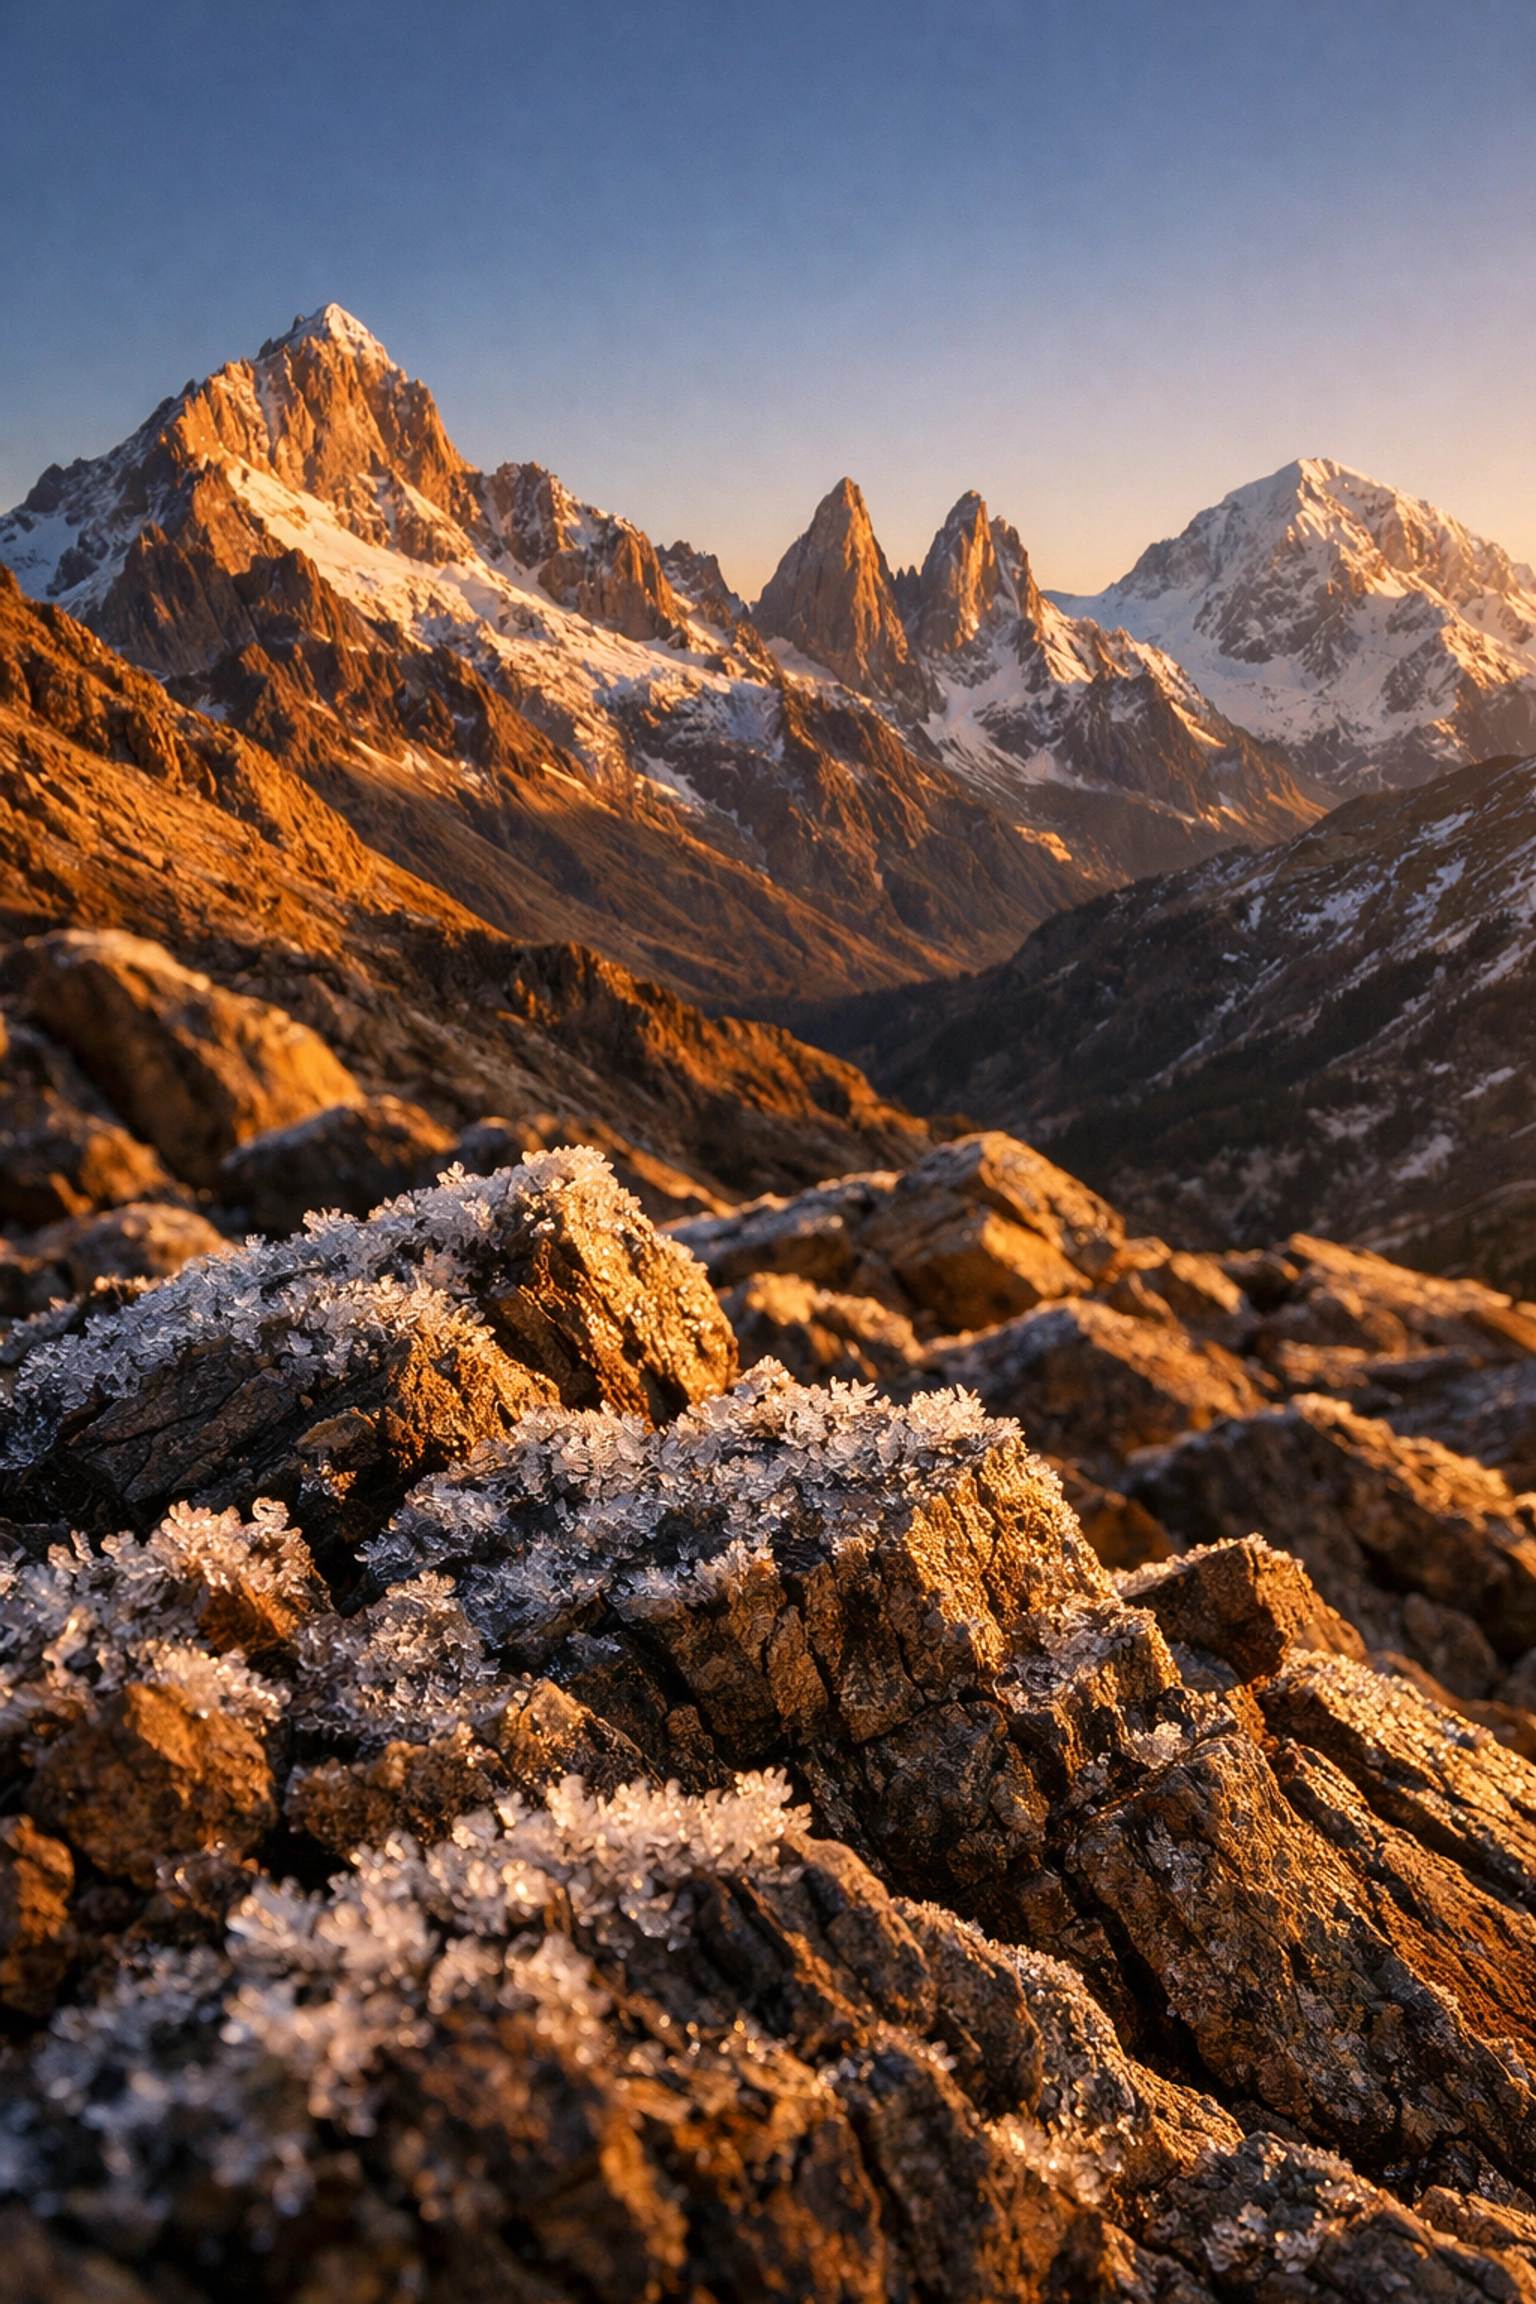
4. Ignoring the Foreground
This ties back to the wide-angle issue, but it’s a mistake that happens with any lens. Many photographers focus entirely on the "big thing" in the distance (the sunset, the mountain, the waterfall) and forget about what is right in front of them.
The Problem: Without a strong foreground, a landscape photo lacks depth. It feels like a 2D wallpaper rather than an immersive 3D experience. The viewer needs a "path" to walk into the image.
The Fix: Look for leading lines or "anchor points" in the bottom third of your frame. This could be a winding stream, a row of flowers, or even the texture of the sand. By including these elements, you create a "near-to-far" relationship that pulls the viewer through the scene. It gives the eye a starting point and a destination.
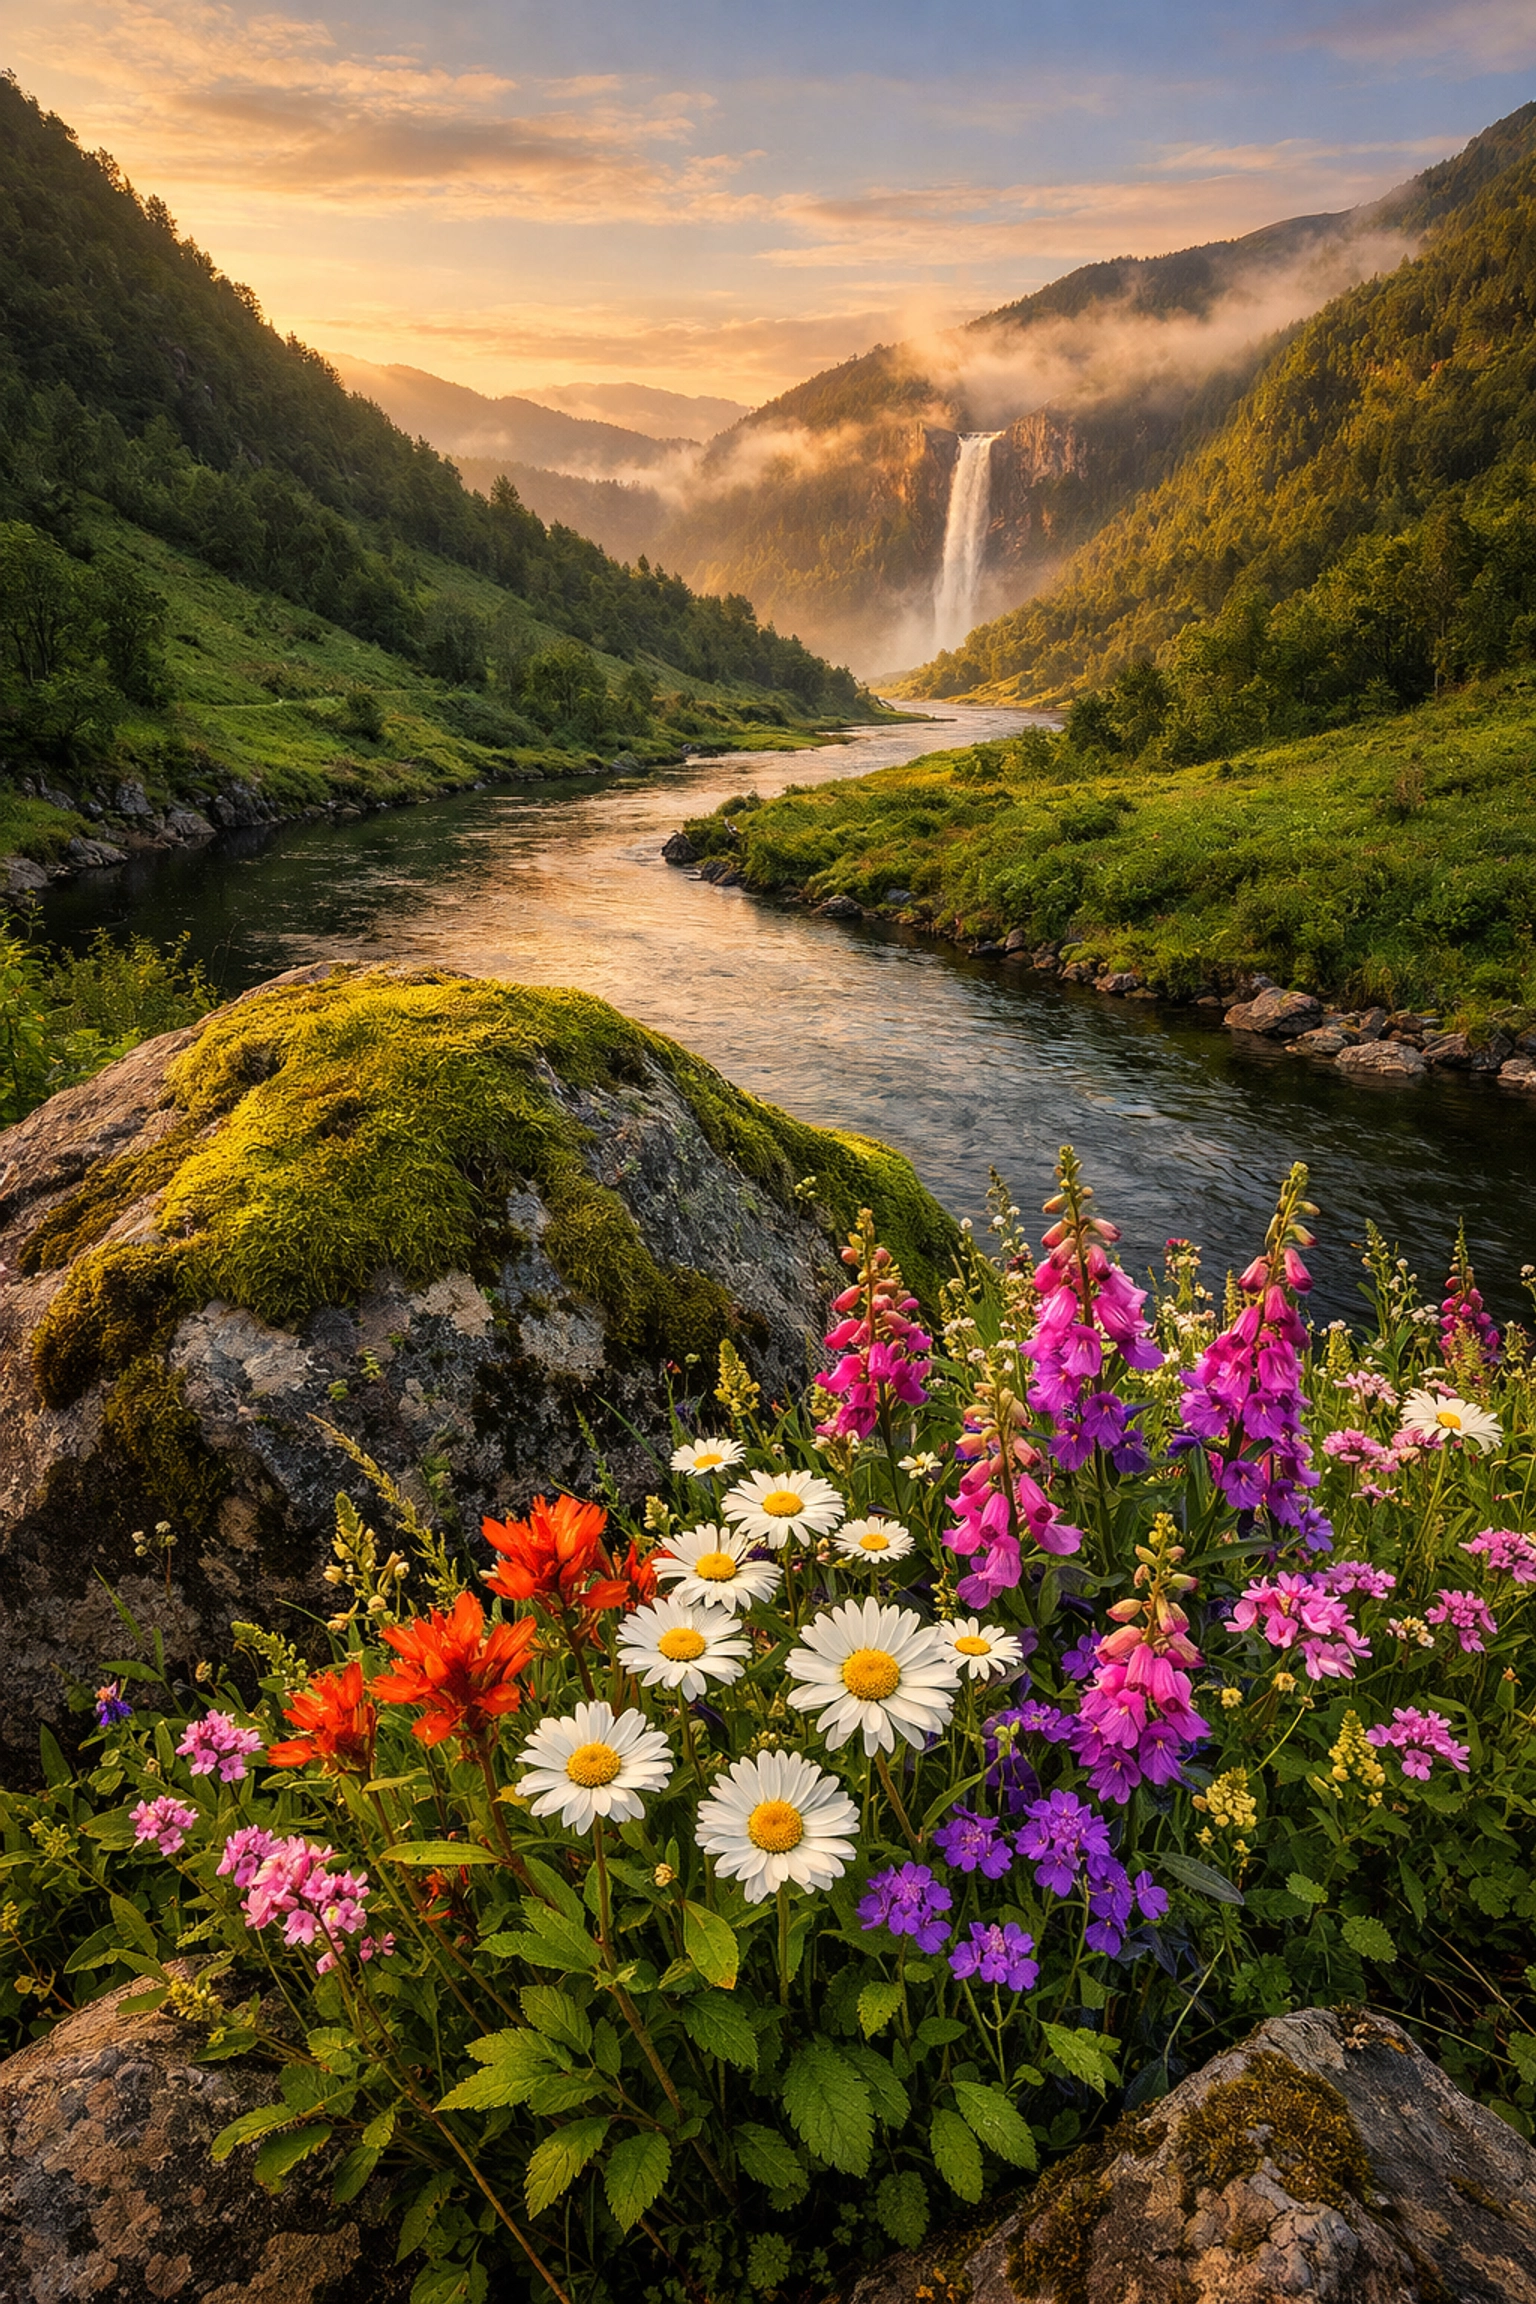
5. Over-Processing and the "Saturation Slide"
Post-processing is a vital part of digital photography. No RAW file looks perfect straight out of the camera. However, there is a fine line between "enhancing" and "destroying."
The Problem: The most common editing mistake is cranking the saturation or vibrance until the grass looks radioactive and the sky looks like an alien planet. Over-sharpening is another big one: it creates "halos" around the edges of mountains and makes the image look crunchy and unnatural. We’ve covered this extensively in our post on mistakes you’re making with photo editing.
The Fix: Use a light touch. If you want more color, try using HSL (Hue, Saturation, Luminance) sliders to target specific colors rather than the whole image. For example, you might want to make the oranges in the sunset pop without making the green trees look fake.
If you want a powerful tool that uses AI to help you make realistic adjustments, I highly recommend checking out Luminar. It’s great for adding "Atmosphere" or "Sunrays" in a way that looks natural rather than "Photoshopped." Just remember: if the first thing someone says about your photo is "Nice edit," you’ve probably gone too far.
6. Not Cleaning the Frame (The "Mess" Factor)
Nature is beautiful, but it’s also messy. There are often stray twigs, pieces of trash, or distracting footprints that don't belong in a pristine landscape shot.
The Problem: Small distractions pull the viewer's eye away from the subject. A bright white candy wrapper in the corner of a dark forest shot is like a flickering light bulb in a movie theater: you just can't stop looking at it.
The Fix: Do a "border patrol." Before you take the shot, look around the edges of your viewfinder. Is there a random branch poking in? Move your tripod six inches to the left. Is there a distracting rock in the bottom corner? Pick it up and move it (if it’s environmentally ethical to do so!).
Cleaning the frame in-camera saves you hours of cloning and healing in post-production. If you missed something in the field, use the healing brush tools in your software to subtly remove these distractions. For more on high-end production and gear, take a look at ProShoot.io.

7. Being a "Fair Weather" Photographer
Most people only want to go out and shoot when it’s a beautiful, sunny day. While blue skies are great for a picnic, they are often the worst for landscape photography.
The Problem: Mid-day sun creates harsh shadows and "blown-out" highlights. It makes colors look washed out and lacks the drama that makes a landscape truly stand out.
The Fix: Embrace the "bad" weather. Stormy clouds, fog, and rain create mood and atmosphere that you simply can't get on a clear day. The "Golden Hour" (the hour after sunrise and before sunset) is famous for a reason: the light is soft, warm, and directional.
But don't stop there. The "Blue Hour" (the time just before sunrise or after sunset) is fantastic for moody, ethereal landscapes. Some of the best shots happen when the weather is doing something interesting. If you’re waiting for the perfect sunny day, you’re missing out on the real magic.
Technical Housekeeping: The Small Stuff That Matters
Beyond the big seven mistakes, there are a few "technical gremlins" that can ruin an otherwise perfect shot.
The Wonky Horizon
Nothing screams "amateur" like a beautiful ocean sunset where the water looks like it’s draining off the side of the earth.
- The Fix: Use the built-in electronic level in your camera. Most modern mirrorless cameras have one. If you missed it, make sure to use the crop tool to straighten your horizon in post.
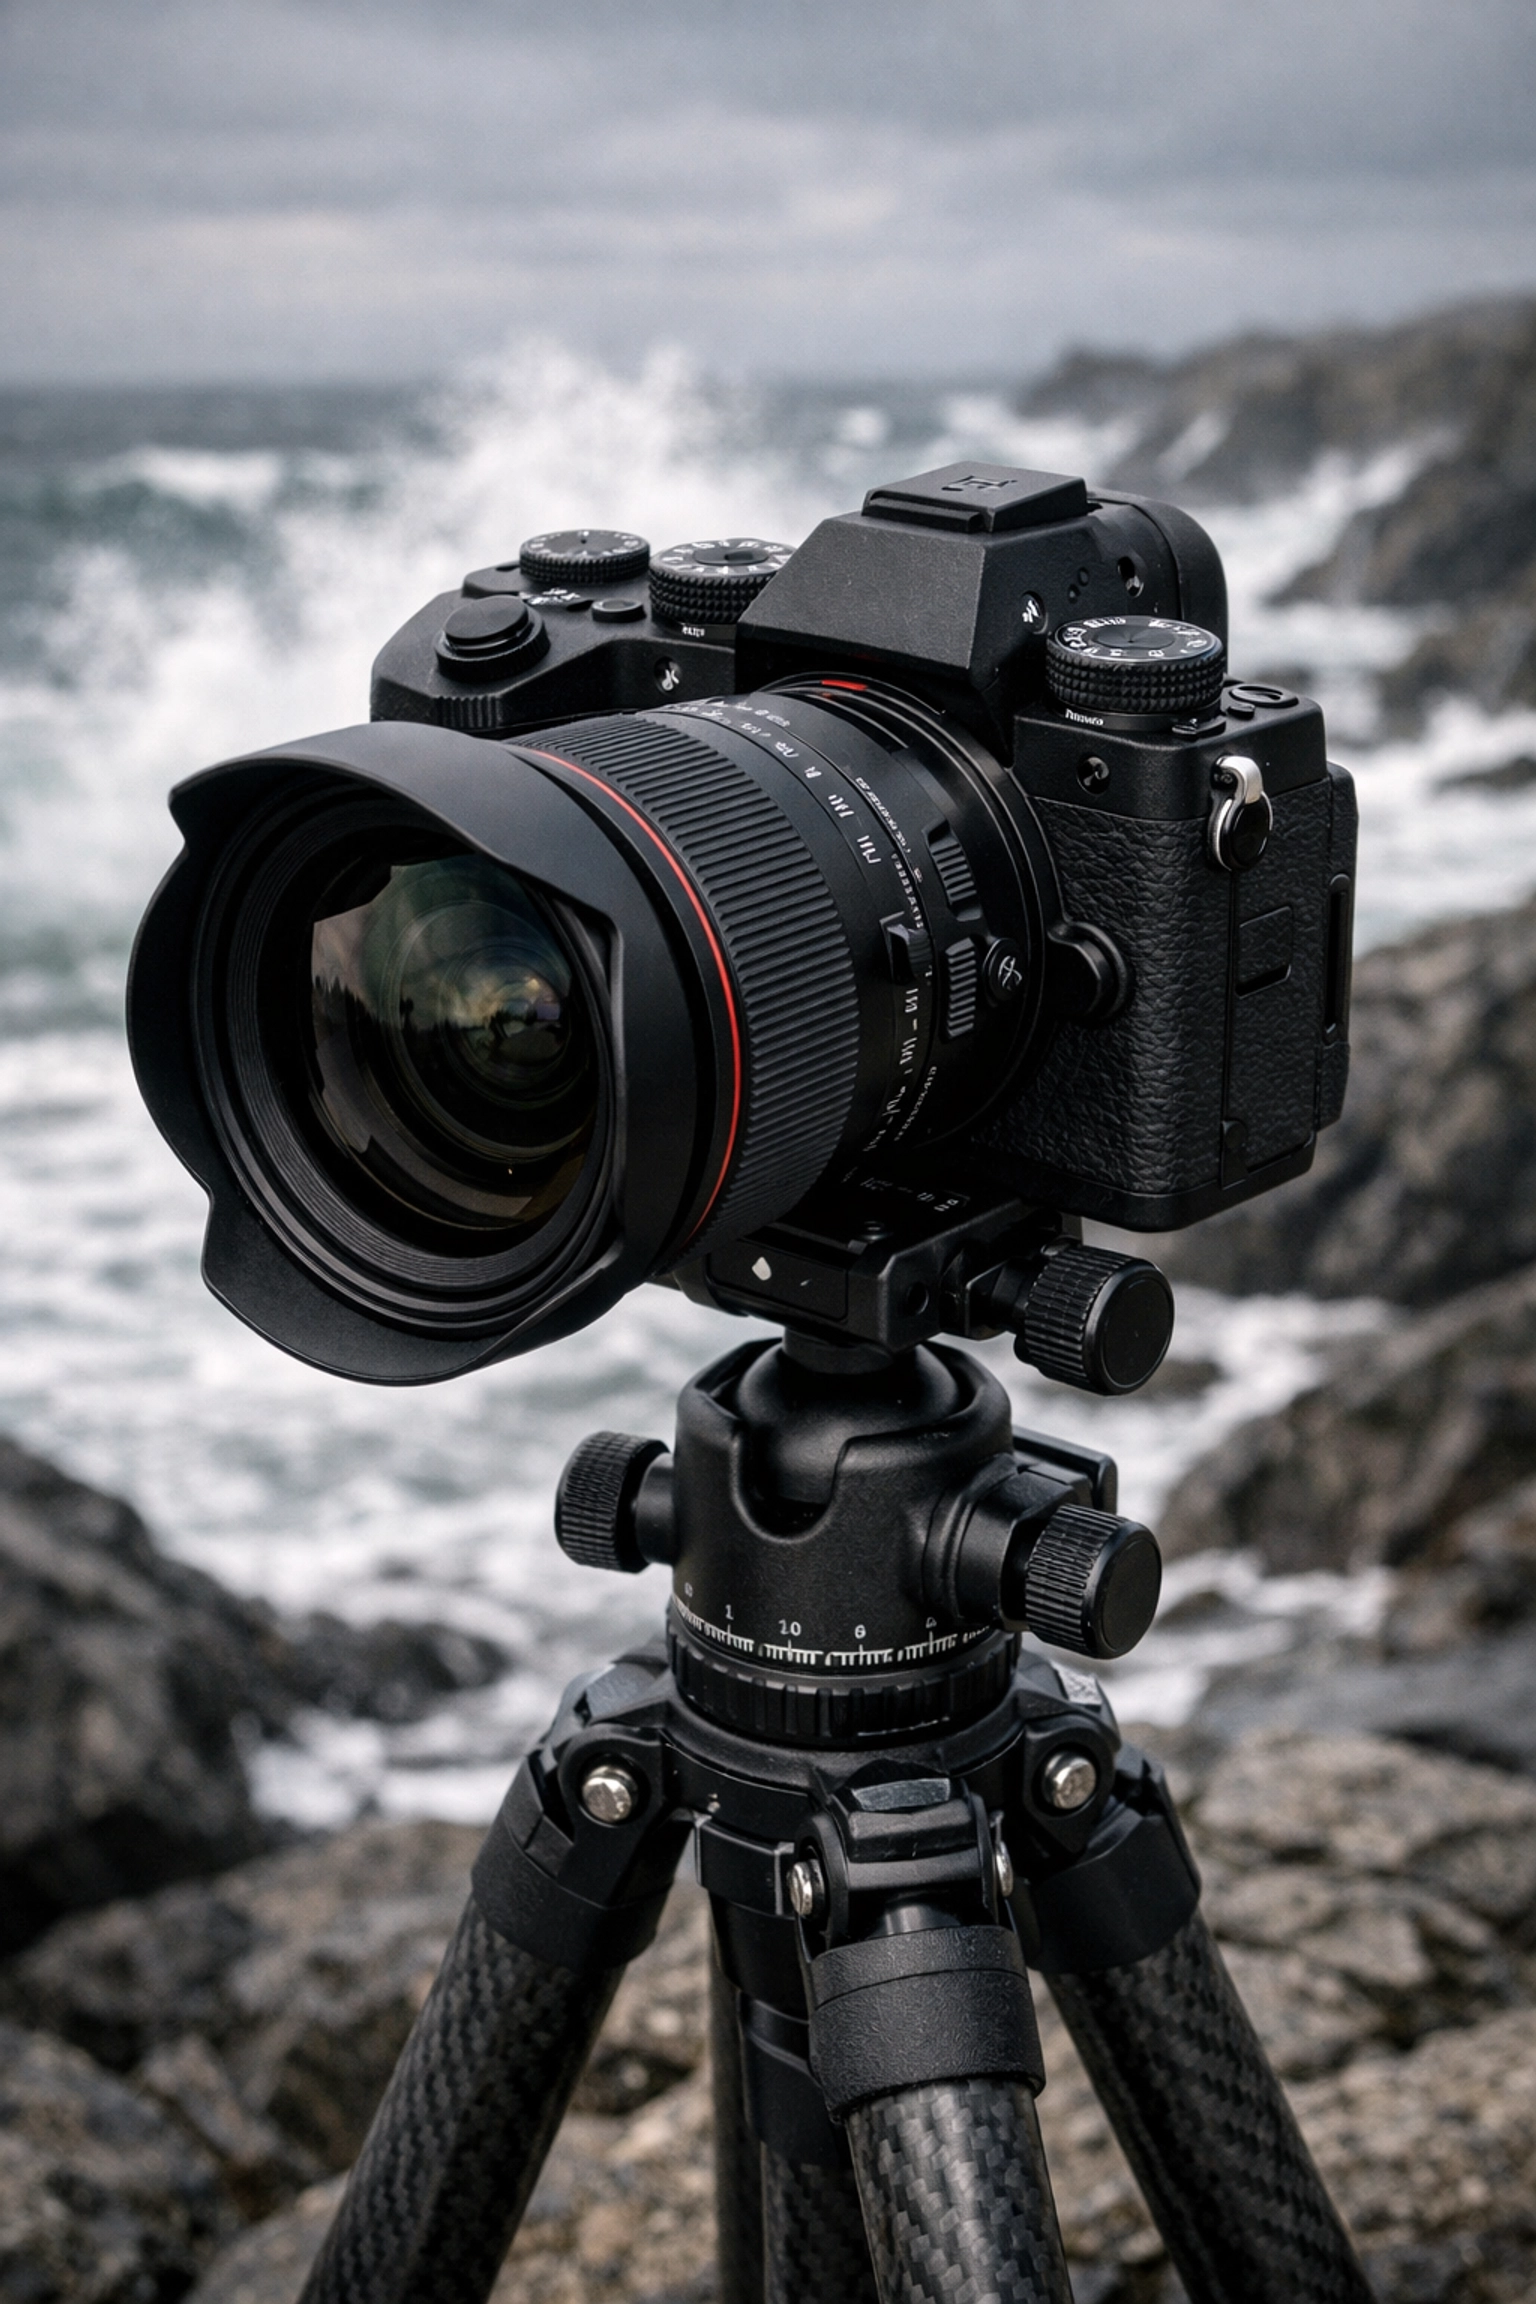
The Blurry Tripod Shot
Wait, tripods are supposed to prevent blur, right?
- The Problem: If you press the shutter button with your finger, you create a tiny vibration that can cause blur during long exposures.
- The Fix: Use a 2-second timer or a remote shutter release. This gives the camera time to settle after you touch it before the shutter actually opens.
Forgetting to Check Your Lens
Landscape photography often involves wind, sea spray, or dust.
- The Problem: A single smudge on your lens can turn a sharp mountain peak into a foggy mess.
- The Fix: Carry a microfiber cloth and a blower. Check your front element every time you change locations or when the wind picks up.
Putting It All Together
Landscape photography is a journey, not a destination. Even the pros at Shut Your Aperture still occasionally forget to check their horizons or get a little too happy with the saturation slider. The key is to be intentional.
Instead of just hiking to a viewpoint and snapping away, take a moment to breathe. Look at the light. Look at the foreground. Think about your aperture. By slowing down and avoiding these seven common mistakes, you’ll find that your "keeper" rate goes up significantly.
If you’re looking to dive deeper into specific techniques, we have a ton of resources. Check out our Ultimate Guide to Landscape Photography for a more comprehensive breakdown of gear and location scouting.
And remember, the best camera is the one you have with you: but the best photo is the one you actually put thought into. Stop "taking" pictures and start "making" them.
For the latest industry shifts and camera tech that might help you avoid these technical hurdles, stay tuned to our Photography News section. We’re always keeping an eye on what’s coming next in the world of imaging.
Now, get out there, watch that horizon line, and for the love of all that is holy, take it easy on that saturation slider! Happy shooting.


