
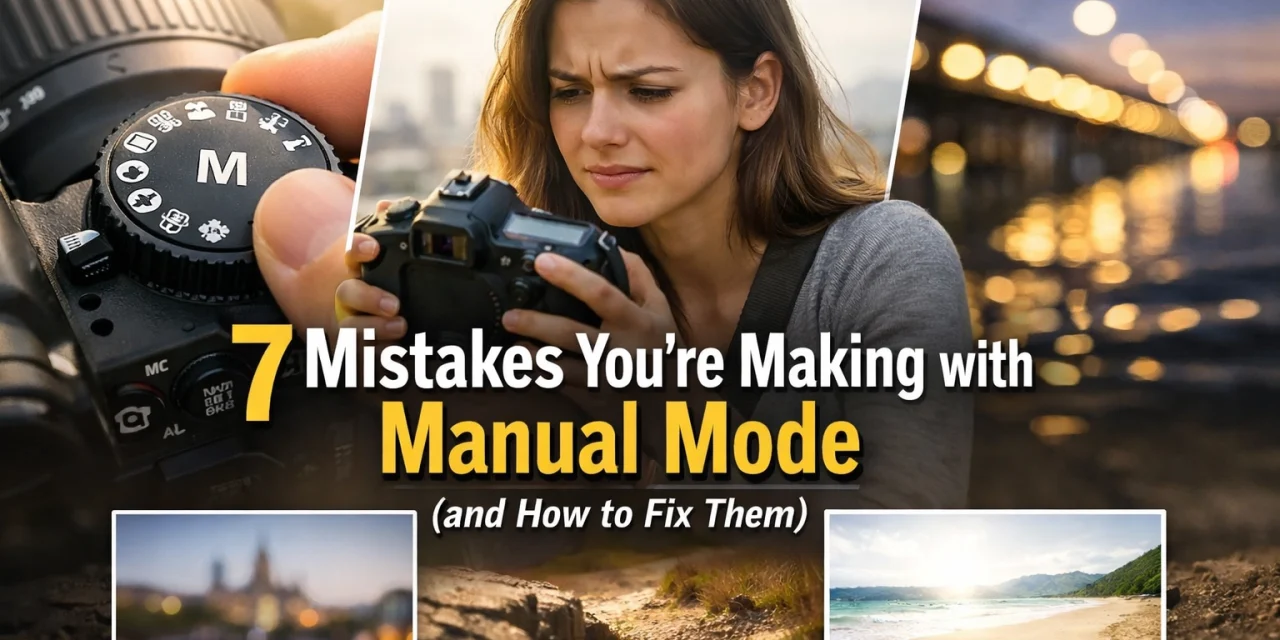
Switching your camera dial to that little "M" is a rite of passage. It’s the moment you stop letting a computer make the creative decisions and start taking control of your art. But let’s be real: the first time you go full manual, it’s usually a disaster. Your photos are either pitch black, blown out like a nuclear blast, or so blurry they look like abstract finger paintings.
I’ve been there. We’ve all been there. There’s a huge misconception that "Manual Mode" is some magical switch that instantly makes you a professional. In reality, Manual Mode is just a tool. If you don't know how to swing the hammer, you're going to hit your thumb.
At Shut Your Aperture, we’re all about making high-end photography accessible. Whether you’re shooting luxury dining or rugged landscapes, understanding the nuances of your gear is key. Today, we’re breaking down the seven most common mistakes people make when shooting manual and, more importantly, how to fix them so you can stop guessing and start creating.
1. The "ISO 100" Obsession
We’ve all heard it: "Keep your ISO as low as possible to avoid noise." While this is technically true, it’s a rule that causes more harm than good for beginners. Many photographers are so terrified of "grain" that they’ll keep their ISO at 100 even when the sun is going down.
The result? They have to use a shutter speed that’s way too slow (hello, blurry photos) or an aperture that’s too wide for the shot they want. Even worse, they underexpose the image significantly, thinking they can just "fix it in post."
The Fix: Modern cameras are incredible at handling high ISO. I would much rather have a sharp, slightly grainy photo at ISO 3200 than a blurry, "clean" photo at ISO 100. Furthermore, underexposing an image and then dragging the exposure slider up in Luminar actually introduces more digital noise than if you had just used a higher ISO in the first place.
Don't be afraid to push it. If you're struggling with noise in the shadows, tools like Luminar have incredible AI-driven denoise features that can clean up your files in seconds. Learn more about mastering photography basics to understand how ISO interacts with your overall exposure.
2. Searching for "Magic" Settings
I see this in photography forums every single day: "What settings should I use for a sunset?" or "What are the best manual settings for a wedding?"
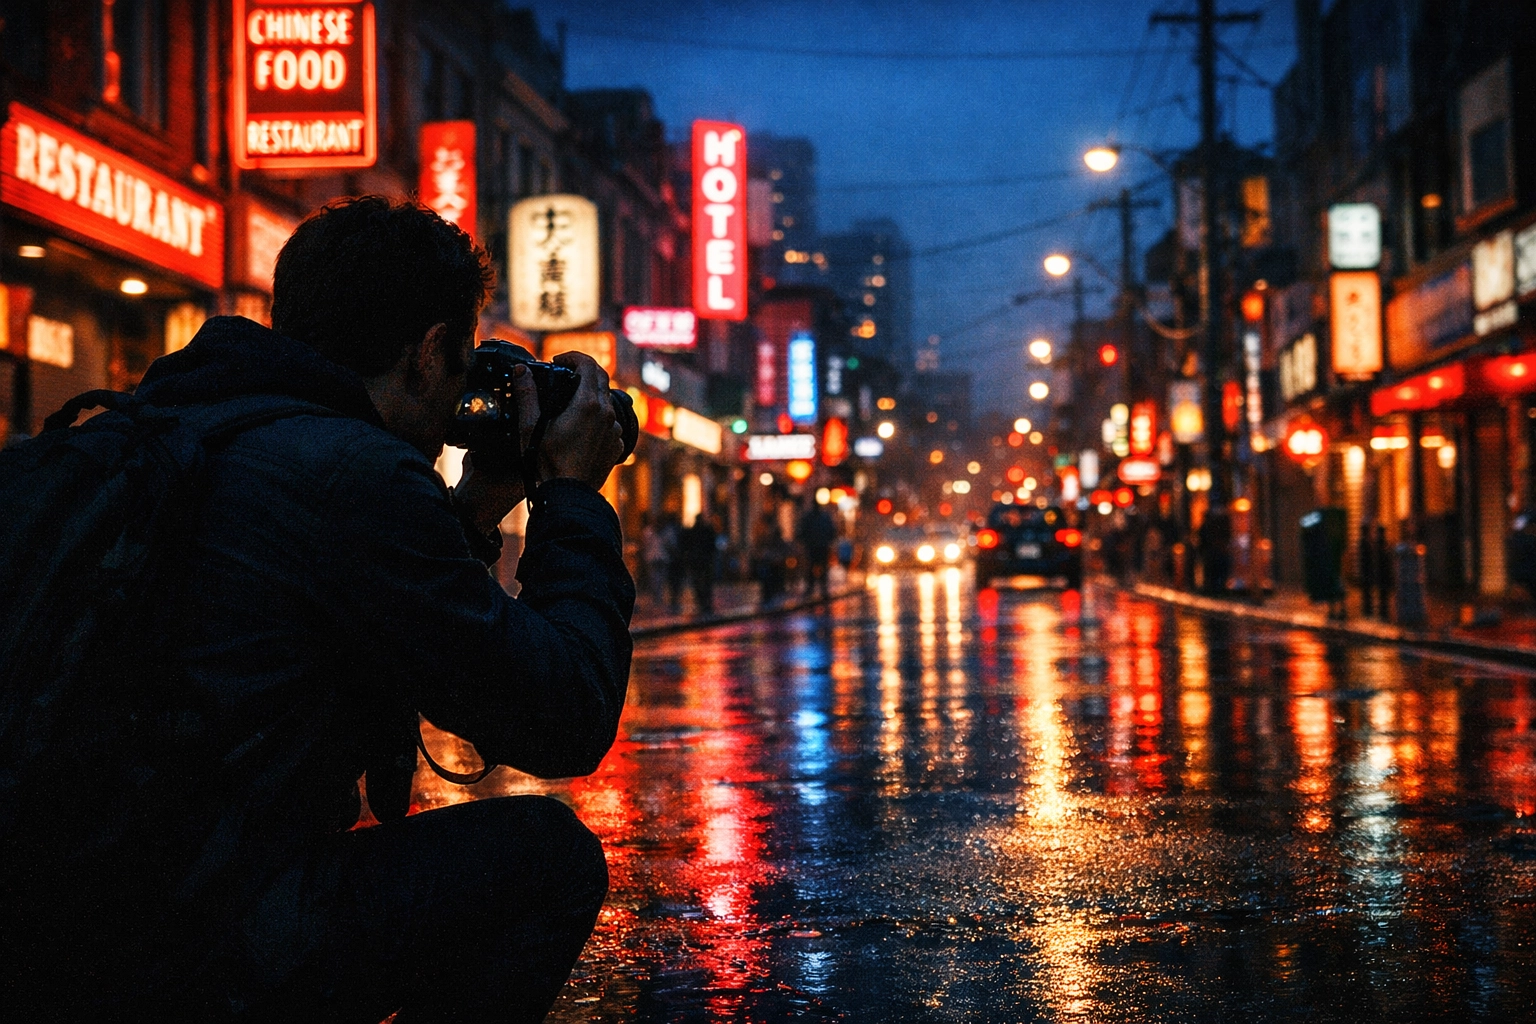
Here’s the cold, hard truth: there are no "universal" settings. If I give you my settings for a sunset in Malibu, they will be completely useless for a sunset in the Swiss Alps or even a sunset in Malibu ten minutes later. Light is a living, breathing thing. It changes based on the humidity in the air, the clouds, your distance from the subject, and the lens you’re using.
The Fix: Stop looking for recipes and start learning the ingredients. Manual mode requires constant adjustment. You should be checking your light meter and your histogram after almost every shot, especially during "golden hour" when the light levels drop by the second. If you want to see how the pros handle shifting light in epic locations, check out this deep dive into Peter Lik’s favorite locations for adventure. He doesn't use a "standard" setting; he reacts to the environment.
3. Being a "Manual Mode Snob" in Changing Conditions
There’s a weird ego thing in photography where people think using anything other than Manual Mode makes them a "fake" photographer. This is nonsense.
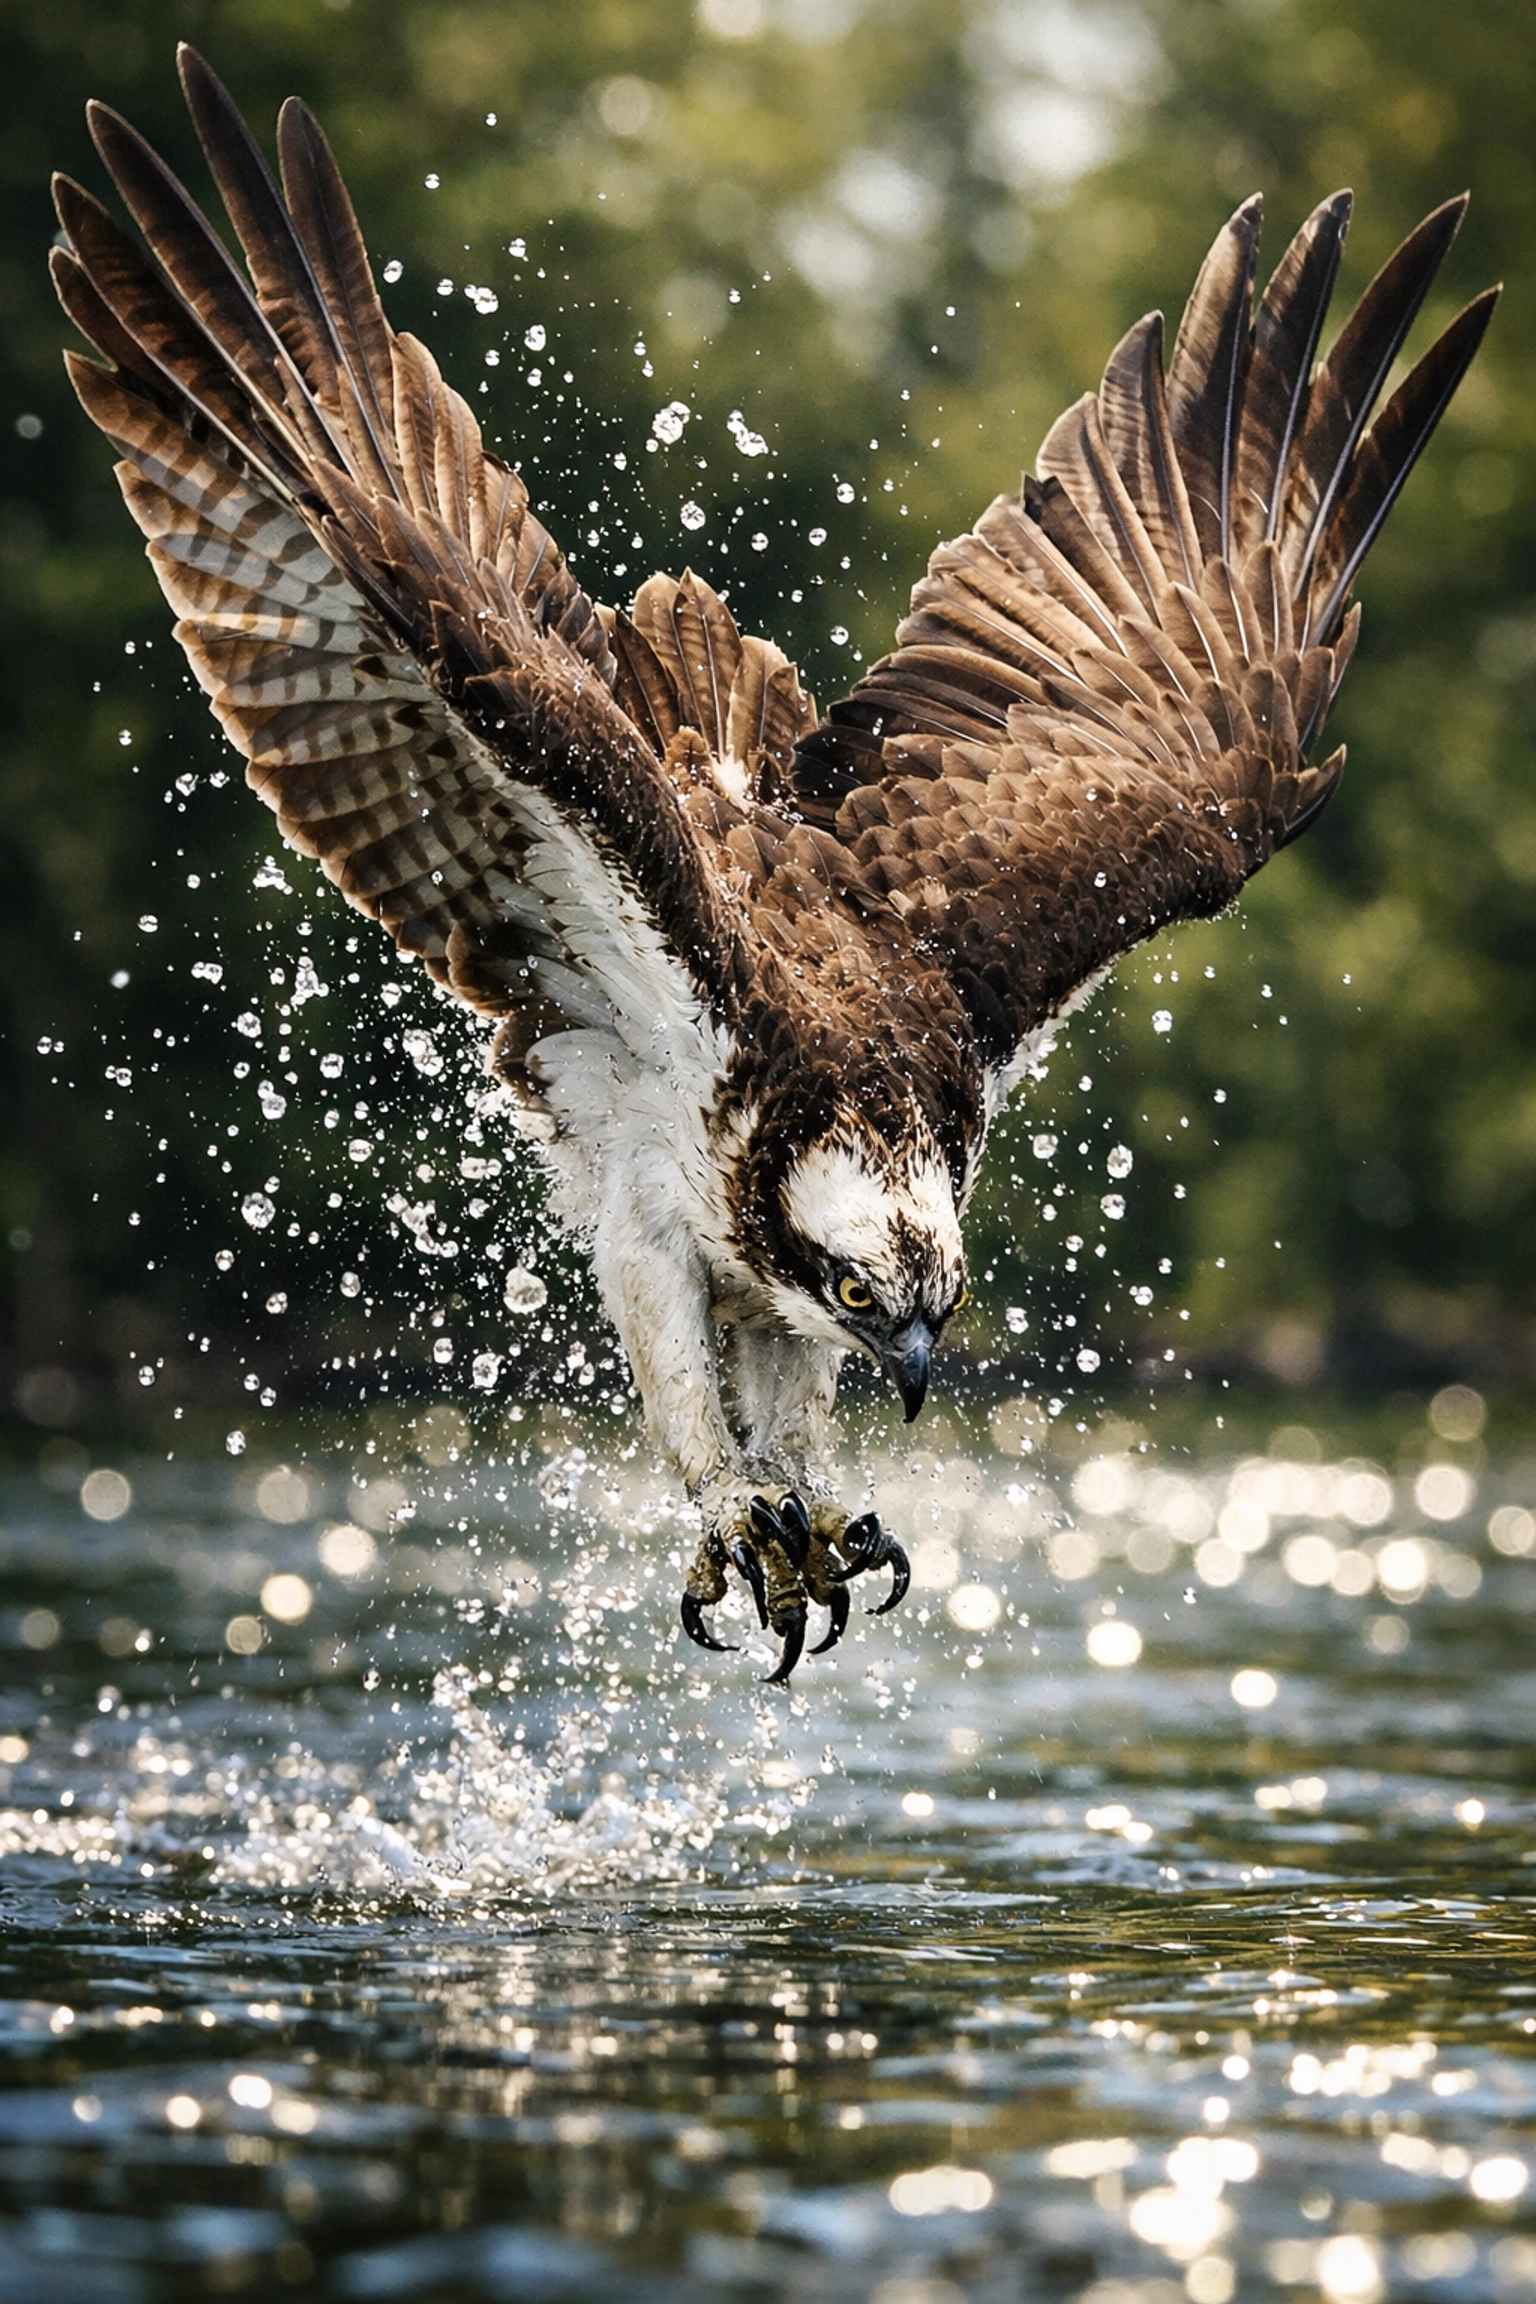
If you are shooting a bird in flight, and it’s moving from bright sunlight into the shadow of a tree, and then back into the light: all within three seconds: you are going to miss the shot if you’re fiddling with your shutter speed dial. Manual mode is for controlled environments. It’s perfect for landscape photography tips where the mountain isn't moving, or for studio work where you control the lights.
The Fix: Use semi-automatic modes when things get fast. Aperture Priority (Av or A) and Shutter Priority (Tv or S) are professional tools, not training wheels. They allow you to control the most important element (like depth of field or motion blur) while letting the camera’s powerful internal computer handle the rest.
For instance, in real estate photography, you might use Aperture Priority to ensure a deep depth of field throughout a room while the camera adjusts the shutter speed to compensate for different window light levels. Knowing when not to use manual is just as important as knowing how to use it.
4. The Auto-ISO Trap
Some photographers switch to Manual Mode but leave their ISO on "Auto." While this can be a helpful hybrid mode, it often defeats the purpose of being in Manual. If you set your Shutter Speed and Aperture, and the camera is constantly moving the ISO to find what it thinks is a "correct" exposure, you haven't actually taken control.
The camera's light meter is trying to turn everything into 18% gray. If you’re shooting a dark, moody interior for an ethereal imagery real estate listing, the camera will try to brighten it up by cranking the ISO. This ruins your creative intent.
The Fix: If you're going manual, go all the way. Control all three pillars of the Exposure Triangle: Aperture, Shutter Speed, and ISO. This forces you to understand the role of luminosity and how to balance light yourself. If you must use Auto-ISO, make sure you use "Exposure Compensation" to tell the camera you want the image darker or brighter than the "standard" meter reading.
5. Ignoring the Reciprocal Rule
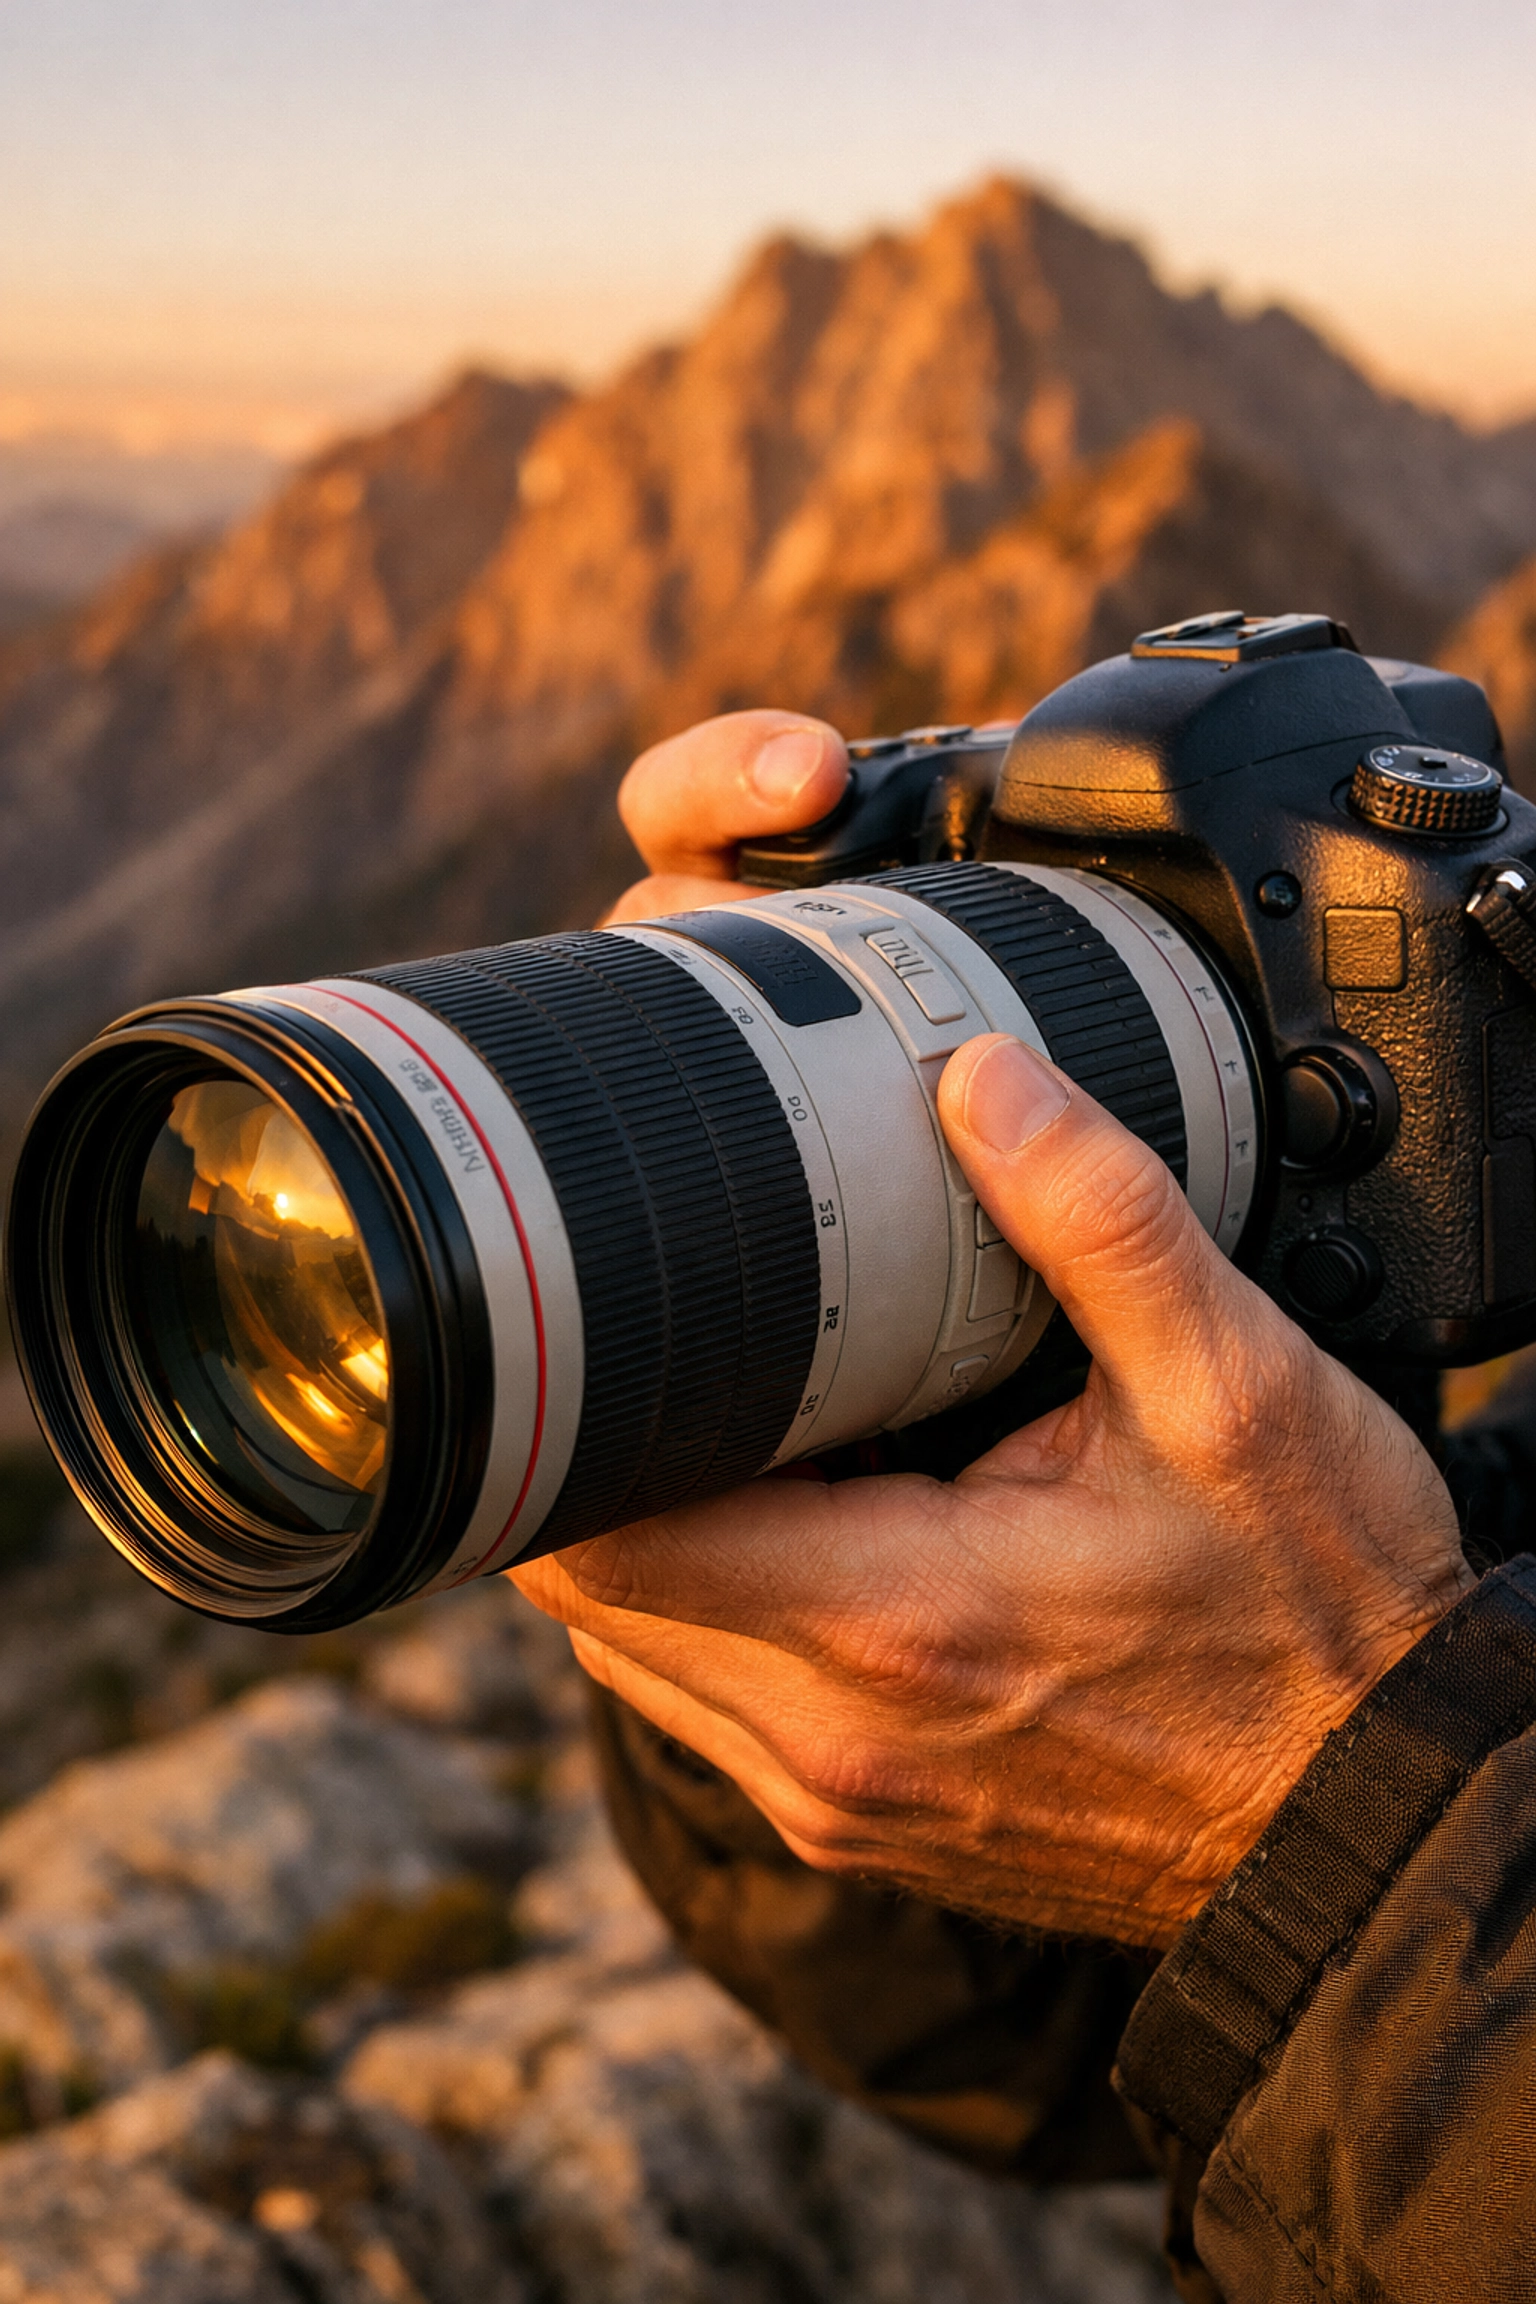
This is the most common reason for "soft" photos. You’ve got your aperture set perfectly for a beautiful portrait, your ISO is low, but the image looks slightly blurry when you zoom in. This usually happens because your shutter speed is too slow for the lens you are using.
Many beginners forget that the longer your lens (the more zoom), the more it amplifies the tiny shakes in your hands.
The Fix: Use the Reciprocal Rule. As a general guideline, your shutter speed should be at least 1 / [your focal length].
- If you’re shooting with a 50mm lens, your shutter speed should be at least 1/50th of a second.
- If you’re shooting with a 200mm lens, you need at least 1/200th of a second.
If you go slower than that without a tripod, you’re almost guaranteed to get "camera shake." In fields like aerial photography, where movement is constant, shutter speed becomes your most critical setting. For more technical insights, you can always check out resources on PhotoGuides.org.
6. The "Spray and Pray" Method
Manual mode is supposed to make you more intentional. However, I often see people get so overwhelmed by the settings that they just start clicking wildly, hoping one of the shots turns out. This "spray and pray" approach is the enemy of good composition.
When you’re worried about whether your shutter speed is 1/250 or 1/500, you stop looking at the edges of your frame. you stop noticing that distracting telephone pole growing out of your subject's head. You forget that shot composition’s impact on buyer attraction is often more important than a perfect exposure.
The Fix: Slow down. Manual mode is a meditative process. Before you even touch the shutter button, ask yourself:
- What is my subject?
- How much of the background do I want in focus (Aperture)?
- Is there movement I need to freeze or blur (Shutter Speed)?
- How much light do I have to work with (ISO)?
By answering these questions first, your settings become a secondary thought to your creative vision. This is the same creative process revealed by world-class photographers who spend hours waiting for a single frame.
7. Over-Relying on the LCD Screen
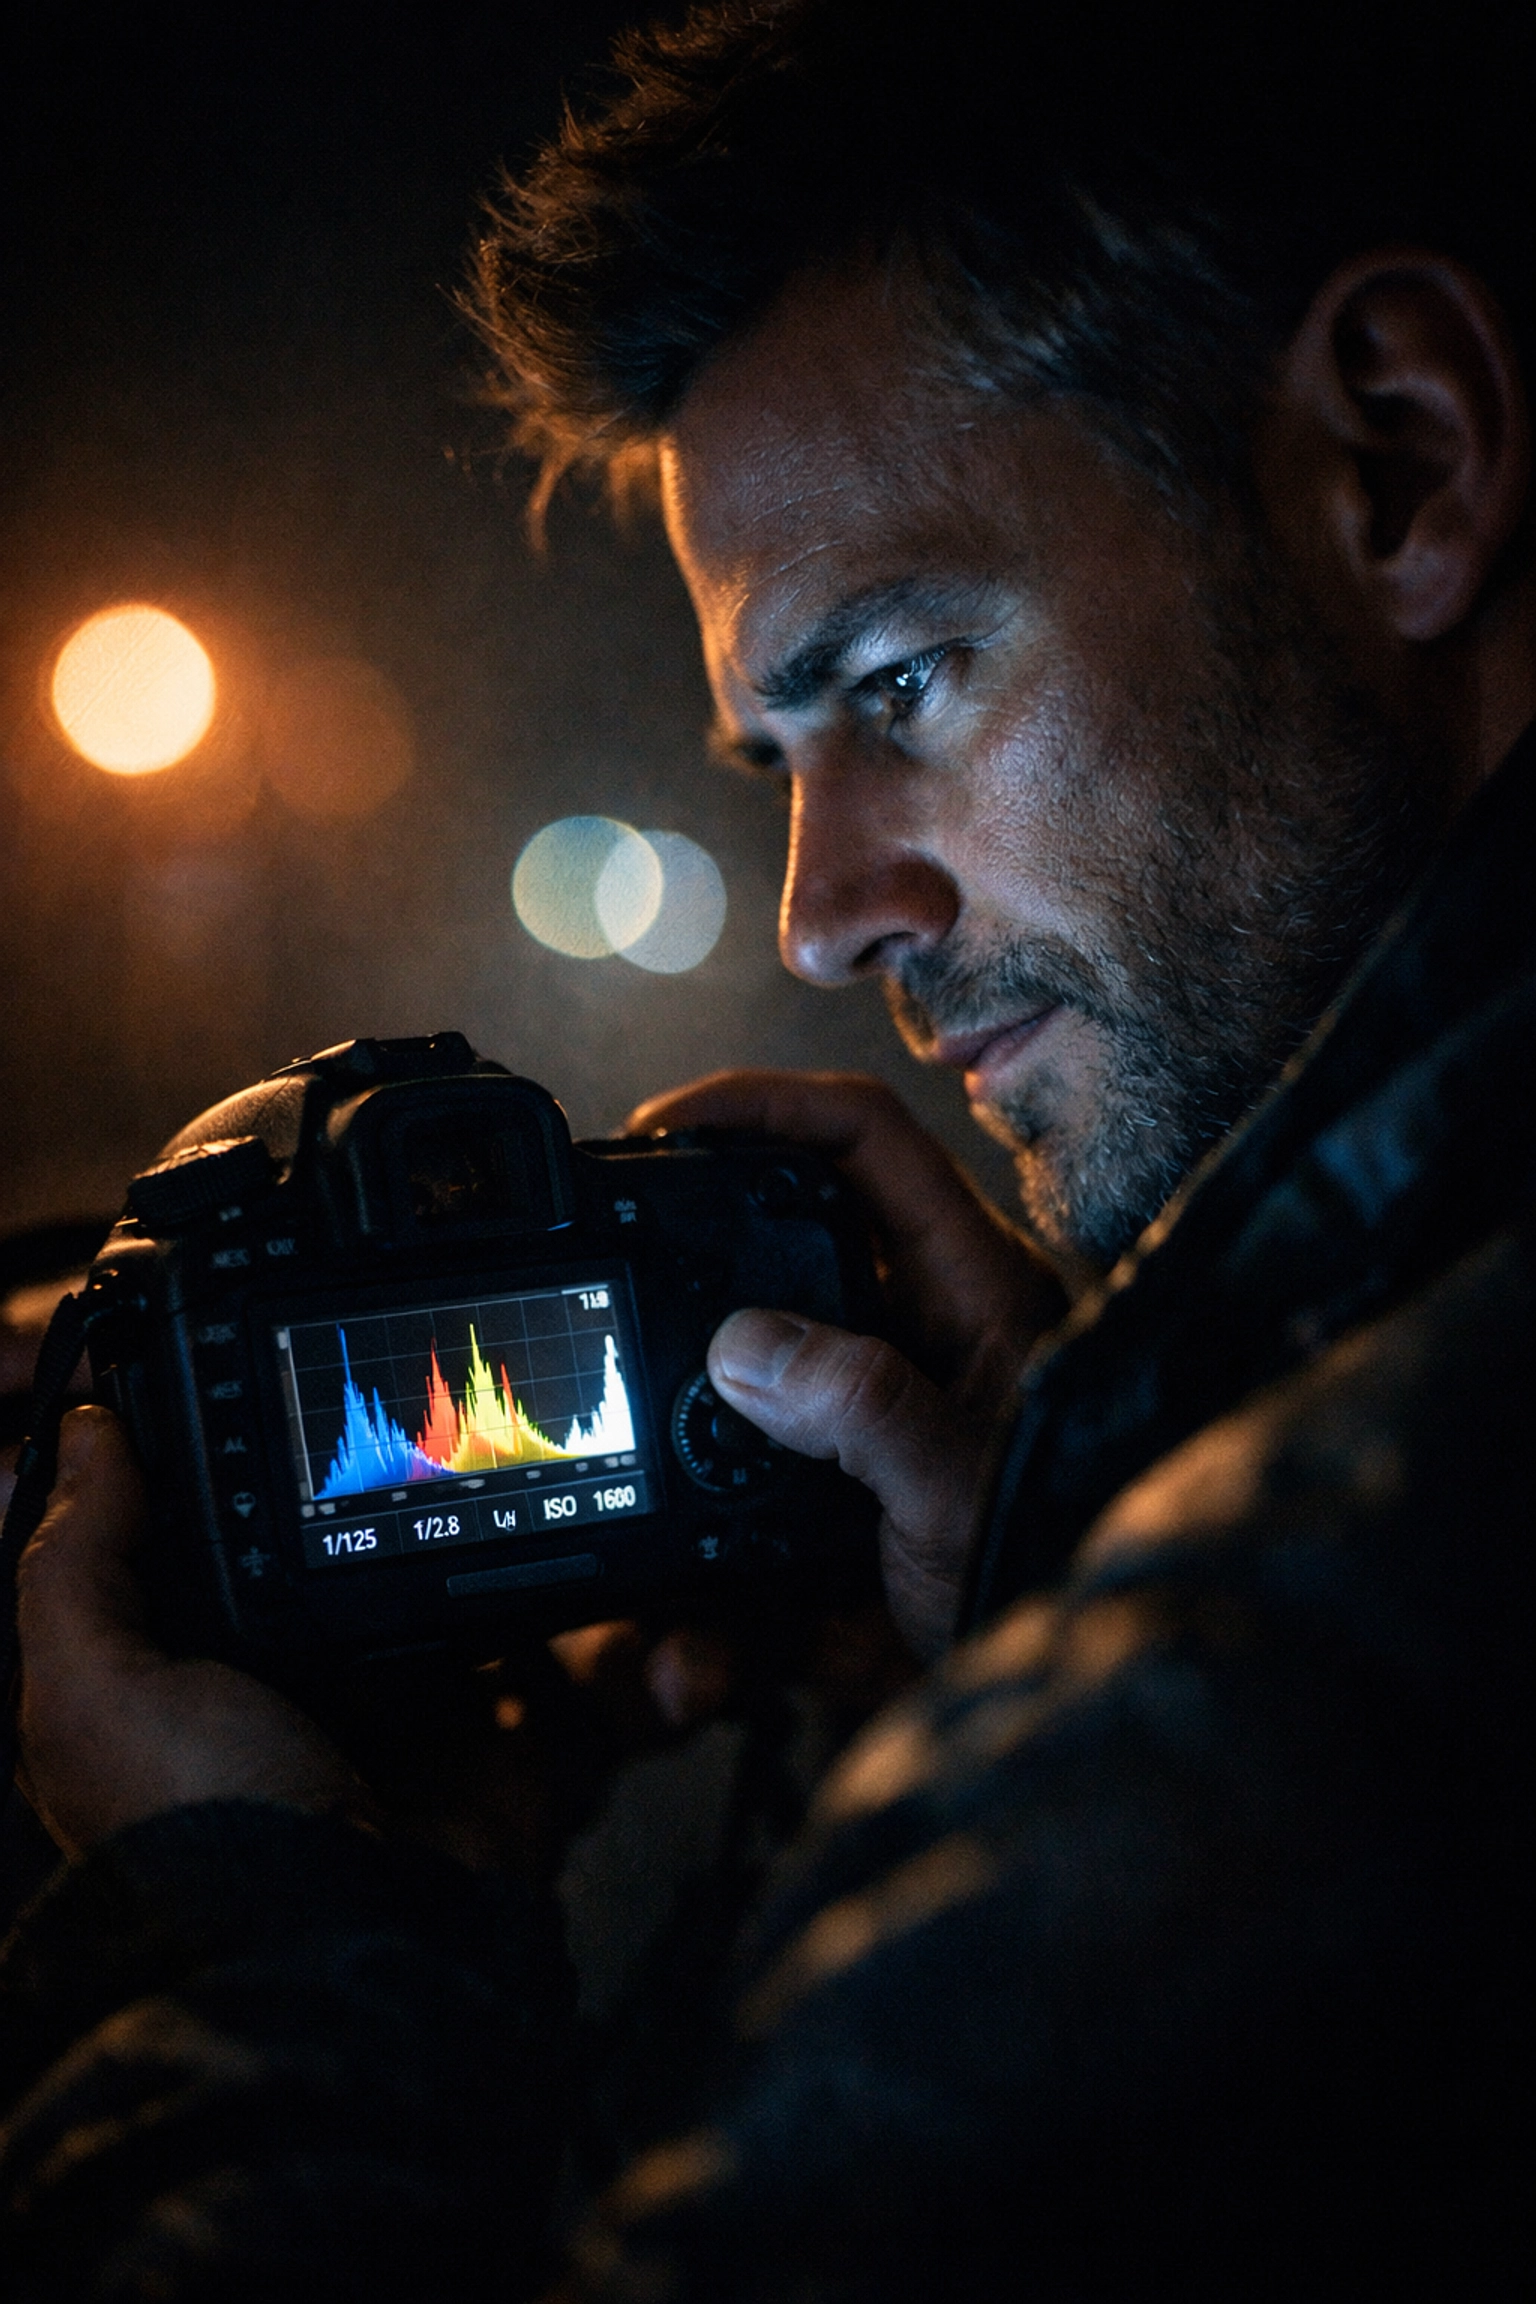
The screen on the back of your camera is a liar. It’s designed to make your photos look vibrant and bright, even if they are technically underexposed or overexposed. If you’re shooting in bright sunlight, the screen looks dark, so you brighten your settings. If you’re shooting at night, the screen looks glowing, so you darken your settings.
When you get home and open those files in Luminar, you realize your "perfect" exposure was actually two stops off.
The Fix: Learn to read the Histogram. The histogram is a graphical representation of the tonal values in your image. If the graph is all the way to the left, you’re losing detail in the blacks (underexposed). If it’s all the way to the right, you’re "clipping" your highlights (overexposed). Trust the math, not the glowing glass on the back of the camera. This is especially vital when manipulating real estate perception, where window highlights can easily be lost.
Why Manual Mode Matters (Even When It's Hard)
You might be reading this and thinking, "If Manual Mode is this complicated, why bother?"
The reason is simple: Creative Intent.
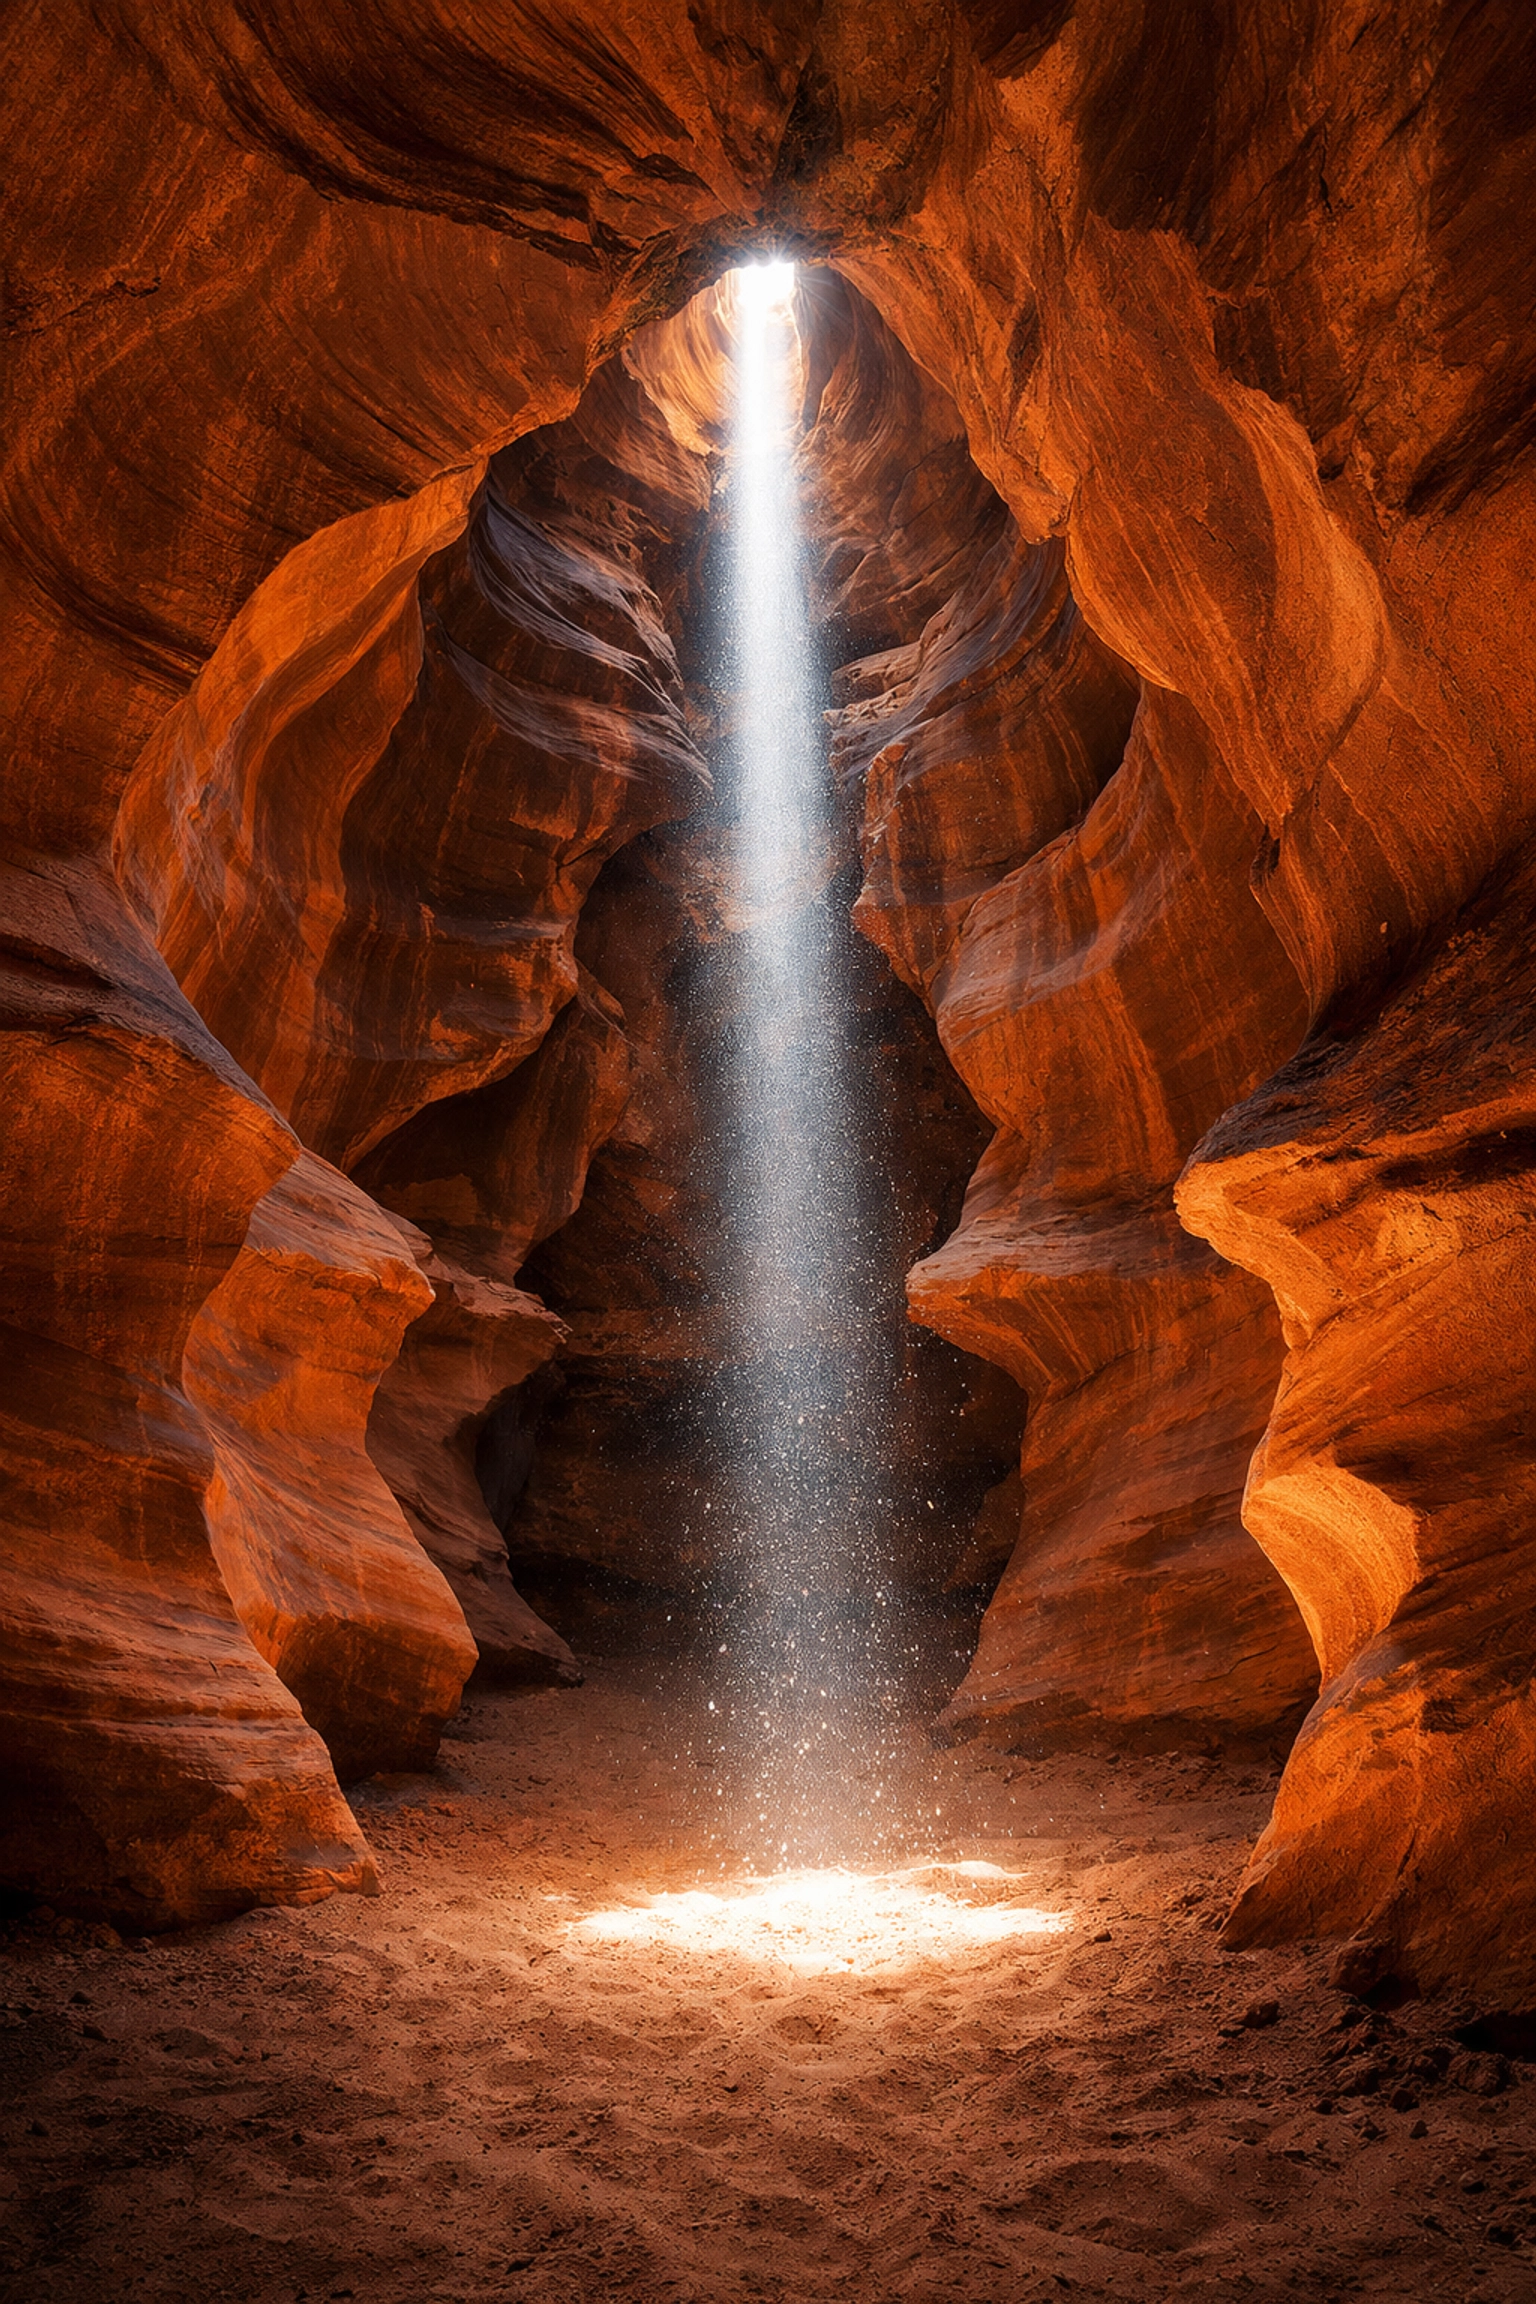
Automatic modes are designed to produce a "safe" image. They want everything to be middle-of-the-road. But art isn't safe. Art is found in the extremes. It's found in the distinctive elements of a low-key, moody portrait or the silky-smooth water of a long-exposure waterfall. You can’t get those results if you let the camera decide.
Think about the techniques behind Peter Lik’s landscape photography. His work is legendary because he uses his camera as a precision instrument. He knows exactly how his settings will affect the final print. Whether you’re trying to emulate iconic works through the years or you’re just trying to take better photos of your kids, manual mode is the key to that door.
Putting It All Together
Photography is a journey of constant learning. Don't beat yourself up if you make these mistakes; every pro you admire has made them thousands of times. The goal isn't to be perfect; the goal is to be better than you were yesterday.
If you’re looking for more tips on gear, composition, or the business of photography, head over to blog.edinchavez.com or check out the professional resources at proshoot.io. For those interested in the fine art side of things, edinfineart.com and edinstudios.com offer a look at what’s possible when you master your craft.
Manual mode isn't a monster. It’s a conversation between you and the light. So, grab your camera, head out there, and don't be afraid to fail. Just make sure you learn from the mistakes. After all, the best way to learn how to shoot is to simply… shut your aperture and start clicking.


